Homemade Peach Preserves
I know summer has reached its peak when peaches start showing up at the farmer’s market. I can usually smell them before I see them. Their sweet smell wafts up from their wooden stand among the watermelons and fresh tomatoes. It’s everything I can do to refrain from picking one up and taking a big juicy bite right then and there. Will power.
Last time I was at the market, I selected a few ripe peaches for eating … and for making jam. After strawberry, peach preserves are my favorite. If you’ve mastered my strawberry jam recipes, peach preserves should be a piece of cake.
Preserves, jam and jelly: what’s the difference?
These terms are often used interchangeably, but there is a difference.
- Preserves – contain chunks of fruit.
- Jam – make from a fruit puree. Smoother than preserves but not as stiff as jelly.
- Jelly – make from fruit juice only.
Ingredients and tools you’ll need
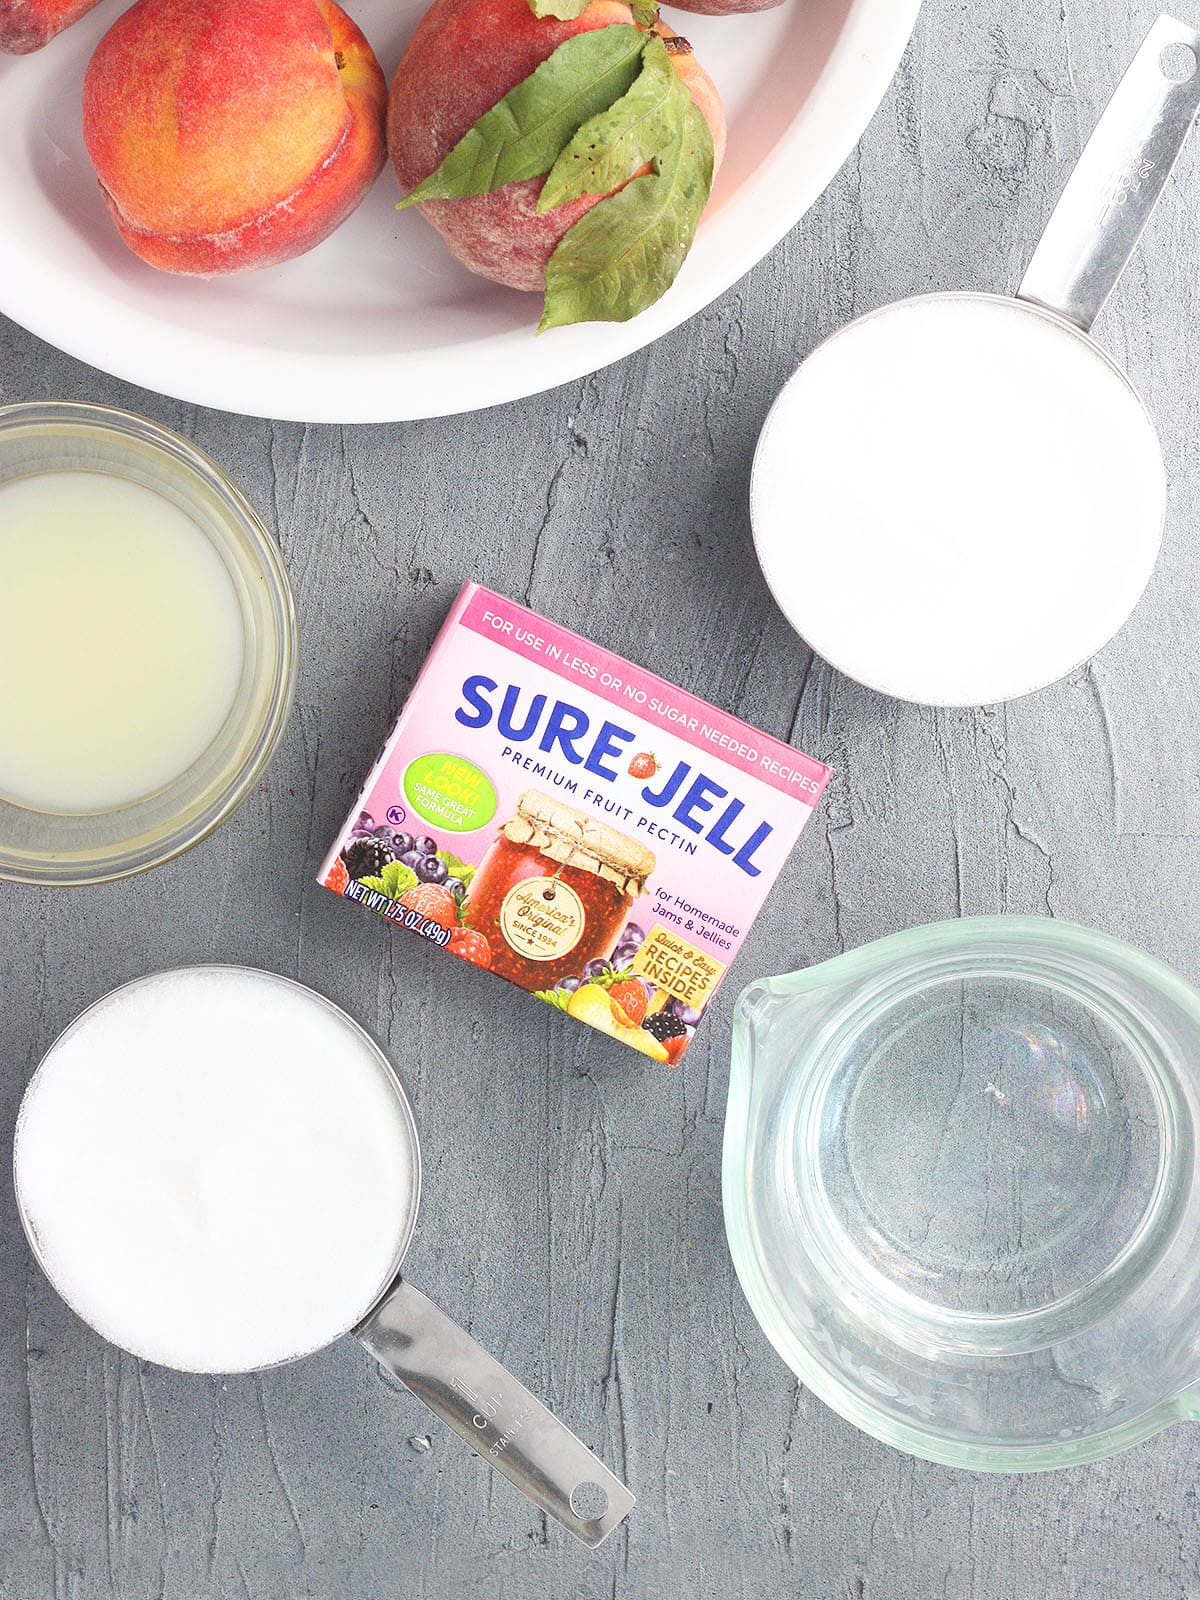
This easy peach preserves recipe only requires five ingredients. To make this preserves recipe, you’ll need:
- 4 cups peeled and sliced peaches – this is roughly the equivalent of 4-6 whole peaches
- ¼ cup bottled lemon juice
- ⅔ cup water
- One (1.75 ounce) box of fruit pectin
- 8 cups granulated sugar
- Large saucepan
- Glass jelly jars or plastic containers with airtight lids.
What is pectin?
Pectin is a naturally occurring fiber found in fruits and vegetables. Some fruits contain more pectin than others. Peaches naturally don’t contain a lot of pectin, which is this recipe calls for the addition of a commercial version. The two most common brands of pectin are Sure-Jell and Ball. I have used both interchangeably with great results.
You may see some recipes out there labeled “without pectin.” Typically, these recipes have to increase the amount of sugar in order to get the jam to set or incorporate another fruit that contains a high amount of pectin, such as apples, into the jam.
Preparing the fruit
First, remove the skins from the peaches. If the peaches are ripe, I can typically remove the skins easily with a small paring knife in a few minutes. However, if you have a lot of peaches to peel, you can use the method described below, similar to what I use to remove tomato skins.
Bring a large pot of water to a boil. Have a large pot of ice water standing by. Score the peaches by carving an “X” on the bottom. Drop the peaches, a few at a time, into the hot water. Simmer for a few minutes, or until you notice the skins starting to peel and pucker. Remove the peaches from the hot water and immediately plunge them into the ice water to halt the cooking. Once your peaches are cooled, the peels should simply slide off.
Slice the cooled peaches in half and remove the pit. If the peaches are ripe, the pit should come out easily with your finger. But sometimes they can be a bugger. If you’re having some trouble, simply cut off a few segments around the pit until you are able to pull it free.
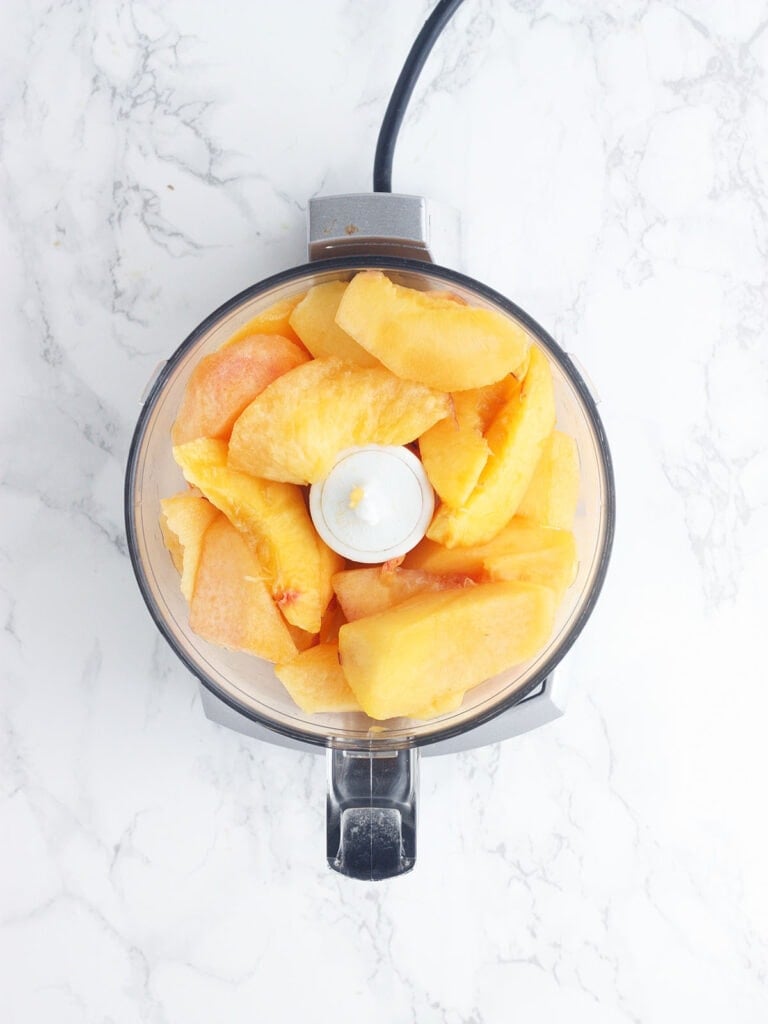
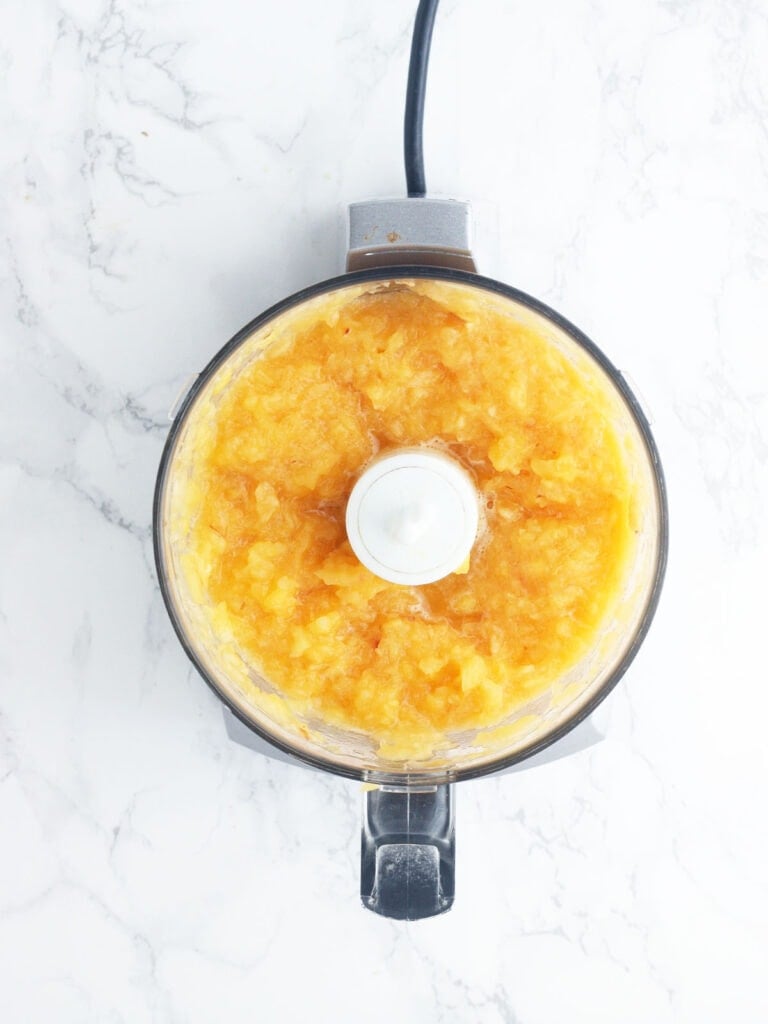
Once you have sliced the peaches and removed the skins, place them in a food processor and pulse them a few times. I like chunks of fruit in my preserves, but if you prefer a smoother texture, similar to peach jam, keep processing until the mixture is completely smooth.
Make the preserves
Dump the peaches in a medium saucepan. Add ¼ cup of bottled lemon juice. Lemon juice not only helps the pectin in the jam to jell, but also adds enough acid to prevent the formation of bacteria.
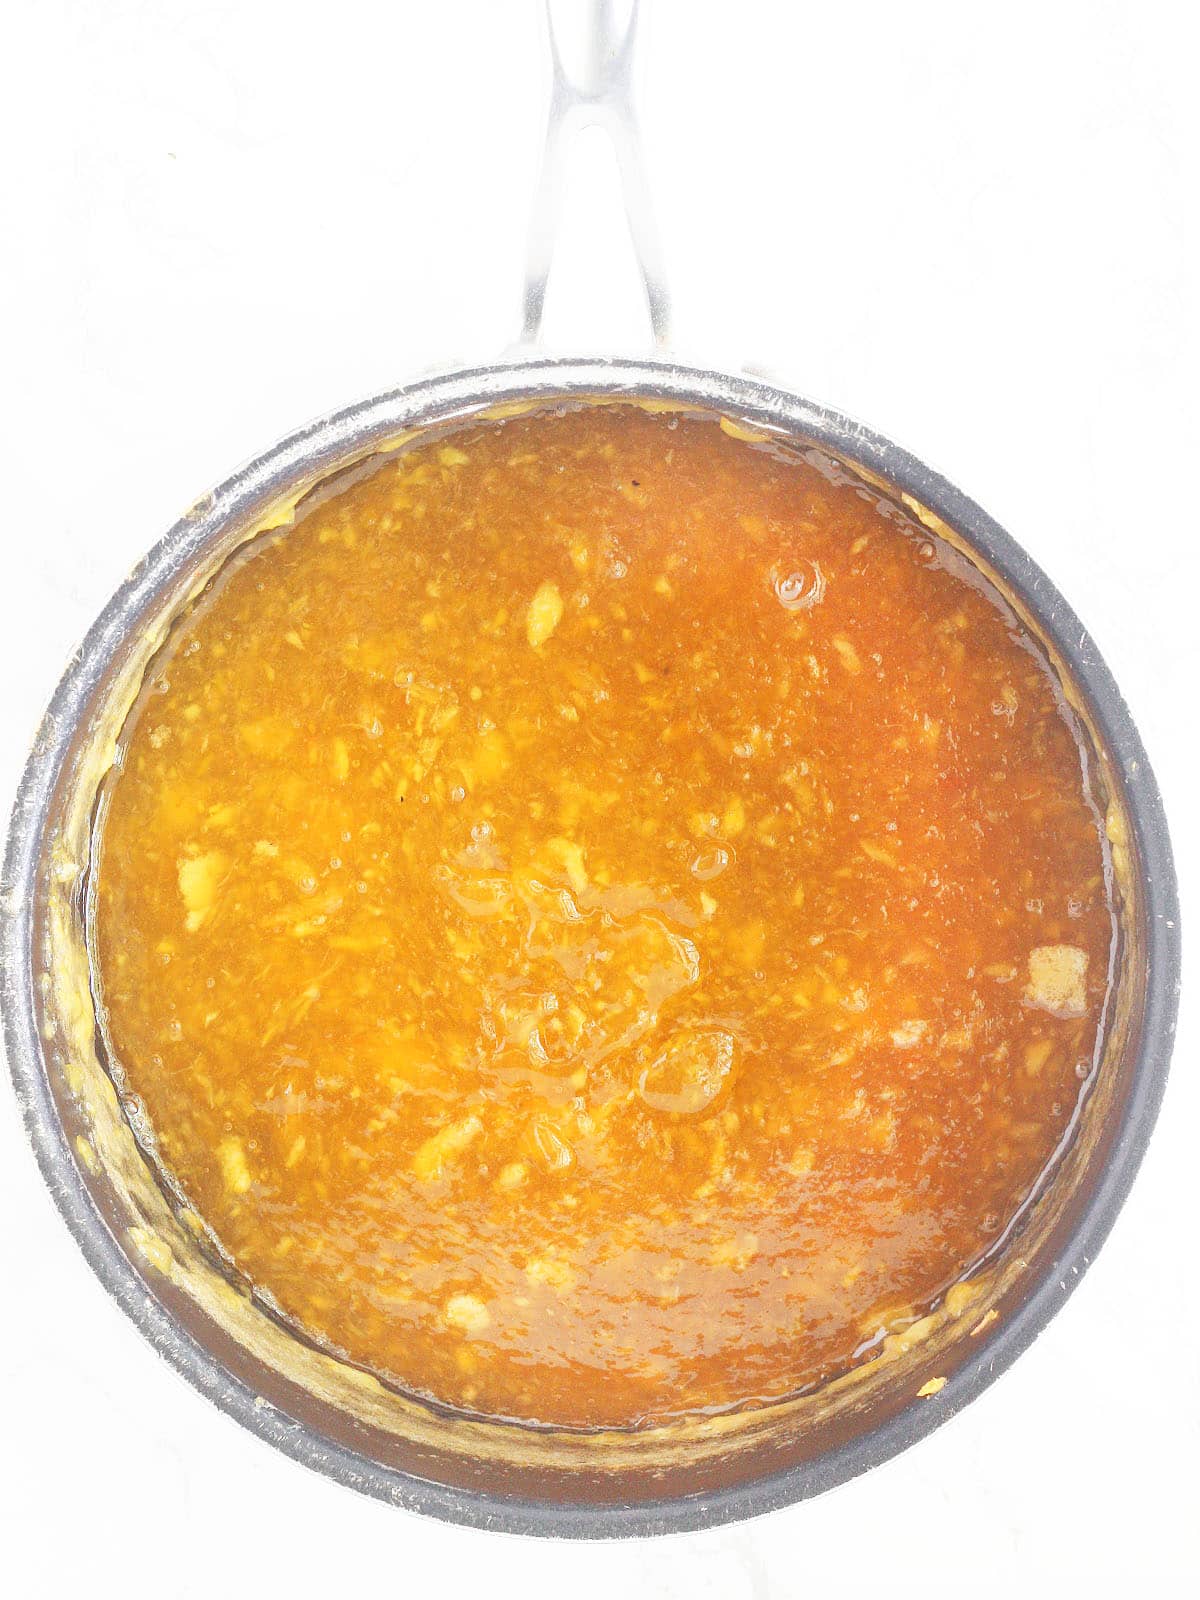
To the same pot, add 2/3 cup water and the pectin. Bring the mixture to a hard rolling boil. “Rolling boil” means that the preserves will continue to boil even when you give it a stir.
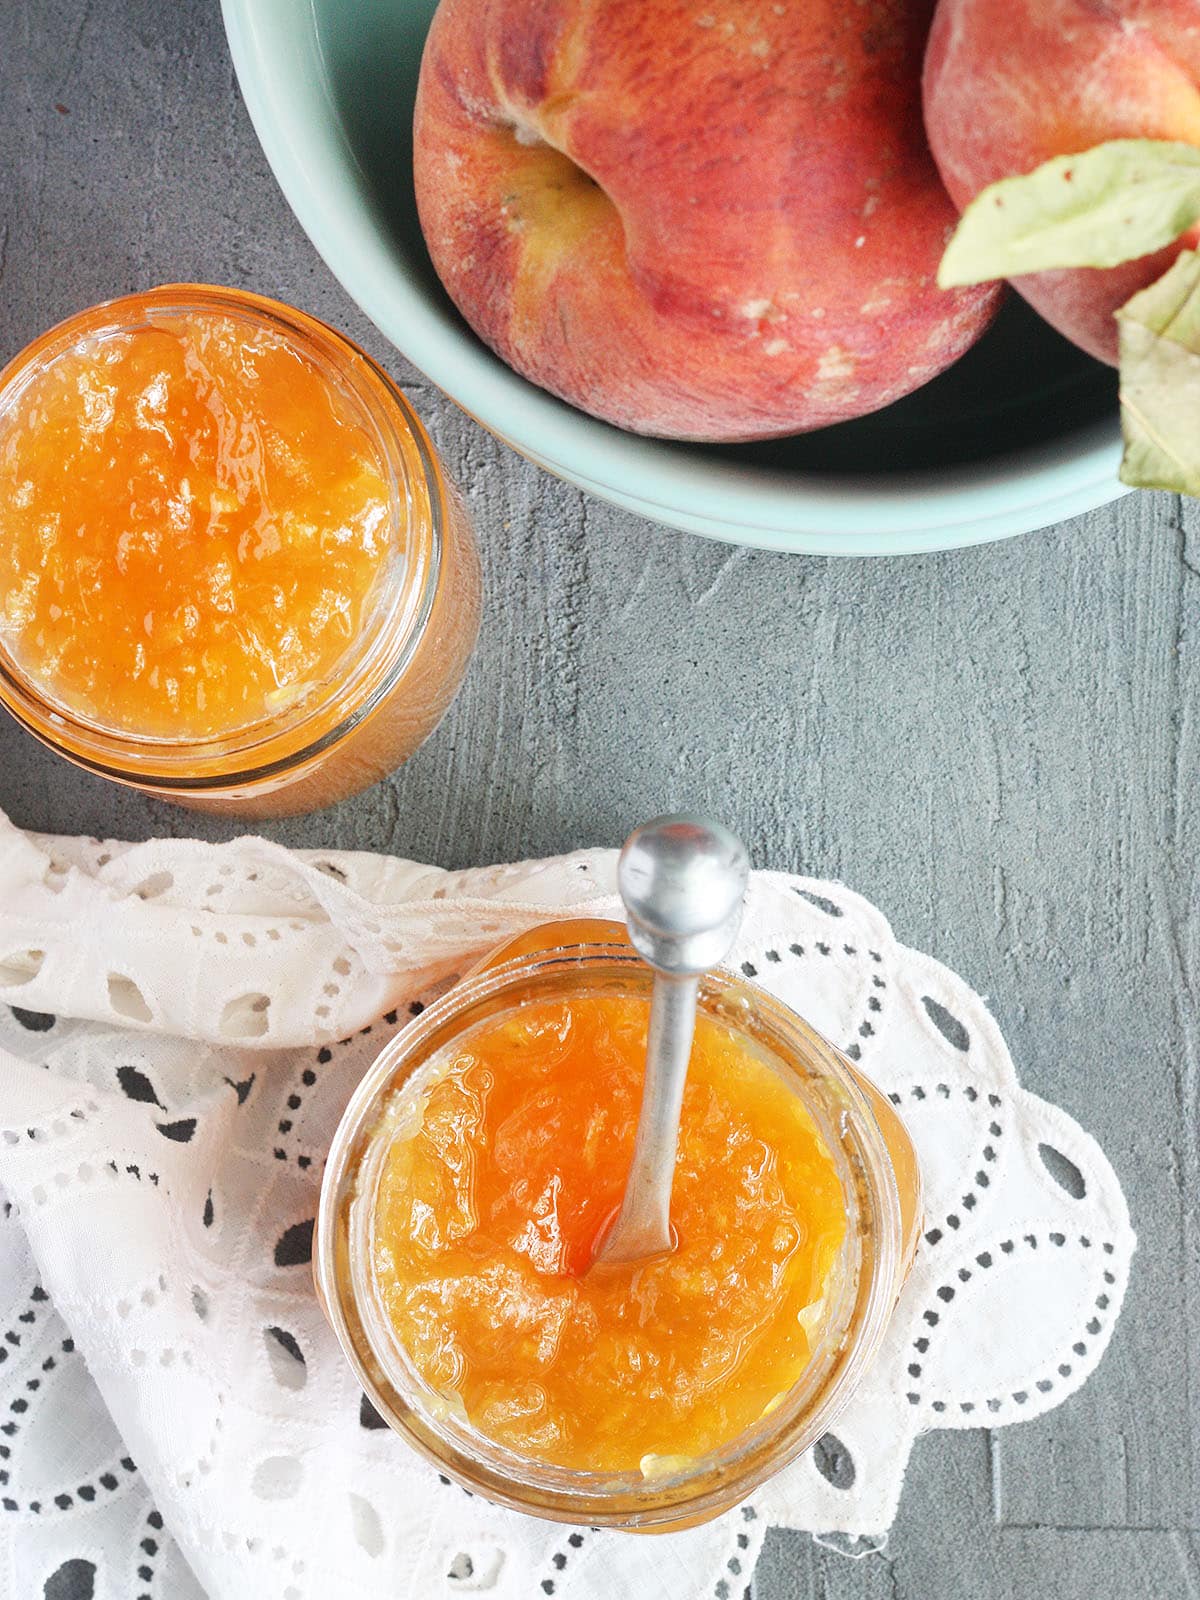
Add eight cups of sugar. Return the preserves to a boil and continue to boil for 1-2 minutes, stirring frequently, until the jam reaches your desired consistency. Remove the pan from heat. Skim off any foam that has formed on the top, if desired. The foam isn’t bad for you – you can even eat it. But it can give your preserves a cloudy appearance. It’s up to you if you want to take the extra measure to remove it. While the preserves are still hot, ladle it into glass jelly jars or plastic containers with an airtight lid.
How to tell if the preserves have set
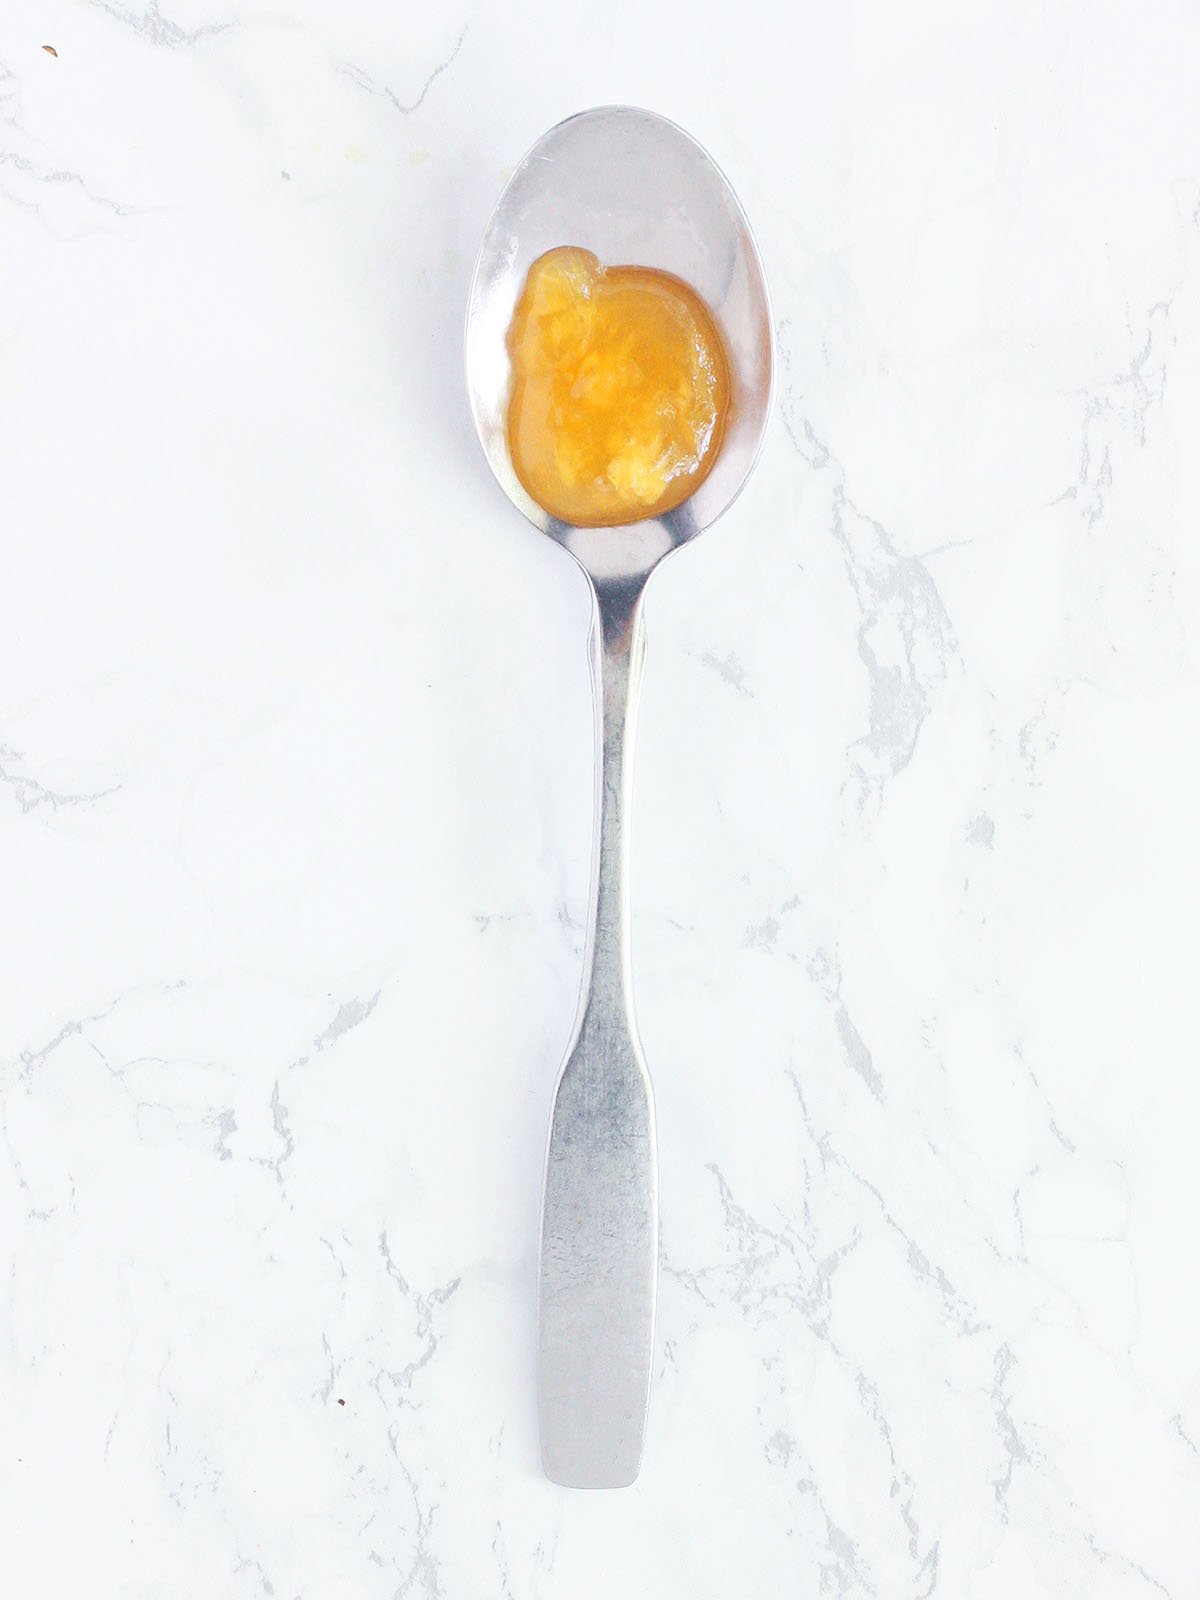
The preserves will thicken significantly as it cools, but here is a neat little trick if you want to test the thickness of your jam immediately. Place a metal spoon in the freezer before you get started. Dribble a little of the hot jam onto the ice-cold spoon. It should thicken up almost immediately, then you know if your jam has reached the right consistency.
What if my jam doesn’t gel?
It could take up to 48 hours for homemade jam to completely gel. But if you’re still not satisfied with the consistency, there are a few things you can try.
First, measure out the jam, then pour it into a saucepan. If you have more than eight cups, you’ll need to divide the preserves in half and work in batches. Bring the jam to a boil, then for every four cups of jam stir in 1/4 cup of white sugar and one tablespoon powdered pectin. Bring the jam to a boil, then cook for 5-10 minutes, stirring constantly. Test for gelling using the frozen spoon method I describe above.
How to store peach preserves
Opened or unsealed peach preserves should be stored in an airtight container in the refrigerator and consumed within three months.
Preserves can also be frozen for up to a year. Be sure to leave 1/2-inch of clearance (headspace) between the preserves and the top of the container to allow for expansion as it freezes. Preserves that have been frozen should be thawed in the refrigerator. Once thawed, it may be a little more on the runny side than preserves that have not been frozen.
How to can peach preserves
If you’ve followed my blog for a while, you know I prefer to can my jam. This can be done using the water bath canning method. If you’ve never canned jam before, check out my guide to water bath canning. It will tell you everything you need to know (it’s easy).
Ladle hot preserves into warm jars leaving ¼ inch headspace. Wipe the jar rims with a clean damp rag or paper towel. Cover the jars with lids and secure with rings. Process the jars for 10 minutes. Remove the canner from the heat an allow the jars to sit in the canner for five minutes before removing them. I typically set out a towel on the kitchen counter and let them cool completely. Give the jars at least 24 hours to seal. Any unsealed jars should be stored in the refrigerator and consumed first. Seal jars should be stored in a cool, dry place away from direct sunlight. According to Ball Canning, the jars have a shelf life of 18 months. After that time, if the jars are still properly sealed they are still safe to eat, but the quality may start to diminish.
Frequently asked questions
Peach skins, like tomato skins, get tough during cooking and don’t break down. I recommend peeling the peaches beforehand.
Can I use frozen fruit?
Frozen sliced peaches can be used in place of fresh when making peach preserves. Allow the peaches to thaw beforehand. Add in any juice that has accumulated during the thawing process.
Can I use frozen fruit?
Frozen sliced peaches can be used in place of fresh when making peach preserves. Allow the peaches to thaw beforehand. Add in any juice that has accumulated during the thawing process.
Can I used fresh lemon juice instead of bottled?
I recommend using bottled lemon juice rather than freshly squeezed because the acidity of lemon juice is consistent. When it comes to fresh lemons, some may contain less acid than others.
Can I double this recipe?
This recipe is considered small batch, which means it only produces a few jars. One recipe will typically yield:
6 (4 ounce each) quarter pints
3 (8 ounce each) jelly jars
1 pint (16 ounces) + one half pint (8 ounces)
This recipe can be doubled. However, I would not recommend trying to triple or quadruple the recipe. It can affect your cooking time and prevent the jam from setting properly.
How can I reduce the amount of sugar?
Sugar plays a pretty huge role in jam making. It not only does it make it taste good, but it also helps the fruit retain its color, acts as a preservative by preventing the formation of mold or bacteria and works with the pectin to help the jam set. Low sugar pectin can be used in place of regular pectin, which will allow you to cut the amount of sugar while still allow the preserves to set. To make a low sugar version of this recipe, use three tablespoons of low sugar pectin and four cups of white sugar.
Can I use honey instead of sugar?
For jams that use low sugar pectin, you can replace the sugar with honey. Since honey is sweeter, I recommend using half the amount of sugar the recipe calls for. For example, this recipe calls for four cups of sugar. You would want to use two cups of honey. You will need to cook the jam down a bit longer for it to gel. Even so, it may still be softer than if you had used sugar.
Can I use artificial sweetner instead of sugar?
Stevia, Spenda and saccharin products can all be used as a substitute for sugar as long as you are using low sugar pectin. Aspartame is not recommended for canning because the high heat will turn the product bitter. Follow the instructions listed above for low sugar preserves. Since artificial sweeteners are sweeter than regular sugar, substitute two tablespoons of sweetener for every one cup of sugar. Please keep in mind that the jam may have a slightly different texture.
Do I have to can my preserves first if I want to freeze them?
No, you don’t. Follow my instructions given above for freezing jam.
Can I used liquid pectin instead of powdered?
Yes, but with some adjustments. Powdered pectin is added before cooking. Liquid pectin is added after. The measurements also differ: 1 tablespoon of liquid pectin = 2 teaspoons of powdered pectin. So for this recipe, use 9 tablespoons of liquid pectin to replace the six tablespoons of powdered.
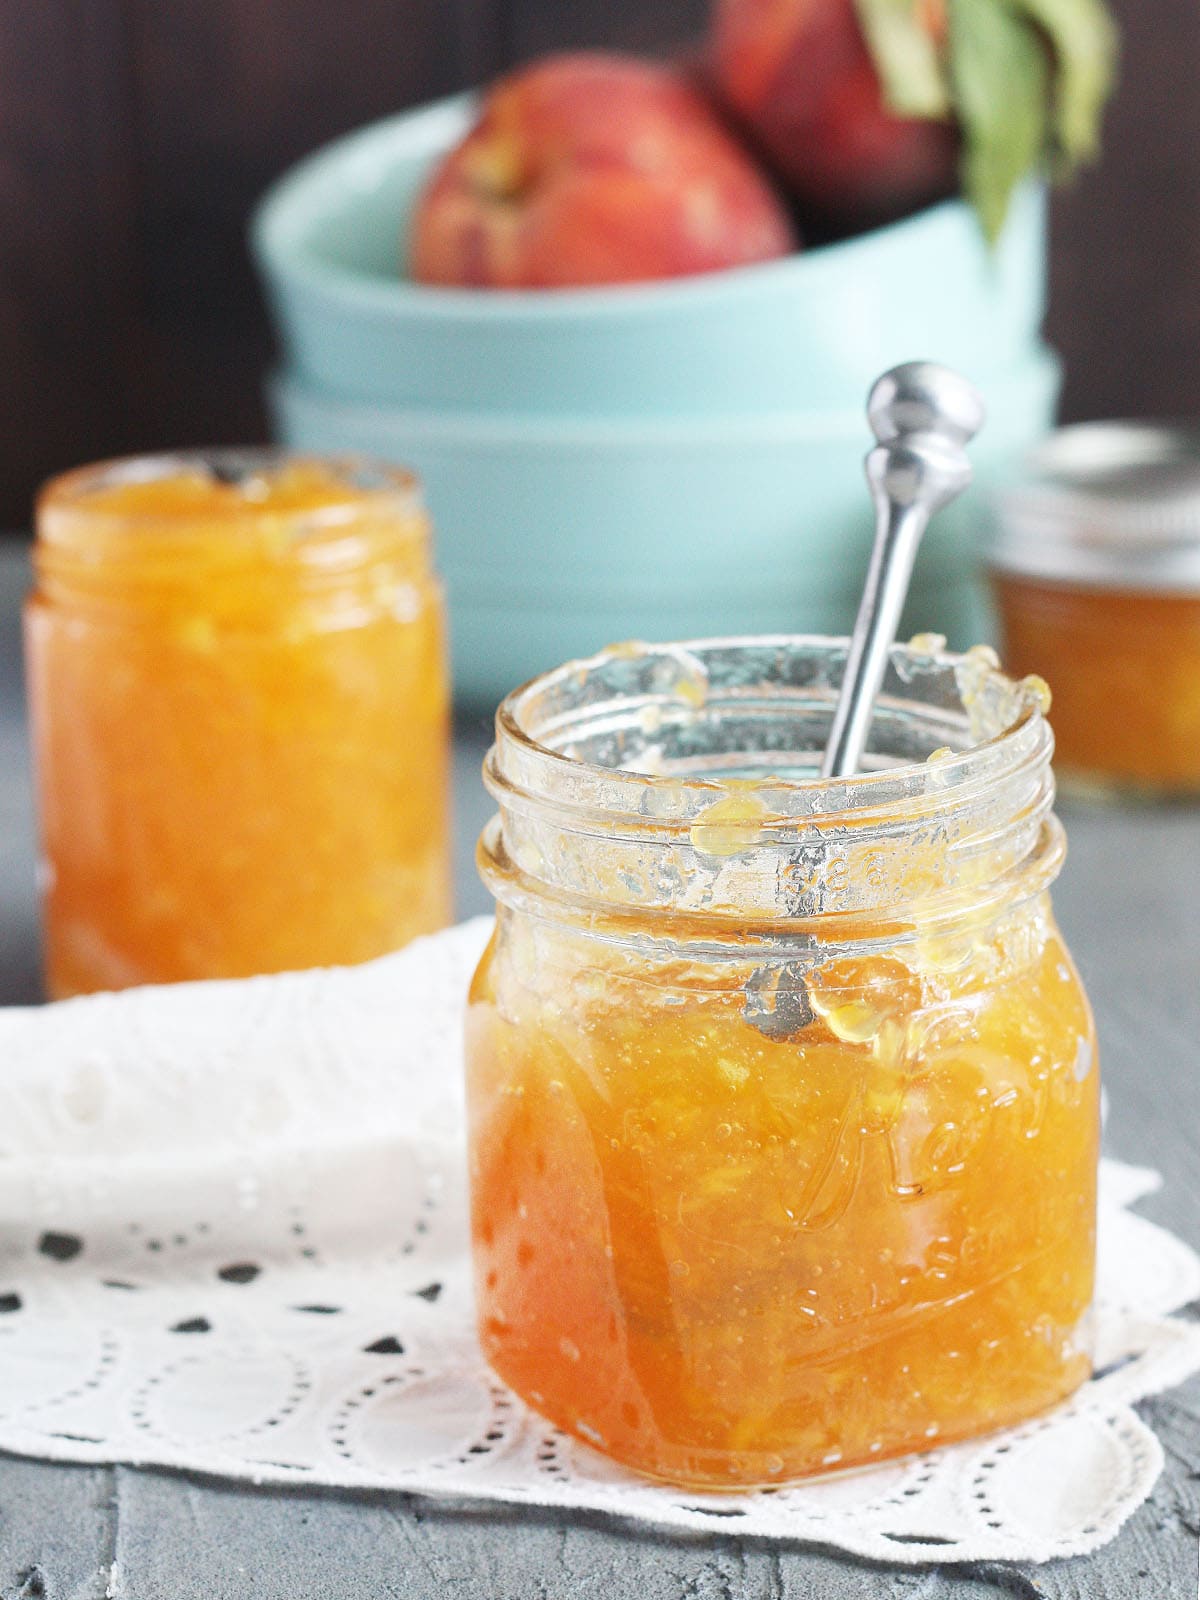
Peach Preserves
Ingredients
- 4 cups peeled and sliced peaches about 4-6 peaches
- ¼ cup bottled lemon juice
- ⅔ cup water
- 1.75 ounce box powdered pectin *
- 8 cups granulated sugar
Instructions
- Place peach slices in the bowl of a food processor and pulse until peaches reach your desired consistency (depends on if you like big chunks or little chunks of peaches in your preserves).
- Combine the mixture with lemon juice, water, and pectin in a medium saucepan. Bring the mixture to a hard rolling boil.
- Stir in sugar. Return to a boil and continue to boil for 1-2 minutes, stirring frequently, until jam reaches your desired consistency.
- Remove the pan from the heat. Skim foam if desired. Jam should continue to thicken for up to 48 hours.

trying it today
Hi, Becca! Thank you so much! I’m so glad you enjoyed the recipe and found it helpful. Looks like I forgot to add that bit of info under the canning. Thanks for bringing that to my attention. According to Ball Preserving, the shelf life is around 18 months. If the can stay properly sealed, they are still safe to eat after that, but the quality may diminish.
Hey! I may have missed it. What is the shelf life of these peach preserves after being canned? Btw, loved the recipe and it’s clear instructions 🙂
Hey Melinda, great question! You can use liquid pectin. I just added your question to the FAQ section with instructions on how to do that. Good luck!
This is my first time attempting anything like this! I had already purchased the liquid Certo pectin before I found your amazing instructions. Can I use these instead? Thanks, in advance!
Hi Debbie! If you don’t can them, they need to be refrigerated. The preserves will last 1-2 months in the refrigerator.
Hi, I am making peach preserves for the first time. The recipe is easy enough. My question has to do with the jars. Since I am planning on giving away jars to family and friends who will consume the preserves quickly, do I need to process them or can I put the preserves in the jars with the lids without the canning process?
Thank you for your kind comment, Reciana! Enjoy your preserves.
Very easy to follow and make
I am glad it worked out, Suzanne! Enjoy your preserves and thank you for coming back and leaving a comment.