Sweet Tea Brined Cast Iron Roast Chicken
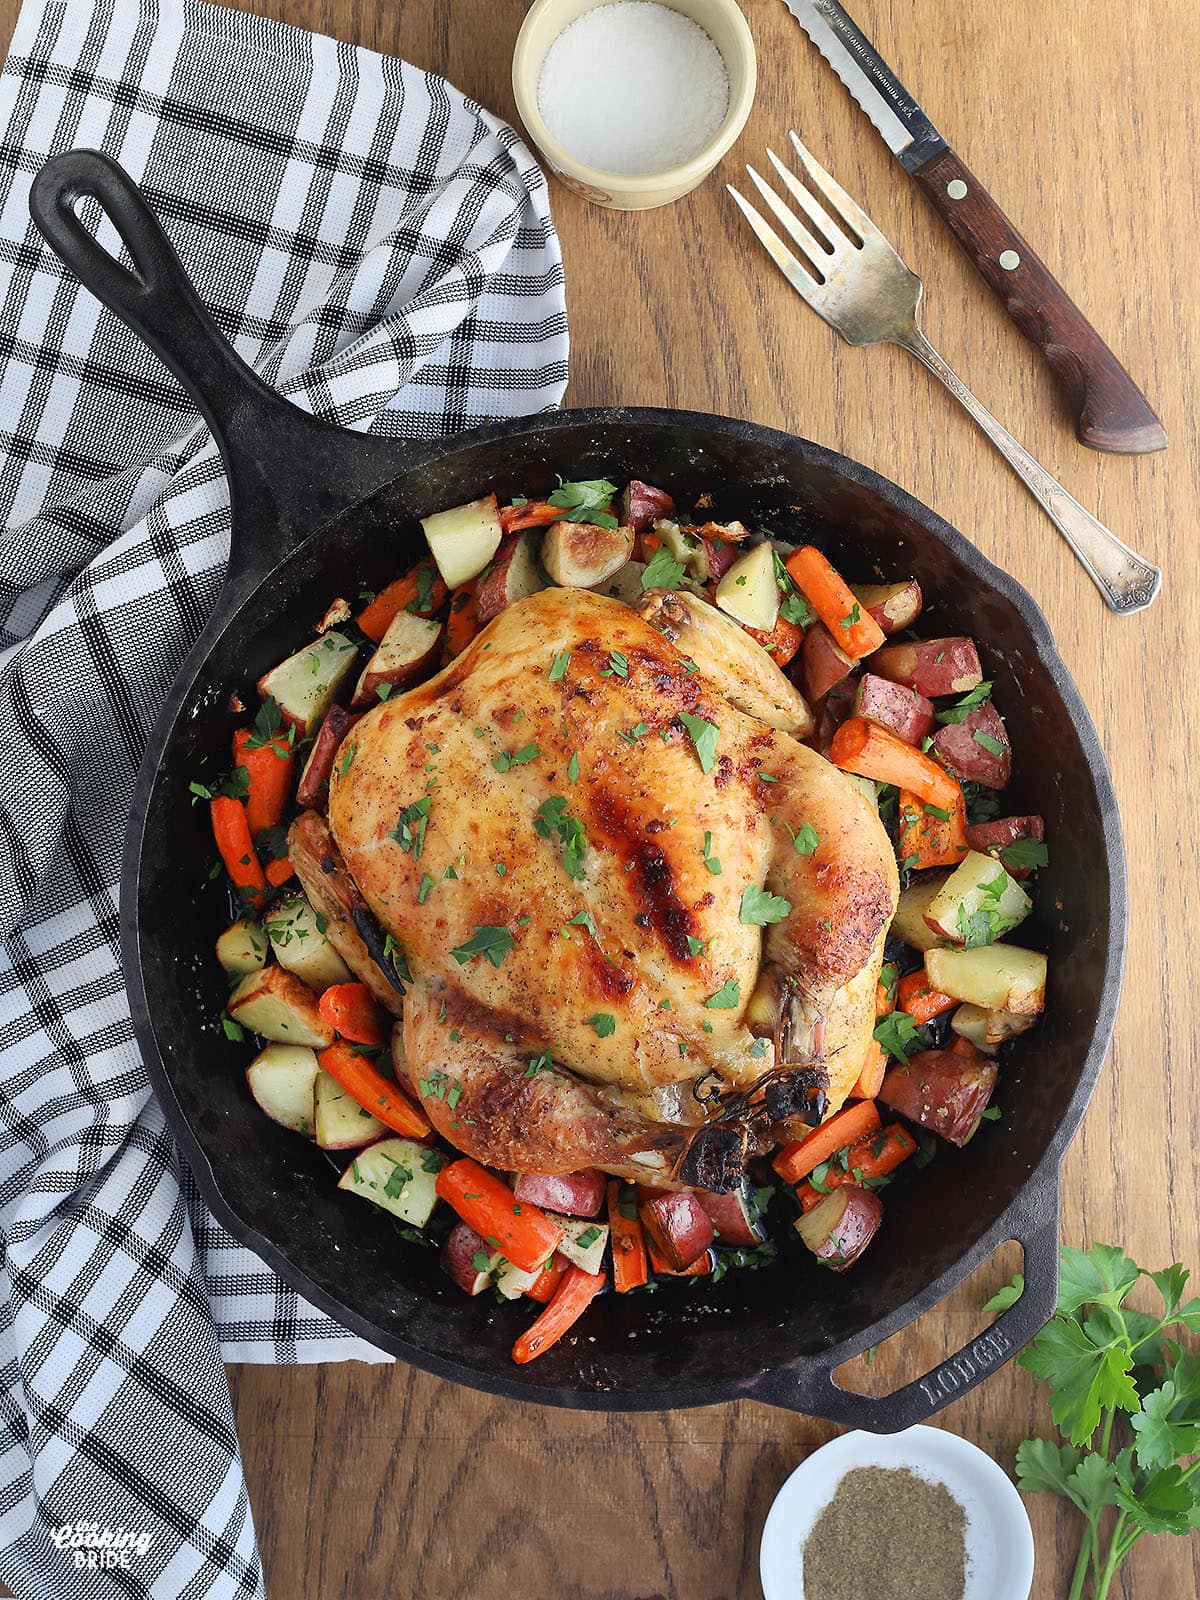
You’ll never eat a dry bird again with this cast iron roast chicken recipe. The sweet tea brine adds flavor and moisture while cast iron produces more even cooking.
This post may contain affiliate links. Click here to learn more about how affiliate links are used on this site.
Roast chicken is definitely something every new cook needs to master. It’s one of the few meals left where you can really stretch your dollar. Whole chickens are still relatively inexpensive, I usually have leftover meat that I can incorporate into another meal like Homemade Chicken Noodle Soup or Chicken Spaghetti, and I can use the carcass for Homemade Chicken Stock. Not to mention, a good roast chicken served with mashed potatoes is the ultimate comfort food.
Make the Sweet Tea Brine
Roast chicken done right is juicy and not overcooked, has a crispy golden skin, and is flavored with just the right amount of spices. My secret to a juicy chicken is brining the meat for at least 8 hours. If you are not familiar with the term brining, it just means soaking your uncooked bird in a saltwater solution before cooking. You can check out my complete tutorial on brining to learn more.
A basic brine is simply a mixture of kosher salt and water. After that, you can get creative by adding additional herbs and spices. I got the idea for a sweet tea brine from a local restaurant. You know we Southerners love our sweet tea. I couldn’t resist the idea of coming up with a recipe of my own.
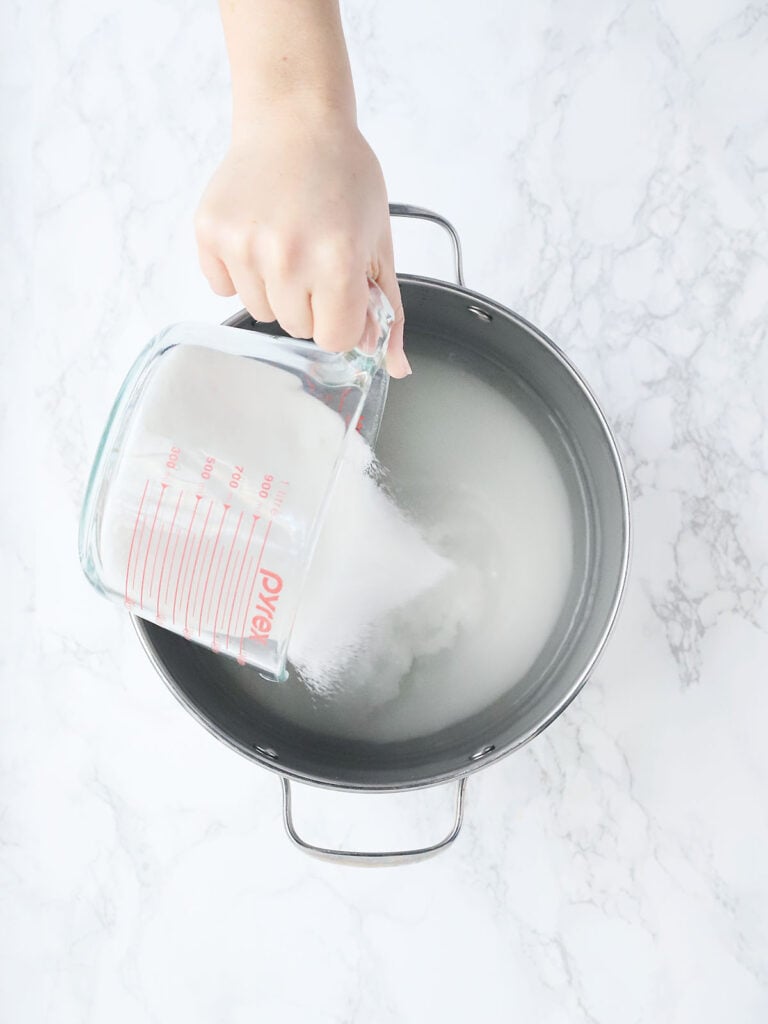
Start by bringing eights cups of water to a boil in a stockpot over medium high heat. Reduce the heat to medium, then add four cups of sugar and one cup of kosher salt. Continue to simmer until the sugar and salt are completely dissolved. Remove the pot from the heat and add four regular-sized tea bags or two family-sized tea bags. Allow the tea bags to steep while the water cools, about one hour.
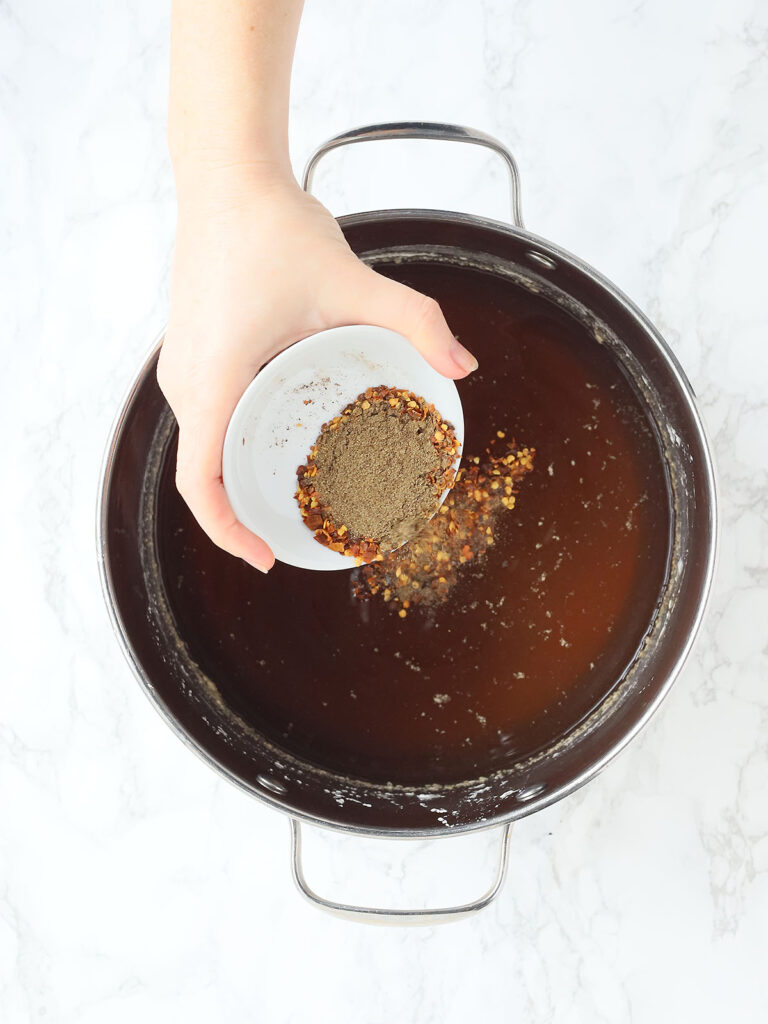
To prevent food-born bacteria from forming, you’ll want to let the sweet tea brine cool completely before adding the chicken. I recommend making the brine ahead of time, preferably the night before. Once cool, stir in two teaspoons of red pepper flakes and two teaspoons of ground black pepper.
Brining the Chicken
You will need to find a container large enough to immerse the chicken completely. I was able to use the same 8-quart stockpot I made my brine in. A small 14-quart cooler will also work. A whole chicken will have a tendency to want to float because of the cavity. Place something heavy like a cereal bowl on top to push the chicken all the way down into the brine.
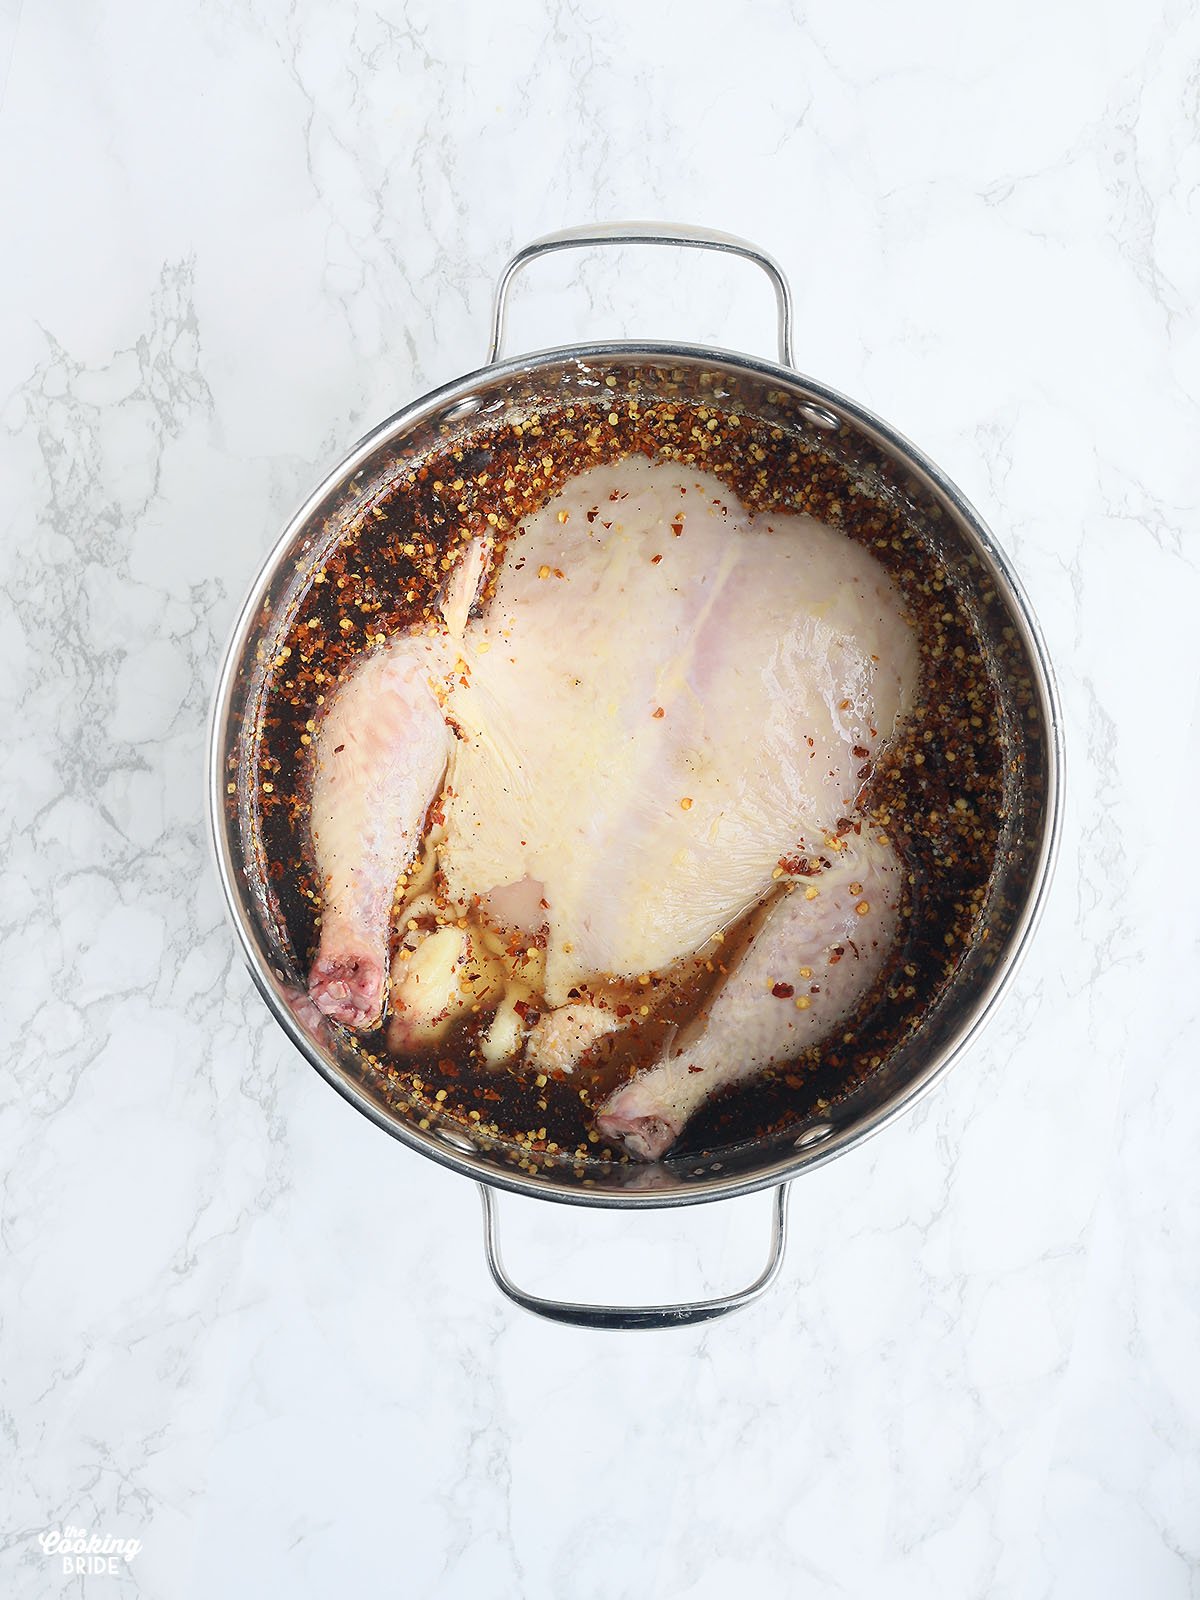
Your uncooked bird has to be kept at or below 40 degrees to prevent the growth of bacteria that can cause food poisoning. If you can’t fit it in the refrigerator, you can place it in a cooler with ice, but the melting ice will dilute your brine. Allow the chicken to soak in the brine for a minimum of four hours, preferably eight hours.
Allow the Chicken to “Air Dry” Before Placing it in the Oven
Everyone’s ultimate goal when roasting a bird is juicy, flavorful meat on the inside and crispy, seasoned, golden brown skin on the outside. The secret to achieving crispy skin is to get it as dry as possible. About 45 minutes before I’m ready to put the bird in the oven, I remove it from the brine and let it air dry on the counter for 30 minutes. Because of salmonella contamination, the brine cannot be reused and will need to be discarded.
Season the Outside
Once the skin has air dried, brush the outside of the chicken with two tablespoons of olive oil. Combine a tablespoon each of kosher salt, ground black pepper, garlic powder, onion powder and paprika. Sprinkle the seasonings all over the outside of the bird.
For more flavor, you can stuff the cavity of the bird with a peeled and quartered onion, 3-4 cloves of garlic and fresh herbs such as rosemary or thyme if you have any. This isn’t required; you can still achieve great flavor without doing this. Be sure to tie the legs together with kitchen twine. This also prevents a lot of hot air from entering the chicken cavity and further drying out the breast meat.
Why Cast Iron is Better for Roasting Chicken
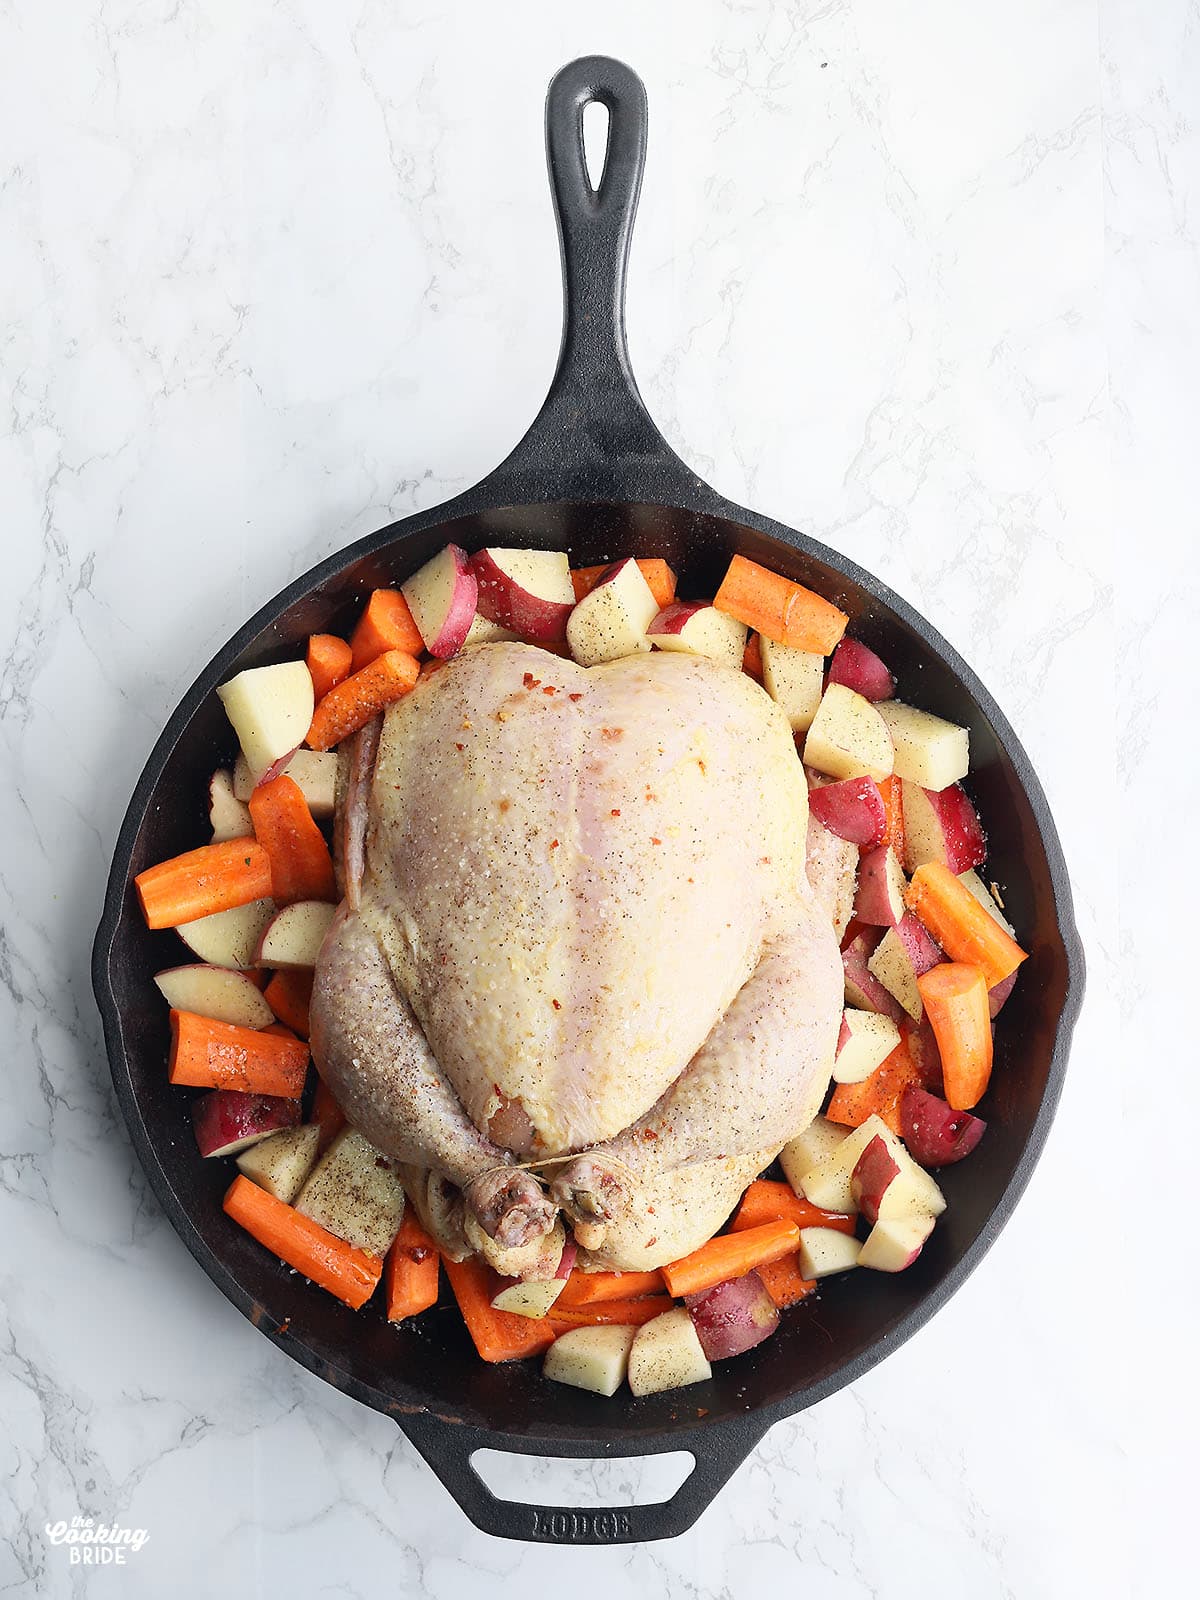
I’m a longtime fan of cast iron cookware. If you’re on a limited kitchen budget, a good cast iron skillet play double duty for several pieces of cookware, including a roasting pan. Cast iron has the ability to conduct heat more evenly and allow better air circulation for even browning.
A cast iron skillet that measures 12-inches in diameter or more will best accommodate a five-pound whole chicken and give you room to add some vegetables for roasting on the bottom. The skillet shown in the pictures measures 13.25 inches.
Want to add some vegetables? Here’s what I recommend
The fat and juices from the chicken drip down into the bottom of the pan and create a delicious sauce for roasted vegetables. Choose vegetables that will hold up to the high heat. Potatoes and diced carrots are obvious choices. However, other options include sweet potatoes, brussels sprouts, quartered onions, butternut squash, parsnips and beets.
Toss the vegetables with 1-2 tablespoons of olive oil. Remember, the vegetables absorb some of the seasoning from the chicken, so go light with any additional salt and pepper. Arrange the vegetables in an even layer on the bottom of the skillet and nestle the chicken over the top.
How Long and at What Temperature Should I Roast a Chicken?
That’s the million-dollar question. Some recommend cooking the bird at a lower temperature for a longer amount of time for meat that’s falling off the bone. I prefer to roast at higher temperature to ensure that crispy skin. Don’t worry … our bird just spent several hours soaking up all our tasty brine. It won’t be dry.
I roast chicken at 425 degrees for 18 minutes per pound. That means a 5-pound chicken should take about 1 ½ hours to cook through. Make sure you have a reliable meat thermometer. The recommended internal temperature for poultry is 180 degrees. Insert the thermometer in the inner thigh area near the breast of the bird, but not touching bone. Remove the bird from the oven when the internal temperature reaches between 165 – 170 degrees. Allow it to sit for 15-20 minutes to allow the juices to redistribute through the meat. The chicken will continue to cook while it rests.
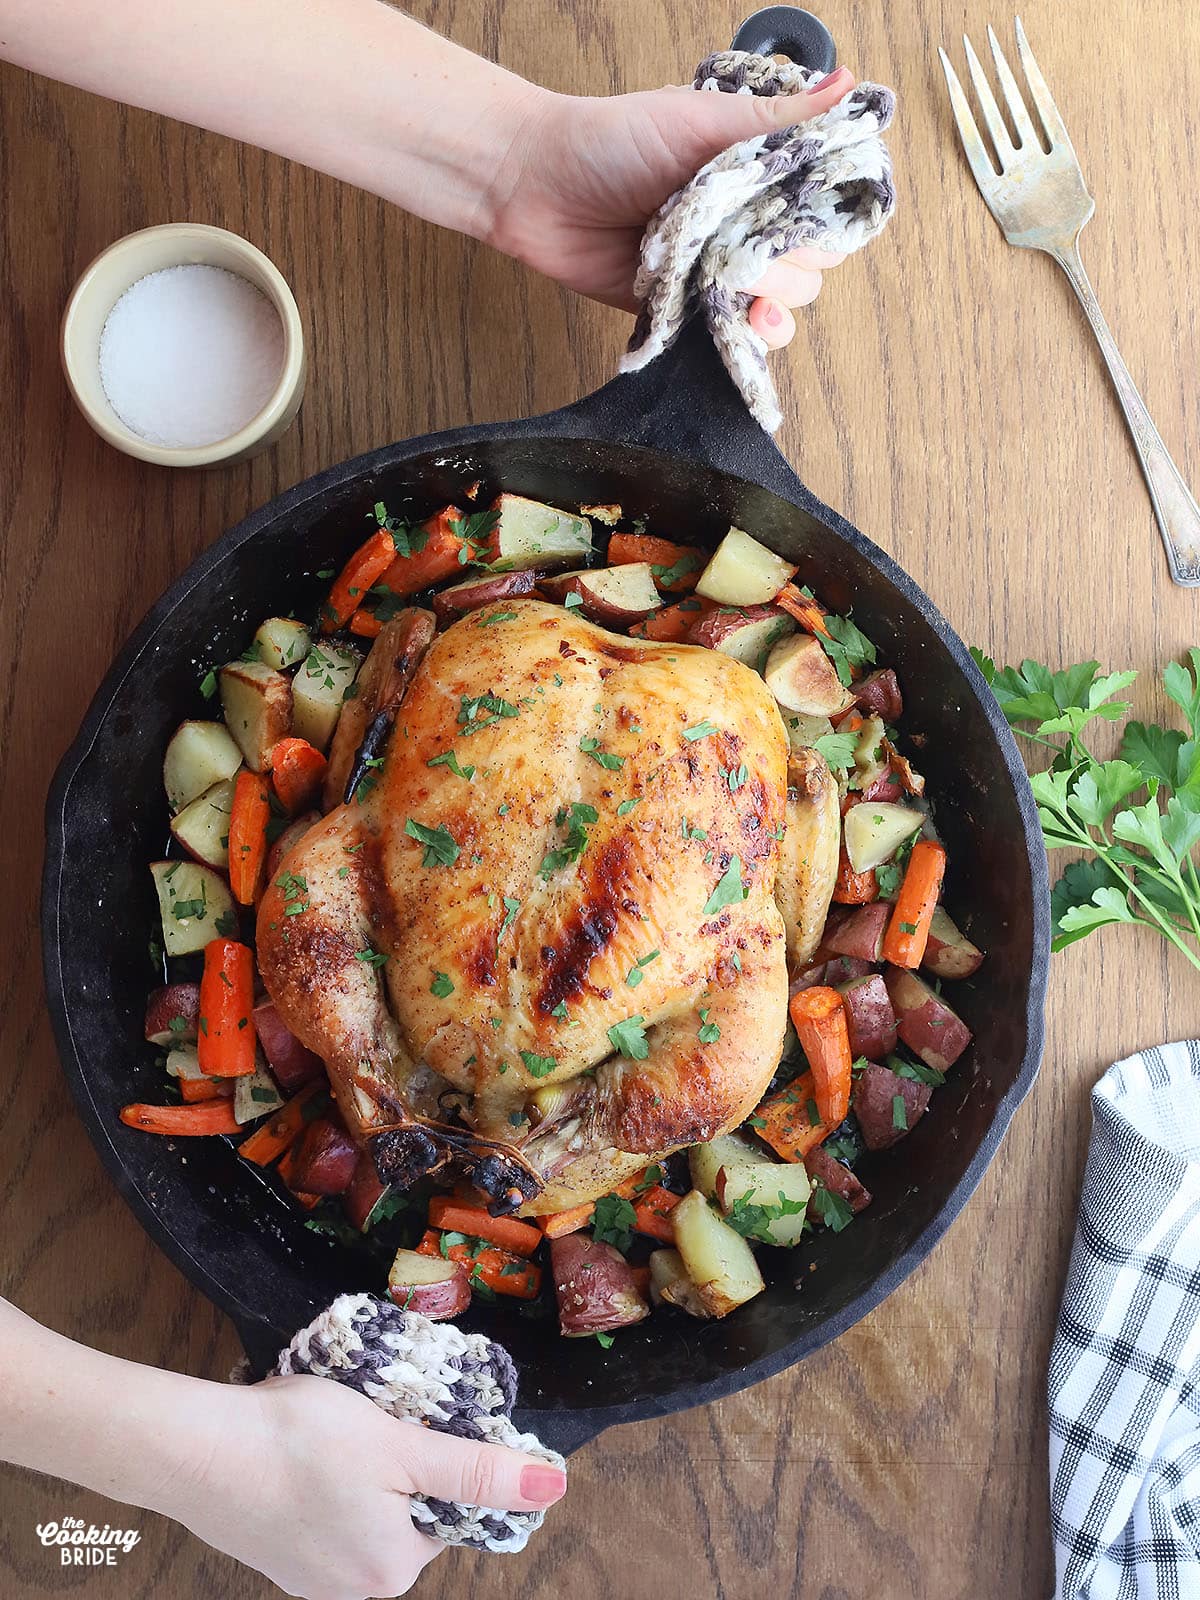
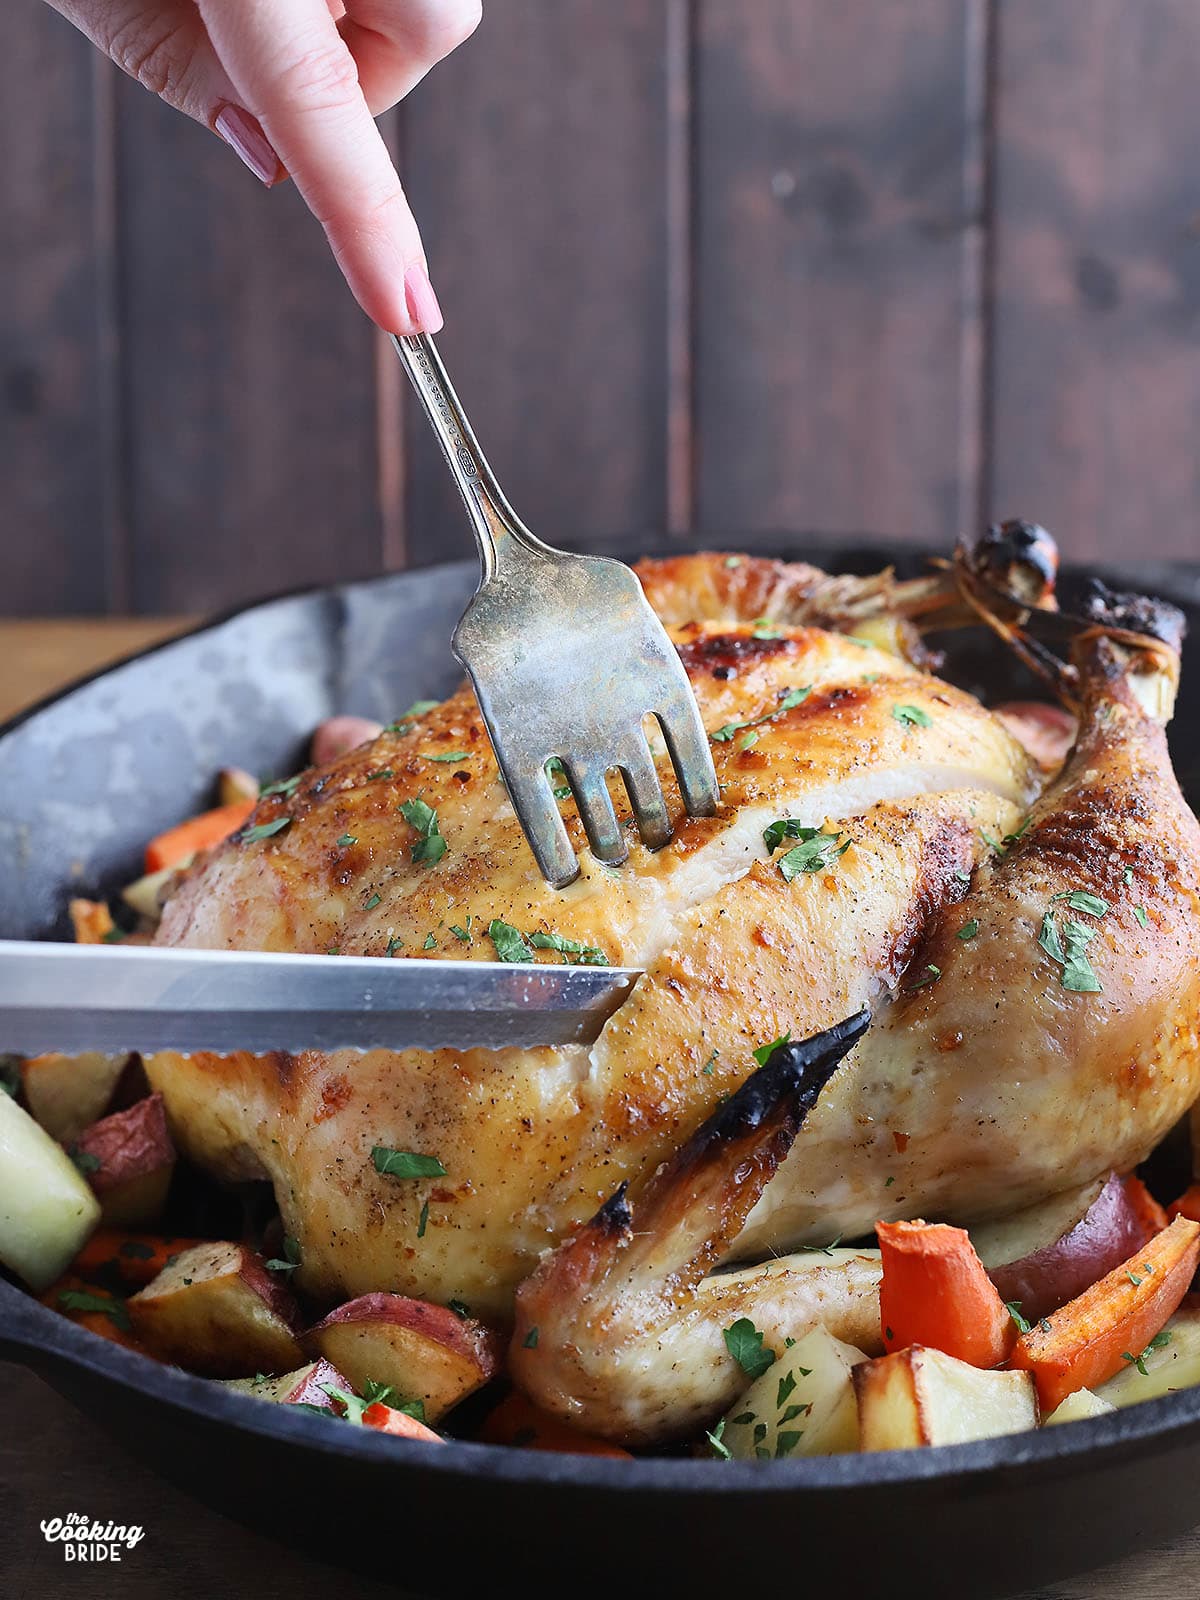
Now that you’ve successfully prepared cast iron roast chicken, how do you carve it? This can seem a little intimidating if you’ve never done it. However, once you’ve done it a few times, it becomes second nature. This video provides an excellent step-by-step tutorial on the proper way to carve a bird.
Storage, Reheating and Freezing
Storage: Leftover cast iron roast chicken should be cooled completely before transferring the carved meat to an airtight container. Store in the refrigerator and consume within four days.
Reheat: Leftover chicken can be reheated for a few in the microwave. Alternately, place the meat in a covered casserole dish and bake at 350 degrees for 10-15 minutes until heated through.
Freezing: Place leftover meat in an airtight freezer bag. Consume within three months.
What to Serve with Sweet Tea Brined Cast Iron Roast Chicken:
- Cheesy Ranch Roasted Potatoes
- Stir Fried Brussels Sprouts
- Southern Green Beans with Ham and Potatoes
- Cheese and Cauliflower Gratin
- Mashed Rutabaga With Bacon And Cheddar Cheese
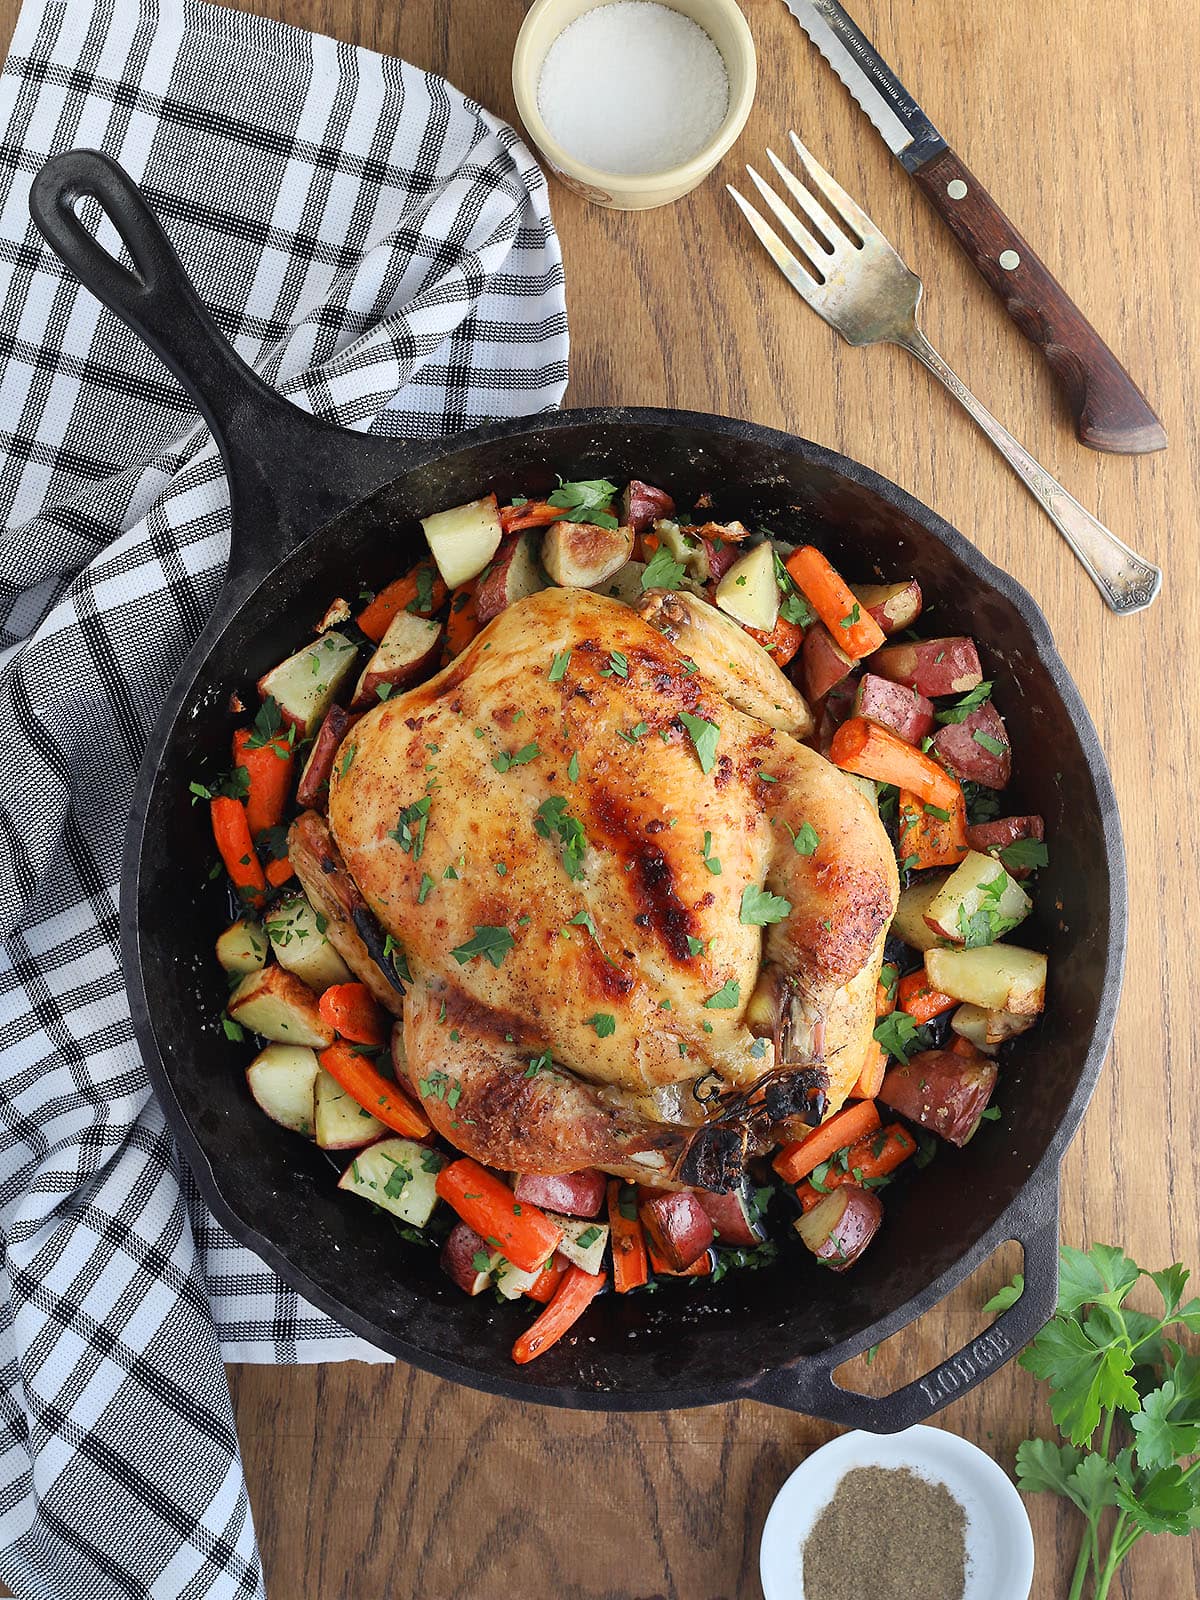
Sweet Tea Brined Cast Iron Roast Chicken
Ingredients
For the brine:
- 8 cups of water
- 4 cups sugar
- 1 cup kosher salt
- 4 regular sized tea bags or 2 family sized tea bags
- 2 teaspoons red pepper flakes
- 2 teaspoons ground black pepper
- 1 5-7 lb. whole chicken
For the poultry seasoning:
- 2 tablespoons olive oil
- 1 tablespoon kosher salt
- 1 tablespoon ground black pepper
- 1 tablespoon garlic powder
- 1 tablespoon onion powder
- 1 tablespoon paprika
- Vegetables for roasting optional
Instructions
- Combine water, sugar and salt in a large saucepan. Bring to a boil over medium high heat.
- Stirring occasionally, boil until the sugar and salt are completely dissolved.
- Remove the pan from the heat and add the tea bag(s) . Allow the tea bag(s) to remain in the pot to steep while the mixture cools, about 1 hour. Remove and discard the tea bag.
- Add the crushed red pepper flakes and ground black pepper.
- Place the chicken in a container large enough to allow the brine to cover the meat completely. Pour the brine over it. Place the container in the refrigerator and let the chicken soak for 4-8 hours.
- Remove the chicken from the brine 45 minutes before it needs to go in the oven. Discard the brine. Allow the chicken air dry at room temperature for 30 minutes.
- Preheat the oven to 425 degrees F.
- Brush the outside of the chicken with the olive oil.
- Combine the salt, black pepper, garlic powder, onion powder, and paprika. Sprinkle the outside of the chicken generously with the seasoning mix.
- For added flavor, you can stuff the cavity of the chicken with a peeled and quartered onion, garlic cloves and fresh herbs, if desired.
- Tie the chicken legs together with twine.
- Place the chicken in the cast iron skillet. Roast the chicken for 18 minutes per pound.
- Allow the chicken to rest for 15 minutes before carving.


You’re welcome, Julia!
Thanks for the post and especially for taking time to type out the cooking chart.