How to Season a Cast Iron Skillet
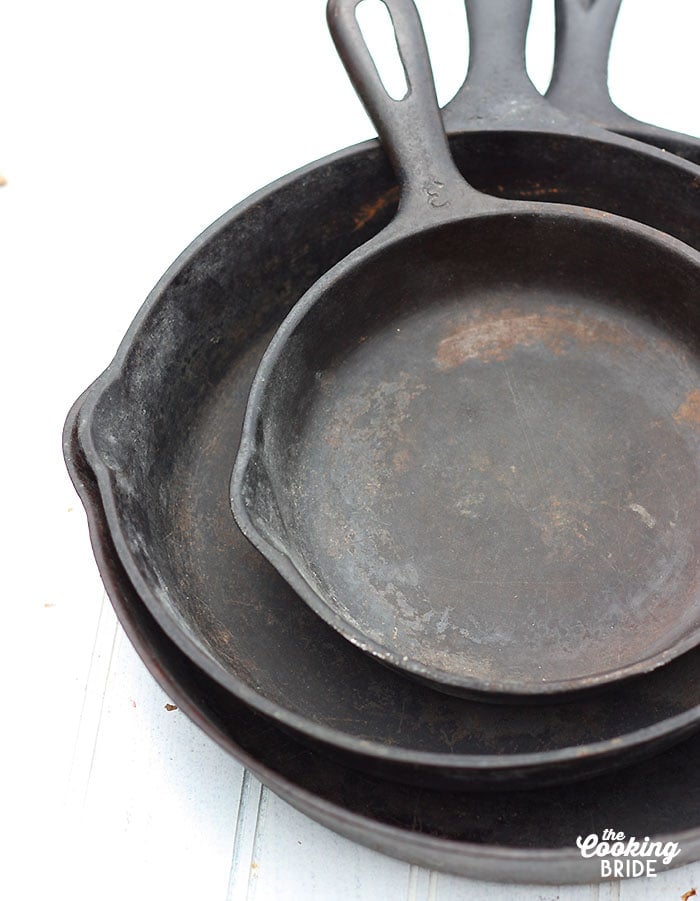
Is your cast iron skillet looking a little dull? Don’t throw it out! Learn how to season a cast iron skillet and make it good as new.
A few months ago, my sister-in-law and her husband came to visit us from Texas. One of top items on the agenda during their stay was to visit The Husband’s grandmother. Mamaw, as she is called, is 103 years old (that’s not a typo! Yes, 103!). She’s been living in a nursing home for the last four years.
Mamaw’s house has been sitting vacant since she moved into the nursing home. Her daughter has been working on cleaning out the house so she can hopefully put it up for sale. After the visit, The Husband’s aunt invited us to back to Mamaw’s house to pick out any belongings we might want. We came home that day with a trunk full of exquisite handmade quilts and several pieces of vintage cast iron cookware.
If you’ve follow the blog from the early days, you may recall that Mamaw was a prolific Southern cook. A few years after The Husband and I got married, she taught me how to make homemade chicken and dumplings. It’s a day I will always treasure!
After doing some preliminary research, I determined my new skillets were made sometime before the 1960’s. Just think of all the meals that were prepared in them over the last 60 years! I was excited to put these skillets back to good use. But before I could fry my first batch of fried okra or bake a pan of skillet cornbread, they were in dire need of a good seasoning.
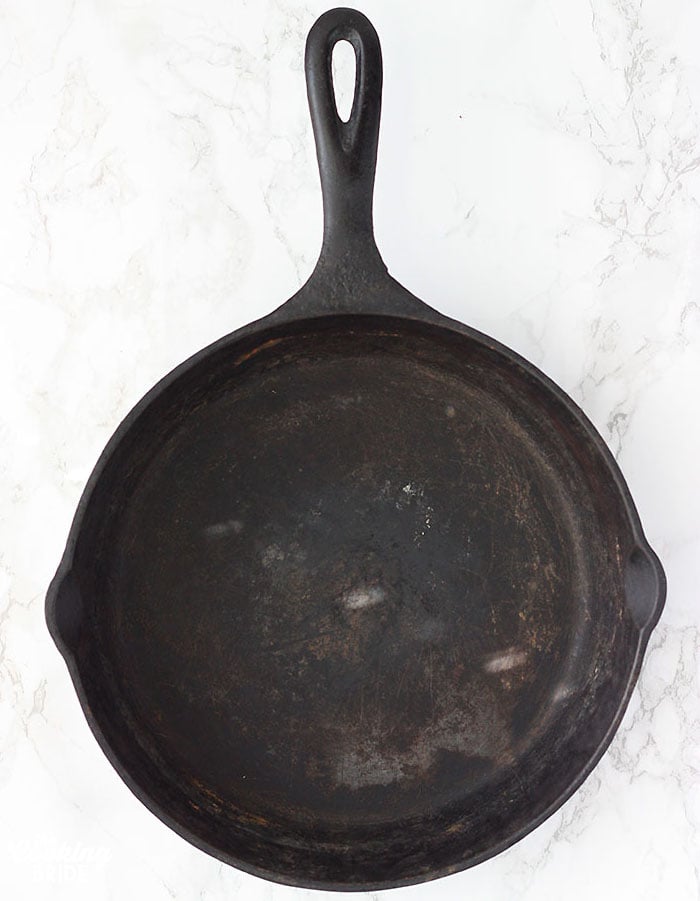
What does it mean to “season” a skillet?
Before modern day non-stick pans were invented, home cooks used natural ways to create a slick surface that allowed their food to slide right off. That involved using some type of melted animal fat to fill in the pores of a metal pan. The fat baked in to the surface and essentially cured, or seasoned, the cast iron to give it a nonstick finish.
Today, new cast iron skillets come already preseasoned. With regular use and proper care, your skillet should retain its nonstick qualities indefinitely. However, you never know when a vintage piece might cross your path, or for whatever reason your new preseasoned skillet suddenly loses its luster. With a little elbow grease, you can restore your skillet good as new.
What’s the Best Oil to use for Seasoning a Skillet?
There are a wide variety of food grade oils/fats you can use to season your skillet. We’ll take a look at some of the most common and explore the pros and cons of each.
Also, a term I’ll be throwing around — smoke point. Smoke point is the highest temperature an oil can be heated before it starts to burn. Once it starts to burn, it becomes unhealthy. Different oils have different smoke points.
It is possible to season your skillet with an oil with a low smoke point. Just know, your finish probalby won’t last as long and you will need to reseason again. It is recommended that you use an oil with a smoke point higher than 400 degrees.
- Vegetable oil – vegetable oil is a mixture of extracts taken from seeds and plants. It’s inexpensive, easy to find and has a high smoke point of 428 degrees F. It can leave a sticky residue on the pan after seasoning and some people regard vegetable oil and unhealthy because the extraction process involves using unnatural chemicals and it contains unhealthy fats.
- Canola Oil – Canola oil is from rapeseeds. Like vegetable oil, canola oil is inexpensive, easy to find and has a high smoke point of 428 degrees F. It is considered slightly more healthy than vegetable oil because it is lower in unhealthy fats. However, like vegetable oil, the extraction process involves the use of unnatural chemicals.
- Olive Oil – olive oil is made from, you probably guessed, olives. The oil is extracted through a natural process of pressing the olives rather than through the use of chemicals. While olive oil is a healthier option, it has a low smoke point of 400 degrees F. Extra virgin olive oil is even lower — about 375 degrees F.
- Shortening – we’re talking about the can of Crisco your mama kept in the refrigerator. Some people swear by Crisco when it comes to seasoning their pan. It is made from hydrogenated vegetable oil, a process which combines hydrogen to liquid vegetable oil. Shortening is high in transfat, which health officials claim can clog arteries and lead to heart disease. It also has a low smoke point of 325 degrees F.
- Butter – butter is considered a dairy product and made by churning fresh or fermented cream or milk until the fat and milk separate. Since it is a natural product, it is healthier for you than commercial oils. However, it has a low smoke point of only 350 degrees.
- Coconut Oil – coconut oil is derived from the meat, or the white part, of coconuts. It is considered healthier than commercial grade oil because it is derived naturally. However, it has a low smoke point of 350 degrees. And in my opinion, unlike some of the other oils mentioned above, it does not have a light, natural flavor. It tastes like coconut.
- Bacon grease – this is what our grandmothers and great grandmothers, etc. used for centuries to season their skillets. And lot of people swear by it. It’s natural, so no chemicals. But compared to some of the commercial products, it has a low smoke point of 375 degrees. Also, it leaves behind a bacon flavor, which may or may not be a bad thing.
One honorable mention — flaxseed oil. Several years ago, I read an article about how flaxseed oil is the best oil for seasoning a cast iron skillet. Since then, several well known and reputable sites have tried this experiment and raved about the results. I didn’t want to include it in my list above because flaxseed oil can be hard to find, especially if you live in a rural area. It’s also pretty expensive compared the rest of the group.
There are also several commercially produced and specially formulated cast iron seasoning oils available just for this purpose. This one has gotten a lot of excellent reviews on Amazon.
As you can see, there are pros and cons to each oil. It comes down to choosing the oil that is most practical for you. For this post, I used vegetable oil.
How to Season A Cast Iron skillet
Enough talk already. Lets get started!
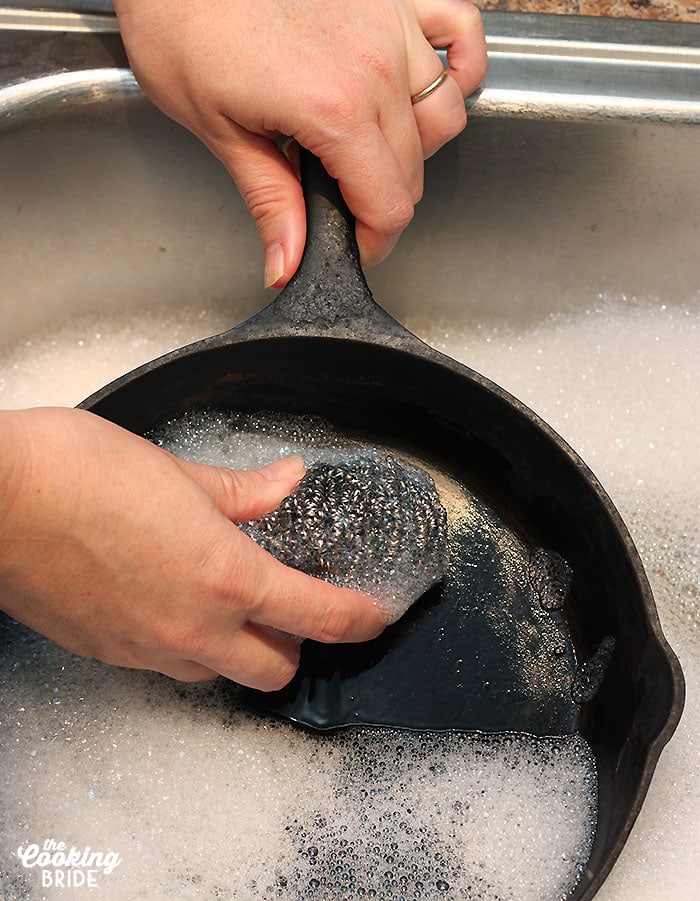
Step one. Wash your skillet thoroughly. Especially if you acquired your skillet secondhand from a thrift store or flea market. To quote one of my mama’s favorite mantras when I was growing up, “You don’t know where that has been.”
Hot soapy water is fine. If your skillet has come rust on the surface, like mine did, take some steel wool and give it a good scrub. Light rust should come off easily. For more severe rust, Bon Appetit recommends soaking the skillet in vinegar.
Once you’ve thoroughly wash the skillet inside and out, make sure you dry it really well. We don’t want any of that rust reappearing. You can heat the skillet over low heat on the stove. Sometimes I even put my skillet into a warm oven for a few minutes.
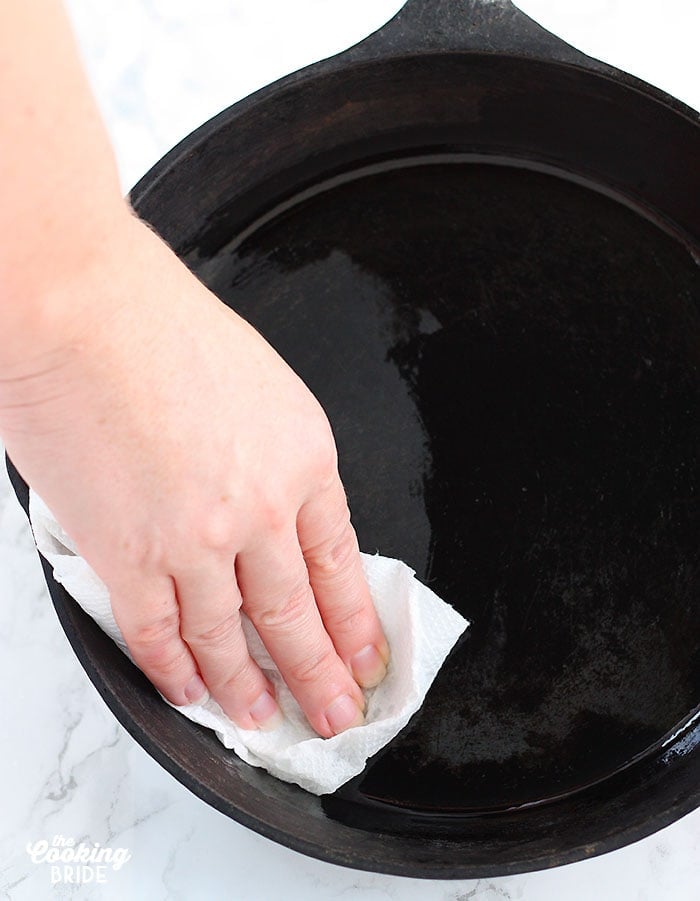
Step two. After the skillet is thoroughly dried, rub a very thin layer of oil onto the surface. I like to dip a paper towel into some oil and wipe it on that way. Then I take a dry paper towel and wipe off the excess. Too much oil can leave the surface sticky. Make sure you wipe the inside and outside of the skillet.
Step three. Preheat the oven to 350 degrees F. Place a foil lined baking sheet on the bottom rack. Place your pan upside down on the rack. This will allow any excess oil to drip off the skillet an onto the foil lined pan below. Bake the pan for 1 hour. Then turn off the oven and leave it in the oven to cool.
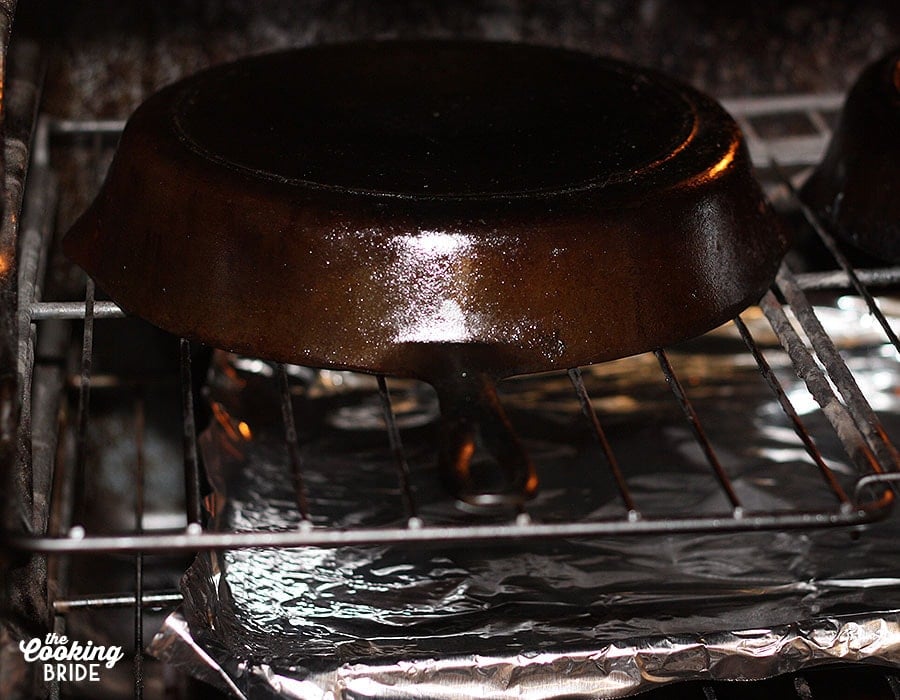
That’s it! It is recommended to repeat the process two or three more times to build up a nice finish. However, after one coat, I used my skillet that night to sear a roast for Oven Roasted Roast Beef Dinner and had no problems.
How to Maintain your Finish
The more you use your skillet, better your finish will become. It is recommended that before cooking, pour a little bit of oil into the bottom of the skillet every time.
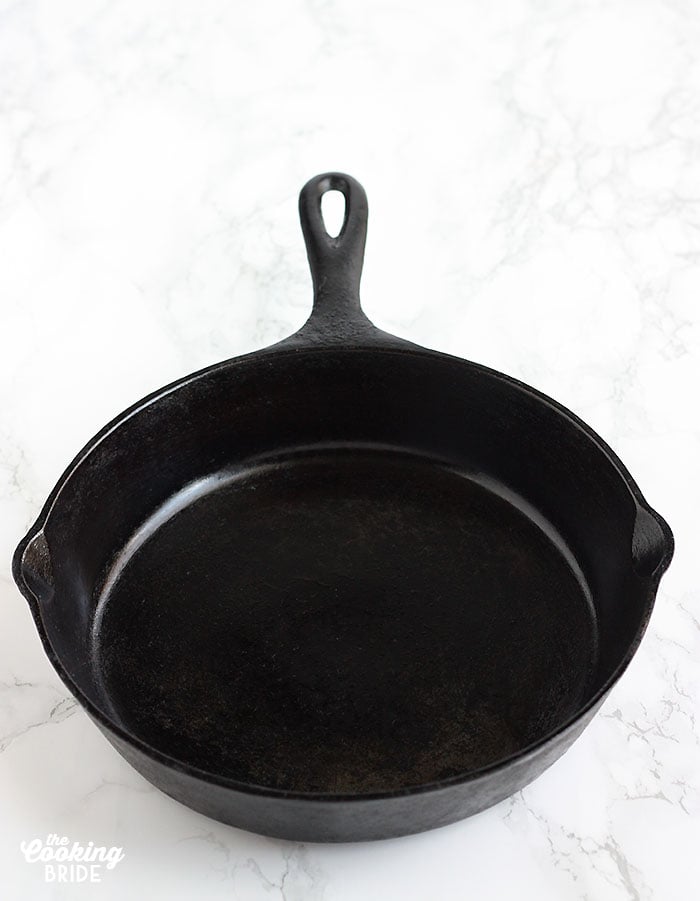
Don’t use your skillet to cook acidic foods like tomato. The acid can also ruin your finish.
Once I’m done cooking, usually all I have to do it drain out any remaining grease and wipe the skillet out with a paper towel or damp rag. Usually. Sometimes I do have to get one of those dish scrapers to remove any debris. Occasionally, I have to wipe it out with a soapy rag.
You will hear some old-timers swear you should never clean your cast iron skillet with soap. If you’ve done your due diligence, a quick wipe with a soapy rag won’t hurt. However, never ever submerge your skillet in a sink full of dish water. This will most definitely ruin your finish and can lead to rust.
On the other hand, if that happens, don’t freak out. I once caught my mama hand washing one of my skillets with the rest of the dirty dishes. She didn’t know any better, y’all. I didn’t snatch the skillet out of her hands and ball her out. I simply repeated the steps above and the skillet was good as new.
Before storing you skillet, make sure it is completely dry. I like to rub a trace amount of oil into the bowl, then store in a dry place as you would any of your other cookwear.
How to Use Your Seasoned Cast Iron Skillet
Cast iron is so versatile that it can even be used to bake with! However, because it absorbs some of the oil every time you cook with it, you may want to designate a skillet for savory cooking and another for sweet.Then explore this list of recipes for new ideas on how to put your seasoned cast irone skillet to good use!
Have you ever seasoned a cast iron skillet? Do you have anymore tips or suggestions to add? Leave a comment!





You didn’t tell us the smoke point of flaxseed oil! I looked it up and the unrefined flaxseed oil has a very low smoke point of 225°. Sometimes, I go with grapeseed oil, it has neutral flavor and a high smoke point of 420°. However, Avocado oil has the highest smoke point of 520°, and is fat source we all need! Not having to worry if my pan is seasoned at too low of a smoke point seems stressful; so to me, avocado oil is the way to go. It doesn’t cost too much if you get it at Costco.
Here’s a chart! https://jonbarron.org/diet-and-nutrition/healthiest-cooking-oil-chart-smoke-points