Homemade Moon Pies
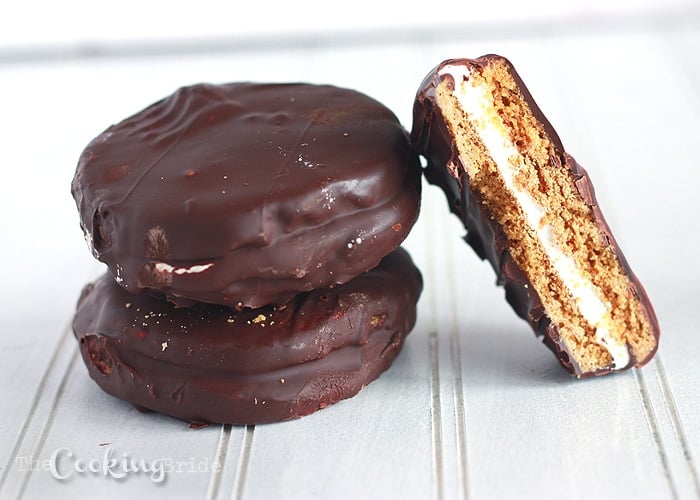
Homemade moon pies are a traditional Southern treat. Marshmallows are nestled between two graham cracker cookies and covered in chocolate.
Holy sinful goodness ya’ll . . .
After almost eight years of marriage, I have learned that if I send The Husband to the store for one thing, he’s going to come back with three other things that weren’t on the list. That’s why I don’t let him do the weekly grocery shopping. I can’t afford it.
I don’t even remember what I sent him to the store for last summer when he came home with a copy of Garden & Gun. But after that, I started to notice that the new issues somehow always made their way into our house. This past Christmas, I finally just bought him a subscription.
Ever since the February / March issue showed up in our mailbox, The Husband has been bugging me requesting that I make the homemade moon pies featured in this month’s issue.
You’re familiar with a MoonPie right? It’s not just a Southern thing, is it? Moon Pies became popular during the 1930’s because they were cheap and they were filling. Tradition dictates you are supposed to eat them with a cold RC Cola in hand. And they are commonly thrown from parade floats, along with beads, during Mardi Gras.
Yes, the magazine spread looked awesome. But the recipe also looked like a lot of work and just about impossible to make with a three-year-old constantly underfoot. This past weekend, Little Tot went to stay with his grandmother. I figured now was the time to honor The Husband’s request.
I am a sucker for anything with graham crackers and melted butter. It’s probably a good thing I didn’t recruit Little Tot to be my assistant on this one. He definitely would have been sticking his fingers in the mixing bowl, because his mama sure was.
I did cheat a little bit with the recipe. I was not going to tackle making homemade marshmallow. I bought a jar of marshmallow creme from the store and called it a day. But, if you would like to make the homemade marshmallow, G&G’s original recipe can be found here. These came together a lot easier than I thought they would. The end result was a super rich and decadent treat. Holy, sinful goodness.

Homemade Moon Pies
Ingredients
For the cookie dough:
- 6 ounces unsalted butter
- ¼ cup light brown sugar firmly packed
- ¼ cup cane syrup
- ¼ teaspoon vanilla extract
- 1½ cups all-purpose flour
- 1¼ cups about 1 sleeve graham cracker crumbs, ground fine
- ¾ teaspoon kosher salt
- ½ teaspoon baking powder
- ½ teaspoon baking soda
- ¼ teaspoon ground cinnamon
- 2 tablespoon whole milk
For the marshmallow center:
- 1 12 ounce container marshmallow crème
For the chocolate Coating:
- 1 16 ounces bag bittersweet chocolate (I used Ghirardelli)
- 2 tablespoons vegetable oil or canola oil
Instructions
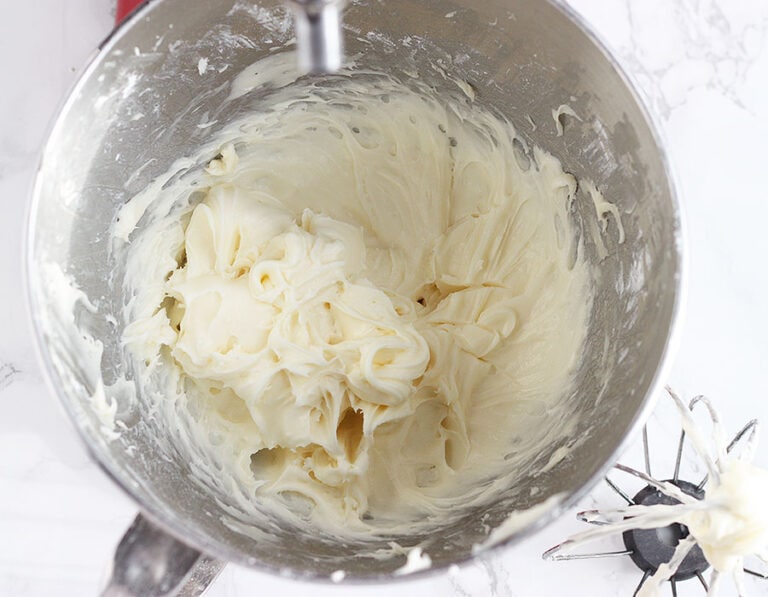
- In a medium mixing bowl, cream butter, brown sugar, syrup, and vanilla until mixture is fluffy, about 1 minute.
- In a separate bowl, combine flour, graham cracker crumbs, kosher salt, baking powder, baking soda, and ground cinnamon.
- With the mixer on low, gradually add the dry ingredients to the wet ingredients until dry ingredients are thoroughly incorporated. In a slow, steady stream, add the milk. Continue to mix until the dough comes together and leave the side of the bowl.
- Turn dough out onto a large sheet of plastic wrap. Flatten with the palm of your hand. Wrap the edges of the plastic wrap around the dough. Refrigerate for up to1 hour.
- Preheat oven to 325 degrees.
- Turn chilled dough out onto a lightly floured work surface. You may need to let the dough sit a room temperature for 5-10 minutes to make it easier to work with. Roll the dough until it is ¼ inch thick. Cut out cookies using a 3-inch round cookie cutter. Place cookies on a prepared cookie sheet.
- Bake cookies 10-12 minutes. They will still be soft when you remove them from the oven. Allow cookies to cool 10-15 minutes until you can carefully transfer them to a cooling rack. Allow cookies to cool completely before beginning the next step.
- Once your cookies have cooled, spoon approximately ¼ cup of marshmallow crème into the center of 12 cookies. Top marshmallow with a second cookie, then gently press down until the marshmallow just touches the edge. Place sandwiches on a cookie sheet and chill for at least 15 minutes.
- In the meantime, melt the chocolate in a double boiler or in a heatproof bowl set over a small pan of boiling water. Once the chocolate has melted, remove pan from the heat and allow the chocolate to cool until it is still warm to the touch, but not longer hot. Slowly whisk in the oil.
- Using two forks, gently place once sandwich cookie into the warm chocolate. Turn until thoroughly coated. Then remove cookies to a parchment paper lined cookie sheet. Let cookies stand until chocolate shell has completely hardened.



I’m so glad you enjoyed the recipe! Thank you for coming back and leaving a comment and review.
Delicious! The flavors are amazing. I followed the recipe but made a few adjustments. I needed to add any additional 2 tablespoons of milk for the dough. I didn’t add any oil to the chocolate. For the filling, I melted marshmallows in some butter. It was a fun baking project and the result tastes like a gourmet version of a moonpie that you buy in stores.
Yes, agave syrup can be used in place of cane syrup. I would not eliminate it entirely. You cookie will have a different texture.
QUESTION: As I do not have Cane Syrup, might Agave be a substitute, or have a decreased amount, or even eliminated, as it is only 1/4C? Is it essential to recipe in making the cookies? Thank you for ideas and or advice!
No, once the chocolate cools completely it should not stick to the paper. It should just peel off the bottom.
Question, doesn’t the chocolate stick to the parchment paper when cooling thus leaving a bare spot?
Chocolate tends to do that.
I’ve only ever had the packaged type before so these were a big improvement. I do not recommend adding oil to the chocolate. The additional fat will prevent it from hardening — it ended up very messy. I ultimately put them in the fridge to harden but they melt quickly again at room temp.
Hi, Kelly! They will be fine at room temperature for 2-3 days. Make sure you keep them in a cool place where there isn’t a lot of humidity. Any longer than three days and you will want to store them in the refrigerator.
Hi! Can these be stored on the counter/airtight container, or do they need be refrigerated?