How to Make Seasoned Bread Crumbs
Don’t throw away stale bread. Learn how to make your own bread crumbs and never waste money at the grocery store on store-bought bread crumbs again. Recipes for plain and seasoned bread crumbs included.
The Cooking Bride is a participant in the Amazon Services LLC Associates Program, an affiliate advertising program designed to provide a means for sites to earn advertising fees by advertising and linking to Amazon.com.
When money is tight, everyone want to find ways to save money. Making certain household items at home instead of purchasing them at the store is an obvious. For instance, I haven’t purchased store bought bread crumbs in years. Wanna know why? Because bread crumbs are nothing more than finely ground toasted bread. That’s it. If you have leftover bread going stale in your cabinets or pantry, you can turn them into bread crumbs in minutes.
Before we get started, I want to make clear that this technique does not produce the crunchy, Asian-style crumbs known as Panko bread crumbs. The techniques used for producing the two styles is a little different. For regular bread crumbs, I use the entire piece of bread, crusts and all. The bread is dried first and then processed into crumbs. For Panko bread crumbs, white bread without the crust is processed into crumbs first, then dried.
Collect your bread
Believe it or not, you don’t have to go out and buy bread just for bread crumbs! In my house, no one EVER wants to eat the ends of a loaf of bread. I usually keep an empty bread bag on hand. After we’re finished with the bread, I stick the ends in my empty bag and store the bag in the freezer to keep the bread from getting moldy. Any kind of bread will work — dinner rolls, sandwich buns, wheat bread, white bread slices, French bread you name it. I keep adding to my freezer stash until my bag starts to get full.
Toast the bread
In order to end up with breadcrumbs that will produce that crispy, crunchy coating, you’ll need to toast the bread first. Not only does it add some flavor, but it helps dry out the bread quickly. I’ve seen some people recommend leaving the bead out on the counter to dry out. I don’t like doing that because your crumbs could end up tasting stale. Toasting the bread beforehand is easy and takes minutes to complete.
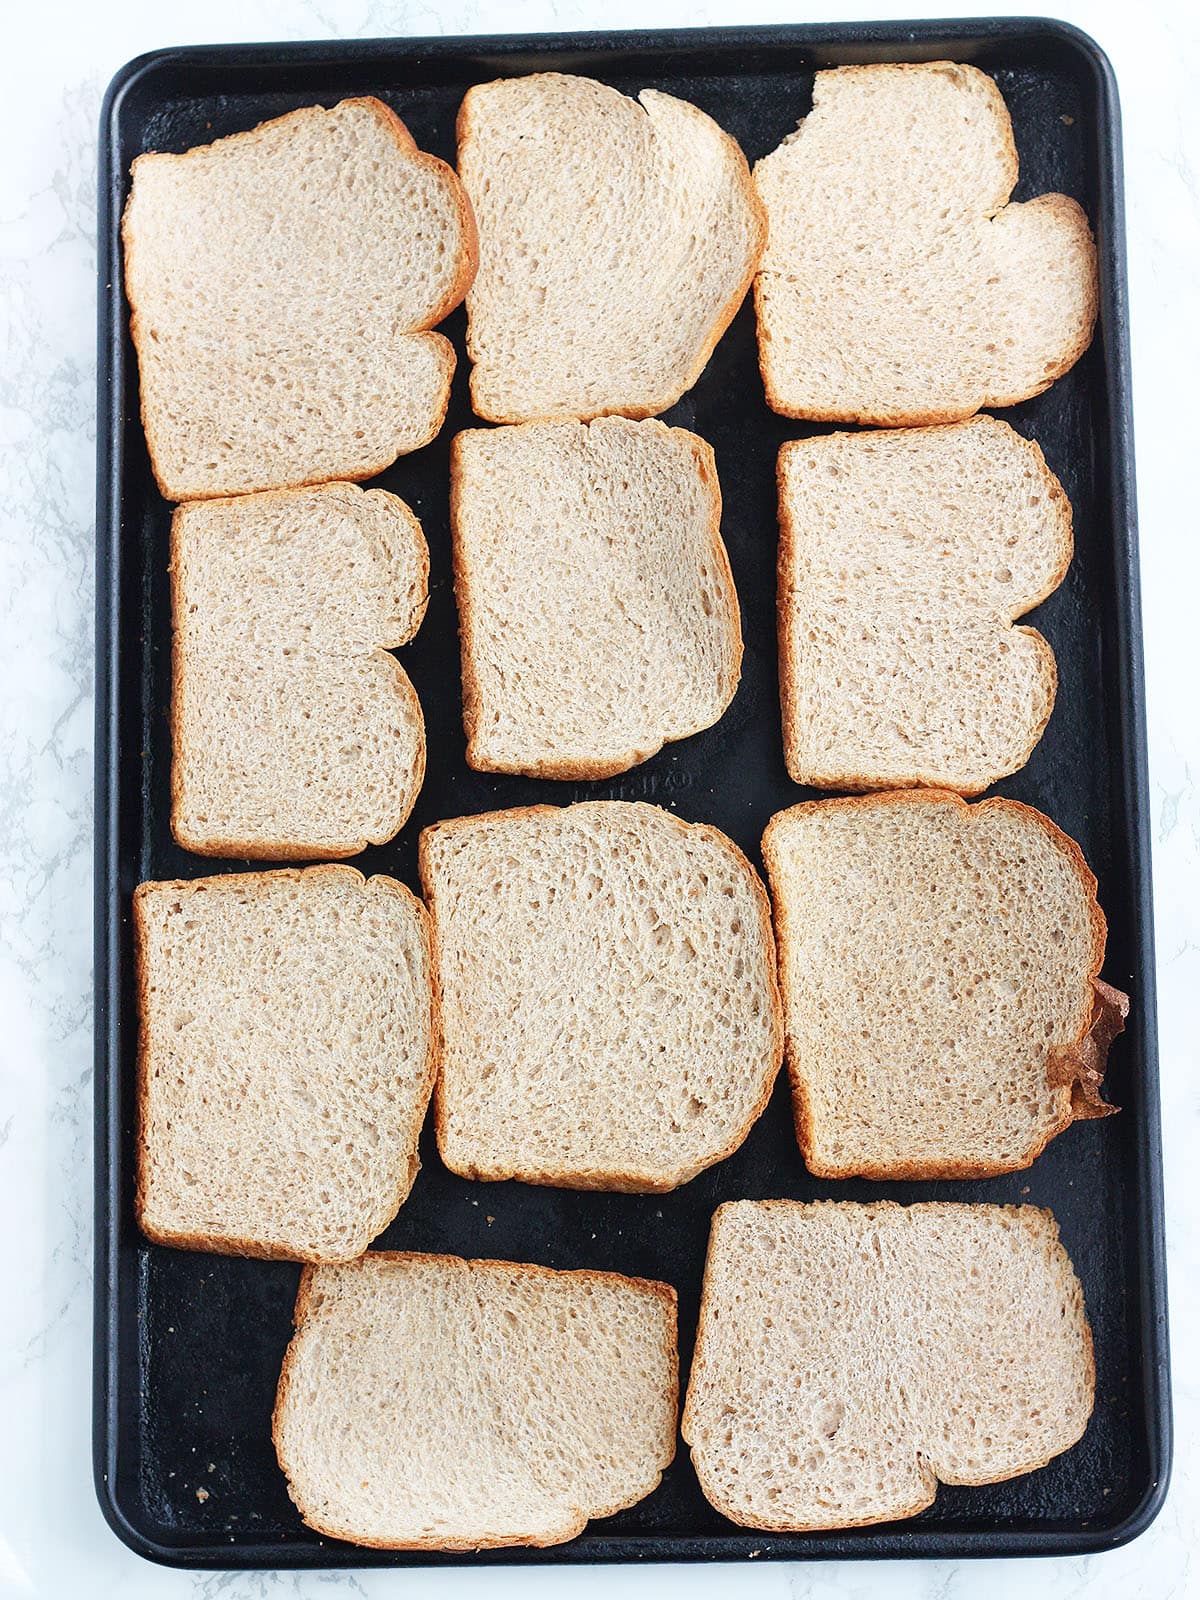
Preheat an oven to 350 degrees. Then lay your slices of bread out in a single layer on a baking sheet. If you have thicker pieces of bread, like sandwich buns, it’s a good idea to cut the bread into smaller pieces so there is more surface area and they toast faster. Toast the bread for 10-15 minutes. Halfway through, stir the bread pieces or flip your bread over. You want the bread to be crunchy just like croutons and golden brown.
Process the bread into crumbs
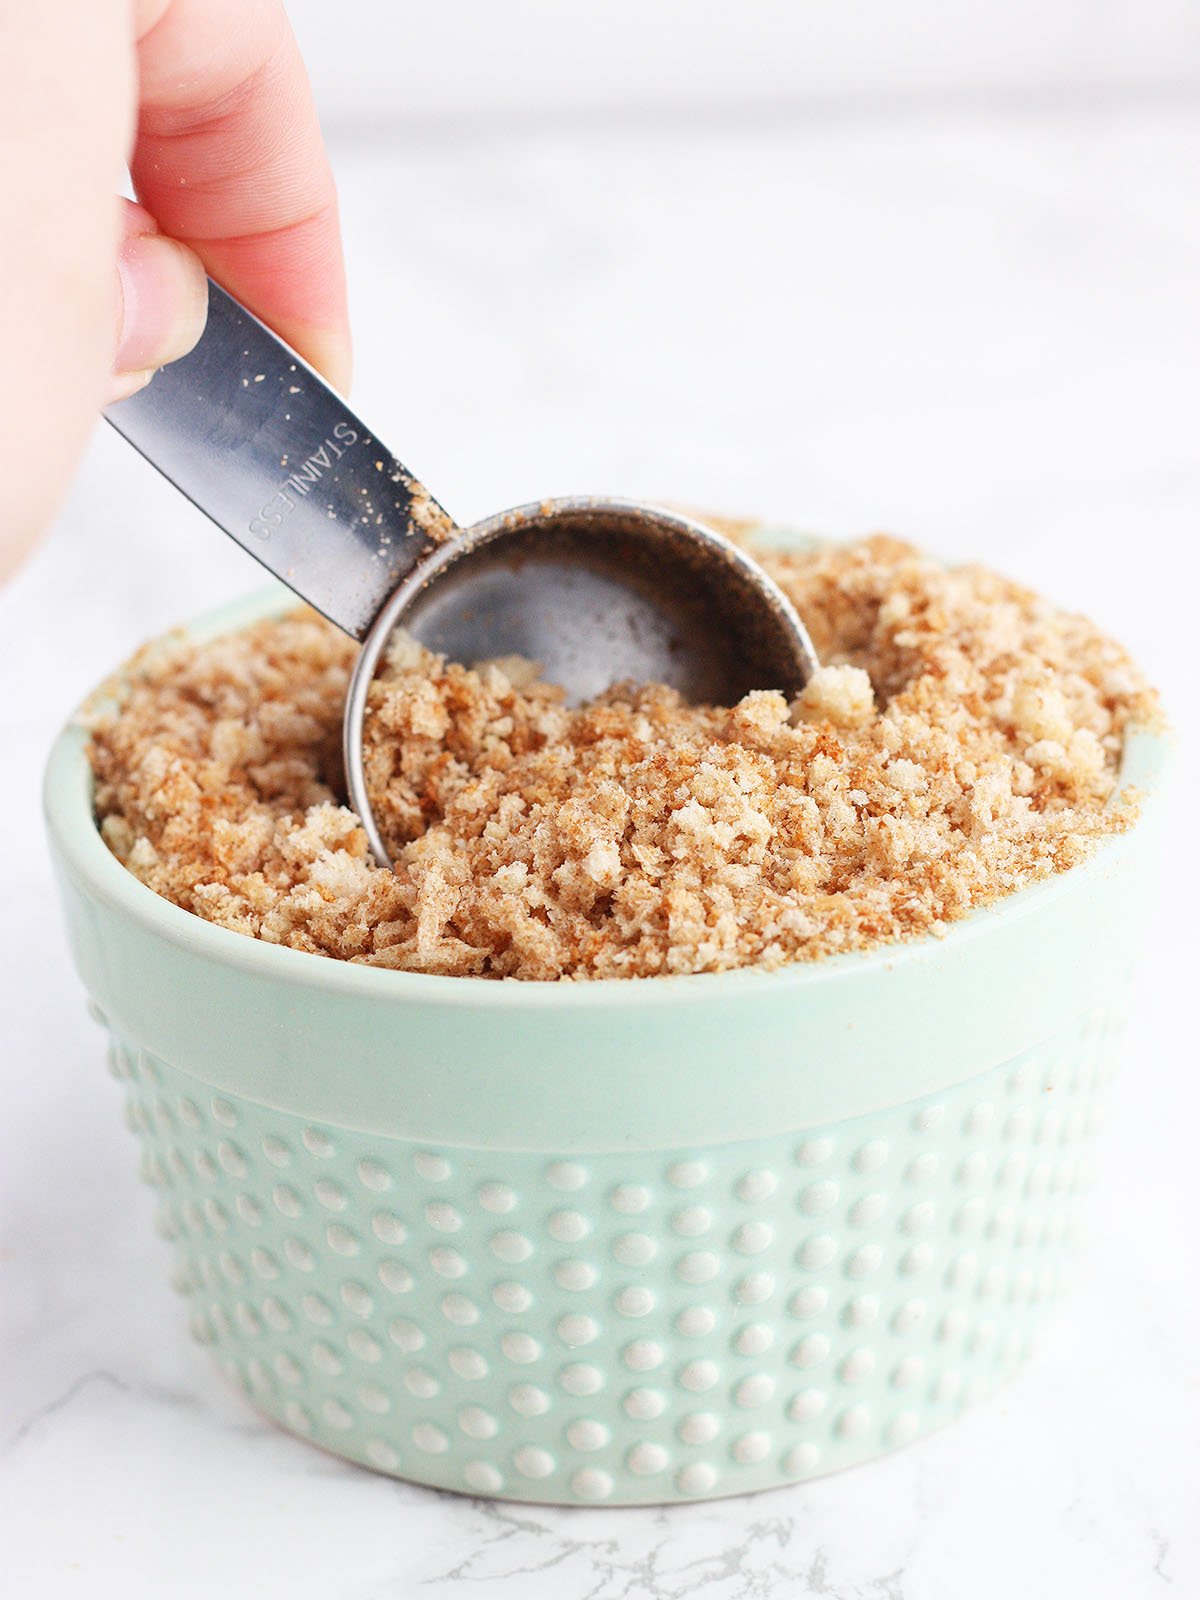
After you’ve toasted the bread, allow it to cool completely. If you haven’t already, cut or crumble the bread into chunks so it easily fits into a food processor. You don’t even need a huge food processor to do this. I’ve been making mine with this mini food processor for years. Fill the bowl of the food processor with the torn bread then give it a whir. You may have to pulse it a few times just to get things started, but then let it run for about 30 seconds to allow all the large pieces to get pulverized. The longer you pulse the bread, the finer the bread crumbs will be.
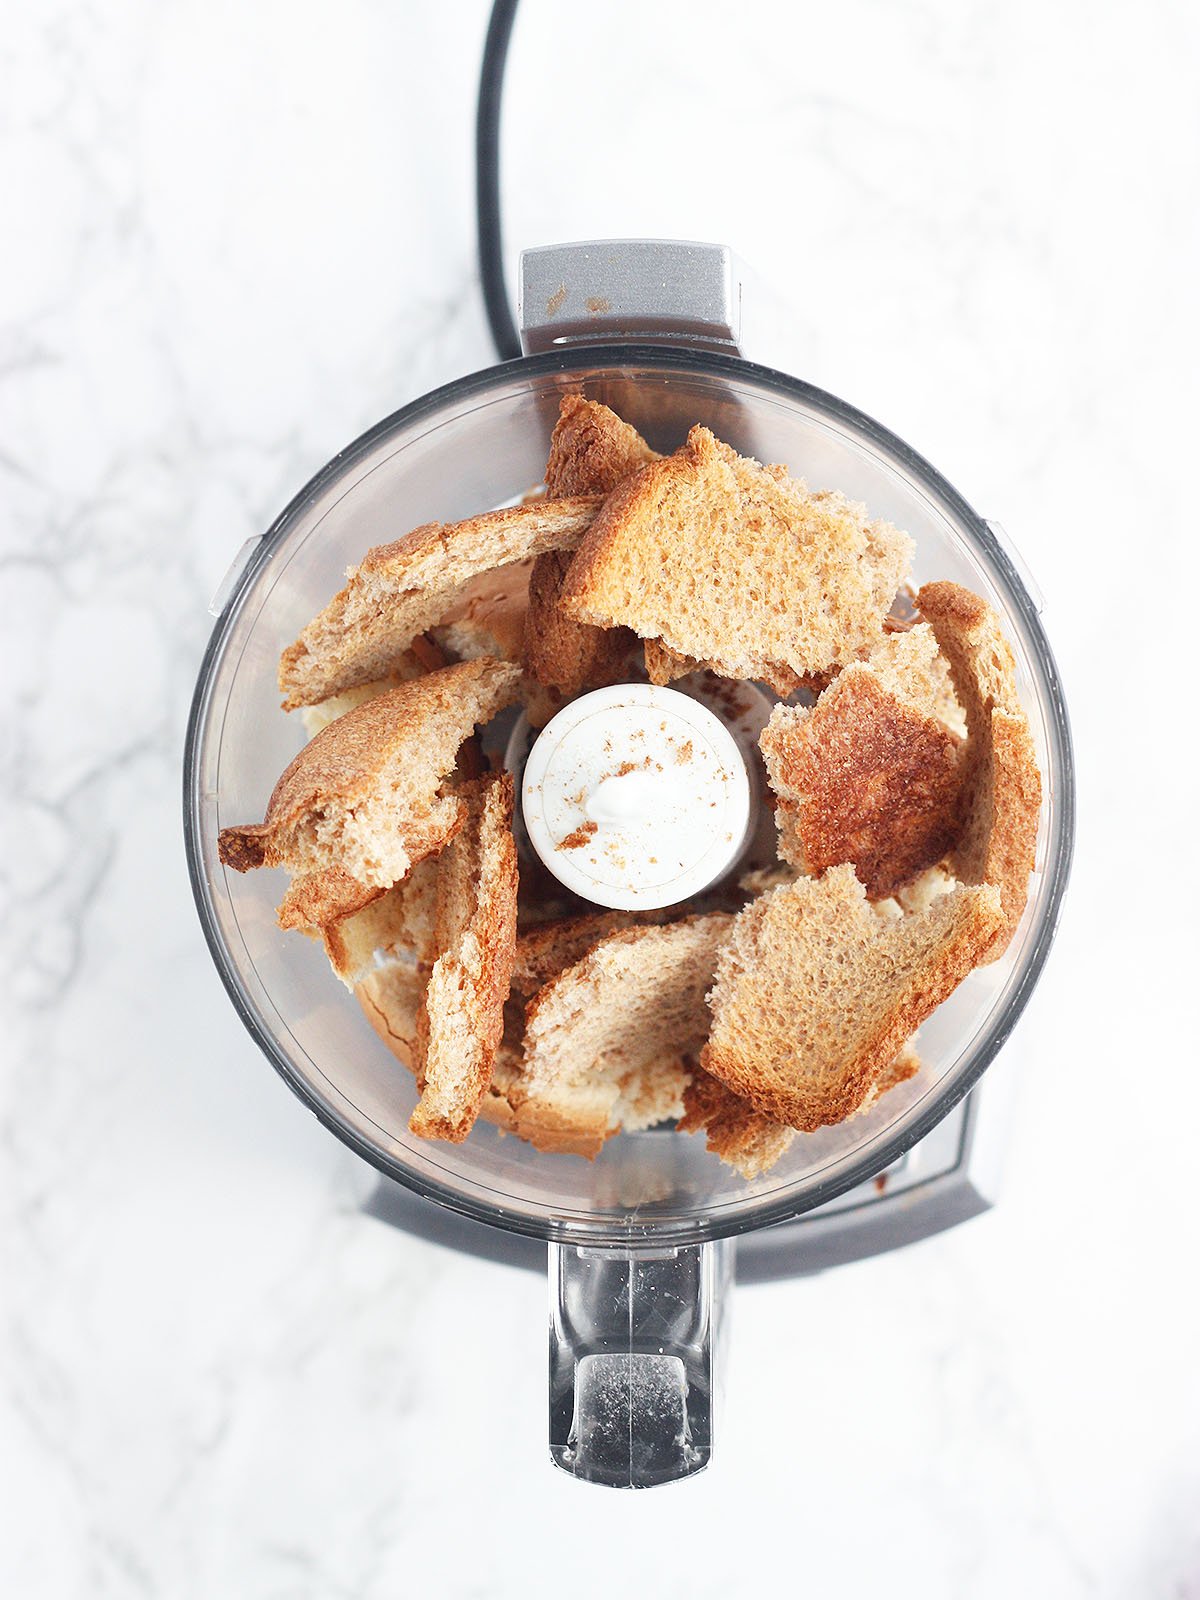
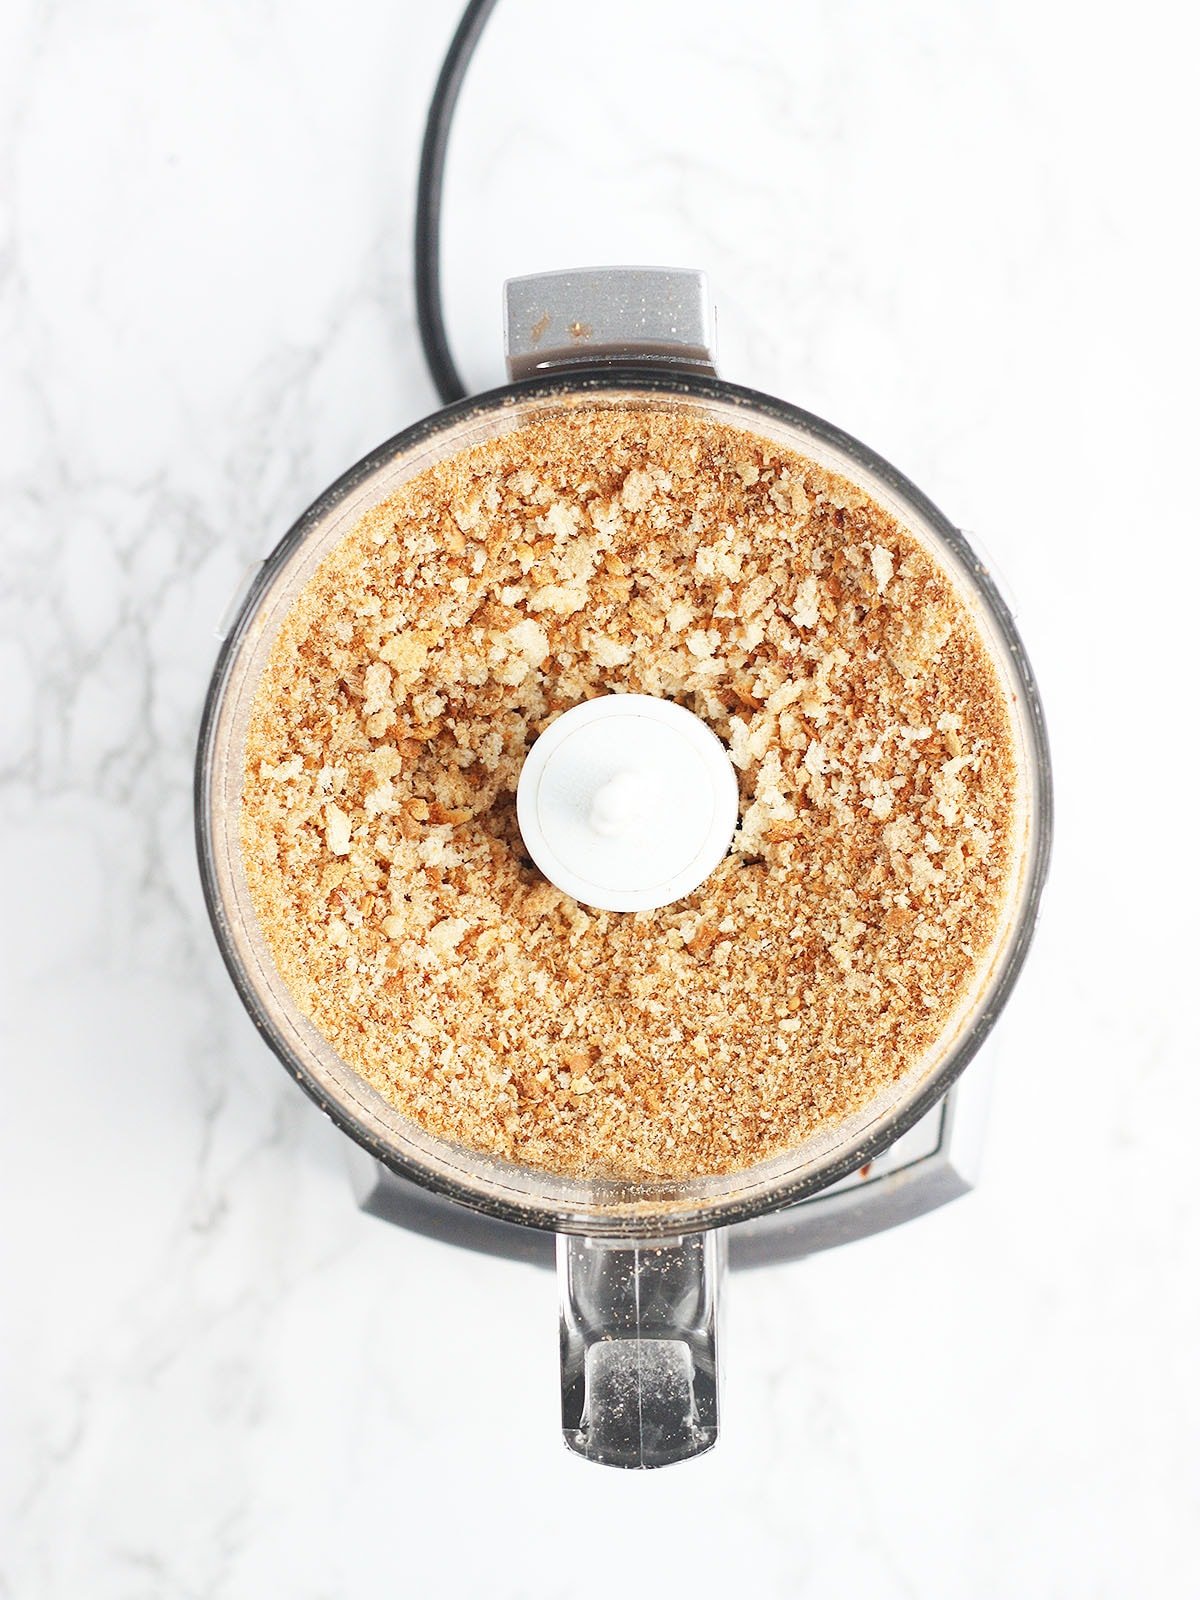
At this point, the bread crumbs are plain. But what if you have a recipe that calls for Italian bread crumbs? No problem. It’s just a matter of adding a few seasonings.
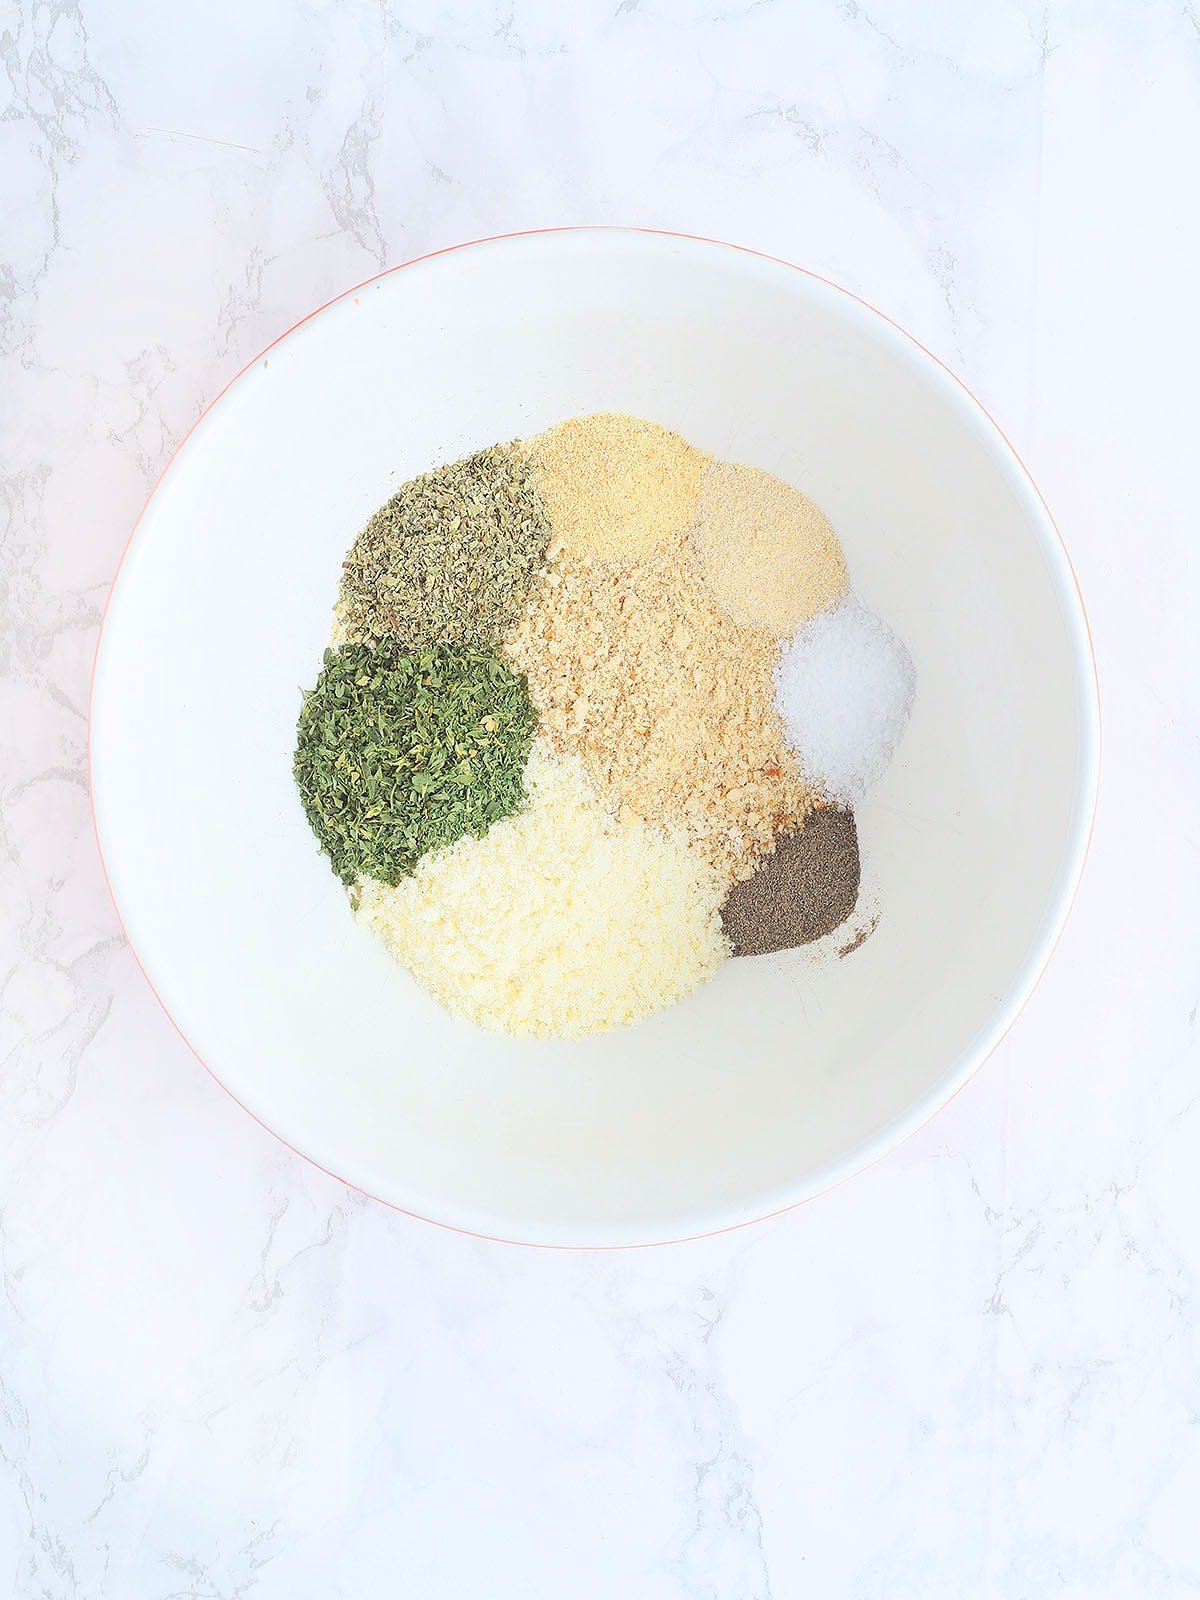
For homemade Italian breadcrumbs, add the following seasonings to one cup of plain breadcrumbs:
- 1/4 cup grated Parmesan cheese
- 2 tablespoons dried parsley flakes
- 2 teaspoon Italian seasoning
- 1 teaspoon garlic powder
- 1 teaspoon onion powder
- 1 teaspoon salt
- 1/2 teaspoon ground black pepper
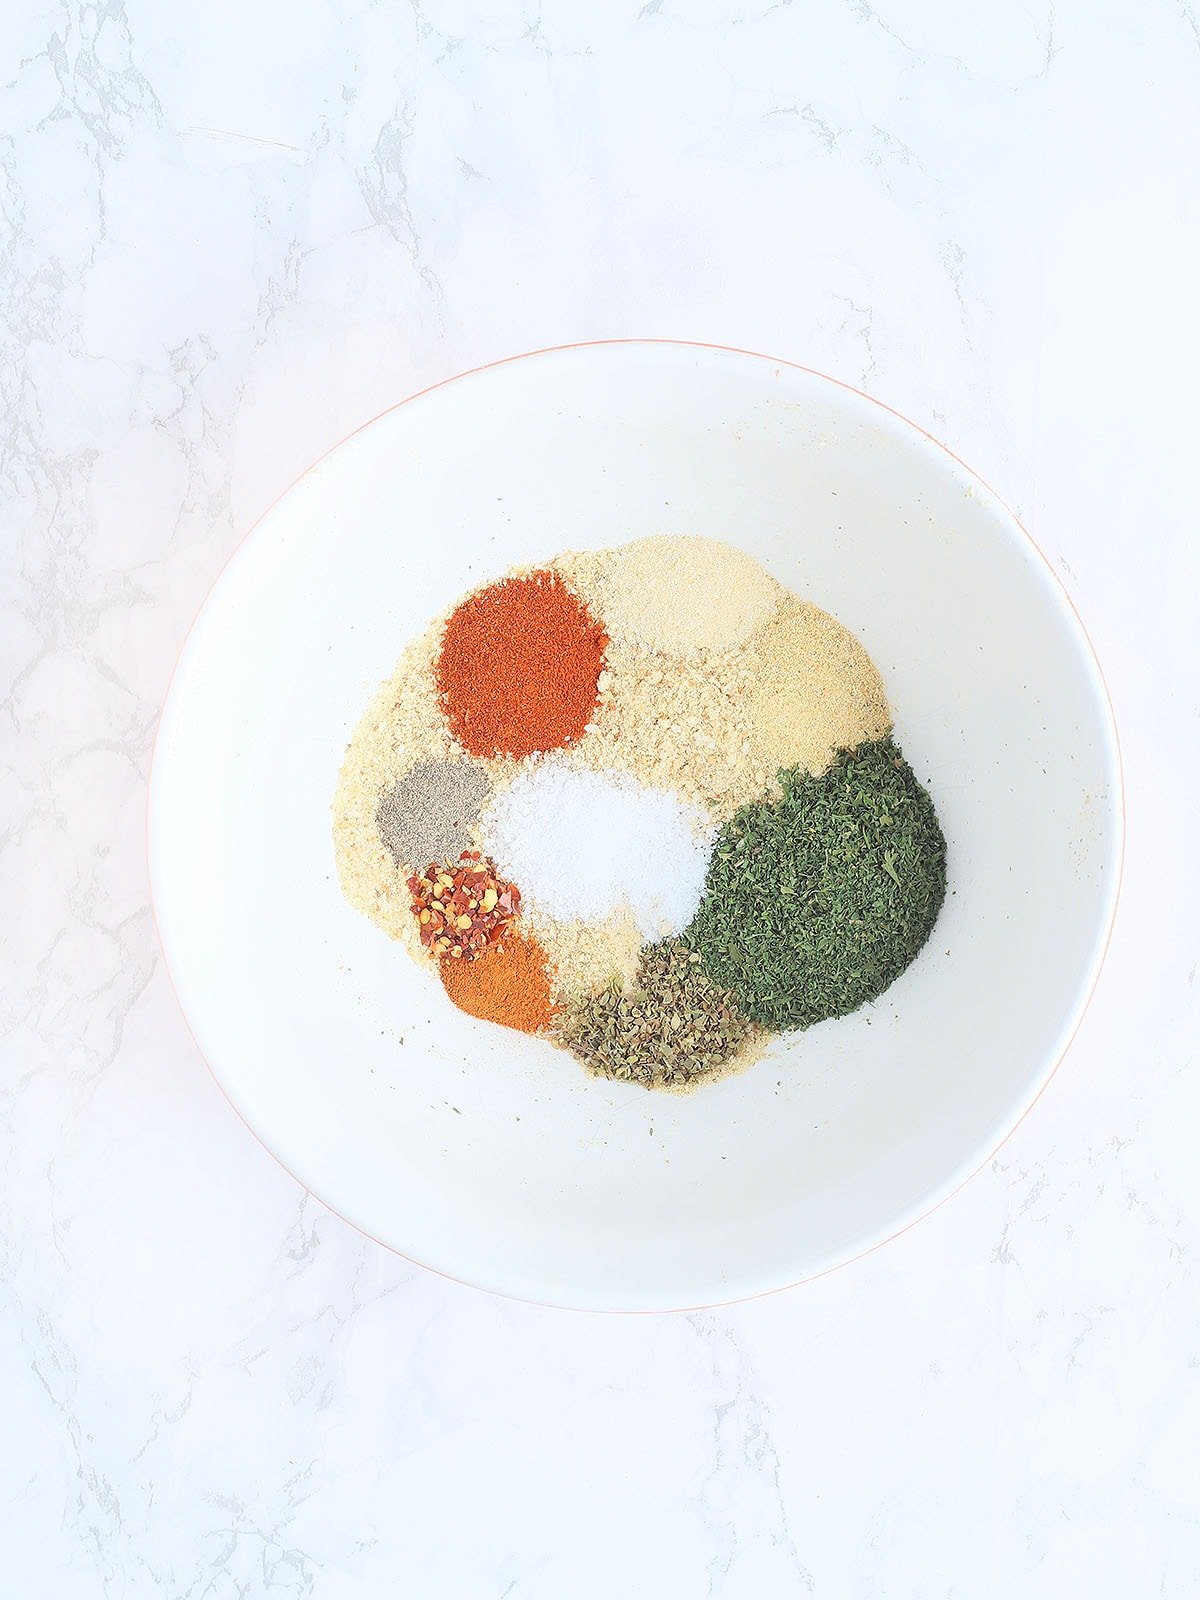
For Cajun-style bread crumbs, add the following seasonings to one cup of plain bread crumbs:
- 1 teaspoon paprika
- 1/4 teaspoon ground black pepper
- 1 teaspoon onion powder
- 1 teaspoon garlic powder
- 1/4 teaspoon cayenne pepper
- 1 teaspoon oregano
- 2 tablespoon dried parsley
- 1/4 teaspoon red pepper flakes
- 1/2 teaspoon salt
Storage and freezing
Storage. Transfer the bread crumbs to an airtight container or plastic bag. Toasted bread crumbs will keep at room temperature for up to one month. Measure out and use just as you would store bought bread crumbs.
Freezing. If you are unable to use up your homemade breadcrumbs within a month, you can freeze them instead! I recommend using a freezer bag for this so you can squeeze out all the air and prevent freezer burn. Store for up to three months. Allow the bread crumbs to come to room temperature before using.
Ideas for homemade bread crumbs
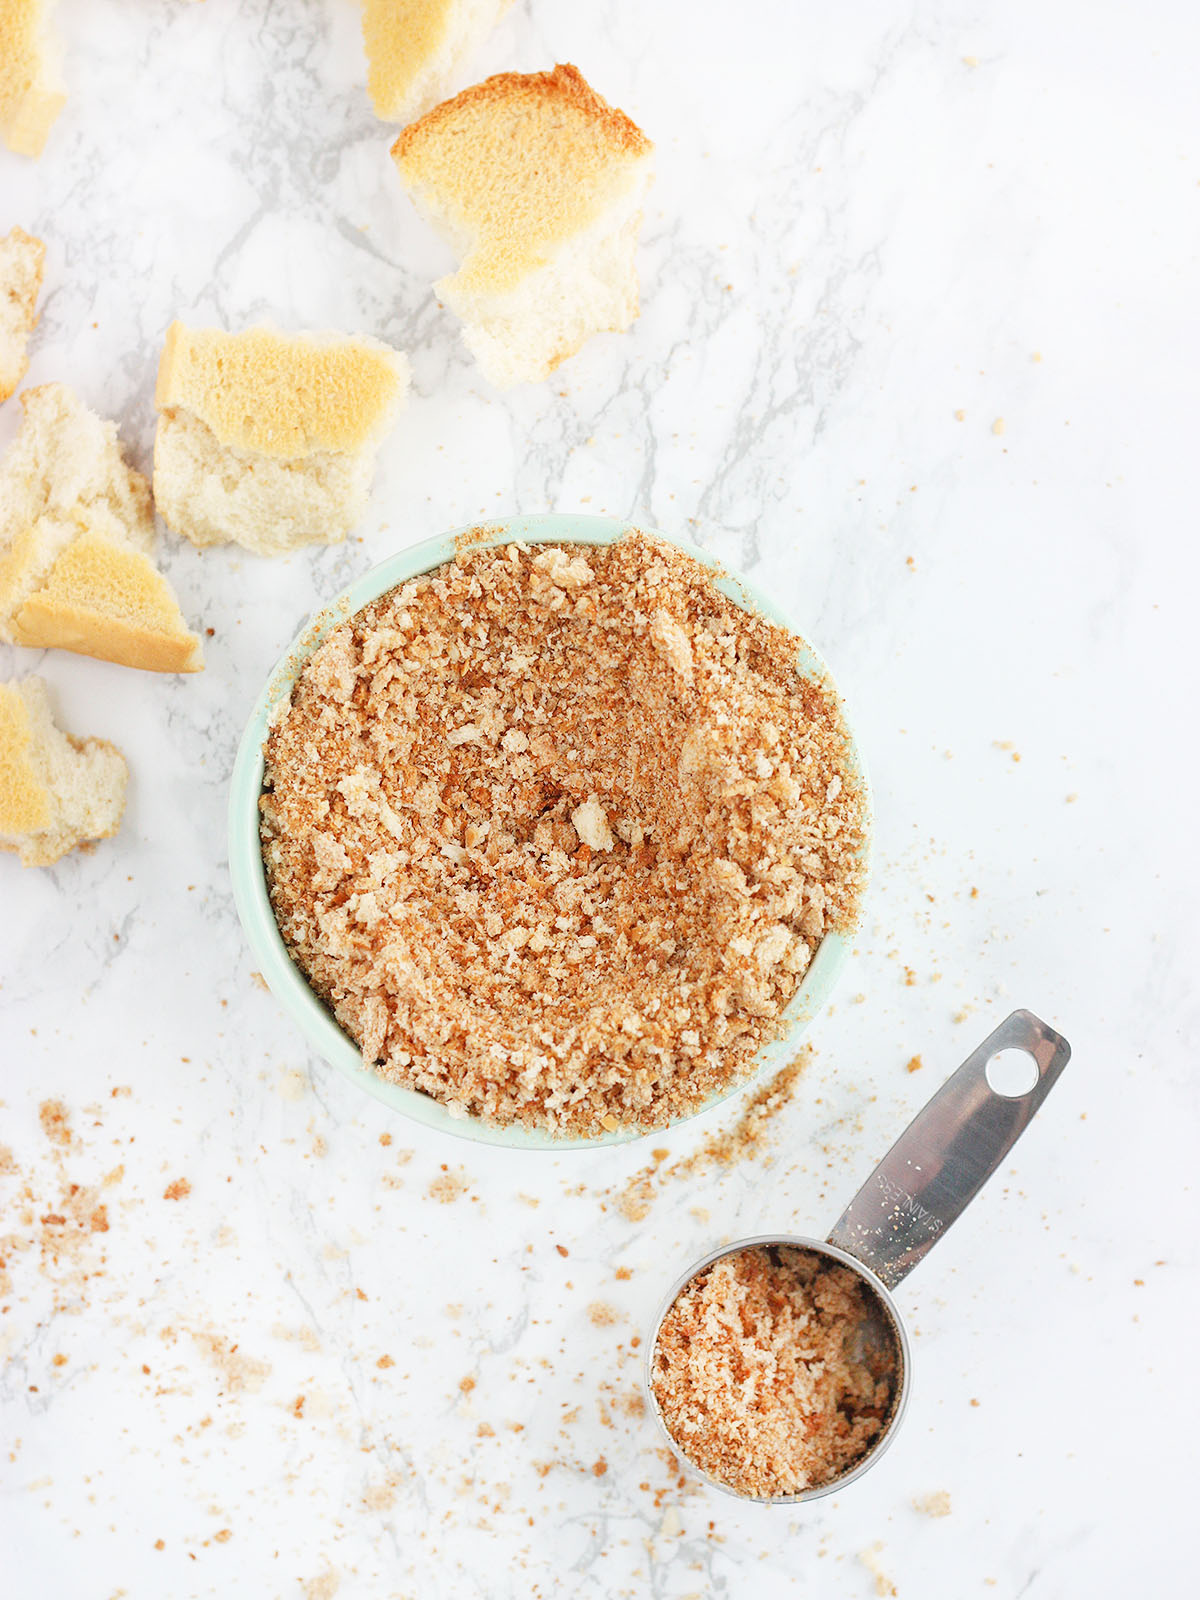
Seasoned Bread Crumbs
Ingredients
- Several pieces of bread any variety
For Italian-style breadcrumbs:
- 1/4 cup grated Parmesan cheese
- 2 tablespoons dried parsley
- 2 teaspoon Italian seasoning
- 1 teaspoon garlic powder
- 1 teaspoon onion powder
- 1 teaspoon salt
- 1/2 teaspoon ground black pepper
For Cajun-style breadcrumbs
- 1 teaspoon paprika
- 1/4 teaspoon ground black pepper
- 1 teaspoon onion powder
- 1 teaspoon garlic powder
- 1/4 teaspoon cayenne pepper
- 1 teaspoon oregano
- 2 tablespoon dried parsley
- 1/4 teaspoon red pepper flakes
- 1/2 teaspoon salt
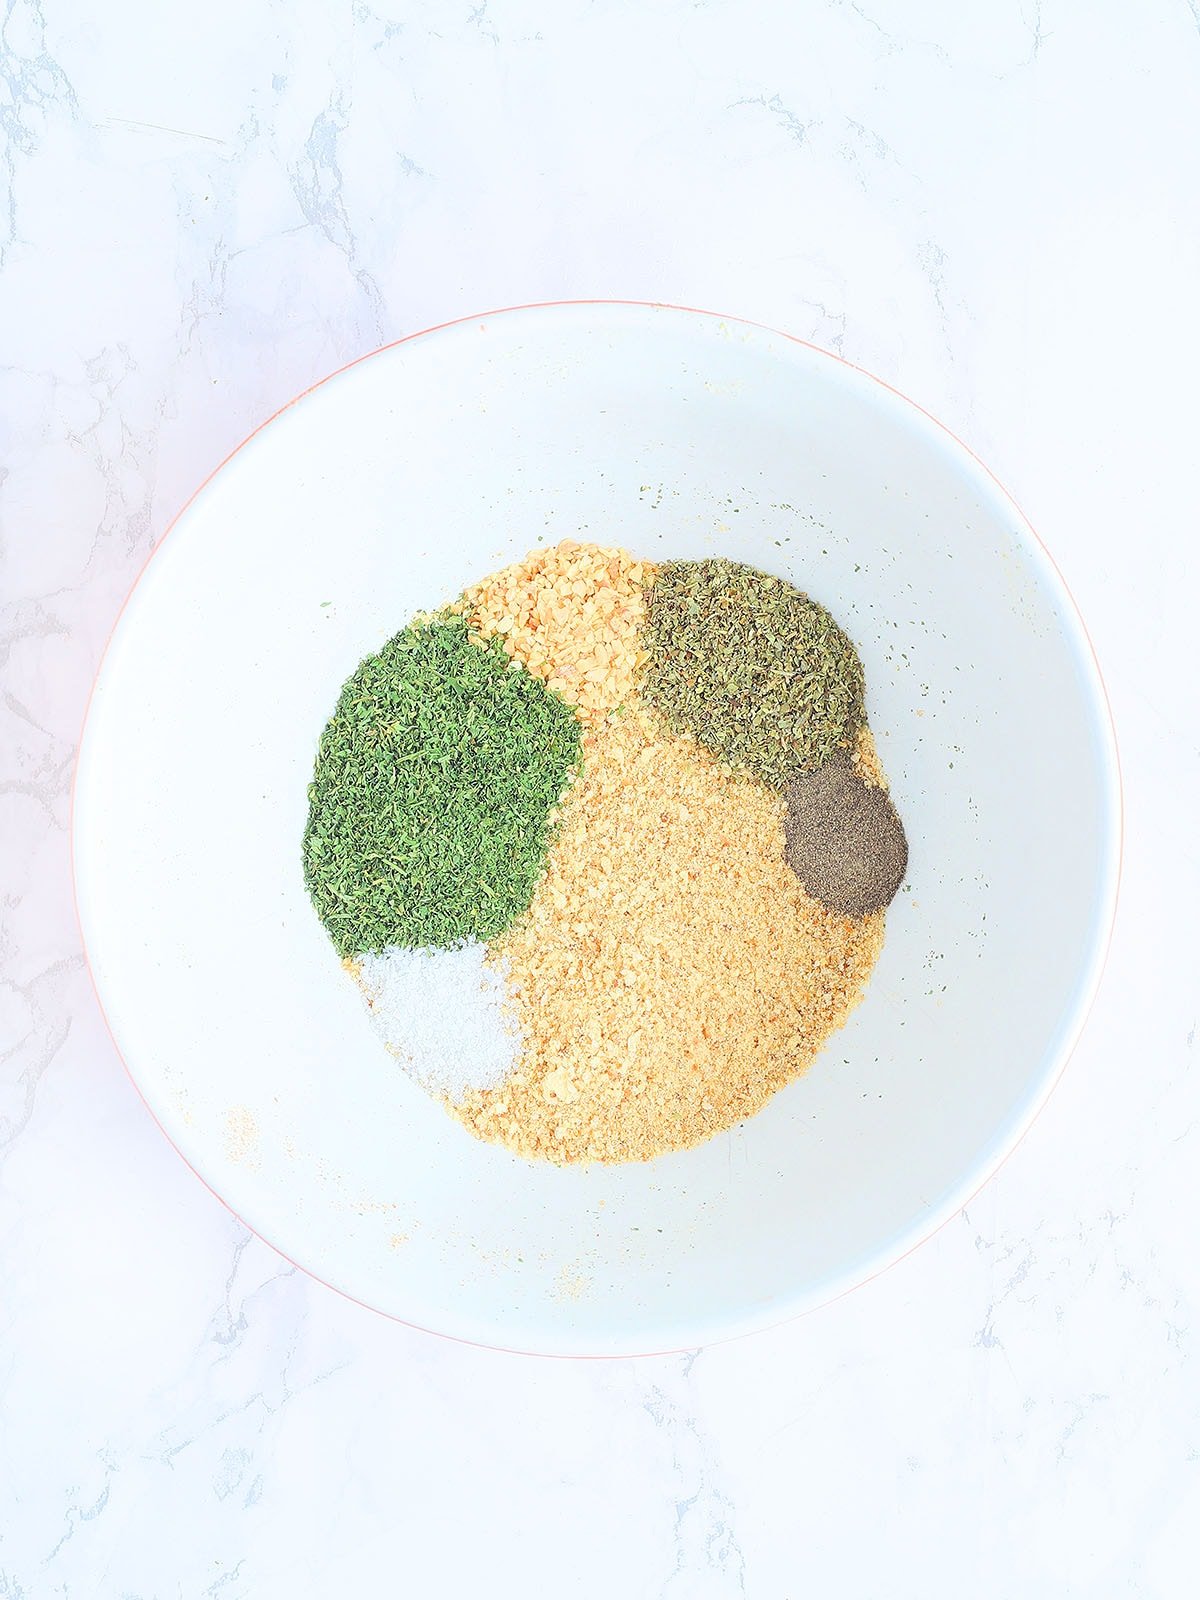
For Garlic Herb breadcrumbs:
- 2 teaspoons dried minced garlic
- 2 tablespoon dried parsley
- 2 teaspoons Italian Seasoning
- 1/2 teaspoon salt
- 1/2 teaspoon ground black pepper
Instructions
- Preheat the oven to 350 degrees F.
- Arrange the bread pieces in a single layer on a baking sheet. If you have any thick pieces of bread, cut or tear them into smaller pieces for more even drying.
- Toasted the bread for 10-15 minutes, stirring or flipping the bread halfway through, until the bread is crunchy.
- Allow the bread to cool completely.
- Place the bread in the bowl of a food processor. Pulse until the crumbs reach your desired consistency. The longer you process the bread crumbs, the finer the crumbs will be.
- To make seasoned breadcrumbs, add the corresponding ingredients above to one cup of plain bread crumbs.


So easy! Perfect when I didn’t have breadcrumbs on hand for a recipe. I doubt I’ll buy breadcrumbs much in the future. Thanks!
That’s great, Kevin! Thanks for coming back and leaving a comment.
Just used you’re recipe and added some tikka to , turned out great
Wow, I looked up this recipe just for the different seasoning options. I dipped my chicken legs in the Italian style bread crumbs. It was delicioso! Then I went back to your recipe and realized how easy it is to make bread crumbs. Thank you for sharing your technique!!!
Hi George! I need to do a post on this, because I use Panko breadcrumbs quite a bit too. You’ll need to use white bread and remove the crusts. I like to grind mine up first, then lay them on a cookie sheet and toast at 350 degrees for about five minutes. You want them toasted, but not brown. I haven’t tried freezing Panko crumbs, so I don’t know how that affects the texture. That’s definitely something I’ll test.
Is there a way to make breadcrumbs that resemble Panko? I love these the way they are, but some recipes call specifically for Panko for the crunch. Thanks!
Hi Rebecca! They will last in the fridge for a month. I keep mine in the freezer. I would try to use them within six months so they don’t get freezer burn and possible affect the flavor.
How long will the bread crumbs keep? Do I refrigerate & how long will they keep also if I freeze?
Thanks I loved it
I never throw away odds and ends of loaves of bread….they’re definitely handy for making breadcrumbs. Nothing like adding your own flavours too. If you like less or more of an ingredient, you can flavour it how you like it. Waste not, right 😉 ?