Homemade Orange Sherbet Push Up Pops
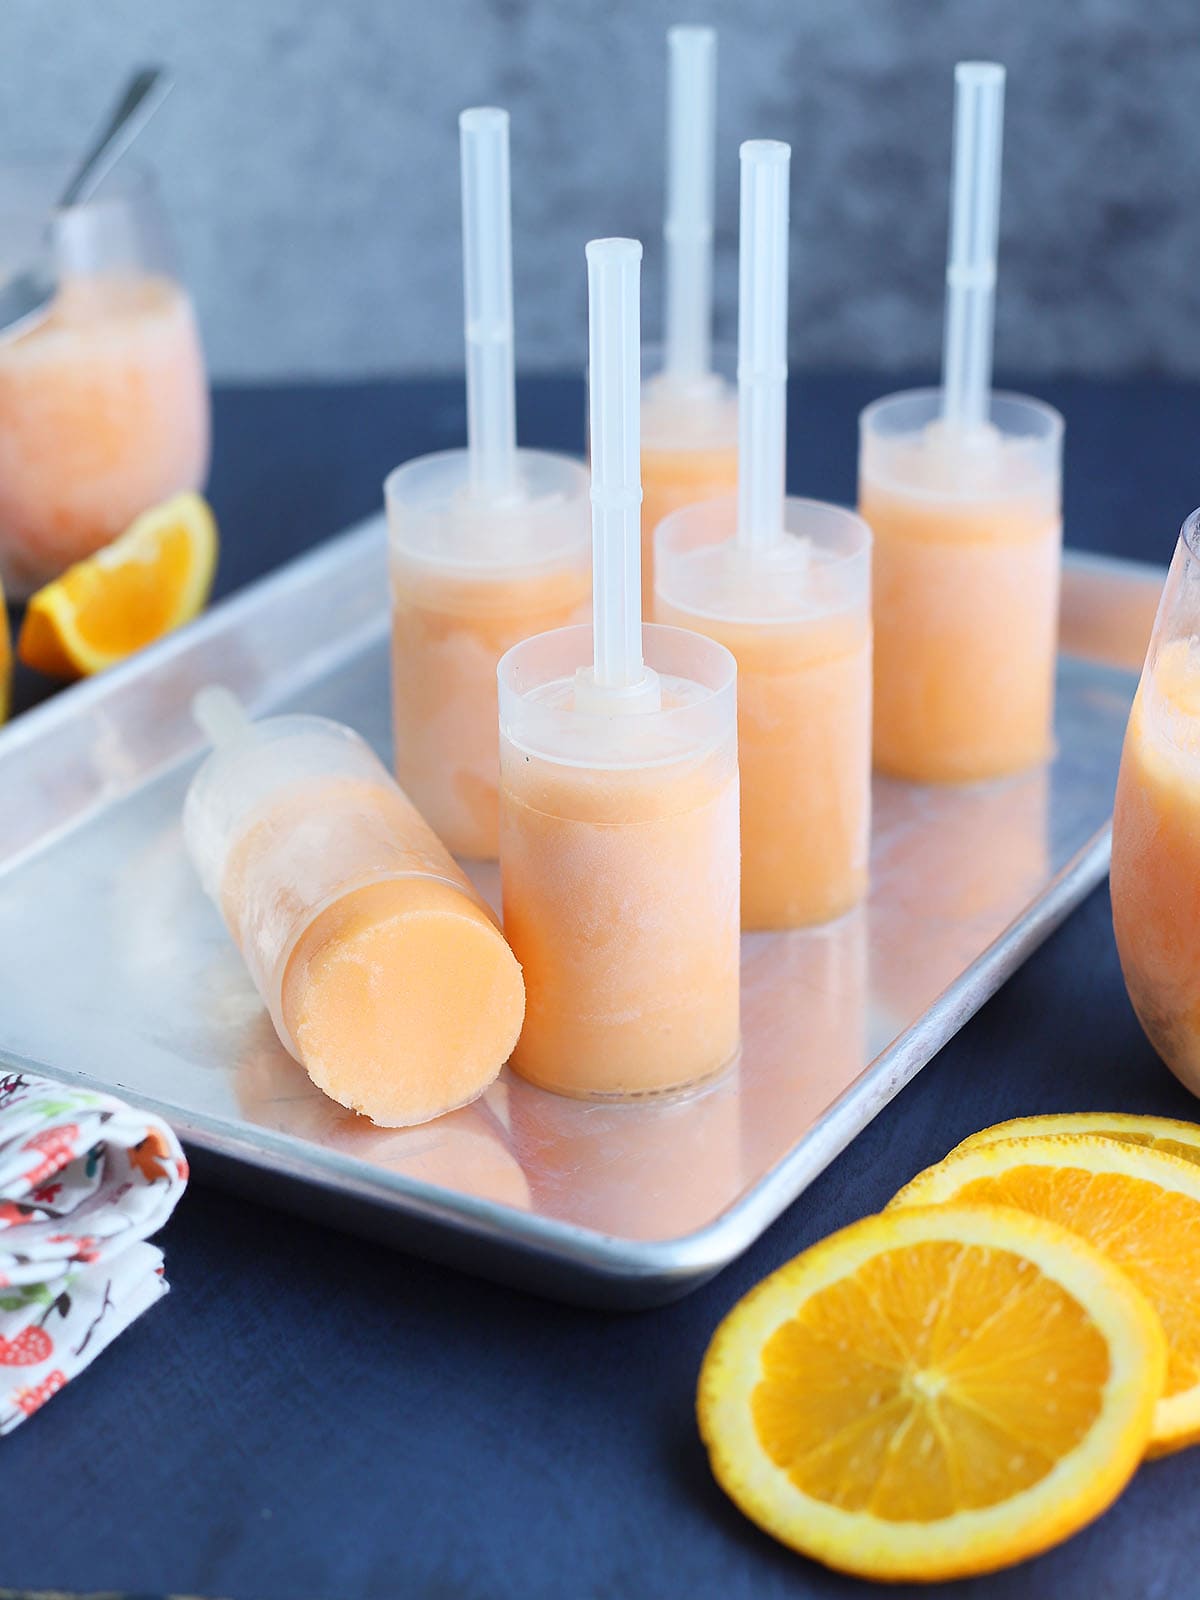
Make orange sherbet push up pops at home. This yummy, refreshing frozen treat only requires three ingredients!
The Cooking Bride is a participant in the Amazon Services LLC Associates Program, an affiliate advertising program designed to provide a means for sites to earn advertising fees by advertising and linking to Amazon.com.
Push Up Pops. Who remembers them?
Those frozen neon orange treats in cylindrical form. As a kid, I can remember reaching deep into a cold freezer chest in the corner of a dimly lit convenience store. The hum of the motor loud in my ears. The blast of cold air feels refreshing on a humid and hot summer day in Mississippi. My arm emerges with a white cardboard tube covered in a kaleidoscope of dots in the primary colors.
If the store’s freezer was worth a flip, sometimes the pop would be so frozen solid you’d have to mash the plastic stick against a counter or a door frame to get the sherbert up past the cardboard carton. Widespread slurping immediately followed. The more you slurped the tangy, creamy treat, the soggier the cardboard wrapper became. But at this point, who cared?
In my teenage years, the Flintstone’s took over the enterprise. And then, just like my childhood, Push Up Pops vanished. Occasionally, I am able to locate the Scooby-Doo variety in grocery stores. But even then, it’s hit or miss. Fed up with the unreliable supply of one of my favorite summertime treats, I decided to make my own push up pops.
The difference between sherbet and ice cream
The main difference between sherbet and ice cream is dairy. Ice cream starts with a base of dairy (usually cream) and flavors or fruit are added in. With sherbet, the base is a liquid such as juice, or in this case orange soda, and dairy is added as a secondary ingredient to make it creamy.
Ingredients and tools you will need
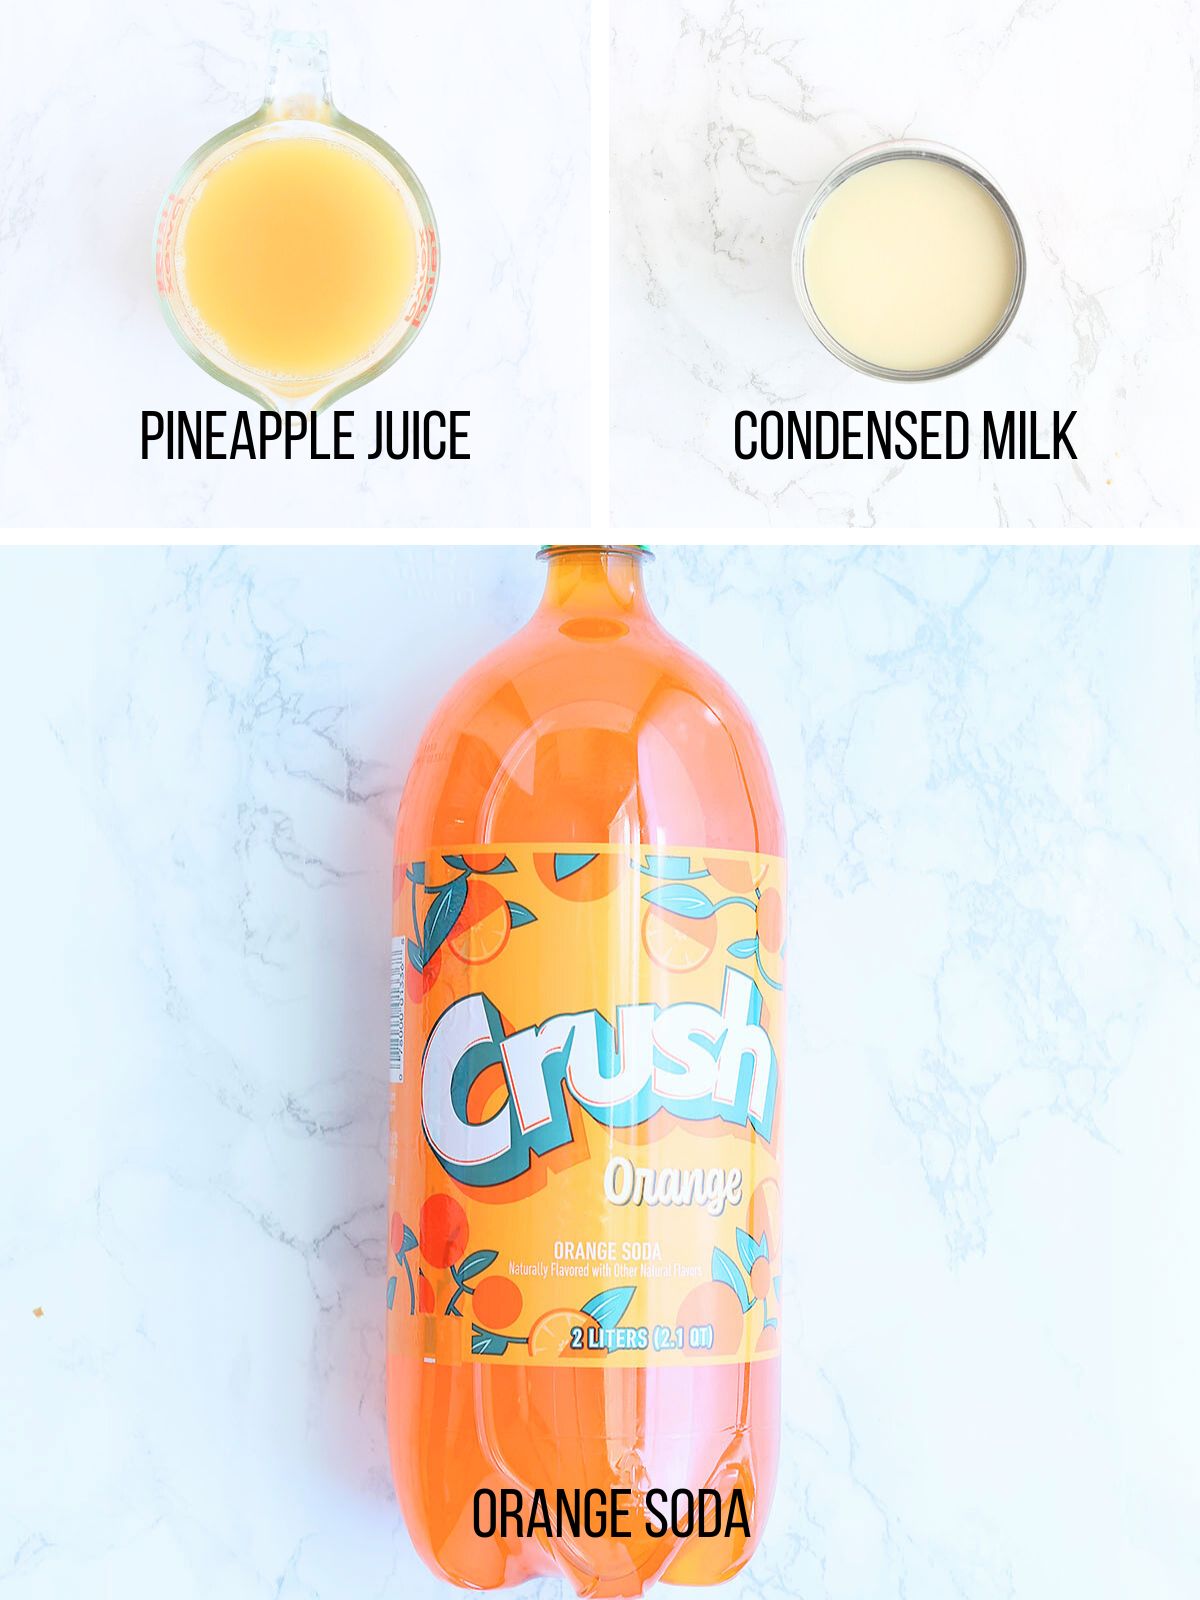
It doesn’t get much easier than three ingredients, does it? To make homemade orange sherbet you will need:
- 1 cup pineapple juice, chilled
- 3 cups orange soda, chilled
- 1 (14-ounce) can sweetened condensed milk
- Ice cream maker – I’ve had this Cuisinart ice cream maker for years and it’s perfect for our needs. Just make sure you put the bowl in the freezer at least 24 hours before you plan to make the sherbet.
- Freezer safe 9 x 13 x 2-inch casserole dish – If you don’t have an ice cream machine, don’t worry. I’ll give you instructions later in the post on how to make the homemade orange sherbet recipe without one.
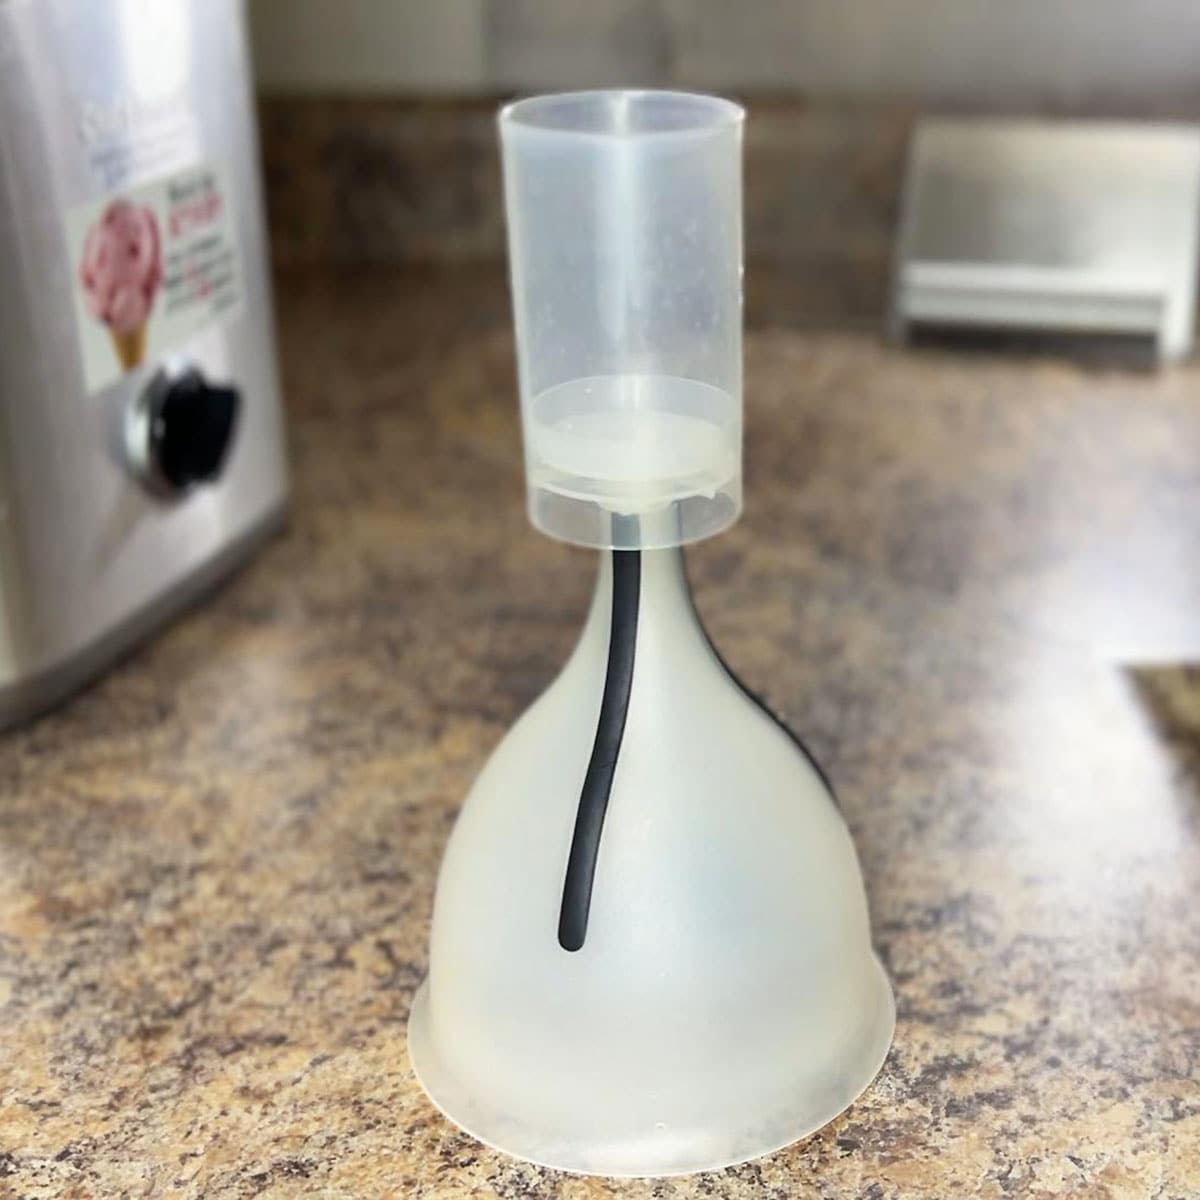
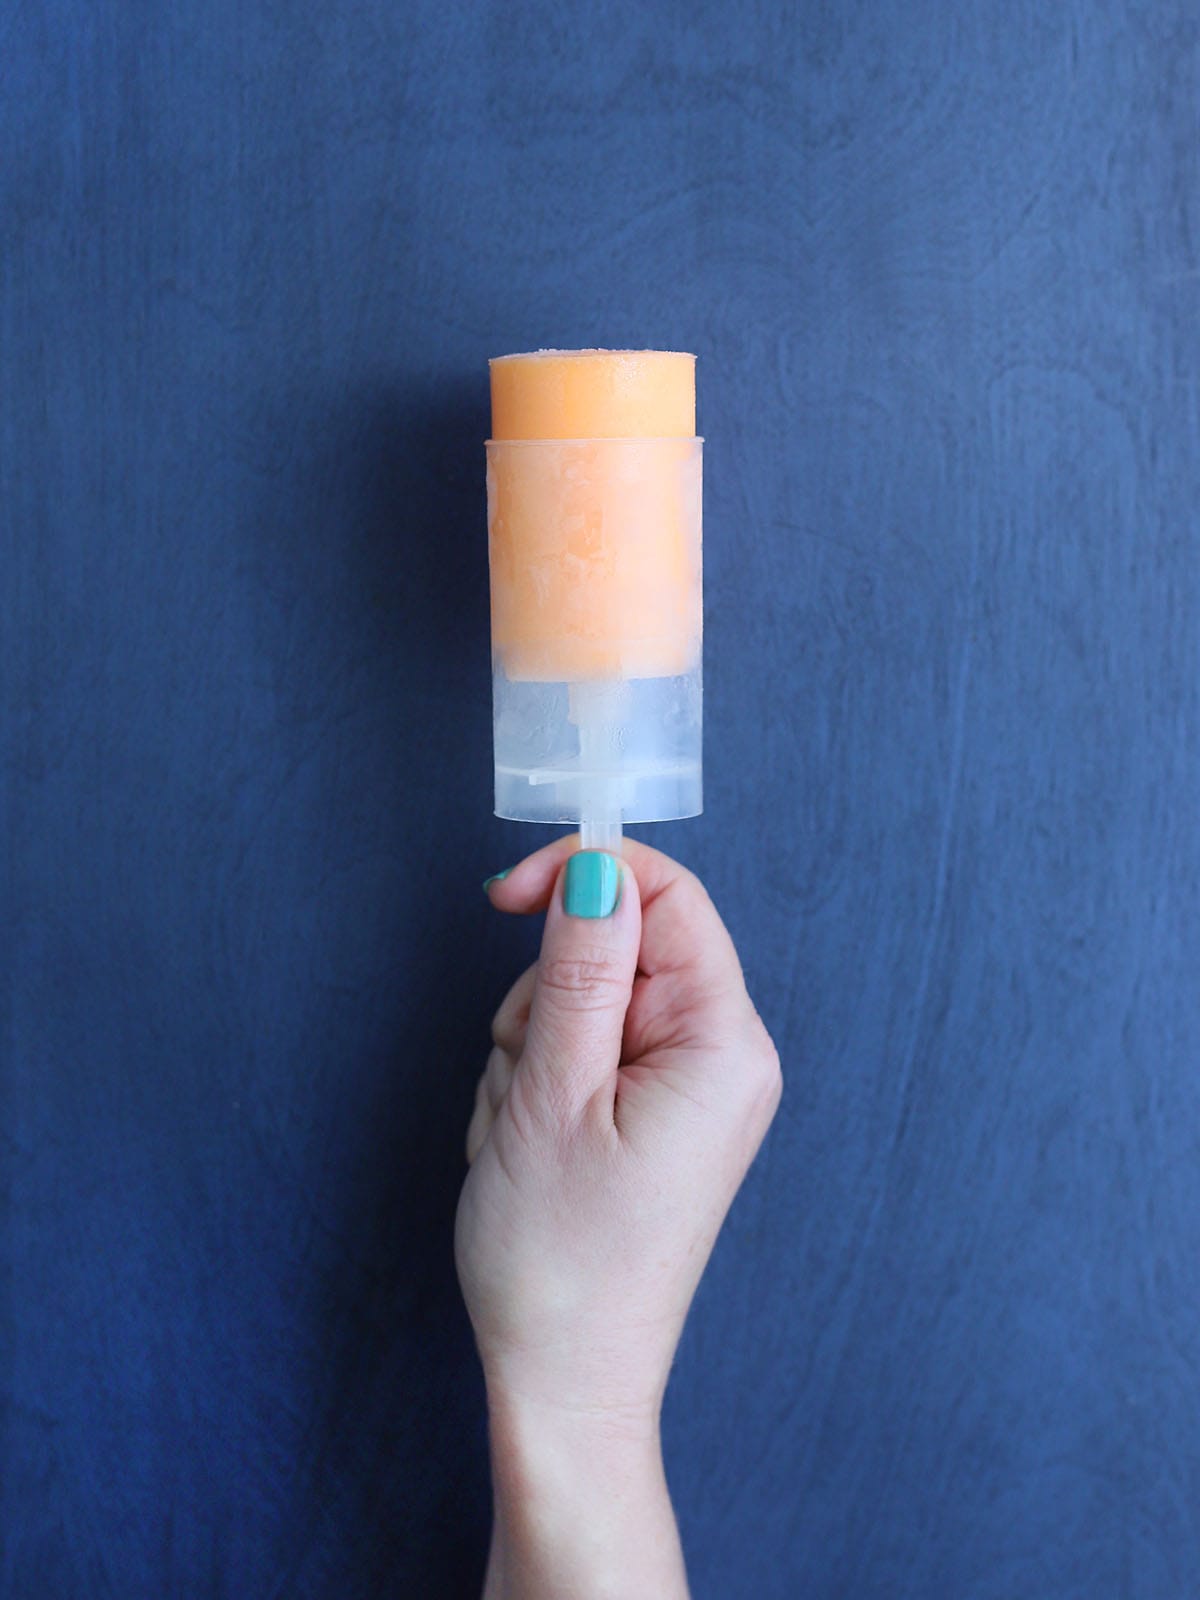
- Push Up Cake Pop Shooters – While I wasn’t able to locate the paper tubes I remember as a kid, I was able to find plastic cake pop shooters. Honestly, I think these are better … no soggy paper wrapper!
Make the sherbet with an ice cream maker
- Combine the ingredients in a large bowl. Whisk together until the ingredients are mixed thoroughly.
- Pour the ingredients into the bowl of your ice cream mixer. Depending on the size of your ice cream freezer bowl, you may have to work in batches. If that’s the case, store the remaining sherbet base in the fridge for the next batch.
- Process the sherbet according to the manufacturer’s directions. For my ice cream maker, this took about 35 minutes. After processing, the homemade sherbet should be the consistency of soft serve ice cream.
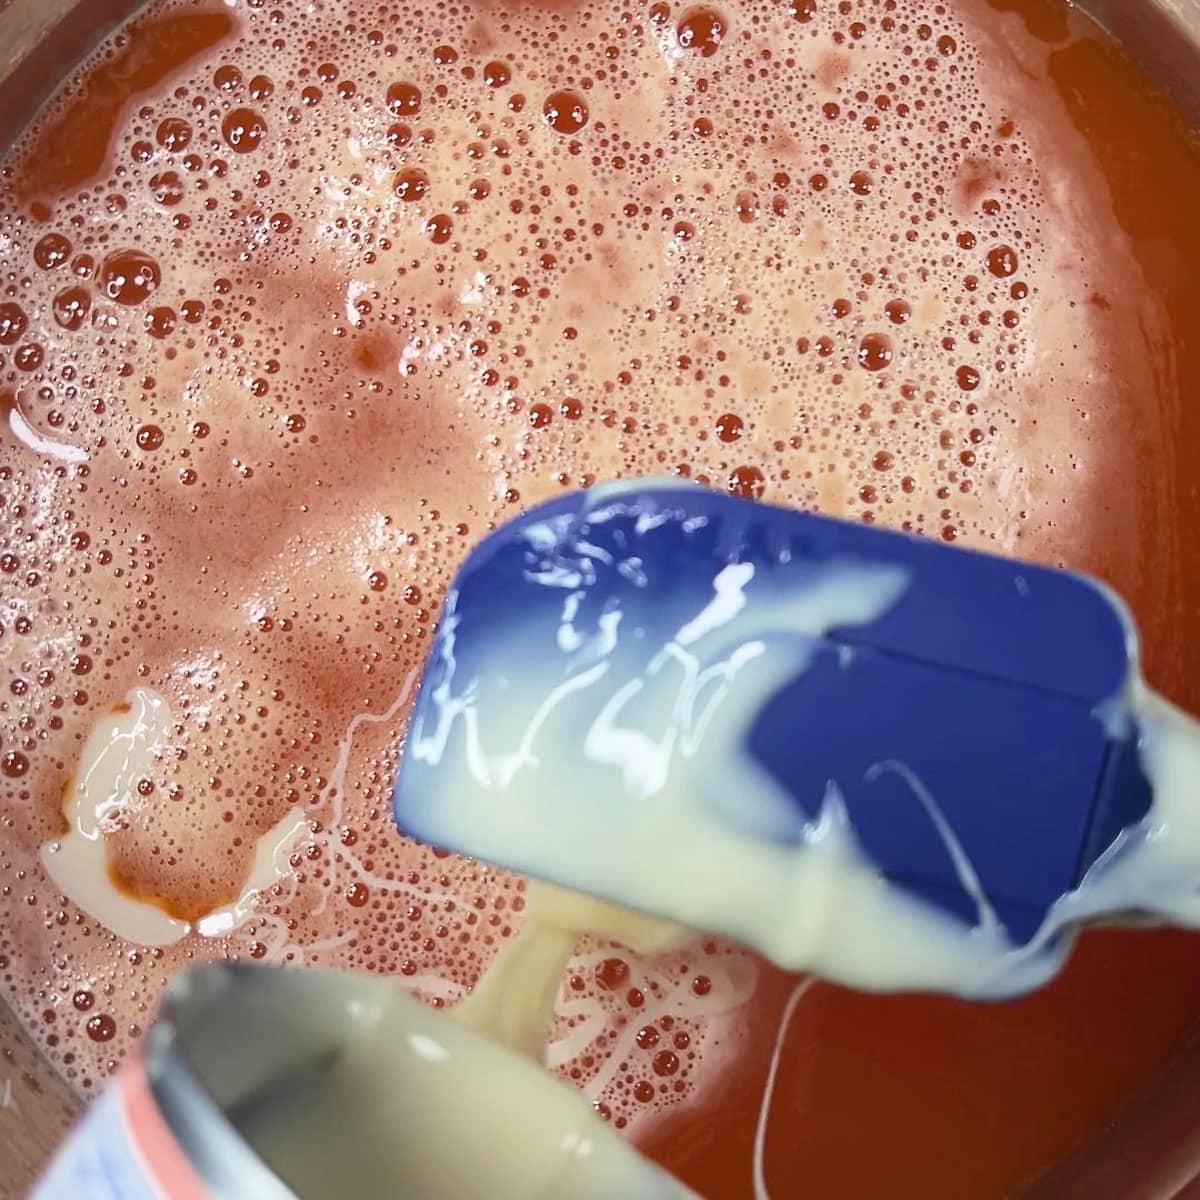
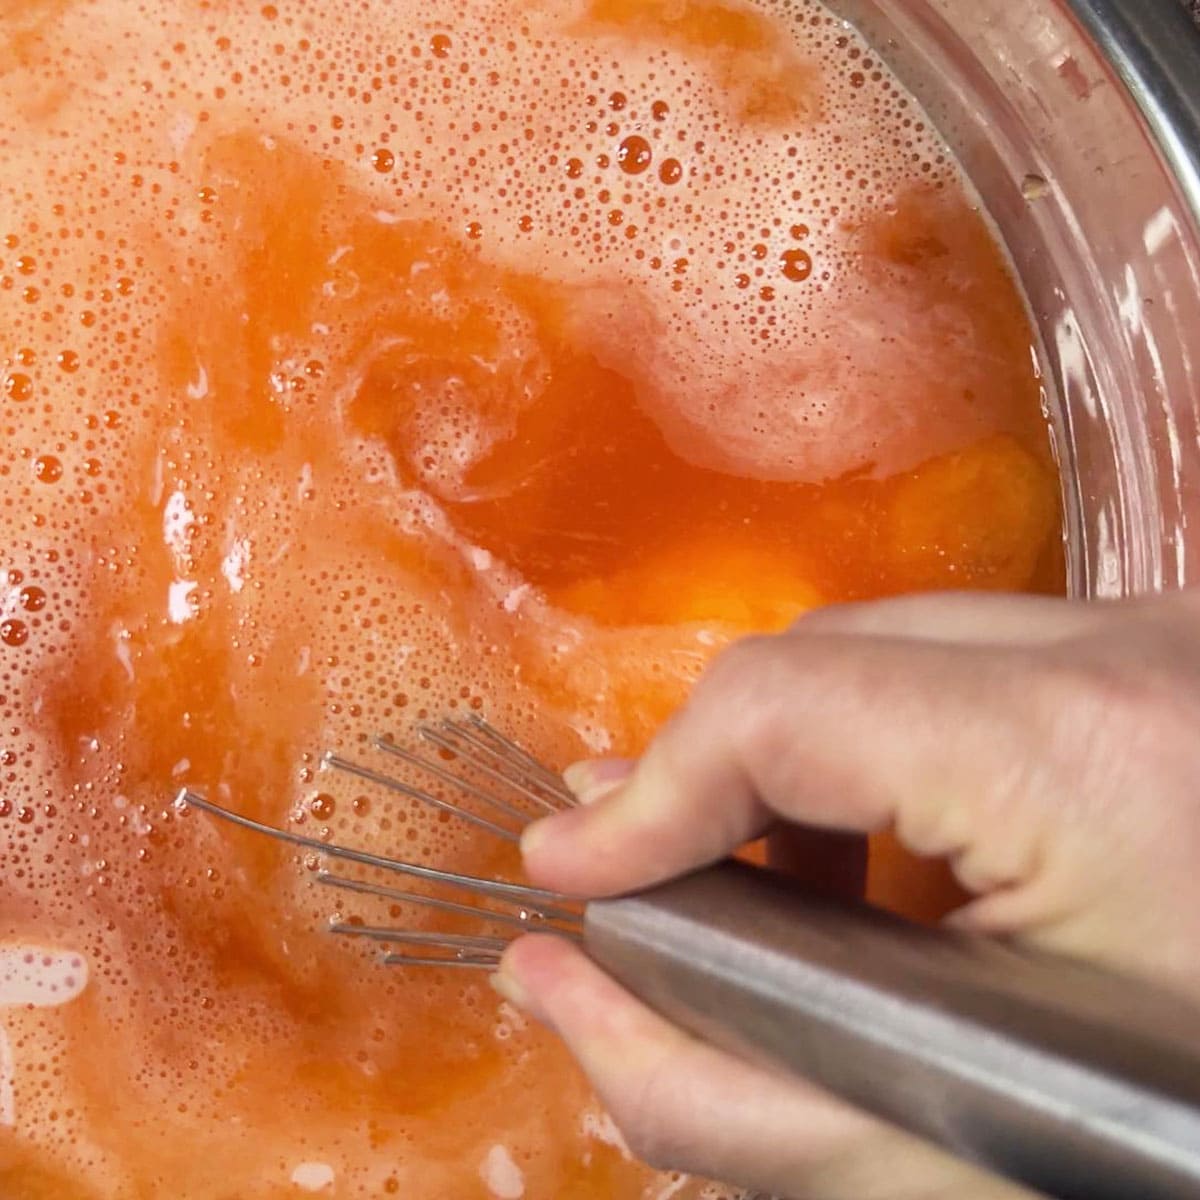
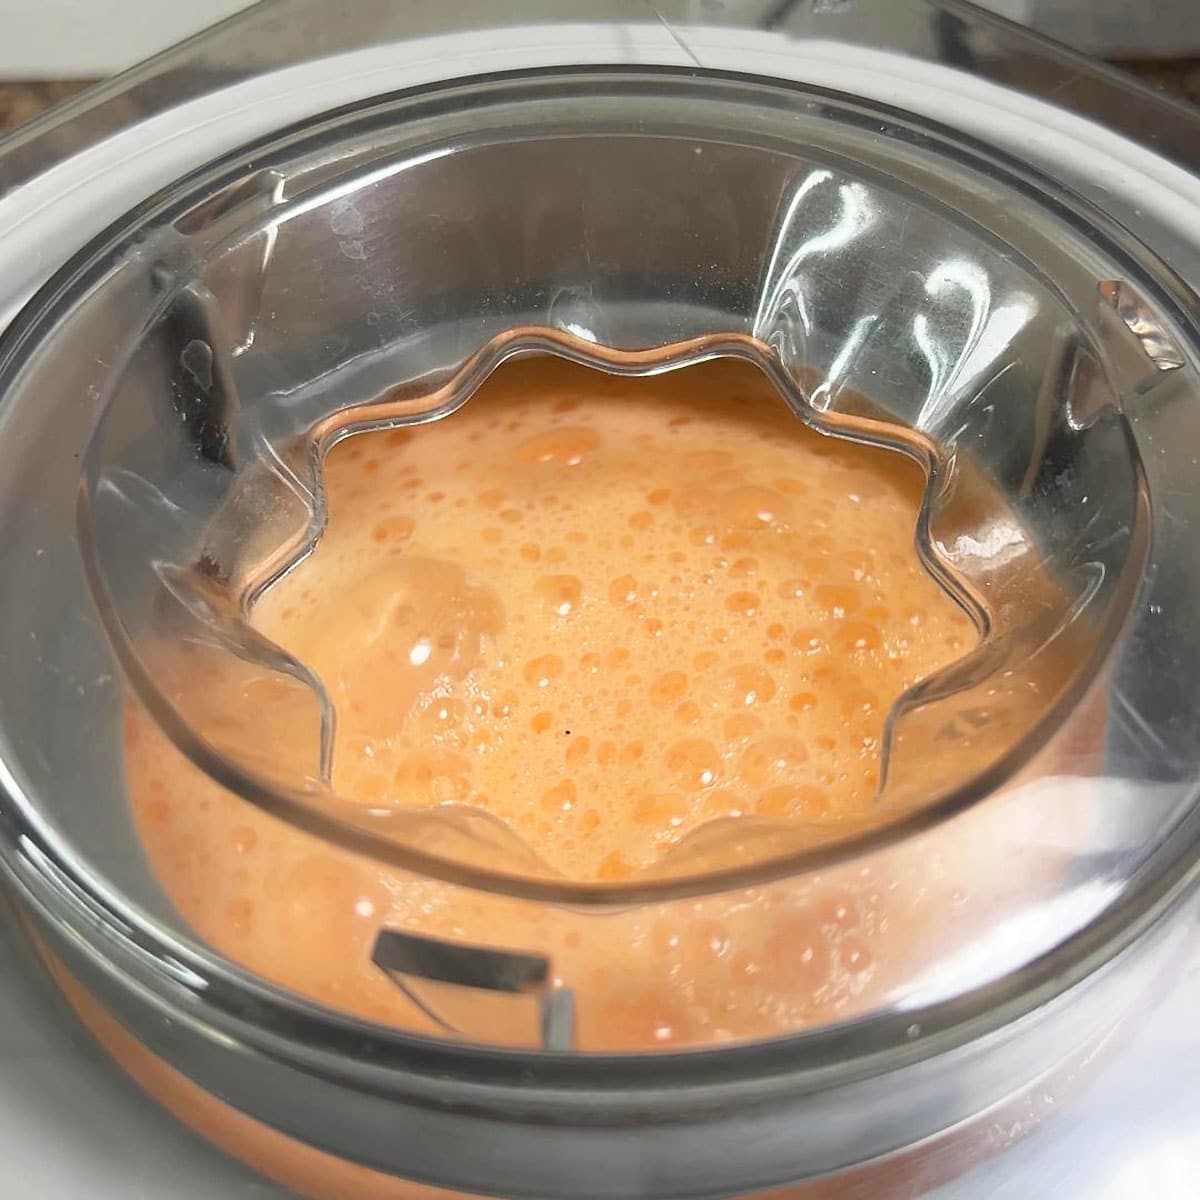
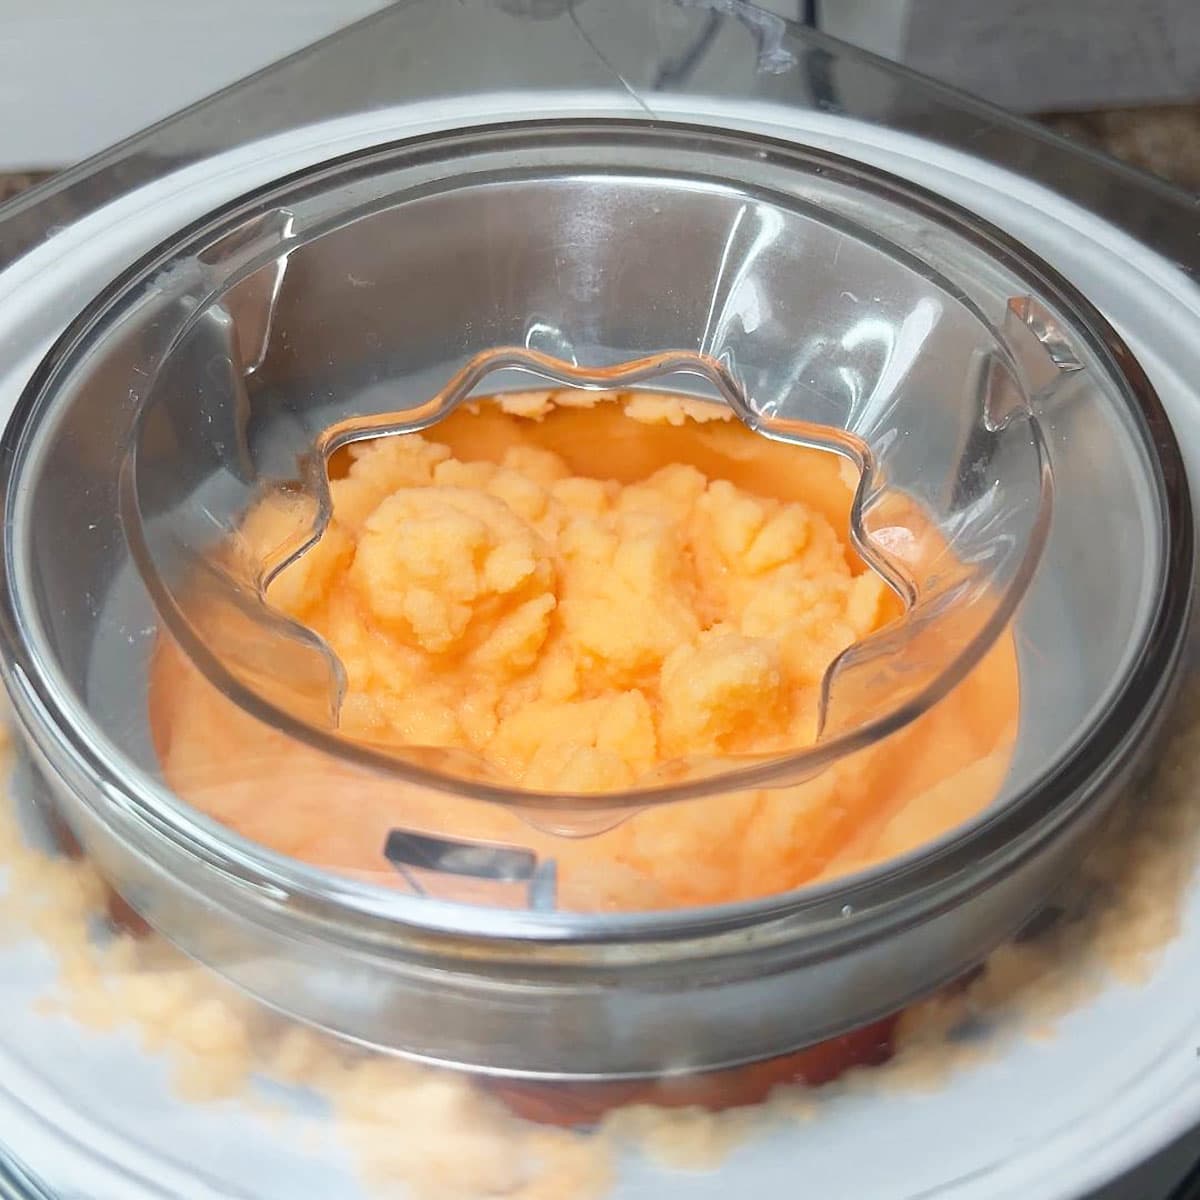
How to make orange sherbet without an ice cream maker
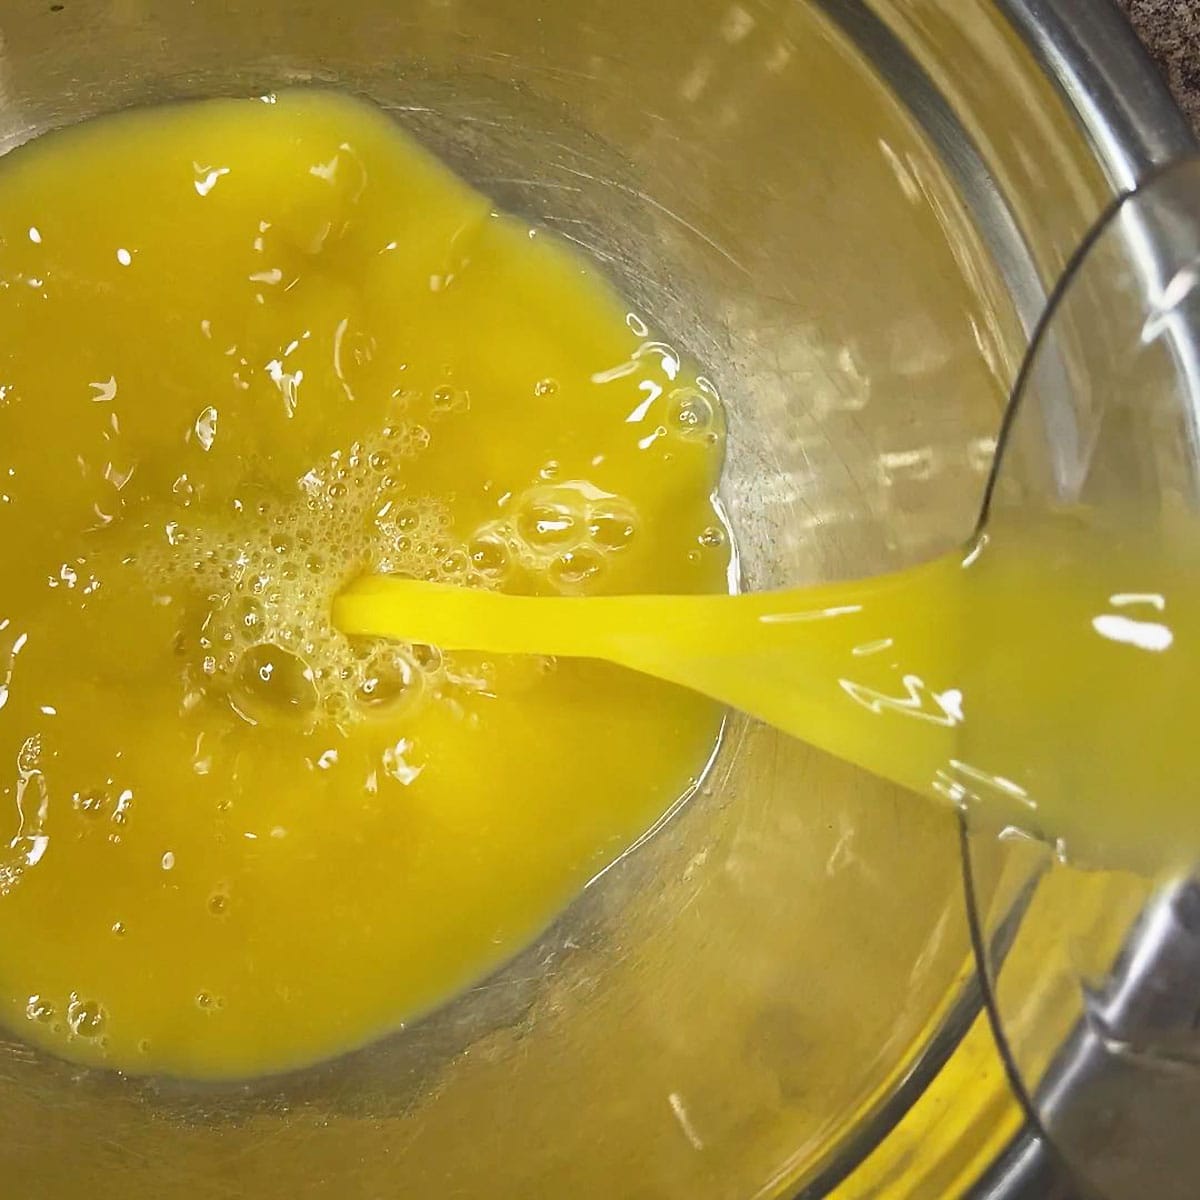
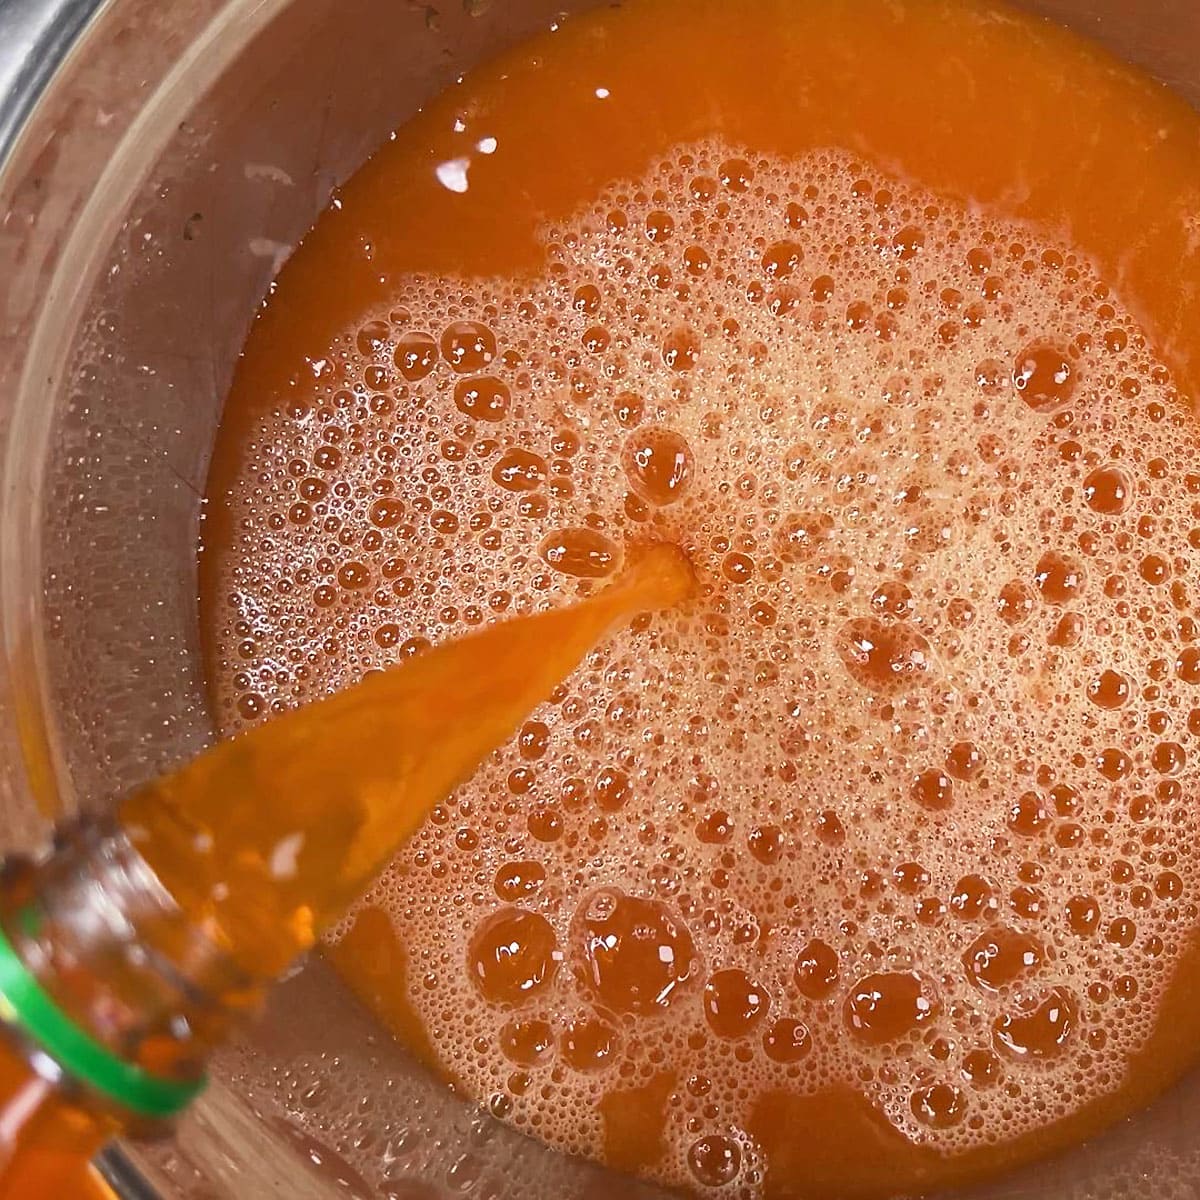
- Combine the ingredients in a large mixing bowl. Whisk together until the ingredients are mixed thoroughly.
- Pour the mixture into the freezer safe casserole dish. Carefully place the pan on a flat surface and freeze for one hour. Stir the mixture, then freeze for two hours. Stir again and freeze for two more hours. Continue this until the sherbet reaches a soft serve consistency.
Transfer to popsicle molds
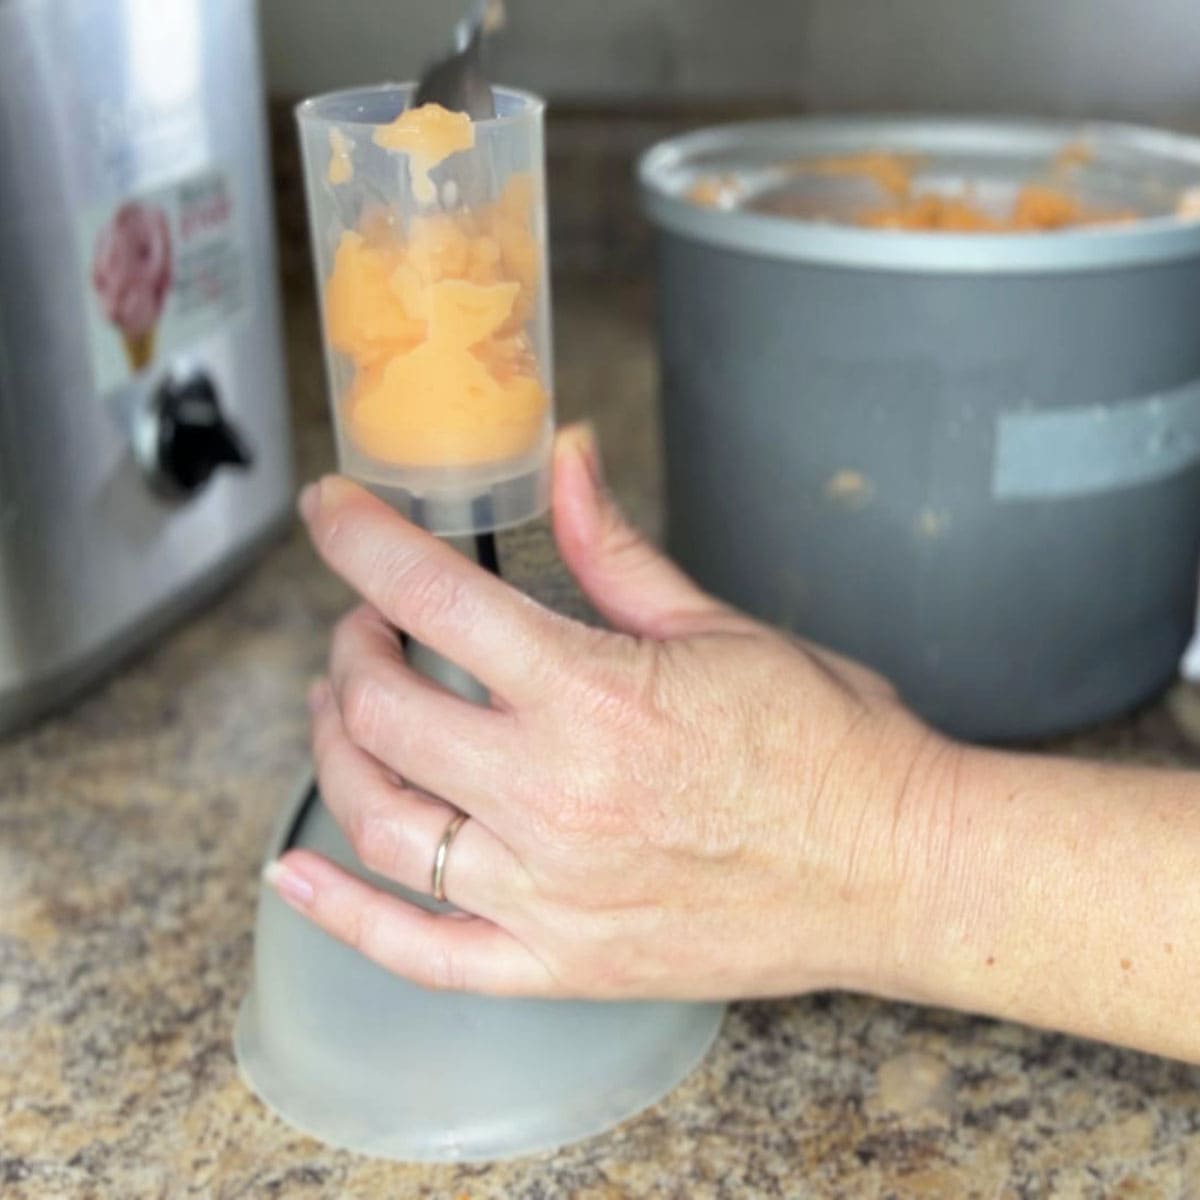
This step is not a requirement. Once the sherbet has been churned you can eat it straight away. But I really wanted to share the fun of eating a push up pop with my kids and recreate that special childhood memory. While I wasn’t able to locate the paper tubes I remember as a kid, I was able to find plastic cake pop shooters. Hoenstly, I think these are better … no soggy paper wrapper!
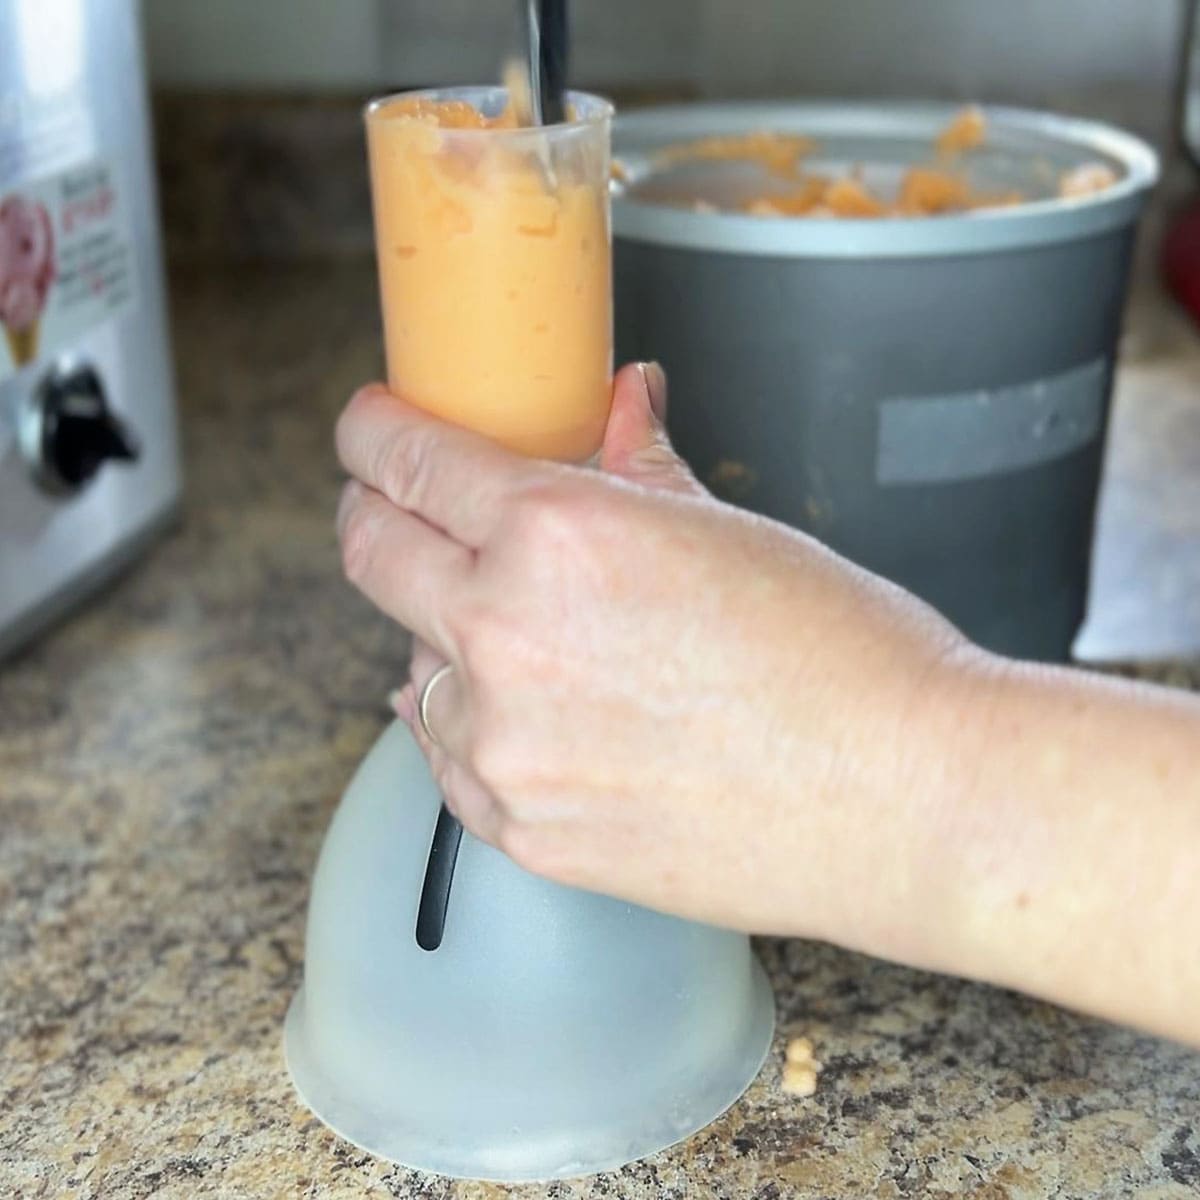
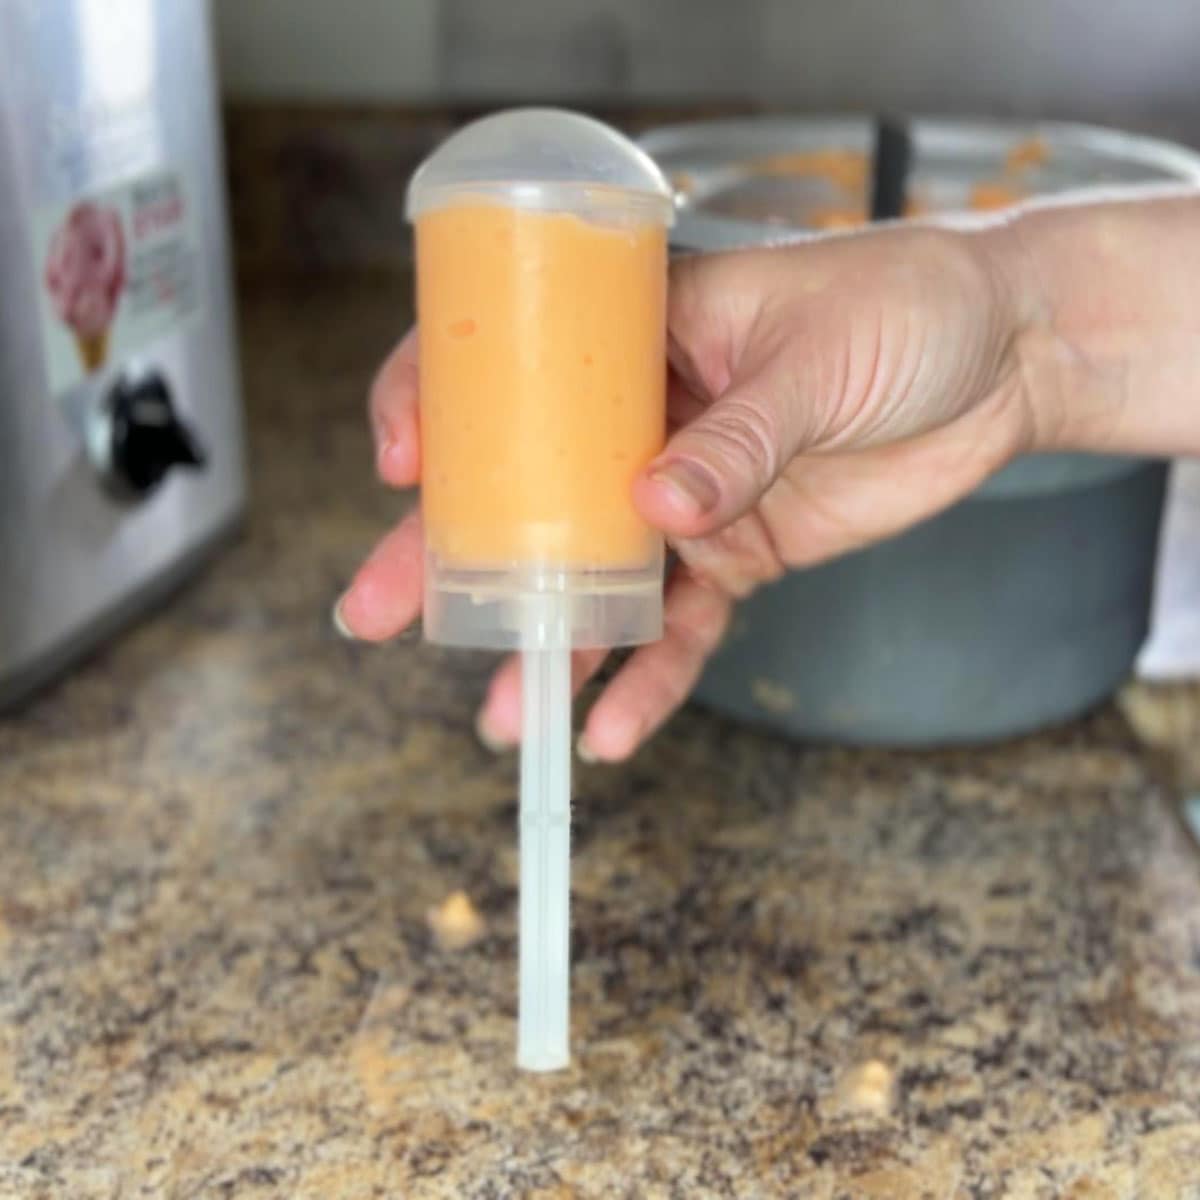
I carefully spooned the soft churned creamy sherbet into the cake pop molds. It’s easier to do this while the sherbet is still in a soft serve consistency. Be sure to run a skewer or the end of a spoon along the edge of the posicle as you fill it to remove any air bubbles. Don’t worry, the frozen mixture won’t leak out the bottom of the mold as long as they are placed in the freezer quickly.
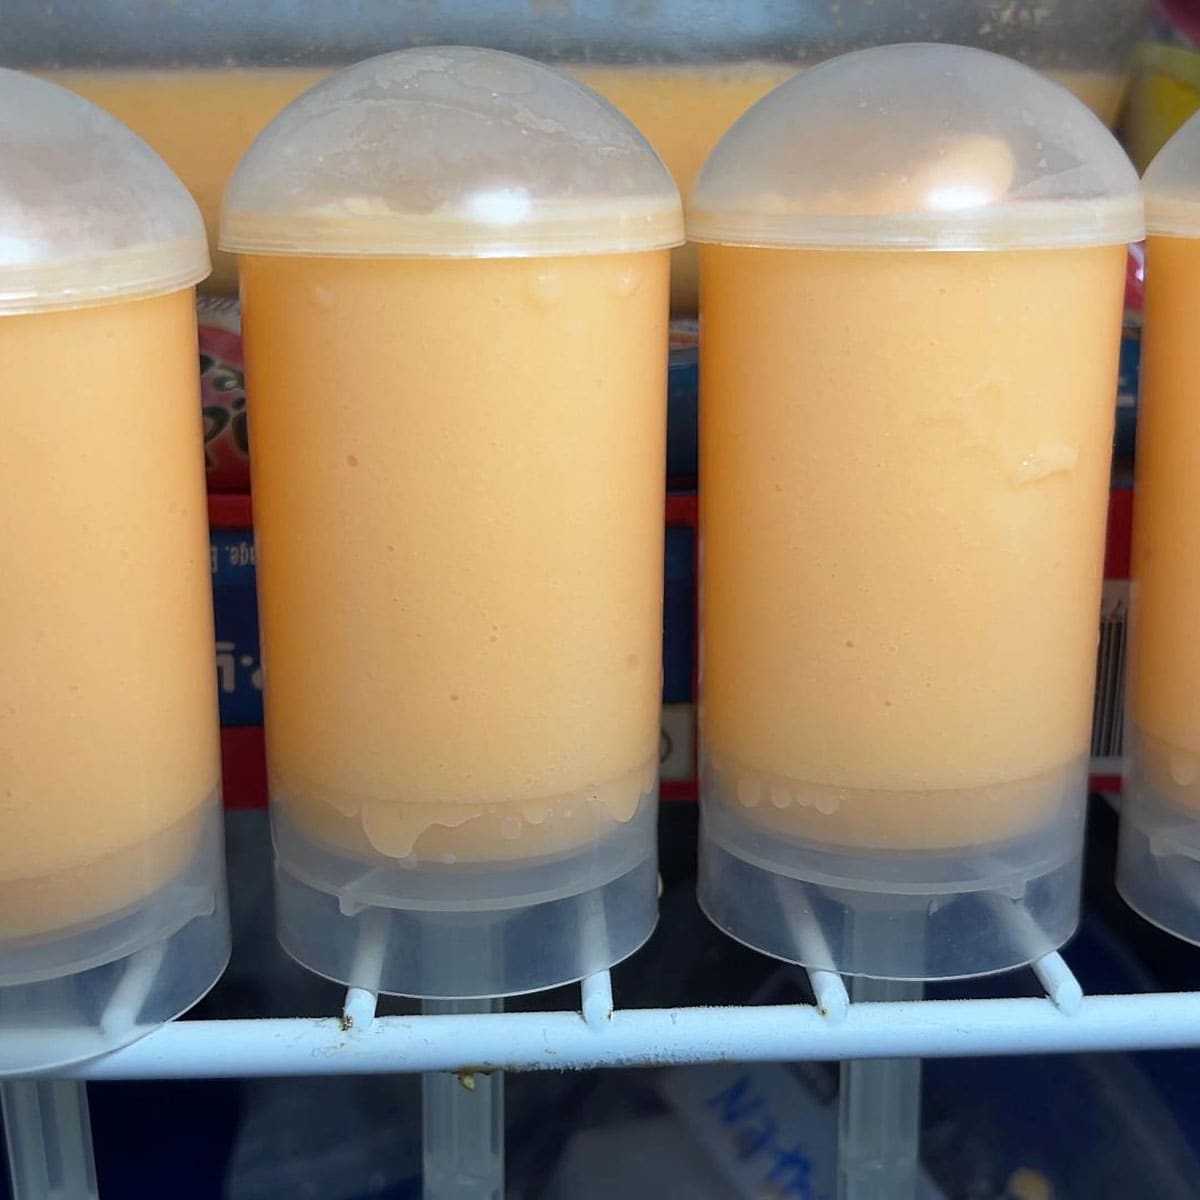
The popsicles need to freeze standing up for at least eight hours. I found the gaps between the wire shelving in my freezer were perfect for this. Simply place the sticks in between the wire racks and make sure not to jostle the pops while they freeze.
Storage instructions
Once the popsicles are frozen solid, they no longer need to be stored upright. I typically toss them all in a plastic freezer bag to keep them together. If you choose not to transfer the sherbet into popsicle molds, it will need to be stored in an airtight container or in a loaf pan covered with plastic wrap. For best results, consume this frozen dessert within three months. But in all honesty, as delicious as these were I don’t think they will last that long.
Frequently asked questions
Yes! If you don’t like orange flavor, any flavored soda can be used in place of the orange soda — grape, lemon lime strawberry, even regular cola.
Yes, diet soda can be used with no problem but the popsicles may not be as sweet.
No. First, the popsicle molds may not be 100% watertight so you risk some of the liquid leaking out the bottom as you fill or all over your freezer. That would be a sticky mess. Second, churning prevents the formation of ice crystals and gives you the creamy texture desired in sherbet. If you skip the churning, the popsicles will taste more like frozen ice pops than sherbet.
Yes, you can replace the orange soda with orange juice. Your push up pops may not be as sweet.
Yes. Any juice can be used instead of pineapple juice. I recommend using apple juice but feel free to try your own flavor combinations.
The condensed milk add both sweetness and a creamy texture. I can not assure that you will achieve the same results by using one of those substitutes.
More frozen treat recipes

Homemade Orange Sherbet Push Up Pops
Ingredients
- 1 cup pineapple juice chilled
- 3 cups orange soft drink chilled
- 1 14-ounce can sweetened condensed milk
Instructions
- Combine ingredients in a large mixing bowl. Stir to combine thoroughly.
If using an ice cream maker:
- Pour ingredients into the bowl of an ice cream mixer (I had to work in batches. I couldn’t fit the entire bowl into my ice cream maker. Store the remainder in the fridge for the next batch). Process sherbet according to manufacturers directions.
If not using an ice cream maker:
- Pour the mixture into the freezer safe casserole dish. Carefully place the pan on a flat surface and freeze for one hour. Stir the mixture, then freeze for two hours. Stir again and freeze for two more hours. Continue this until the sherbet reaches a soft serve consistency.
- While the sherbert is still soft. carefully pour it into plastic molds. Freeze upright for several hours until hard.


The Amazon molds were “Out of Stock – Unknown when restocked” but scroll down to “similar products” and amazon has another similar item offered to be in stock this month. 😉 Kudos by the way…on the recipe! Its a greeaat idea! Cant wait to try it!
P.S. Southern cook here ice cream maker ready for sherbet!
Thank you, Aubrey!
I love push ups
Hi! I bought them from Amazon. Midway through the post I include a link to the exact molds I used. I have used them several times since and have never had them leak from the bottom.
I know this is an old post but do you remember where you got your push pop molds from and did the leak at the bottom when you made them?
If you don’t have an ice cream maker you can use a metal bowl and instead of sweetened condensed milk use heavy whipping cream add the remaining ingredients cover with plastic wrap and freeze for about 5 hours.
You can try, but I can’t promise the recipe will produce the same results.
Could you use orange juice? If you just mix the ingredients and pour straight into pop molds, would you have to use the ice cream maker?
Probably more than you think. At least in the South. Check Bed, Bath and Beyond.
How many people have an ice cream maker. ???????