
Homemade Chicken Stock

Learn how to make homemade chicken stock that’s richer than store-bought! Includes stovetop, Instant Pot, slow cooker, freezing, and canning instructions.
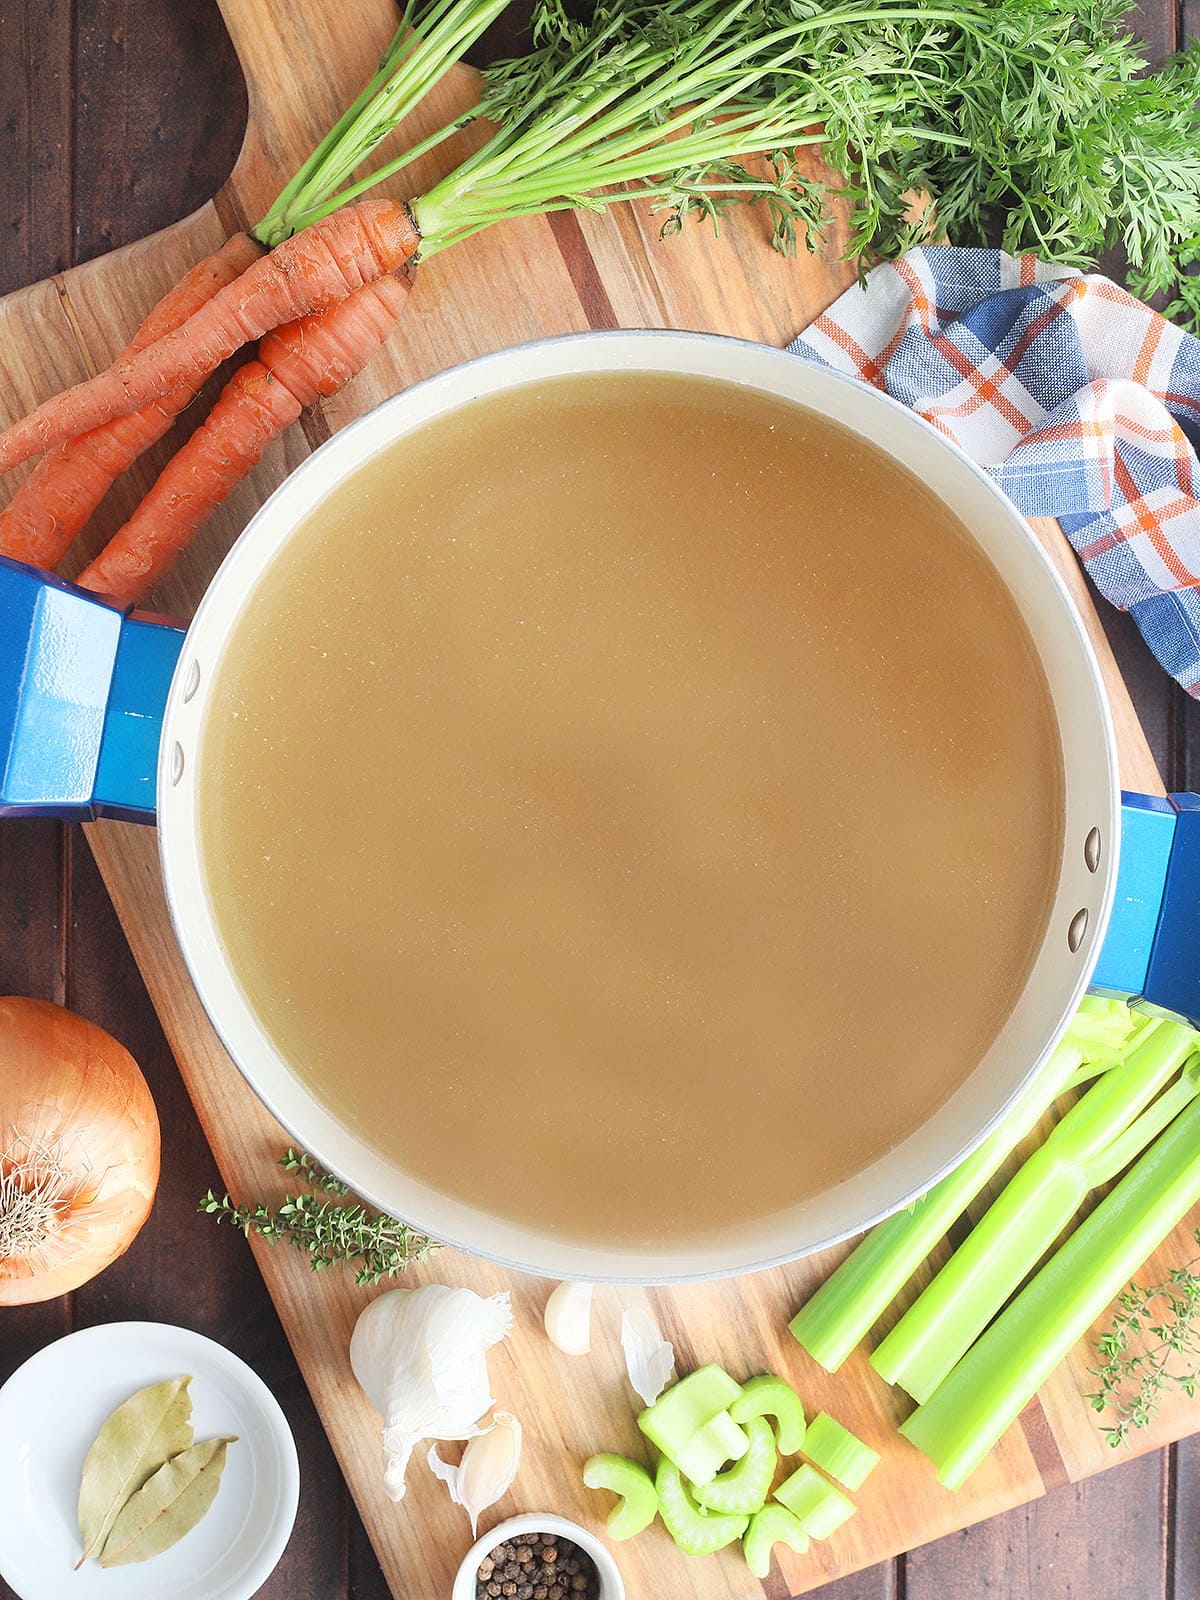
Making homemade chicken stock has become a regular part of my kitchen routine. Every time I make sweet tea brined roast chicken or remove the backbone from a spatchcock chicken, I save the bones in the freezer. Anytime I have vegetables in the refrigerator that are getting past their prime or vegetable scraps, I save those in the freezer. Once I have enough, I add a handful of herbs, let everything simmer for a few hours, and have flavorful stock ready for my favorite recipes. It’s an easy way to stretch my grocery budget while reducing food waste.
If you enjoy cooking seafood too, don’t miss my recipe for Homemade Shrimp Stock, another easy way to add incredible flavor to soups, gumbo, and seafood dishes.
Recipe at a glance
- Budget-friendly. Make use of leftover chicken bones instead of throwing them away.
- Better flavor. Homemade stock has a richer, deeper chicken flavor than most store-bought varieties.
- Simple ingredients. All you need are chicken bones, a few vegetables, herbs, and water.
- Great for meal prep. Freeze or pressure can extra stock so it’s always ready when you need it.
- No added preservatives. You control exactly what goes into your stock.
Summarize and save this content on
Jump to:
- Recipe at a glance
- Chicken stock vs. chicken broth
- Ingredients and tools you will need
- Substitutions and variations
- How to make homemade chicken stock on a stovetop
- Instant Pot chicken stock instructions
- Slow cooker chicken stock instructions
- Ways to use homemade chicken stock
- Storage, freezing and reheating instructions
- Pressure canning instructions
- Homemade chicken stock frequently asked questions
- More ideas for homemade chicken stock
- Homemade Chicken Stock
Chicken stock vs. chicken broth
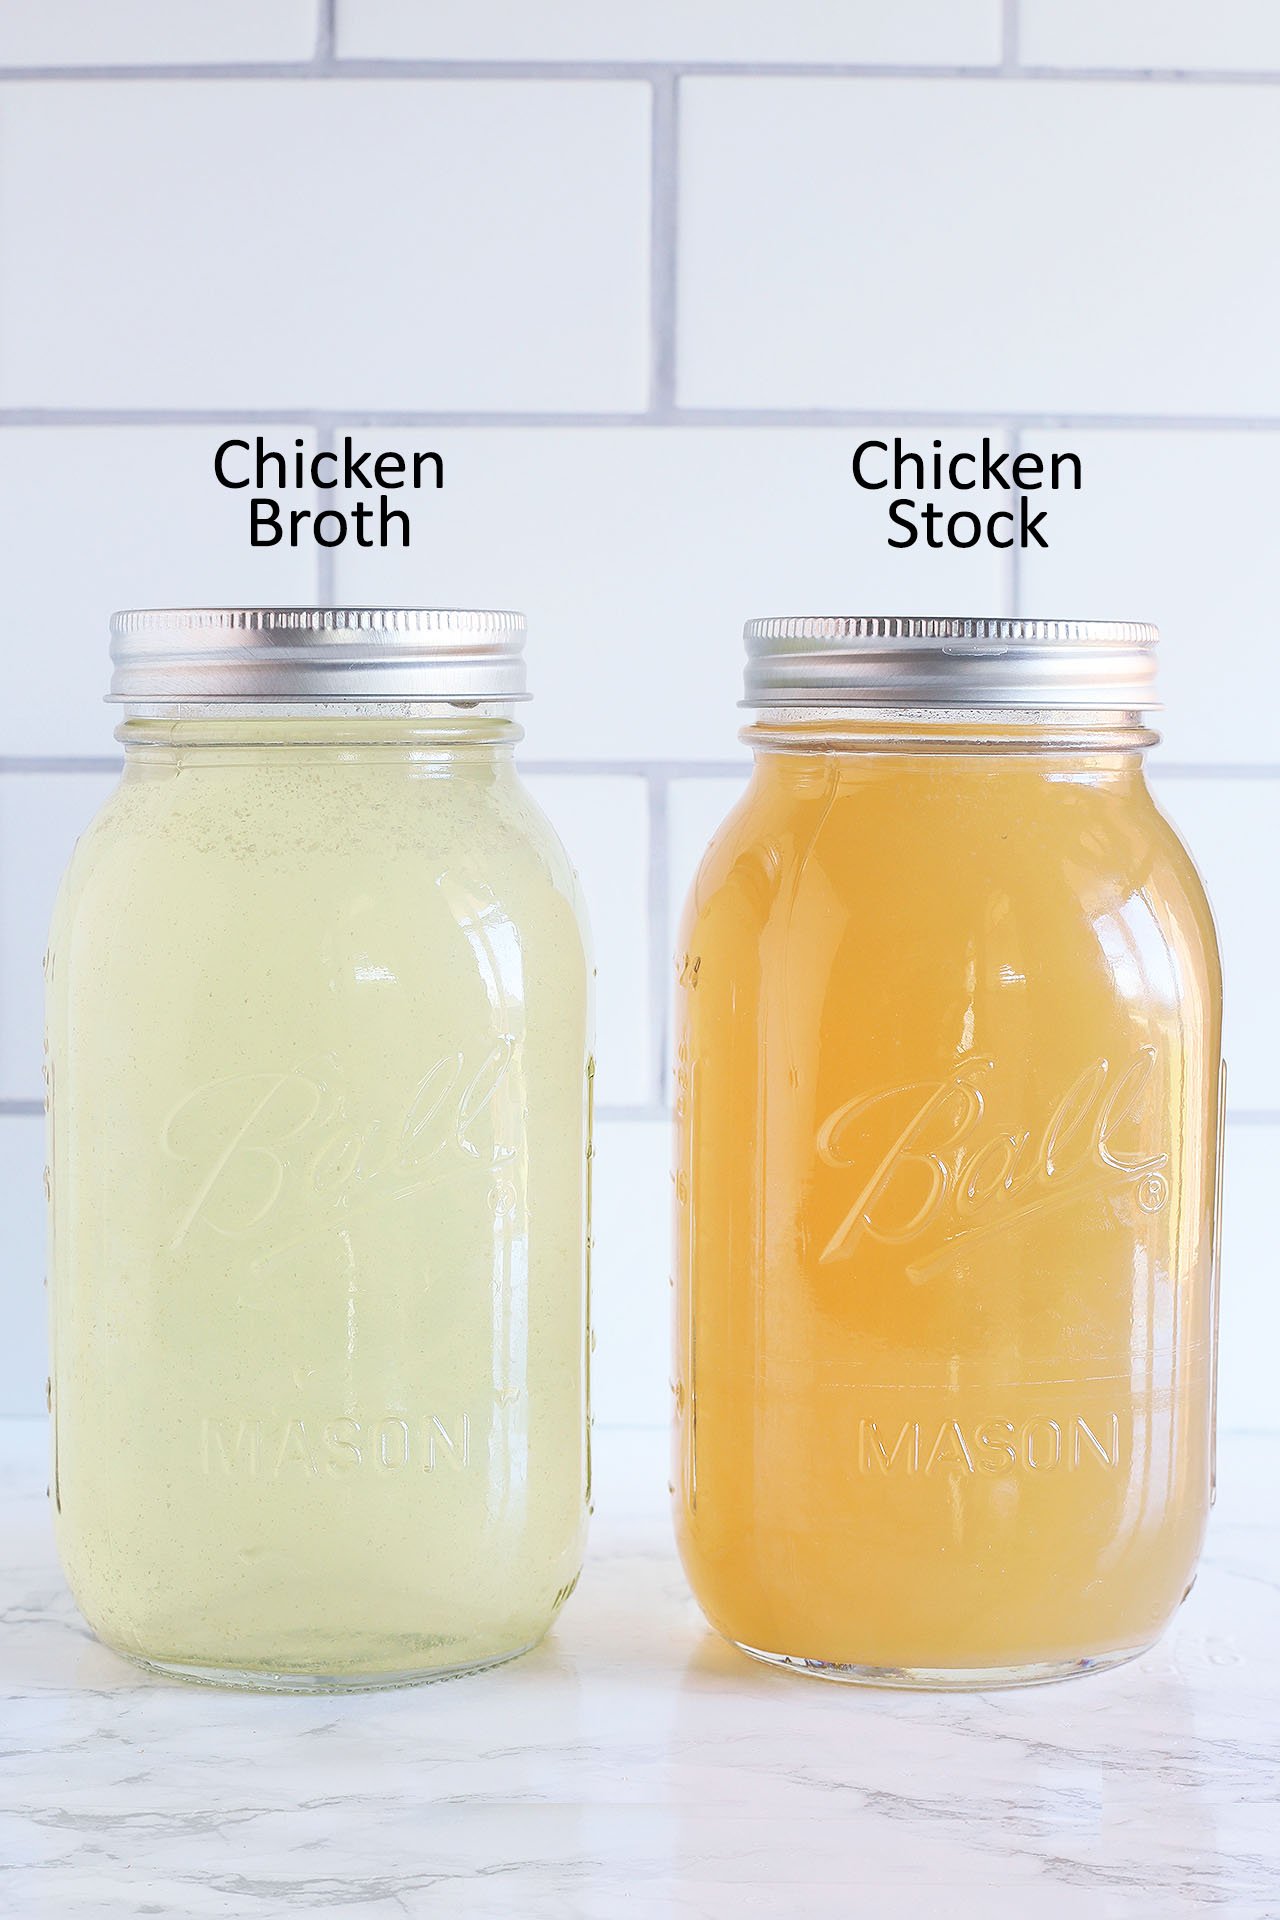
Although the two are often used interchangeably, chicken stock and chicken broth aren’t exactly the same.
Chicken broth is made primarily by simmering chicken meat with vegetables and seasonings. Because it contains less collagen, the finished broth is lighter in both color and flavor.
Chicken stock is made by simmering leftover chicken bones along with vegetables, herbs, and spices. As the bones cook, they release collagen into the liquid, creating a richer flavor and a fuller body. That’s why homemade stock often turns into a soft jelly after it’s refrigerated—that gelatin is a sign of a good stock.
Both broth and stock work well in recipes, but when you really want to add depth of flavor to soups, sauces, gravies, or casseroles, homemade chicken stock is hard to beat.
Ingredients and tools you will need
You only need a handful of simple ingredients to make rich, flavorful homemade chicken stock.
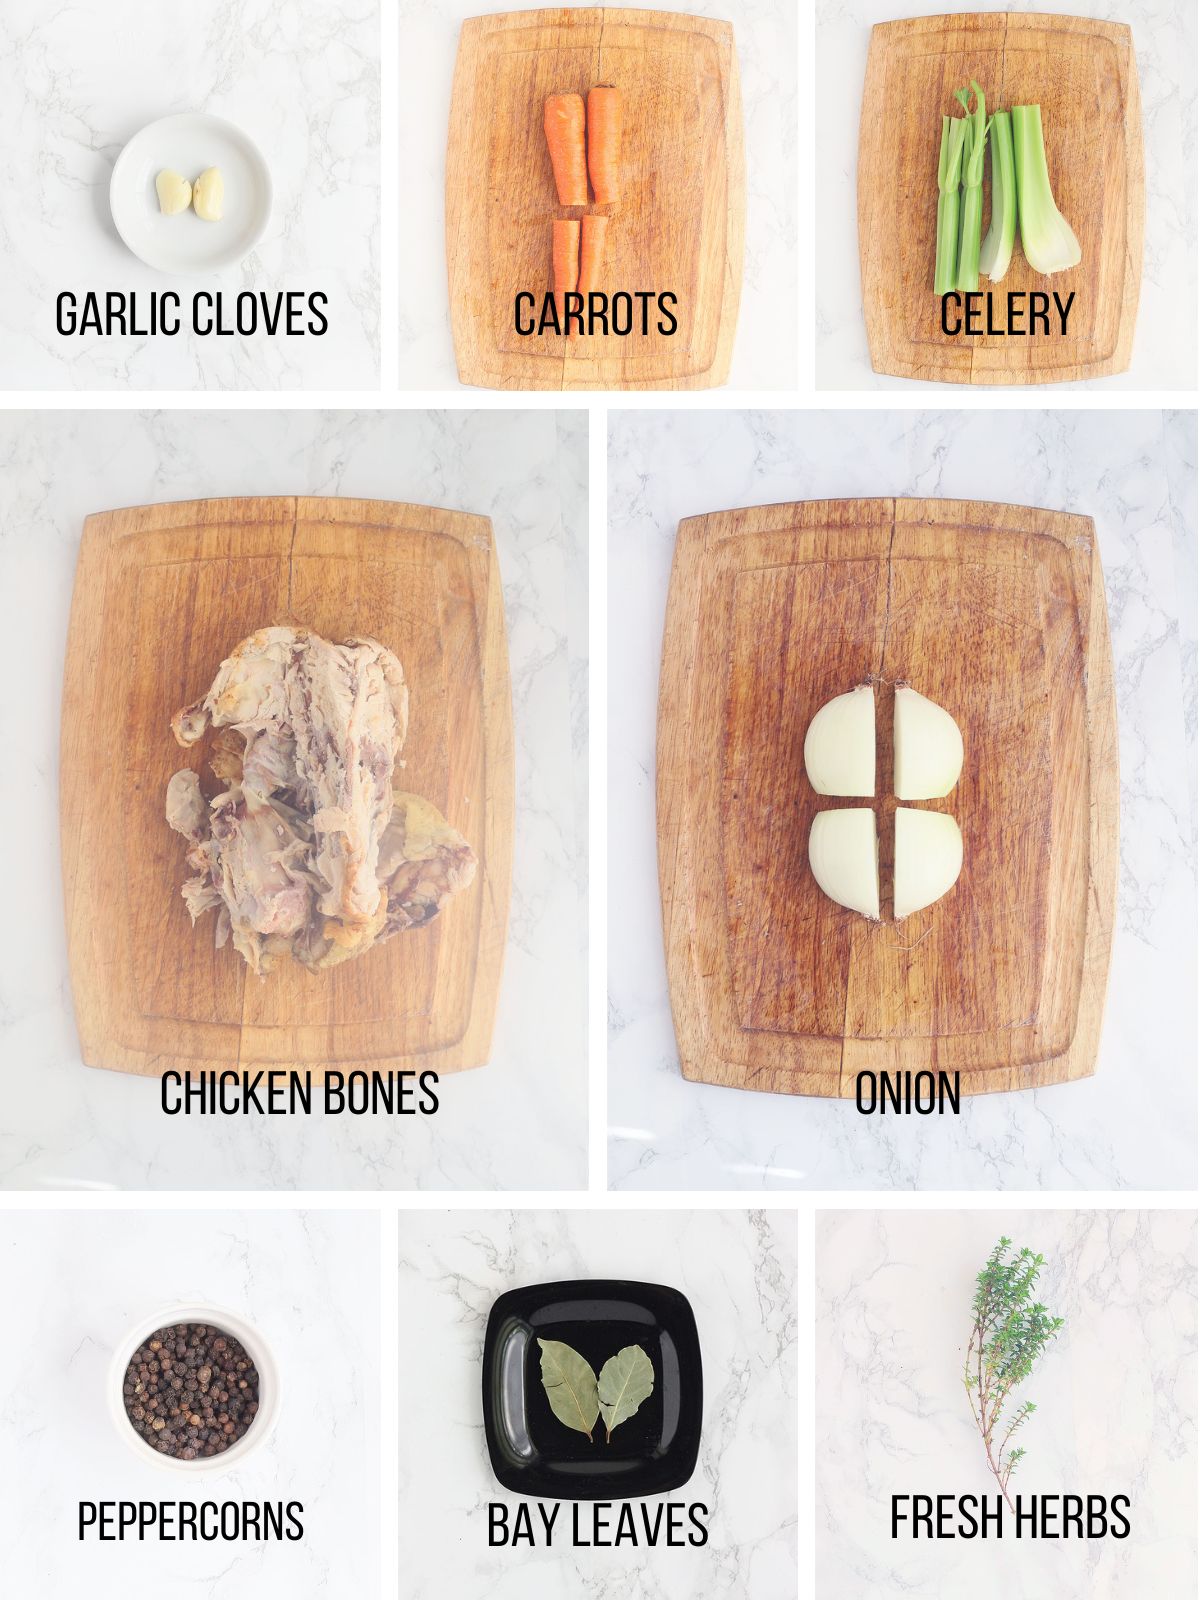
See the recipe card for full information on ingredients and quantities.
- Chicken bones – Use the carcass from a roasted chicken, rotisserie chicken, baked chicken pieces, or any leftover cooked chicken. Try to remove most of the meat and excess skin, but don’t worry about getting every last bite.
- Carrots – Add natural sweetness and color. No need to peel them—just give them a good wash.
- Celery – Celery adds classic savory flavor. Include the leaves if you have them.
- Onion – Yellow or white onions work best. Quarter the onion so it fits easily in the pot. Stay away fromred onions as they will discolor your stock.
- Garlic cloves – Whole cloves add subtle flavor without overpowering the stock.
- Whole black peppercorns – Provide gentle warmth without making the stock spicy.
- Bay leaves – Add depth and richness.
- Fresh herbs – Thyme and rosemary are my favorites, but parsley, sage, or oregano also work well.
- Cold water – Starting with cold water helps slowly draw flavor and collagen from the bones.
Equipment
- Large stockpot (at least 6 quarts)
- Fine-mesh strainer or cheesecloth
Substitutions and variations
One of the best things about homemade chicken stock is how flexible it is. Don’t be afraid to use what you already have on hand.
- Use turkey bones – Leftover Thanksgiving turkey makes an excellent turkey stock using this same method. Just avoid smoked turkey, since the smoky flavor can overpower the stock.
- Change up the herbs – Fresh thyme and rosemary are classic choices, but parsley, sage, oregano, or even a few sprigs of dill all work well. If using dried herbs, reduce the amount by about half.
- Use vegetable scraps – This recipe is a great way to reduce food waste. Save carrot peels, celery tops, onion ends, garlic cloves that are too small to use, and herb stems in a freezer bag until you’re ready to make stock.
- Add extra vegetables – Leeks, parsnips, mushrooms, and red, yellow, or orange bell peppers all add wonderful flavor. Just avoid strong vegetables like green bell peppers broccoli, Brussels sprouts, cabbage, or cauliflower, which can make the stock bitter.
- Leave out the salt – I intentionally don’t salt my homemade chicken stock. This gives me complete control over the seasoning in whatever recipe I’m making later.
- Roast raw bones first – If you’re starting with uncooked chicken bones instead of leftover cooked chicken, roast them at 425°F for 30–40 minutes before making stock. Roasting develops a deeper color and richer flavor.
What not to add
For the best-tasting chicken stock, avoid adding:
- Broccoli
- Cauliflower
- Brussels sprouts
- Cabbage
- Turnips
- Beets
- Too much rosemary
- Starchy vegetables like potatoes
- Red onions
These vegetables can make the stock bitter, cloudy, muddy tasting, or off color.
Also, avoid using bones from poultry that has been smoked. The smokey flavor will transfer to your broth. Which could be great if your making something like cowboy chili, but not so much for dishes like chicken noodle soup (ask me how I know).
How to make homemade chicken stock on a stovetop
Making homemade chicken stock is easier than you might think. Simply simmer leftover chicken bones with vegetables, herbs, and water until the bones release their flavor. The result is a rich, flavorful stock that’s perfect for soups, stews, gravies, casseroles, and sauces.
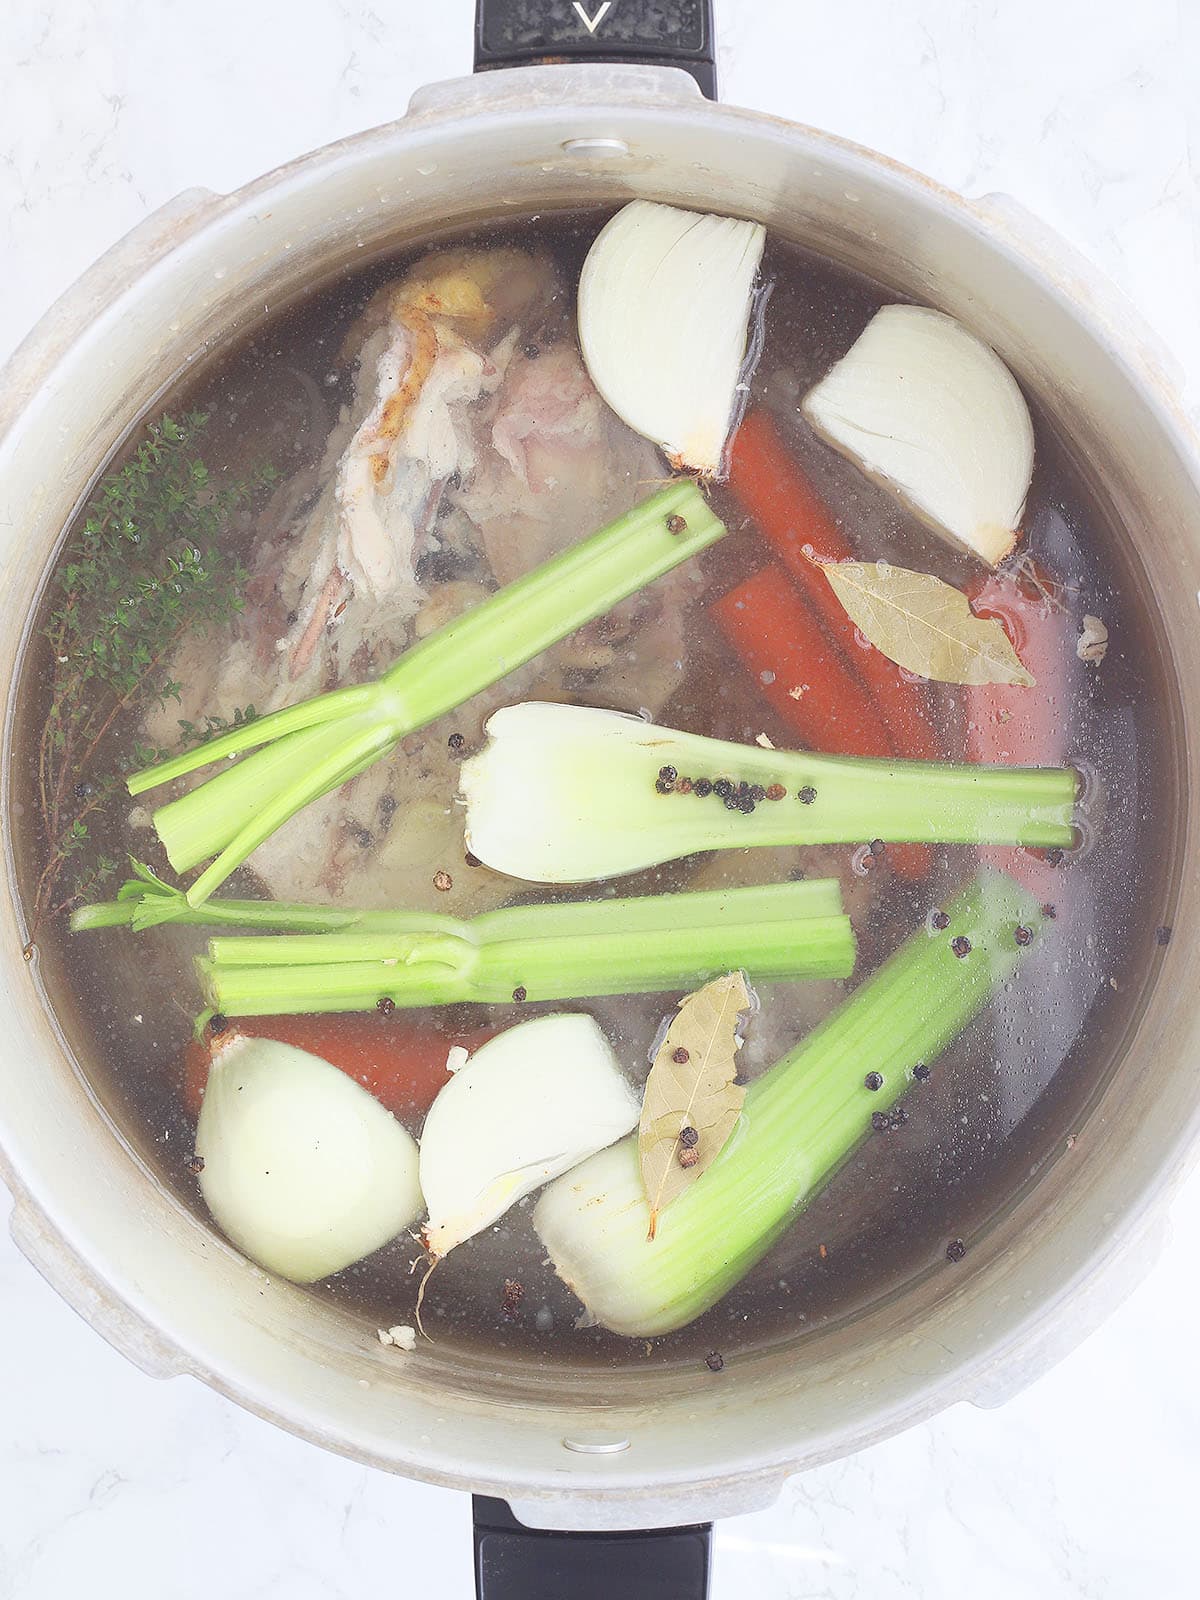
Step 1: Place the chicken bones in a large stockpot. Add the carrots, celery, onion, garlic, peppercorns, bay leaves, and fresh herbs. Pour in enough cold water to cover the bones by about 3 inches.
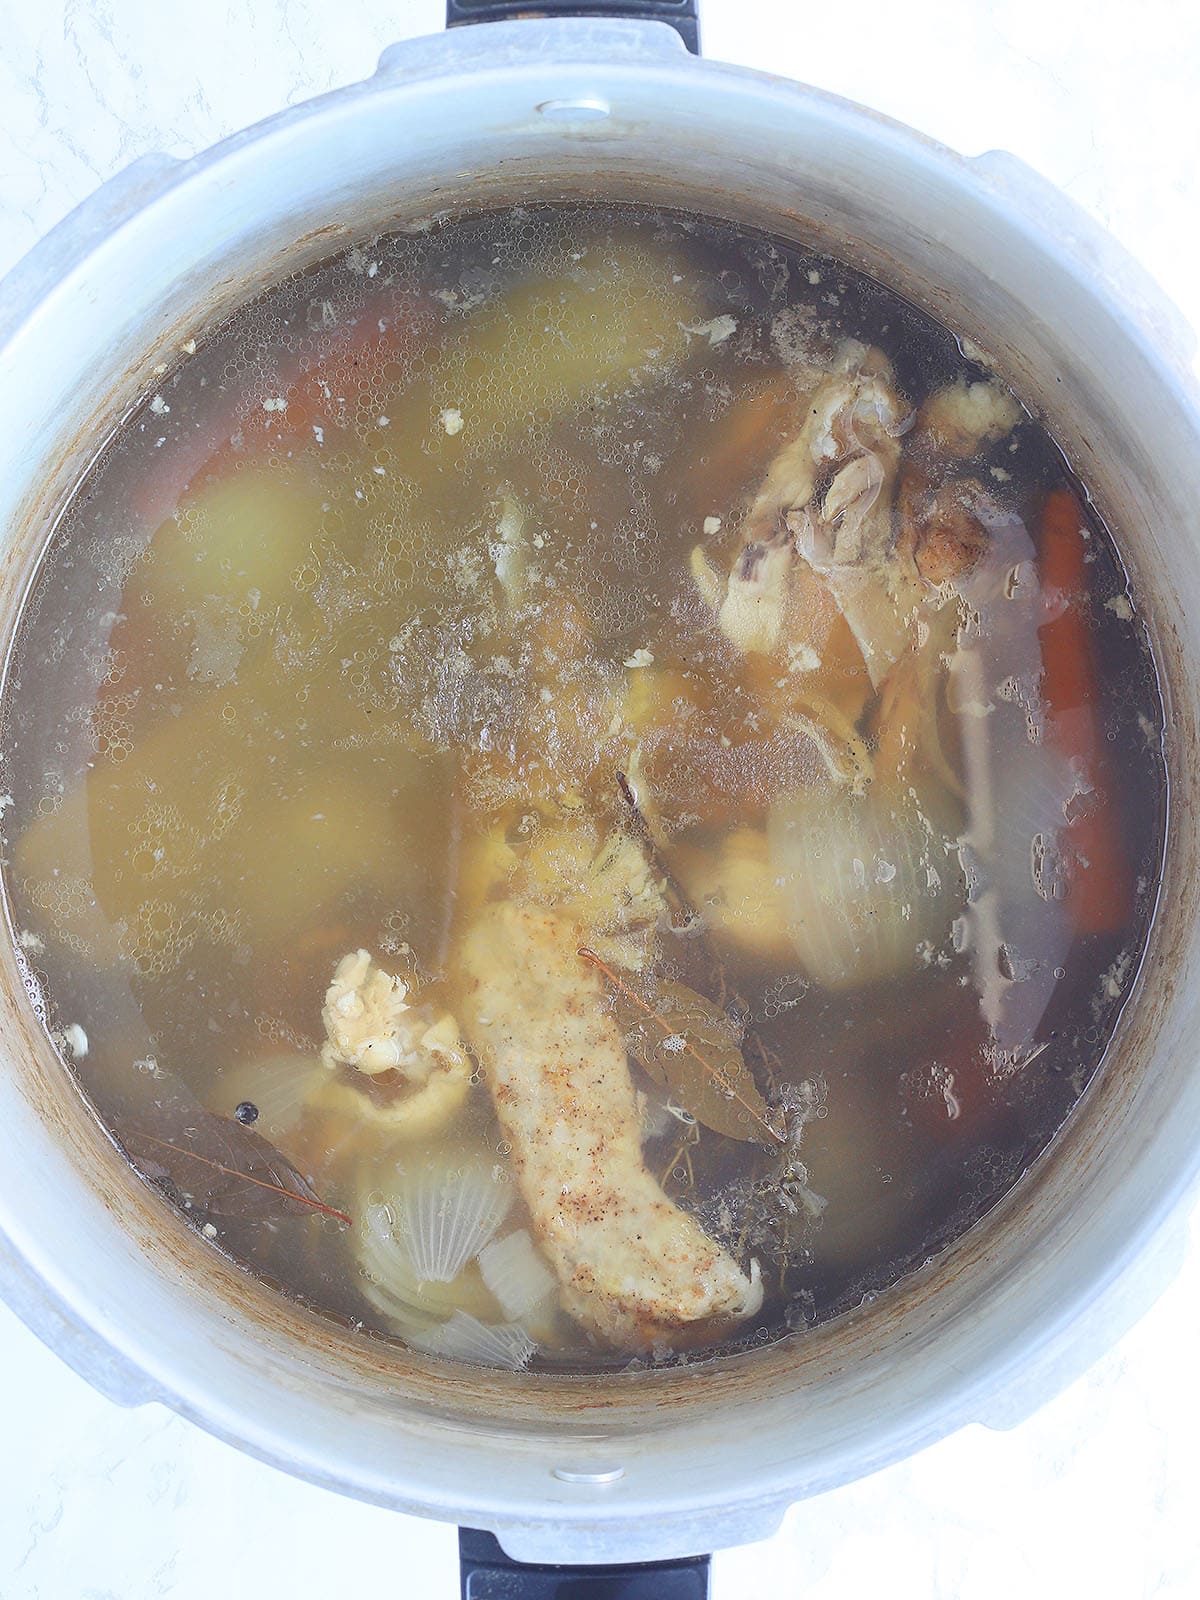
Step 2: Set the pot over medium-high heat and bring the water just to a boil. As soon as it begins bubbling, reduce the heat to medium-low so the stock maintains a gentle simmer. Avoid a rolling boil. A slow simmer produces a clearer stock with better flavor and less foam.
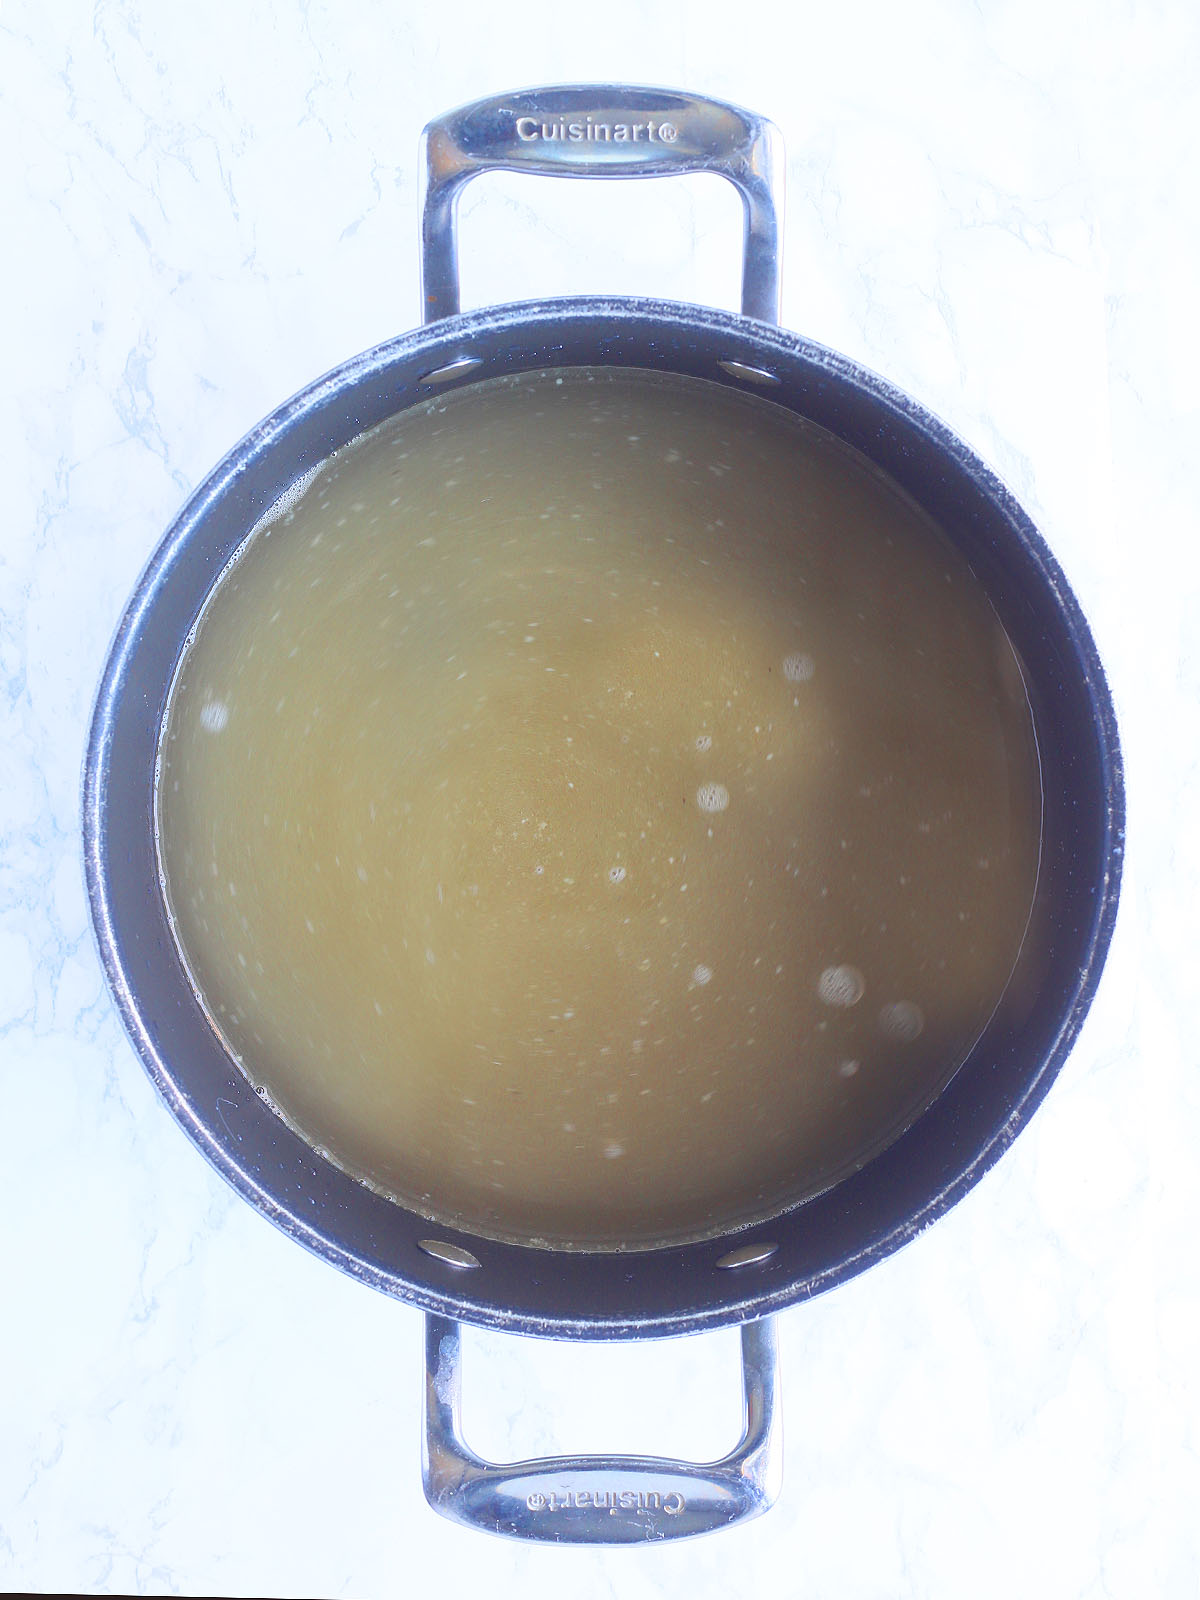
Step 3: Allow the stock to simmer for 2 to 3 hours, skimming off any foam that rises to the surface as needed. The foam is simply coagulated protein and won’t hurt the stock, but removing it helps keep the finished stock clear.
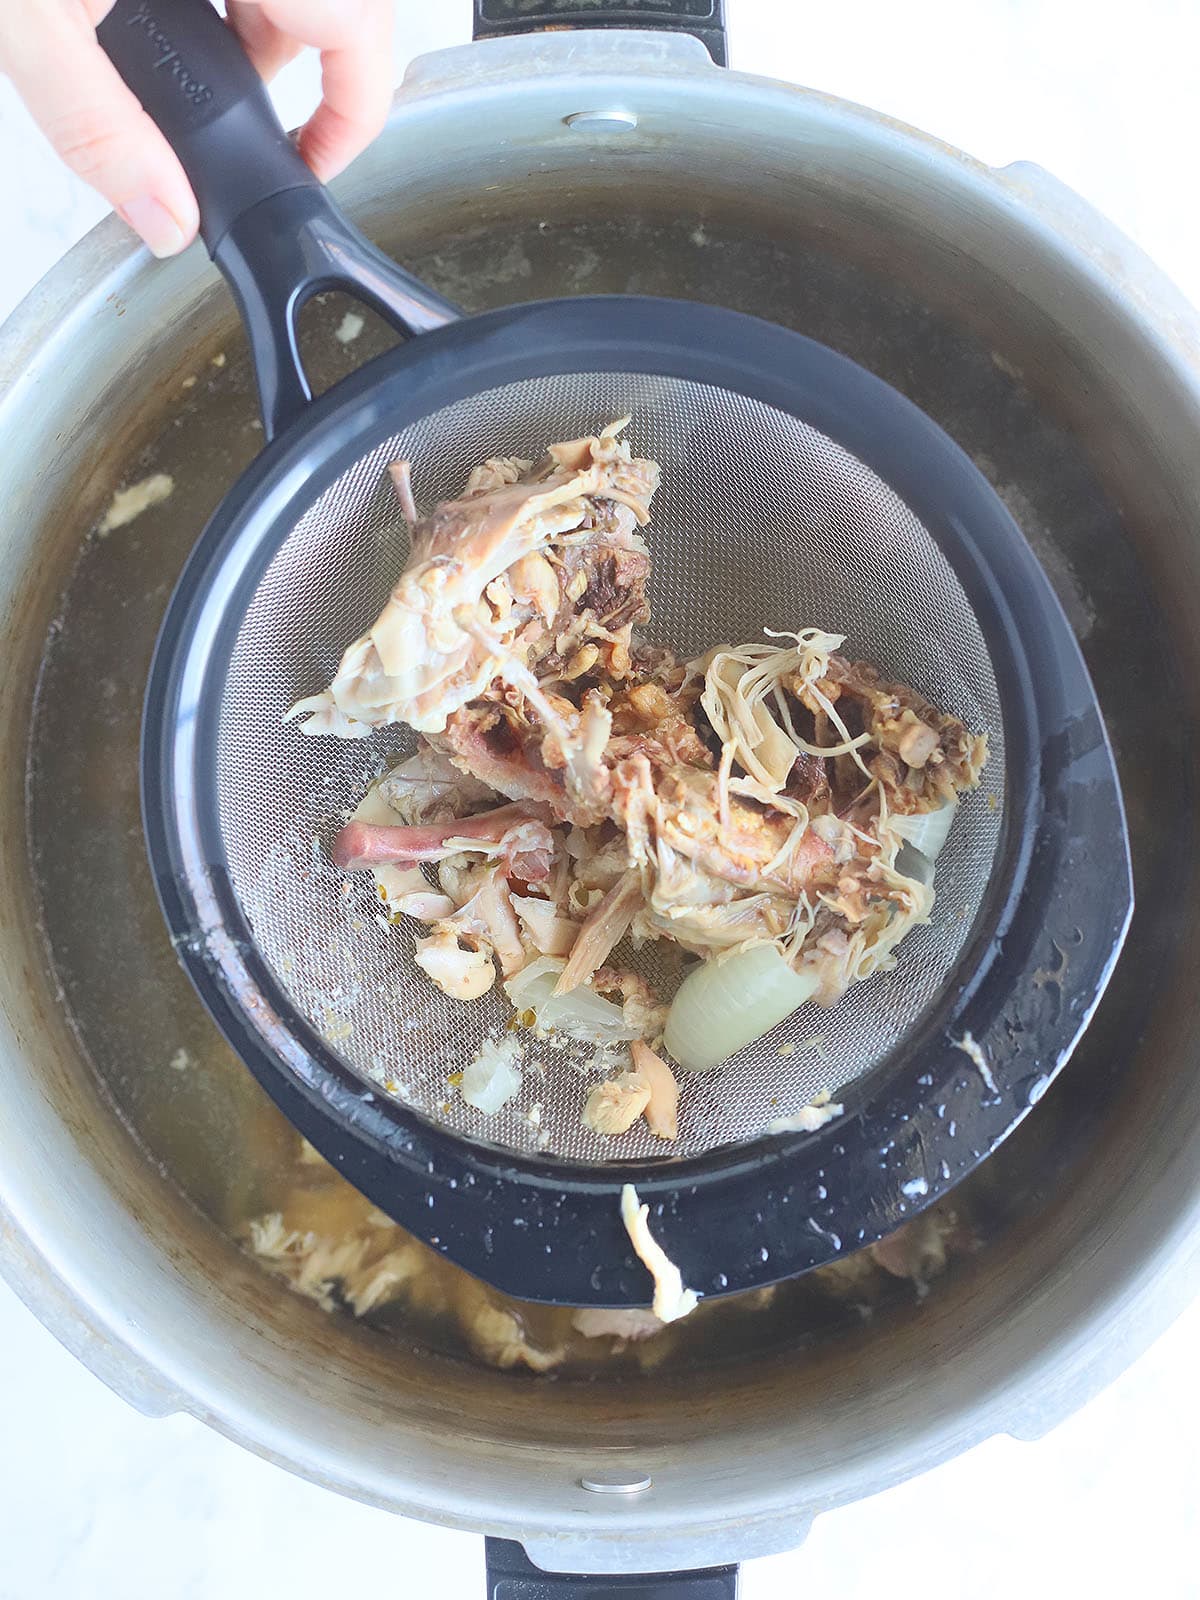
Step 4: Remove the pot from the heat and let it cool for about an hour. Pour the stock through a fine-mesh strainer into a clean pot or large bowl, discarding the bones, vegetables, and herbs. For an extra-clear stock, strain it a second time through cheesecloth or a fine-mesh sieve.
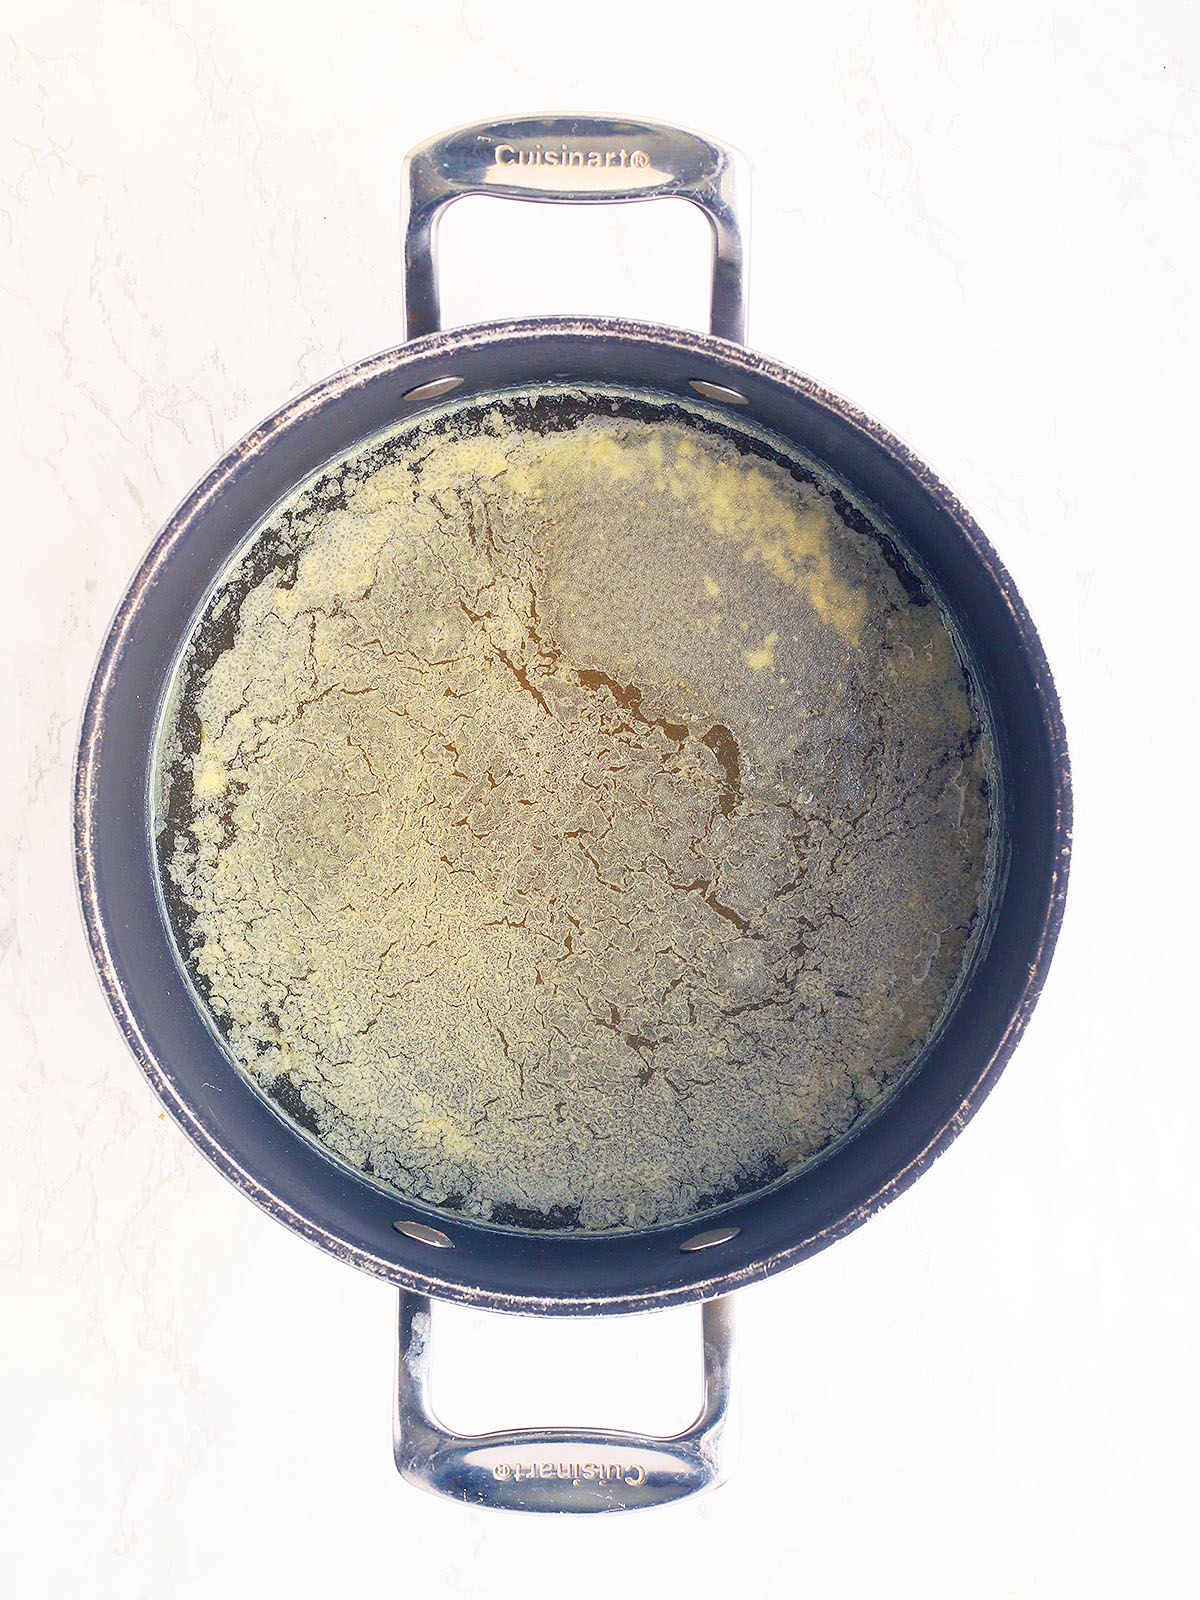
Step 5: Cover the strained stock and refrigerate it for at least 8 hours or overnight. As it chills, the fat will harden on the surface, making it easy to lift off with a spoon.
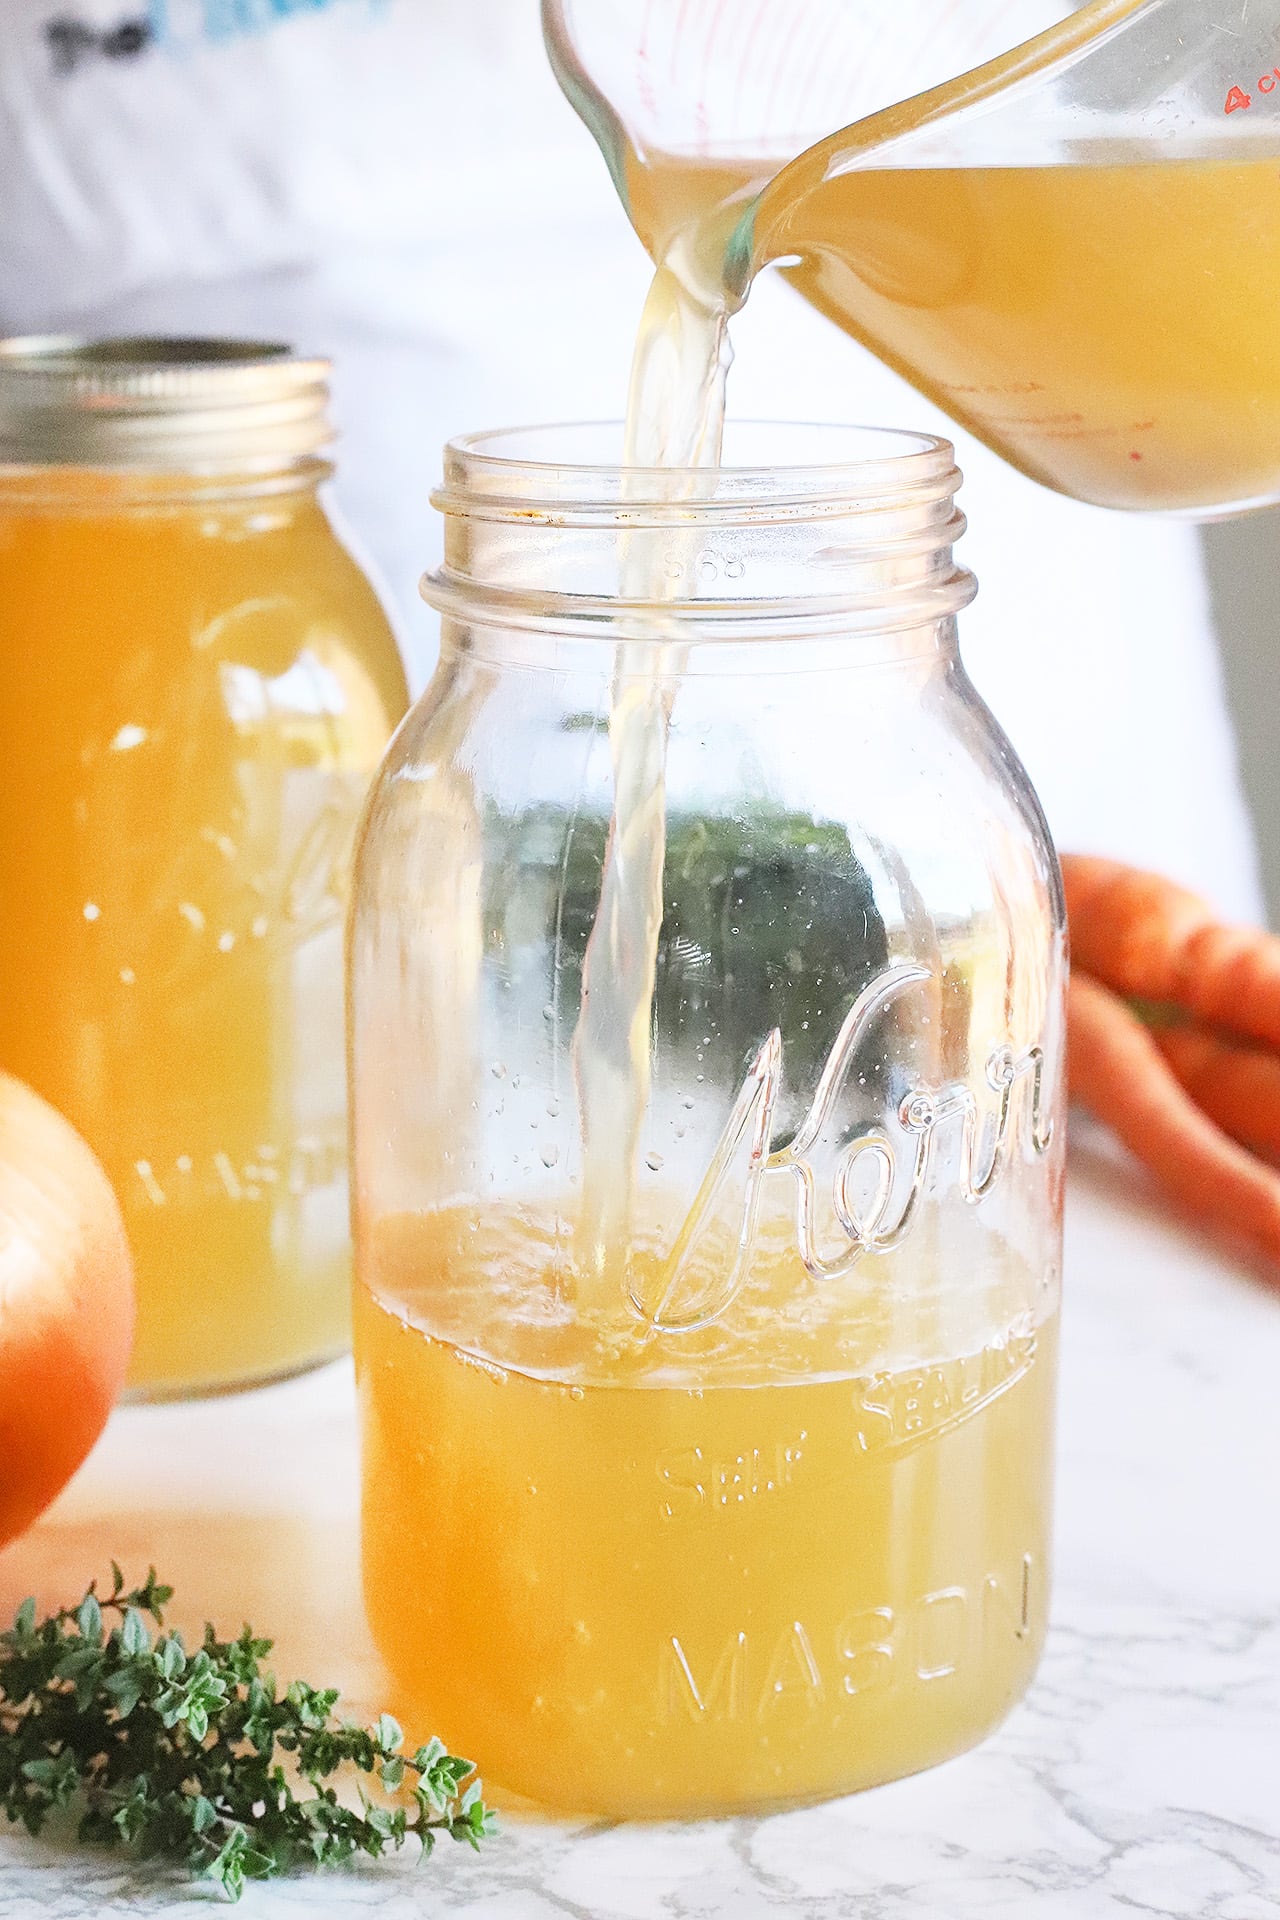
Step 6: Use the stock immediately, refrigerate it for up to 4 days, freeze it for up to 3 months, or pressure can it for long-term pantry storage.
Pro tip
Don’t be surprised if your chilled chicken stock has the consistency of soft Jell-O. That’s a good sign! The gelatin comes from collagen released by the bones during cooking and will melt back into a rich, silky liquid when reheated.
Instant Pot chicken stock instructions
Since Instant Pots are smaller, this is not my favorite method because it results in less stock. But if you’re short on time, you can definitely make this homemade chicken stock recipe in the Instant Pot.
Add the bones, vegetables, herbs, and enough water to reach the ⅔ full line. Pressure cook on High Pressure for 50 minutes, then allow the pressure to release naturally before straining.
Slow cooker chicken stock instructions
Place the chicken, vegetables, herbs and spices in the bottom of a slow cooker. Cover everything with cold water, leaving at least two inches of headspace between the surface of the water and the rim of the slow cooker. Cook on Low for 8 to 12 hours. Strain before storing.
Ways to use homemade chicken stock
Once you start making your own chicken stock, you’ll find yourself reaching for it all the time. It adds rich, homemade flavor to soups, stews, sauces, casseroles, rice dishes, and even mashed potatoes. Here are some of my favorite recipes that put homemade chicken stock to good use.
- Chicken and sausage gumbo – A rich, flavorful Southern gumbo made with a dark roux, smoked sausage, tender chicken, and plenty of homemade chicken stock.
- Chicken jambalaya – This hearty one-pot meal combines chicken, sausage, shrimp, rice, and Cajun seasoning in a flavorful broth that’s even better with homemade stock.
- Hearty chicken noodle soup – Nothing beats homemade chicken noodle soup made with homemade chicken stock. It creates a rich, comforting broth that’s perfect for cold days or when someone in the family is feeling under the weather.
- Old fashioned potato soup – A simple bowl of potato soup becomes extra creamy and flavorful when it’s made with homemade chicken stock instead of water.
More ways to use chicken stock
Chicken stock isn’t just for soup! Try using it to:
- Cook rice, cheddar cheese grits, quinoa, or other grains.
- Make creamy pan sauces or savory gravy for chicken or pork.
- Thin gravies without sacrificing flavor.
- Braise vegetables like turnip greens or cabbage.
- Add richness to casseroles.
- Deglaze a skillet after searing meat.
- Simmer dumplings or homemade noodles.
- Moisten leftover shredded chicken for sandwiches, casseroles, or chicken pot pies.
Storage, freezing and reheating instructions
One batch of homemade chicken stock goes a long way, making it perfect for meal prep. Whether you plan to use it within a few days or save it for later, here are the best ways to store it.
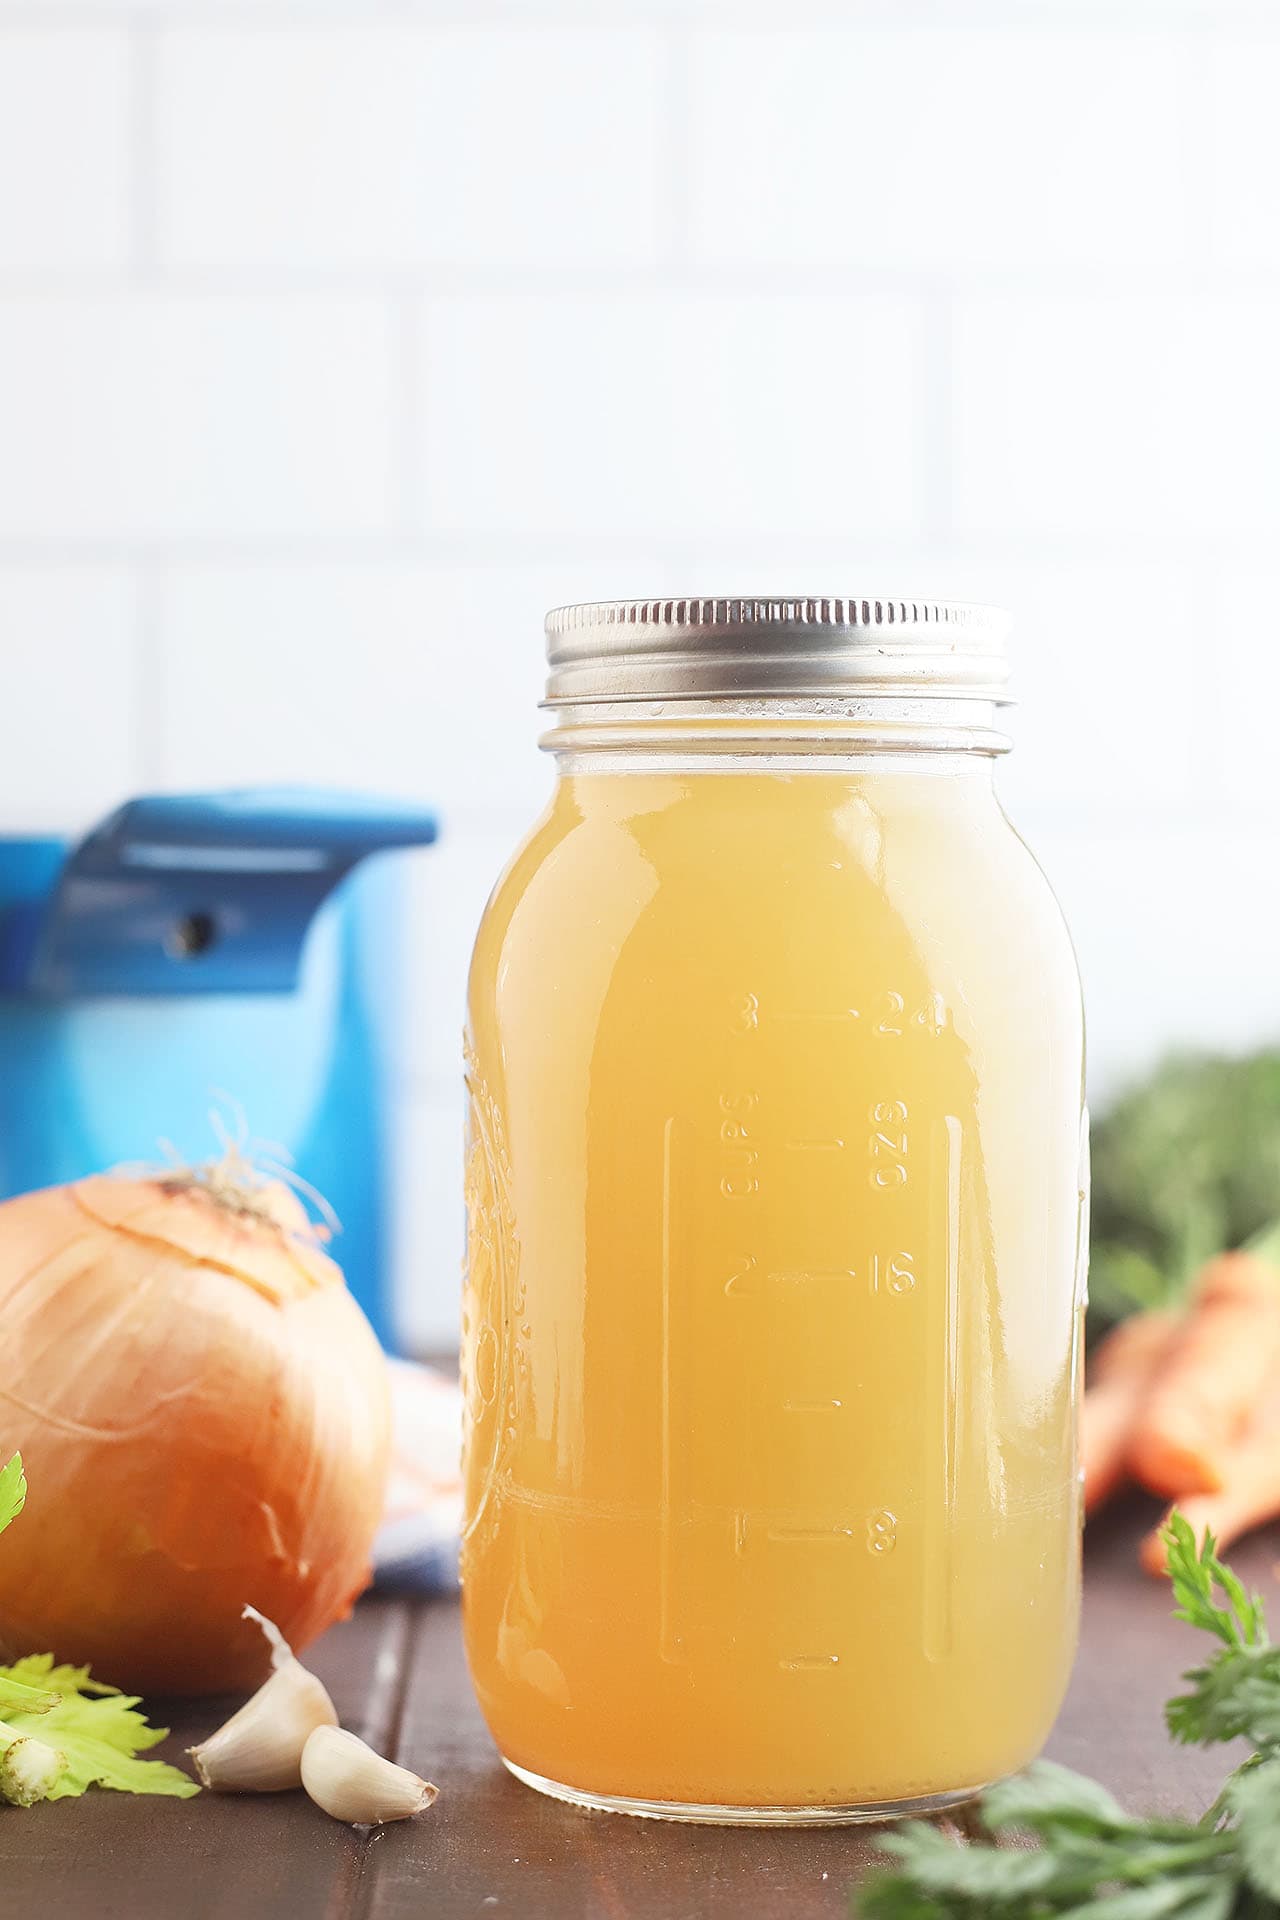
Refrigerator. Allow the stock to cool completely before transferring it to an airtight container or mason jar. Store it in the refrigerator for up to 4 days. As it chills, a layer of fat may harden on the surface. Simply remove it before using, or leave it in place to help seal in freshness until you’re ready to use the stock.
Freezer. Homemade chicken stock freezes beautifully for up to 3 months.You can freeze it several different ways:
- Freezer-safe containers: Leave 1 to 2 inches of headspace to allow the liquid to expand as it freezes.
- Freezer bags: Fill the bags, remove as much air as possible, then freeze them flat. Once frozen, stack them to save freezer space.
- Ice cube trays: Freeze small portions for recipes that only need a tablespoon or two. Once frozen, transfer the cubes to a freezer bag for easy storage.
Thaw frozen stock overnight in the refrigerator before using.
Reheating. Reheat chicken stock in a saucepan over medium heat until warmed through, or microwave it in a microwave-safe container in 30-second intervals, stirring between each interval.
If your refrigerated stock has turned into a gel, don’t worry—that’s exactly what you want to see. The natural gelatin will melt back into a rich, flavorful broth as it heats.
Pressure canning instructions
If you have a pressure canner, homemade chicken stock can also be pressure canned for long-term pantry storage. Chicken stock is a low-acid food and must be pressure canned. It is not safe to preserve chicken stock using a water bath canner. Properly canned stock doesn’t require refrigeration until it’s opened, making it a convenient option to keep on hand for soups, sauces, and everyday cooking.
- Wash pint or quart canning jars, lids, and bands in hot, soapy water. Keep the jars warm until you’re ready to fill them.
- Bring the strained chicken stock to a gentle simmer. Ladling hot stock into warm jars helps prevent thermal shock, which can cause glass jars to crack.
- Using a canning funnel, fill each jar with hot chicken stock, leaving 1 inch of headspace at the top. Remove any trapped air bubbles with a bubble remover or plastic utensil. Wipe the jar rims with a clean, damp cloth, then place the lids on the jars and screw on the bands until they’re fingertip tight.
- Place the canning rack in the bottom of the pressure canner and add the amount of water recommended by the manufacturer. Arrange the filled jars on the rack, making sure they don’t touch one another.
- Lock the lid in place and heat the canner over medium-high heat. Once a steady stream of steam begins escaping from the vent, allow it to vent for 10 minutes before placing the pressure regulator or closing the vent.
- Bring the canner to the correct pressure for your altitude and process according to current USDA guidelines: Pint jars: 20 minutes; Quart jars: 25 minutes. Maintain the correct pressure for the entire processing time.
- When the processing time is complete, turn off the heat and allow the pressure to return to zero naturally. Do not force-cool the canner or remove the weight early. Once the canner has depressurized, carefully remove the lid, tilting it away from your face to avoid the escaping steam.
- Using a jar lifter, transfer the jars to a towel-lined countertop. Let them cool undisturbed for 12 to 24 hours. After the jars have cooled, check that each lid has sealed. The center of the lid should not flex when pressed. Remove the screw bands, wipe the jars clean, label them with the date, and store them in a cool, dark place for up to 1 year for the best quality.
Pro tips
- Never pressure can cold stock in cold jars. Warm stock and warm jars reduce the risk of breakage.
- Leave 1 inch of headspace to prevent liquid from siphoning out during processing.
- Remove the screw bands before storing the jars. This helps prevent rust and lets you quickly spot a failed seal.
- Always adjust the processing pressure for your altitude according to your pressure canner manufacturer’s instructions or current USDA recommendations.
Homemade chicken stock frequently asked questions
Cloudy stock is usually caused by boiling it too vigorously. For the clearest stock, always start with cold water, bring it to a gentle simmer, and avoid a rolling boil. Skimming the foam from the surface also helps.
You can, but the second batch will be much lighter in flavor because most of the collagen and flavor have already been extracted during the first batch.
Yes! Homemade chicken stock is delicious warmed and sipped on its own. Many people enjoy it as a comforting, protein-rich drink, especially during cold weather. Since this recipe doesn’t include salt, you may want to season it to taste before serving.
Yes. Traditional stock can be made using only bones and water. The vegetables simply add another layer of flavor.
More ideas for homemade chicken stock
Tried This Recipe? Let Me Know!
⭐️⭐️⭐️⭐️⭐️
If you made homemade chicken stock, I’d love to hear how it turned out! Your ratings and reviews help others find the recipe and give me great feedback too.
Homemade Chicken Stock
Ingredients
- 3 pounds chicken bones, as much skin removed as possible
- 2 whole carrots, cut crosswise in half
- 2 celery stalks, cleaned and cut crosswise in half
- 2 garlic cloves, peeled
- 1 onion, peeled and quartered
- 1 teaspoon whole black peppercorns
- 2 bay leaves
- 1 bundle fresh herbs (such as thyme, rosemary, sage, or oregano)
Instructions
- Place the chicken bones in a large stockpot. Add enough cold water to cover the bones by 2 to 3 inches.
- Add the vegetables, peppercorns, bay leaves, and herbs. Bring the water to a boil over medium-high heat.
- Reduce the heat to low and maintain a gentle simmer for 2 to 3 hours, skimming any foam from the surface as needed.
- Remove the pot from the heat and let the stock cool for about 1 hour.
- Using tongs or a slotted spoon, remove and discard the large bones and vegetables.
- Strain the stock through a fine-mesh sieve into a large bowl or another stockpot. Discard the remaining solids.
- Refrigerate the stock overnight.
- Remove and discard the hardened layer of fat from the surface.
- Transfer the stock to airtight containers or freezer bags for storage.
Video
Notes
- Save your chicken bones. Keep leftover bones from roasted chickens, rotisserie chickens, or baked chicken pieces in a freezer bag until you have enough to make a batch of stock.
- Don’t salt the stock. Leaving out the salt makes homemade chicken stock more versatile since you can season each recipe to taste.
- Start with cold water. This helps draw more flavor and collagen from the bones, resulting in a richer stock.
- Keep the stock at a gentle simmer. Avoid a rolling boil, which can make the stock cloudy and give it a muddier flavor.
- Skim the foam. As the stock simmers, skim off any foam that rises to the surface for a clearer finished stock.
- Don’t throw away the chicken fat. The hardened fat that rises to the top after chilling is called schmaltz. Save it to roast vegetables, sauté onions, fry potatoes, or add flavor to gravies.
- A jiggly stock is a good thing. If your refrigerated stock has the consistency of soft gelatin, that’s a sign it’s rich in natural collagen. It will return to liquid as soon as it’s reheated.
- Freeze in smaller portions. Freeze stock in 1- or 2-cup portions—or even in ice cube trays—so you can thaw only what you need.
- Roast raw bones first. If you’re starting with uncooked chicken bones instead of leftover roasted chicken, roast them at 425°F for 30–40 minutes for a deeper, richer flavor.
- Pressure can for long-term storage. Chicken stock is a low-acid food and must be pressure canned. Never use a water bath canner to preserve homemade chicken stock.




Do I have to cover the pot when simmering?
hi again lol. sadly the manual that came with mine was so dang basic. I was disappointed. I will check on line, maybe I can find some info there. thank you for the reply, happy day
CC, I would check your manual that came with the cooker. Most manufacturers a few basic recipes. If not, or you do don’t have the manual anymore, check online for instructions for your model.
hi, thank you for this easy recipe. I would love to have the instructions for using a pressure cooker. Mine is electric, not the one that goes on the stove burner. have a day filled with laughter and smiles
CC
Typically between 4 and 6 quarts depending on how big your chicken is. If I’m doing a large batch with bones I have accumulated, I have gotten as many as 8 quarts.
How many quarts of chicken stock will this recipe make?
That’s great! I hope you ended up with lots of yummy stock by the time the night was over.
Thanks for the post, I have a ton of work to do tonight and I made a whole chicken earlier so I have my stock pot on the stove while I sit here billing the night away!
It does depend on the size of the chicken. One 3-4 lb. whole chicken carcass could possibly net you around 4 quarts of stock.
I’ve been wanting to try making homemade stock, and this recipe looks really easy and delicious. I realize it probably depends on the size of the chicken, but about how much stock does your recipe make?