Three Ingredient Blackberry Jam [with or without seeds]
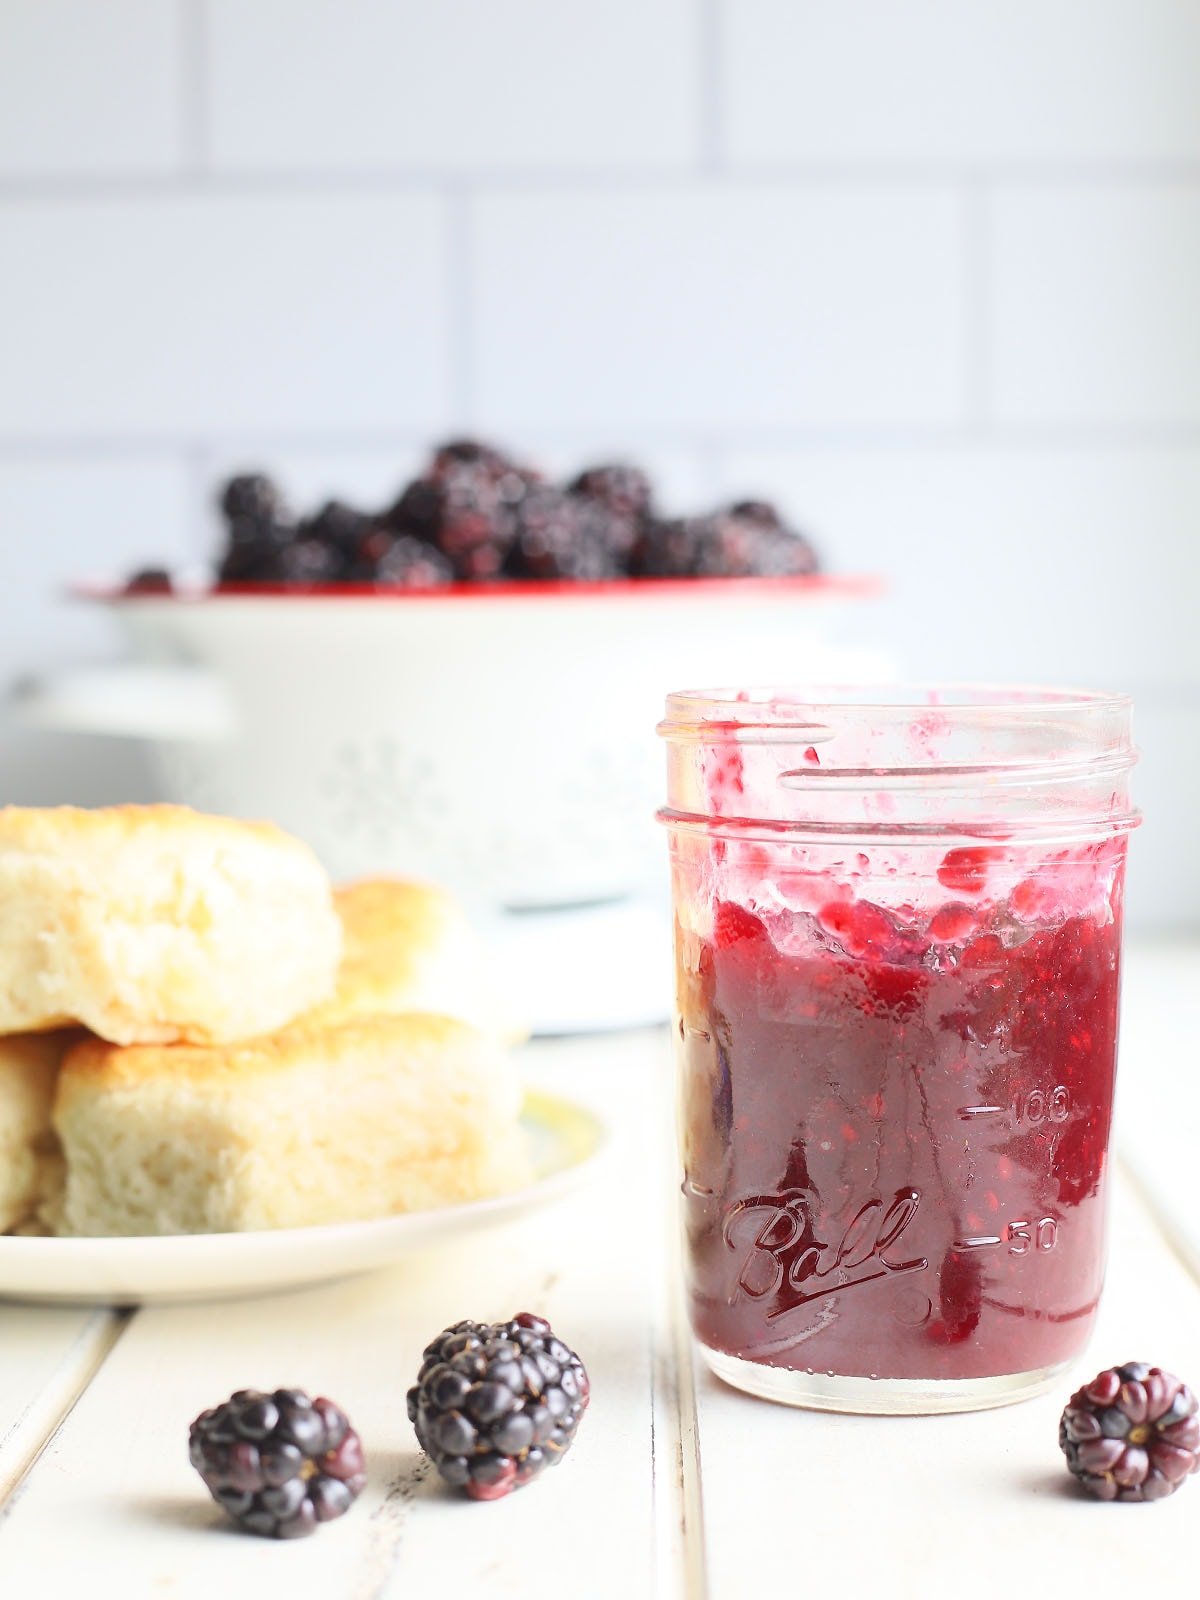
With just three ingredients, you can make homemade blackberry jam that’s bursting with flavor and perfect for spreading on toast, biscuits, and more.
This post may contain affiliate links. Click here to learn more about how affiliate links are used on this site.
Making homemade jam has become one of my favorite warm weather traditions. It’s the time of year when fresh produce is at its peak. It’s so satisfying to fill mason jars full of warm, jewel-toned jam or jelly and later swipe a huge, sweet dollop across a hot buttermilk biscuit or onto a piece of bread slathered with peanut butter.
My husband and youngest son both love blackberries. I decided to change my usual tradition of making several jars of homemade strawberry jam for a few jars of deep purple blackberry jam. Making blackberry jam is easy and oh so delicious.
Ingredients and tools you will need to make blackberry jam
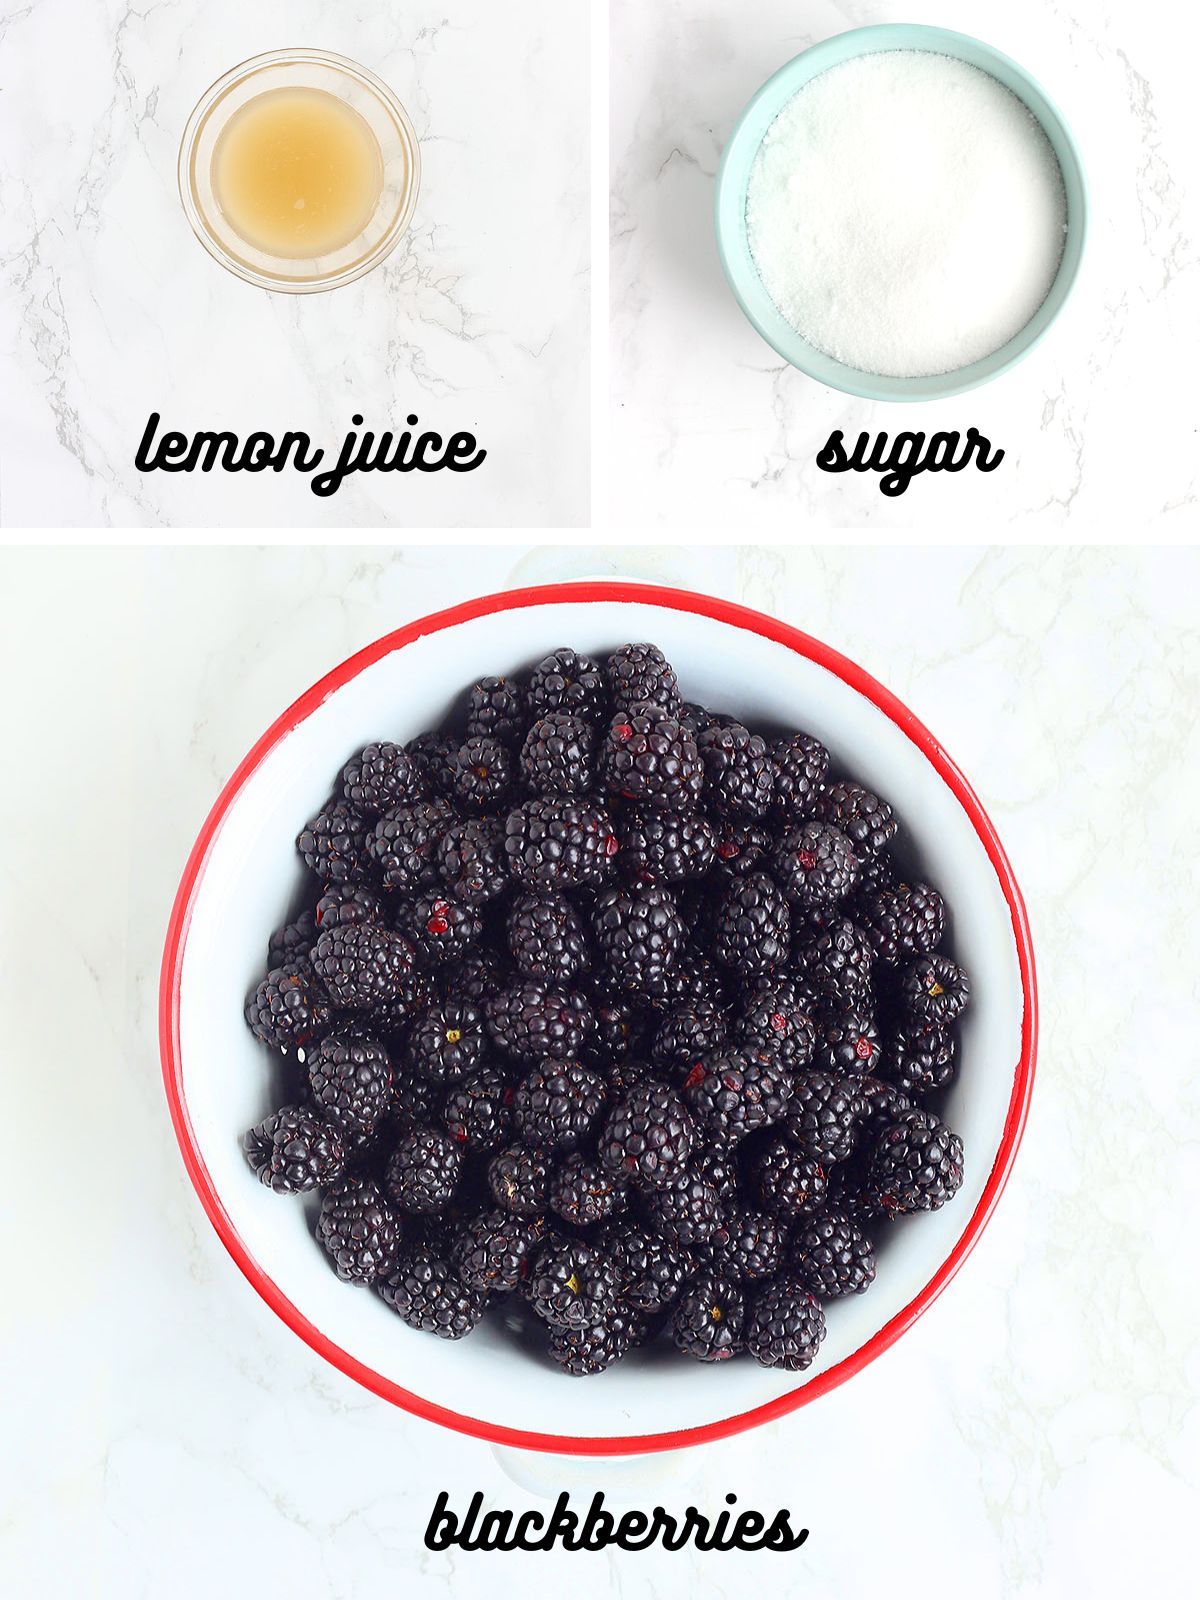
One of the main reasons I love this recipe is that it only calls for THREE ingredients! To make homemade blackberry jam, you will need:
- 3 pints (about six cups) whole fresh or frozen blackberries
- 3 cups white granulated sugar
- ¼ cup bottled lemon juice
- Blender or food processor
- Food mill or mesh sieve
- 8 ounce glass jelly jars or other plastic storage containers with a lid
- Tall stock pot, if canning
- Regular jar lids and rings, if canning
- Canning utensil kit, if canning
Preparing the blackberries
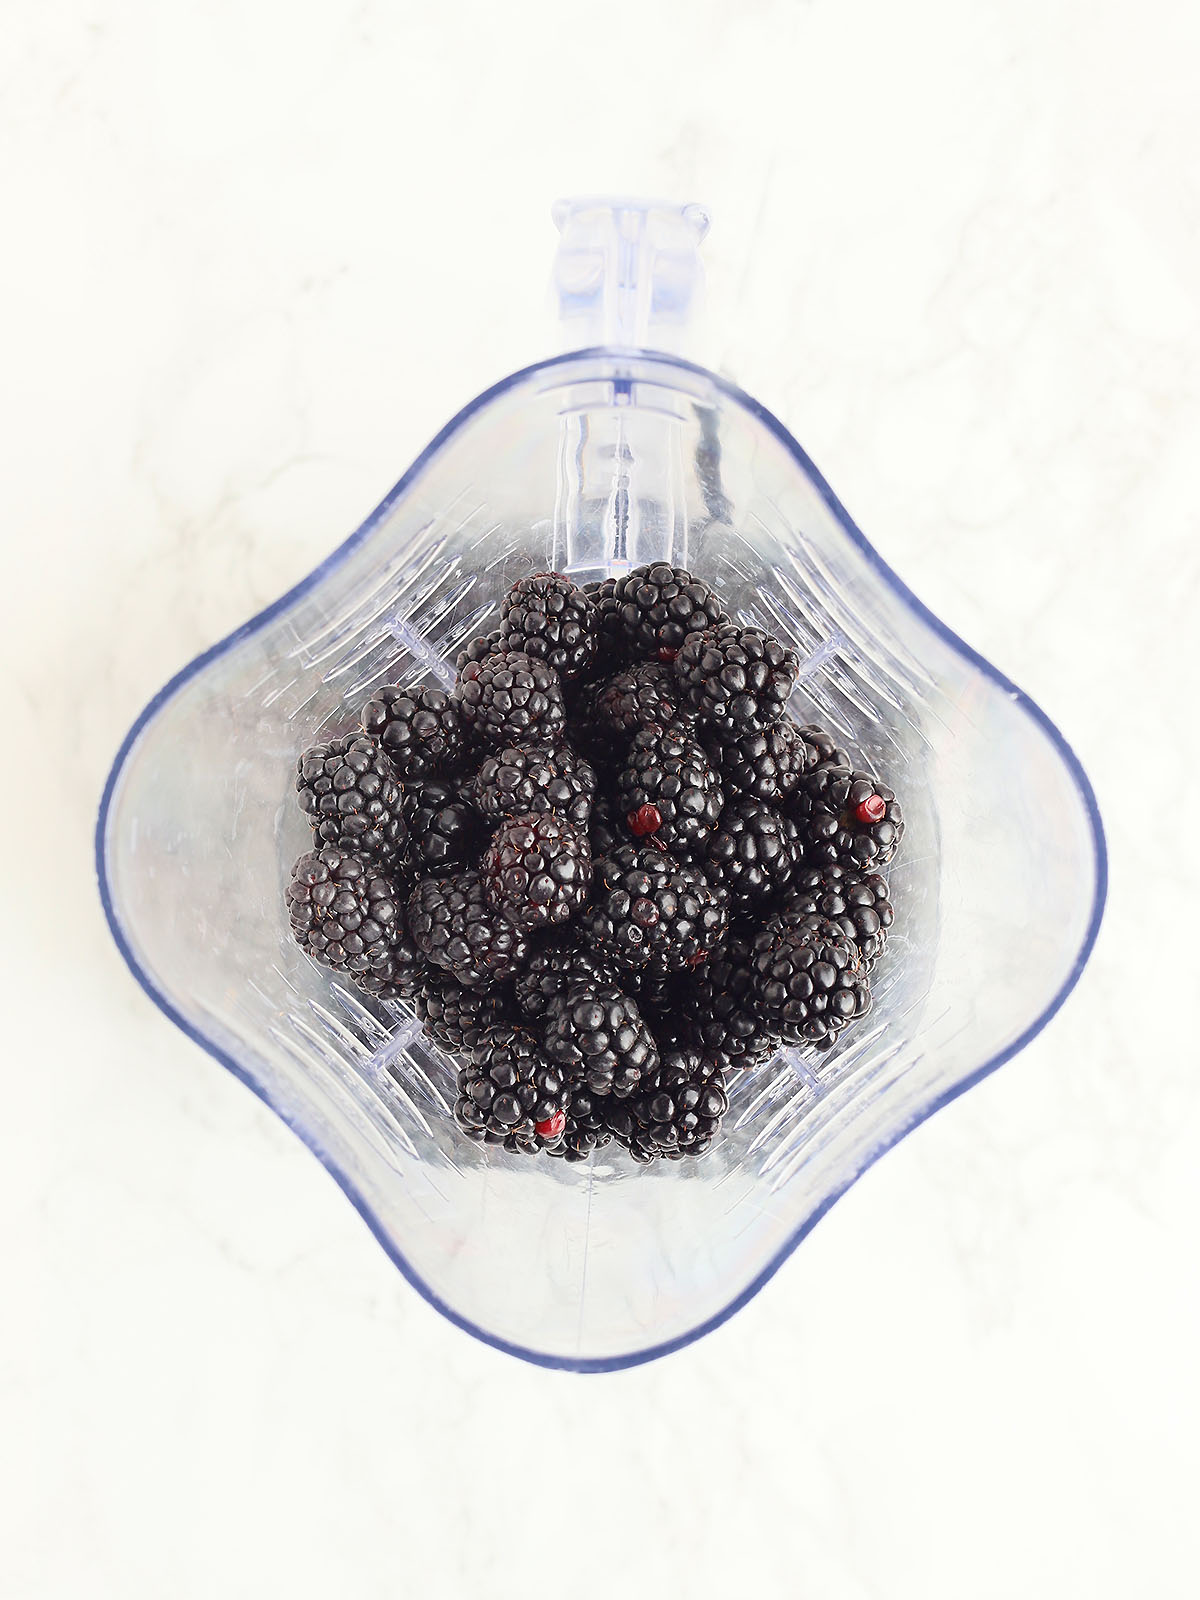
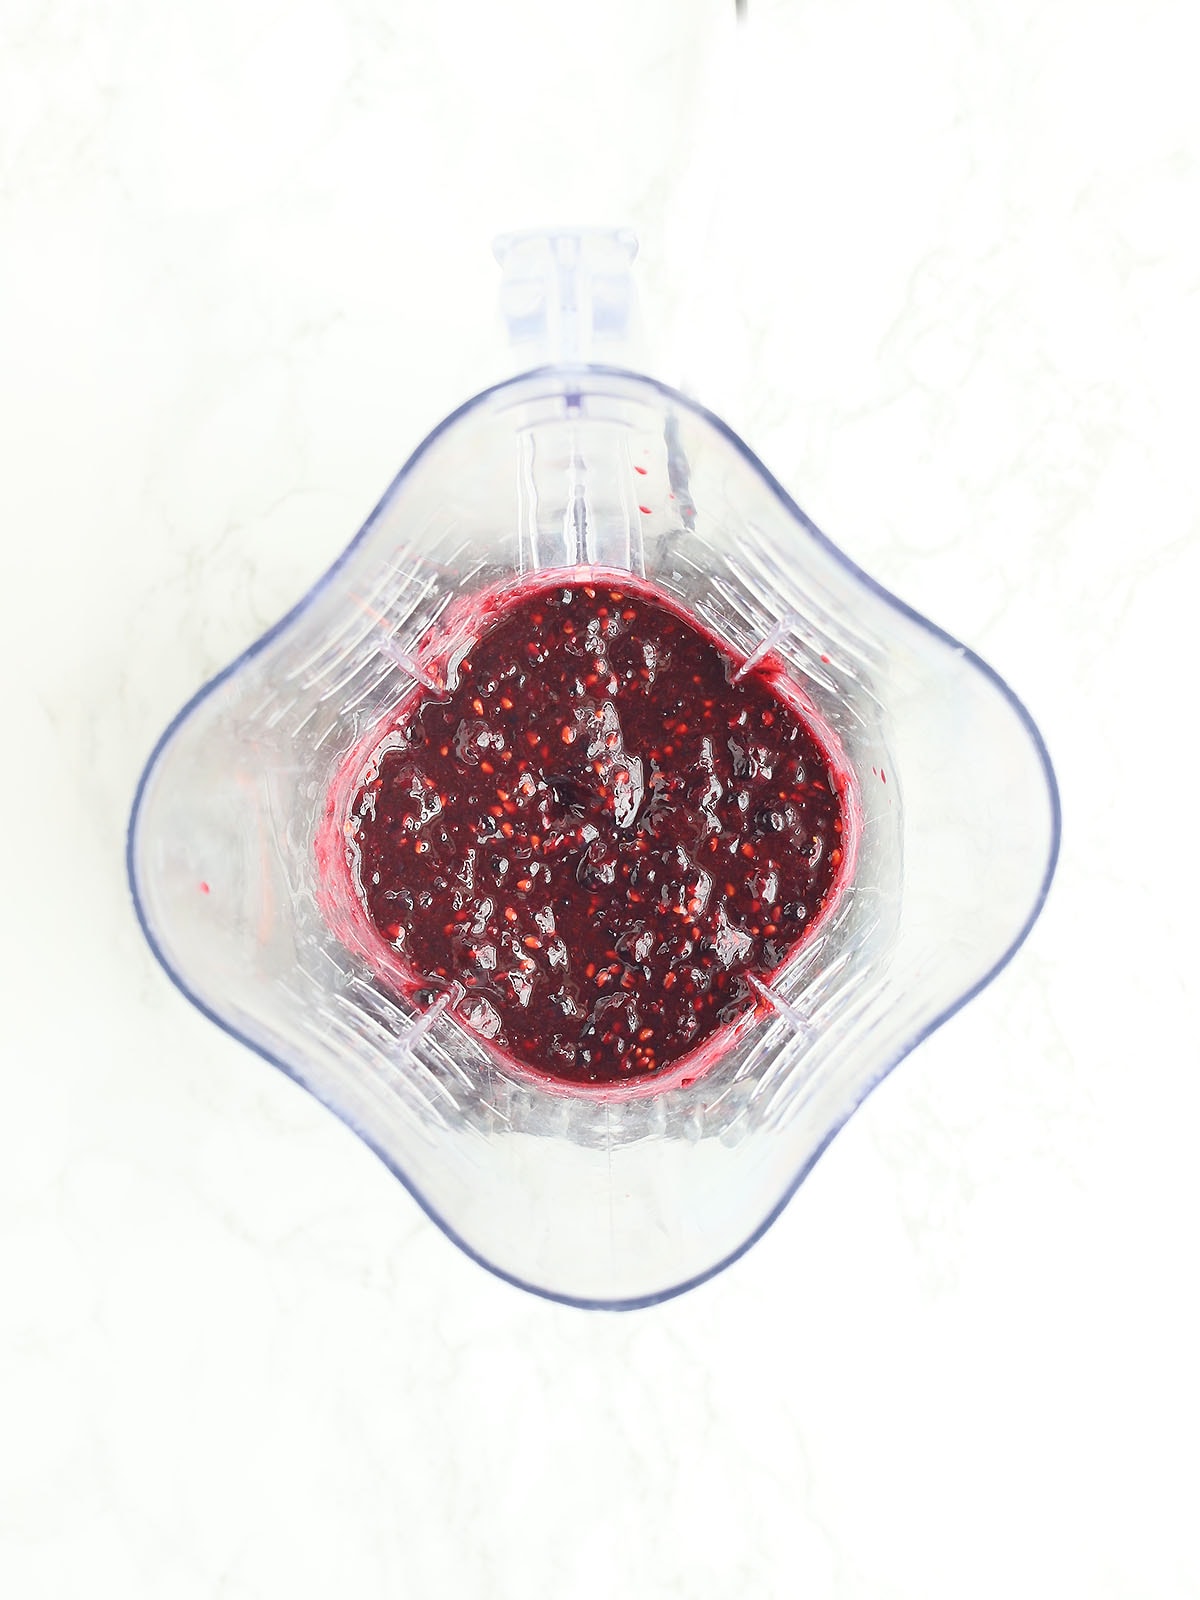
If using fresh blackberries, you’ll want to rinse them under cool water to remove any residual dirt or debris. If using frozen blackberries, you will need to let the berries thaw first. Since we are going to remove the seeds later, I like to pulse my berries a few times in a blender to break them up. You may have to pulse the blade then mash the berries with a wooden spoon a few times until they start to release their juices.
How to remove the seeds
One of my biggest turn offs when it comes to blackberries or raspberries are all the dang seeds! I hate biting down on one of those little buggers or getting them stuck in my teeth. Before I make the jam, the seeds have got to go.
I like using a food mill for this step. It’s a tool that uses a hand crank to push the mashed berries through a series of blades with holes of various sizes. I use the blade with the largest holes first to remove the skins, then work my way down through the blade with the next smallest size holes to start removing the seeds. Running the berries through blades one and two removed enough of the seeds to make me happy. But if you absolutely want every single seed removed, you can run it through the food mill a third time using the blade with the smallest perforations.
I highly recommend investing in a food mill. It has a variety of uses outside of jam making. I also use it to remove lumps from foods like mashed potatoes and soup.

Add the lemon juice and sugar
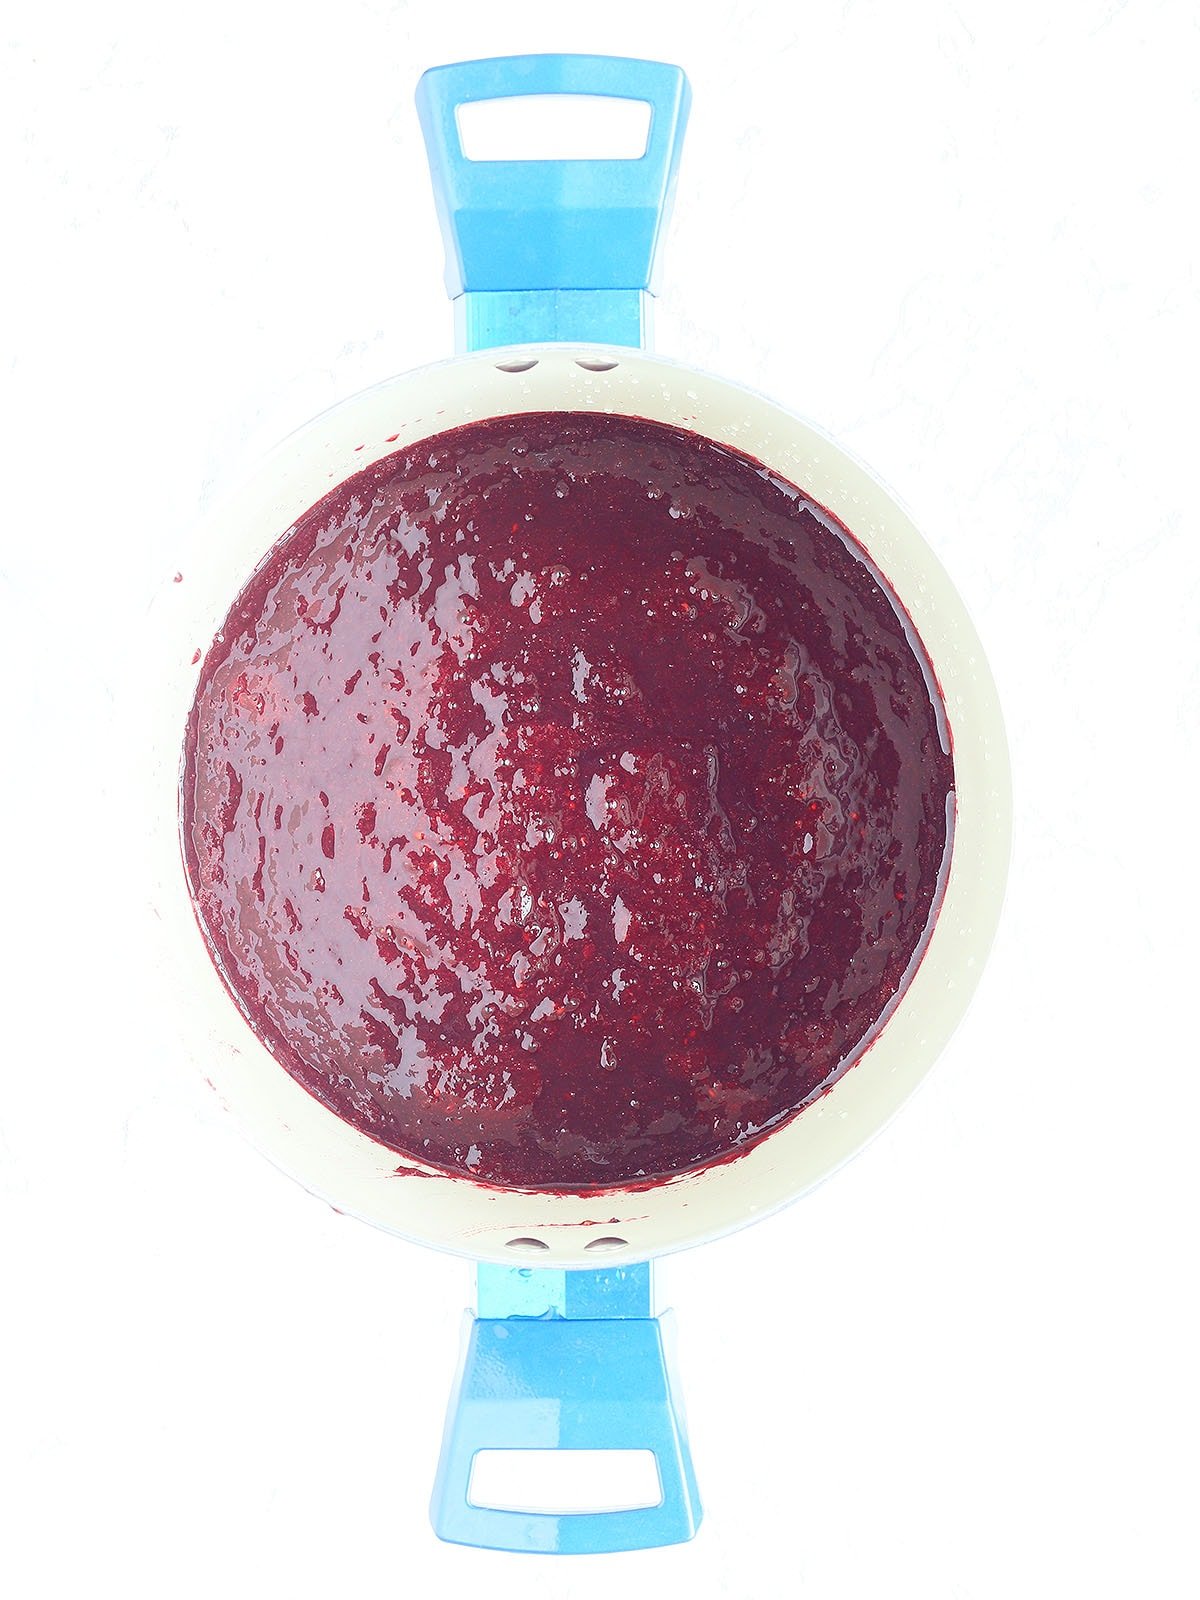
After we’ve remove the seeds, it’s time to start cooking down the puree into jam. Pour the strained berry puree into a large stock pot and add ¼ cup of bottled lemon juice. Bring the puree to a hard rolling boil. Hard rolling boil means that the puree doesn’t stop boiling when you stir it. This can be messy, so I recommend using a pot with a lid or using a splatter guard for this part.
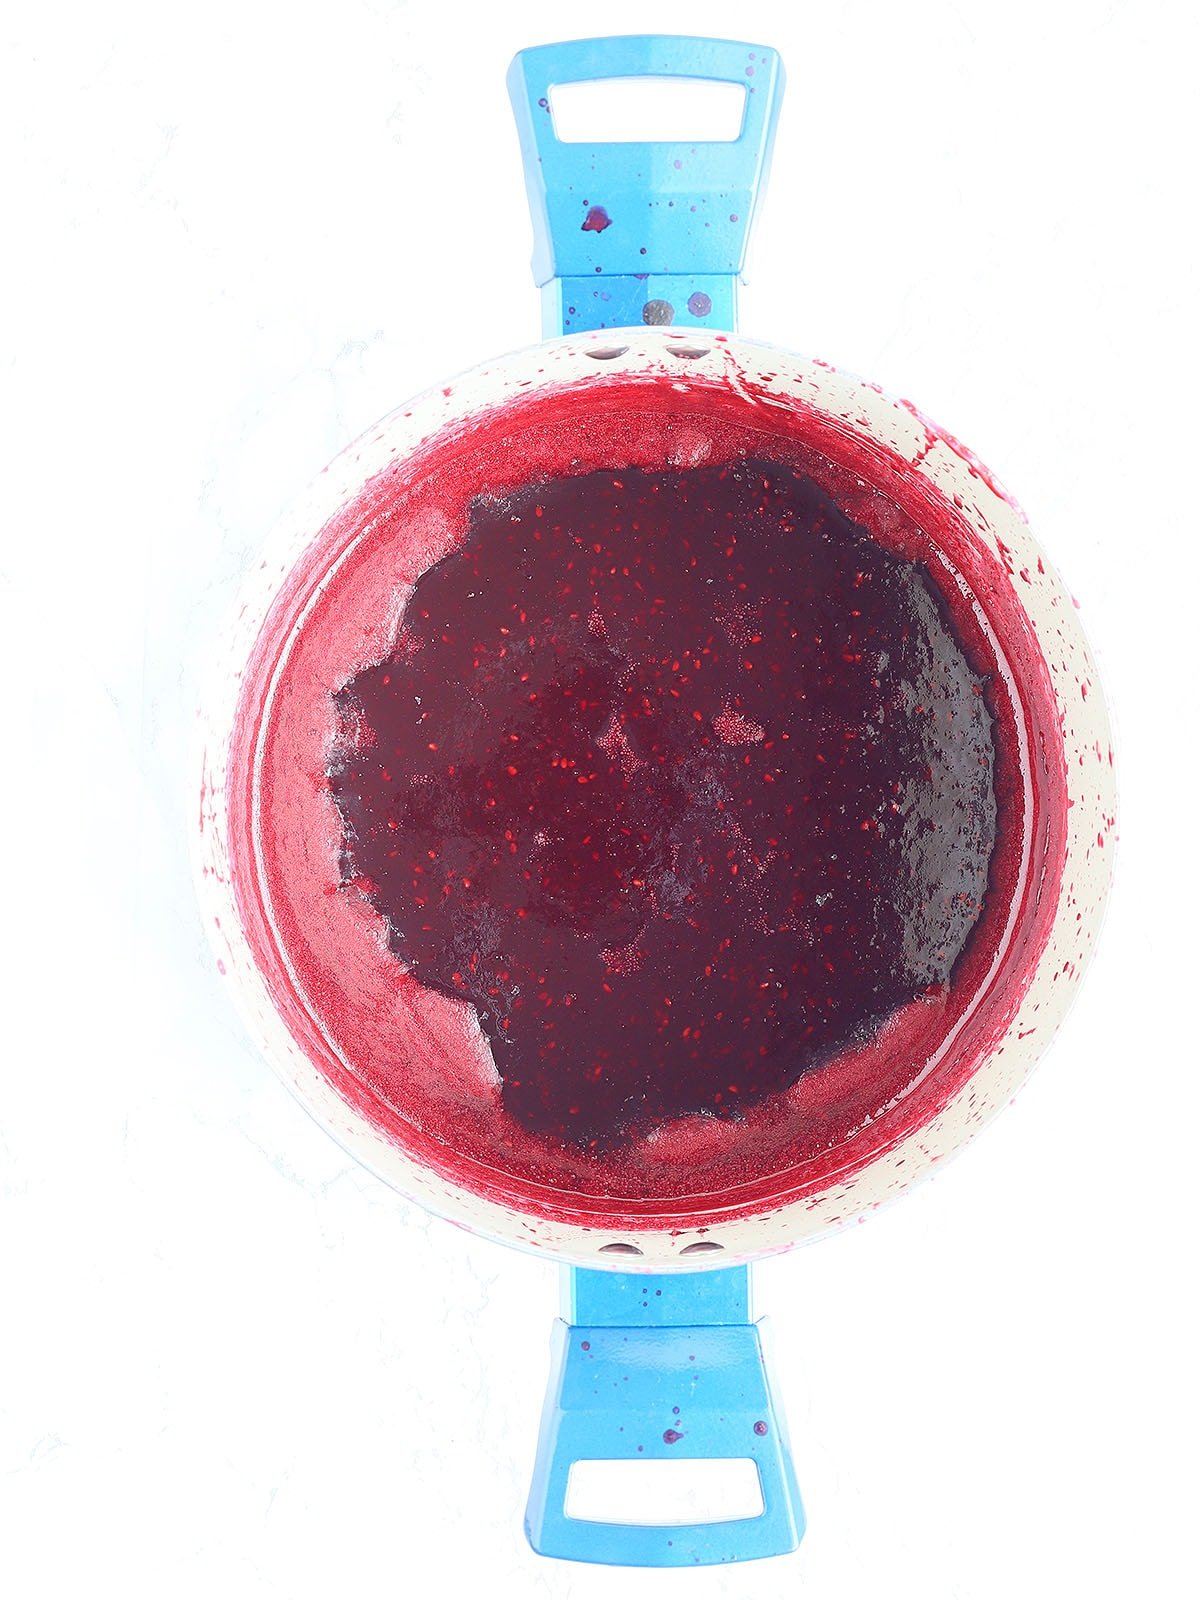
Once the puree reaches a hard rolling boil, add the sugar and stir to dissolve. Continue to boil the jam for 1-2 minutes until the jam reaches your desired consistency.
How to test your blackberry jam for gelling
There is nothing more frustrating than making a batch of jam, then discovering it’s as runny as pancake syrup. How can you tell if you have cooked your jam enough to thicken it to the texture you want?
Before you start the jam making process, place a few metal spoons or a glass plate into the freezer and let them get nice and cold. When you’re ready to test the jam, pull a spoon or the plate from the freezer and dribble a few drops of the hot jam onto the cold surface. The jam should start to gel fairly quickly. If the jam sets, remove the pot from the heat. If it’s still too runny, keep boiling to jam in one minute increments, using the cold spoon or plate test in between until it thickens up.
Storage
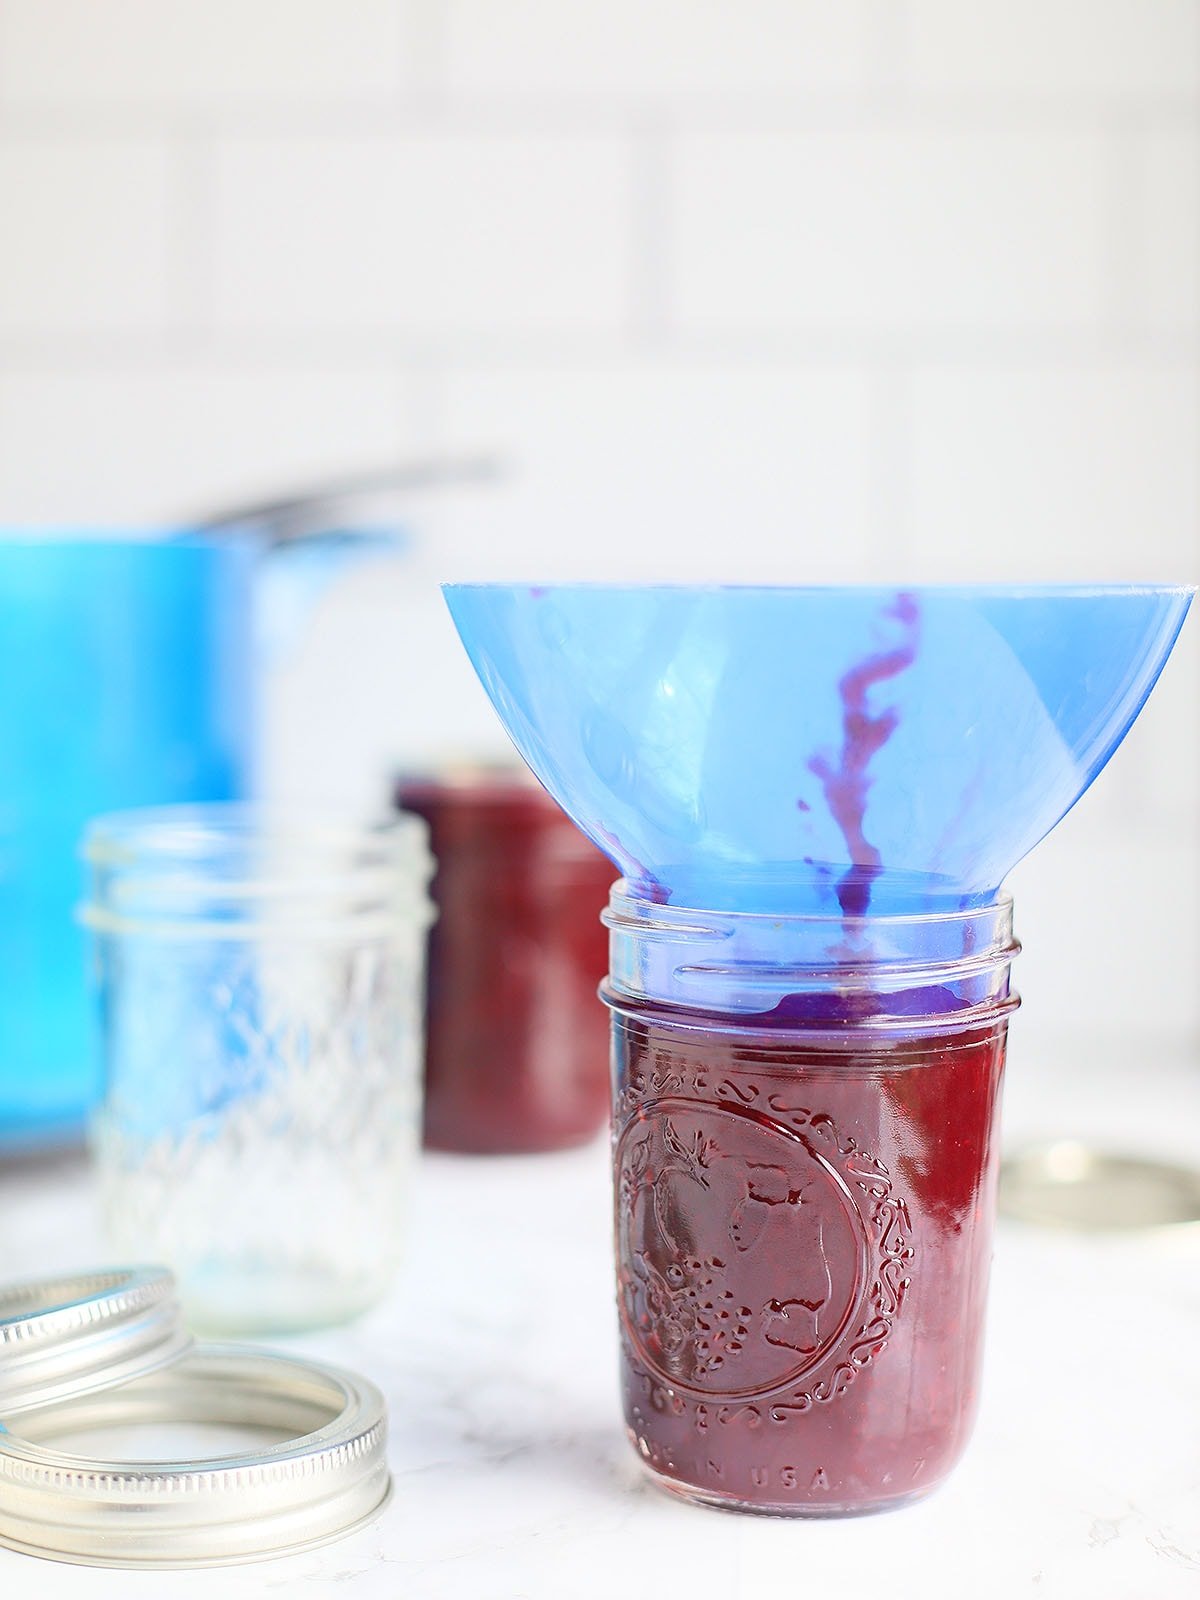
While the jam is still warm, transfer it to clean pint mason or jelly jars. If you plan on canning the jam, you’ll need to leave a ¼-inch gap or headspace between the top of the jam and the top of the jar. Secure the top of each jar with a lid. Blackberry jam that has not been canned should be stored in the refrigerator. It will be good for up to three months.
How to can blackberry jam
Blackberry jam can be processed for long-term storage using the water bath canning method. Place the jars in a deep stock pot that will allow you to add enough water to the pot to cover the tops of the jars with one inch of water. Bring the water to a boil, then process for 10 minutes. Remove the pan from the heat and allow the jars to sit in the pot for five minutes before removing the jars and allowing them to cool. After 24 hours, remove the rings and test the lids for a seal. If sealed, the center of the lids should not flex. Any jars that have not sealed should be placed in the refrigerator and eaten first.
Frequently asked questions
Why don’t I need to add any pectin?
Pectin is a natural starch found in fruits and vegetables. When heated, it acts as a thickening agent. Some fruits, such as strawberries, are low in pectin and therefore need to have additional pectin added during the boiling phase. Whereas, other fruits like blackberries are high in pectin and do not need additional pectin for the jam to thicken.
Can I use freshly squeezed lemon juice instead of bottled?
No. It’s very important to maintain a certain level of acidity in the jam to prevent the formation of botulism, a bacteria that causes food poisoning. Acidity isn’t consistent from lemon to lemon — some lemons are more acidic than others. To ensure the acidity level is consistent, you need to use bottled lemon juice for making jam.
Can I use honey instead of sugar?
You can use honey to replace some, but not all, of the sugar used in the recipe. Sugar is equally as important as acid in preventing the formation of botulism. Removing all the sugar can also decrease the jam’s ability to gel. For jam recipes without pectin, up to one half of the sugar can be replaced with honey.
How do I make this jam low sugar?
You can use low sugar pectin to help add sweetness to the jam while cutting down on the sugar and ensuring that your jam gels appropriately. As mentioned above, sugar helps the jam to set. If we are taking some of the sugar away, we will need to replace it with something. Add three tablespoons of pectin to the jam and reduce the amount of sugar to 1 ½ cups.
Can I use artificial sweetener instead of sugar?
Artificial sweetener, such as Splenda, is heat stable and can be used to replace sugar in this recipe. However, you will need to add low or no sugar pectin to the recipe to help the jam gel.
More homemade jam and jelly recipes

Three Ingredient Blackberry Jam
Ingredients
- 3 pints (about 6 cups) whole fresh or frozen blackberries
- 3 cups white granulated sugar
- ¼ cup bottled lemon juice
Instructions
- Rinse fresh berries under cool water. If using frozen berries, allow the berries to thaw completely.
- Place a metal spoon or glass plate in the freezer.
- Pour the blackberries in a blender or food processor. Pulse the berries several times until the berries have broken down into smaller pieces. If you don’t have a blender or food processor you can mash the berries by hand. A potato masher works well for this.
- Strain the berries through a food mill on the largest blade to remove the skins. Repeat the process using the next smaller blades to remove the seeds. You can also strain the berries through a mesh sieve. If you don’t mind having seeds in your jam, you can skip this step.
- Transfer the berries to a medium saucepan.
- Add the lemon juice.
- Bring the berries to a rolling boil over medium high heat, then add the sugar. Continue to boil for 1-2 minutes, stirring constantly.
- Test the jam for gelling by dropping a few drops of the hot jam onto the plate or spoon you put in the freezer earlier. If the jam gels to your desired consistency, remove the jam from the heat. The jam will continue to thicken as it cools.
- If the jam is still too runny, continue to boil in one minute increments, using the cold spoon or plate test in between.
- Transfer the jam into clean and sterilized jars. Store in the refrigerator or process using the water bath canning method.


Thank you for coming back and leaving a comment and review, Jana! So glad you found the post helpful and enjoyed the recipe.
One of the things I love about it is that she explains the science behind the thickening, with the bottled lemon juice, and the blackberries having pectin, and how the timing is so important. I also love that cold spoon method. Mine came out absolutely delicious and I’ll confess, I didn’t even follow the directions the way I should have the first time. Second time easier. Delicious recipe. By the way, we put ours in the freezer after we made it. And that works well. You still need to use it within a week once you get it out of the freezer and let it defrost in the refrigerator. Thanks!!