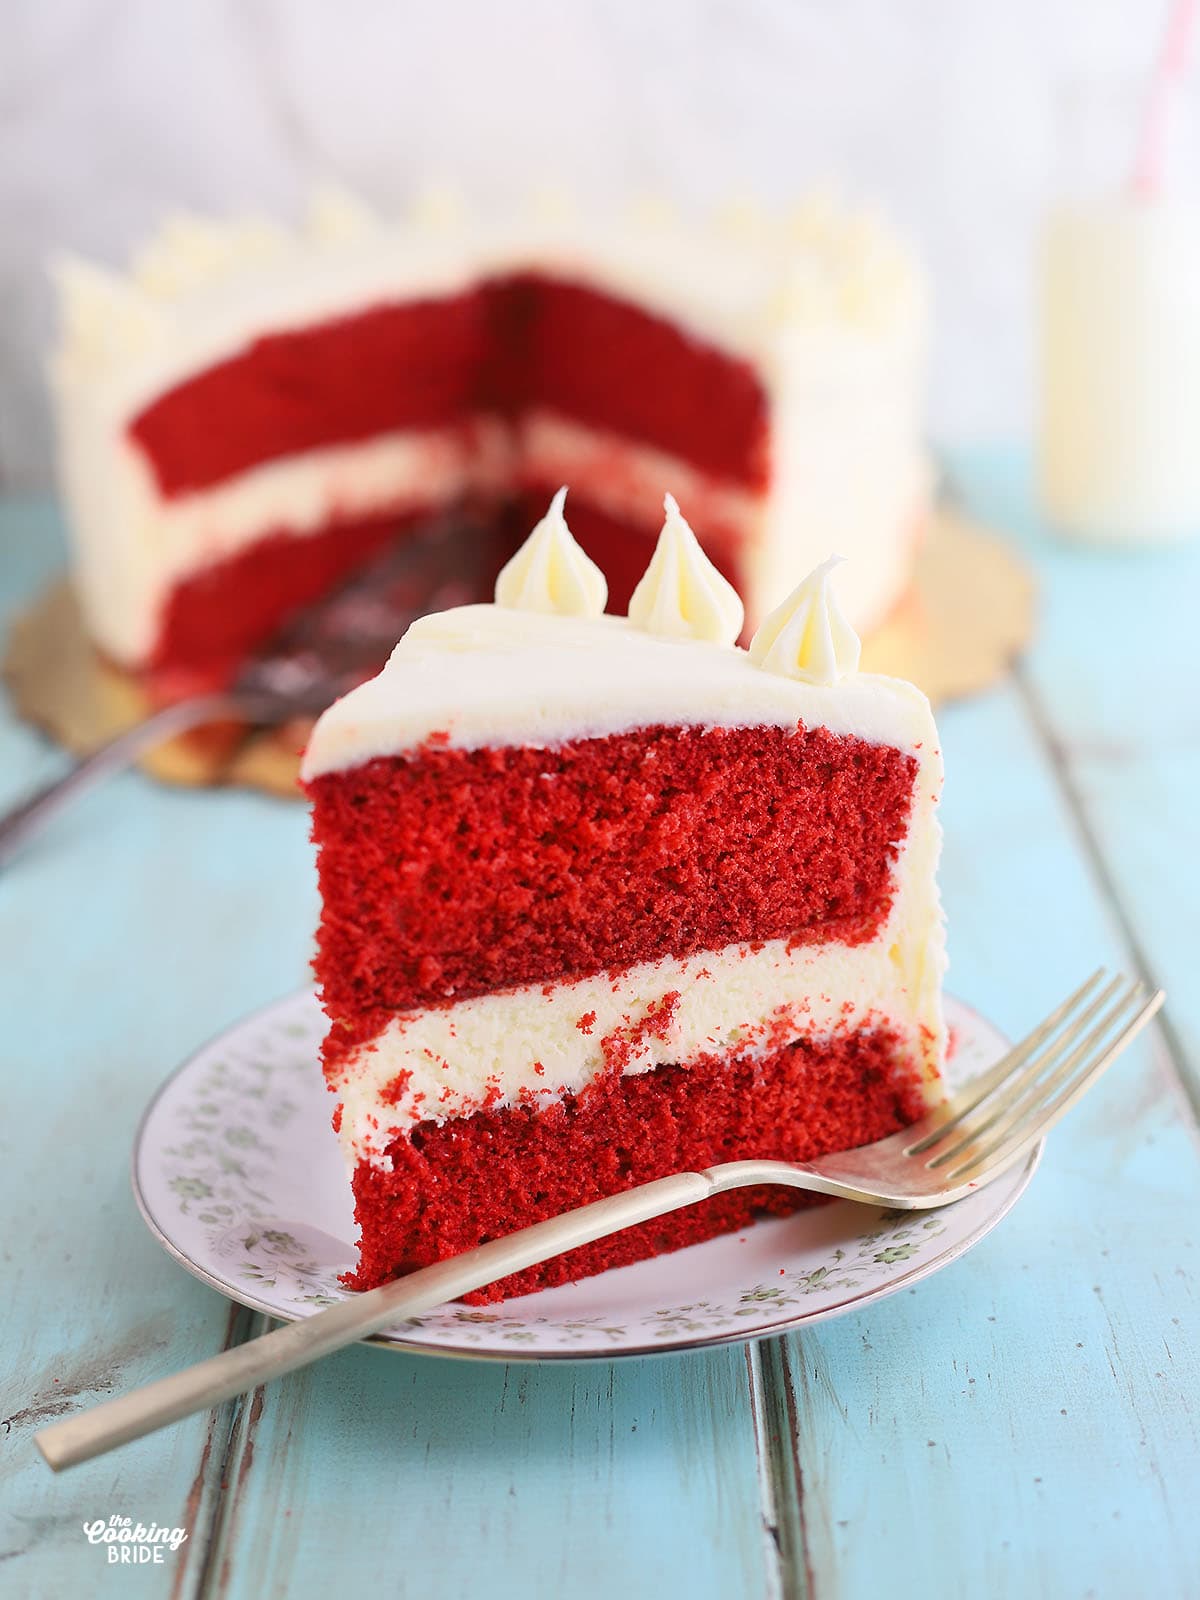
Southern Red Velvet Cake from Scratch

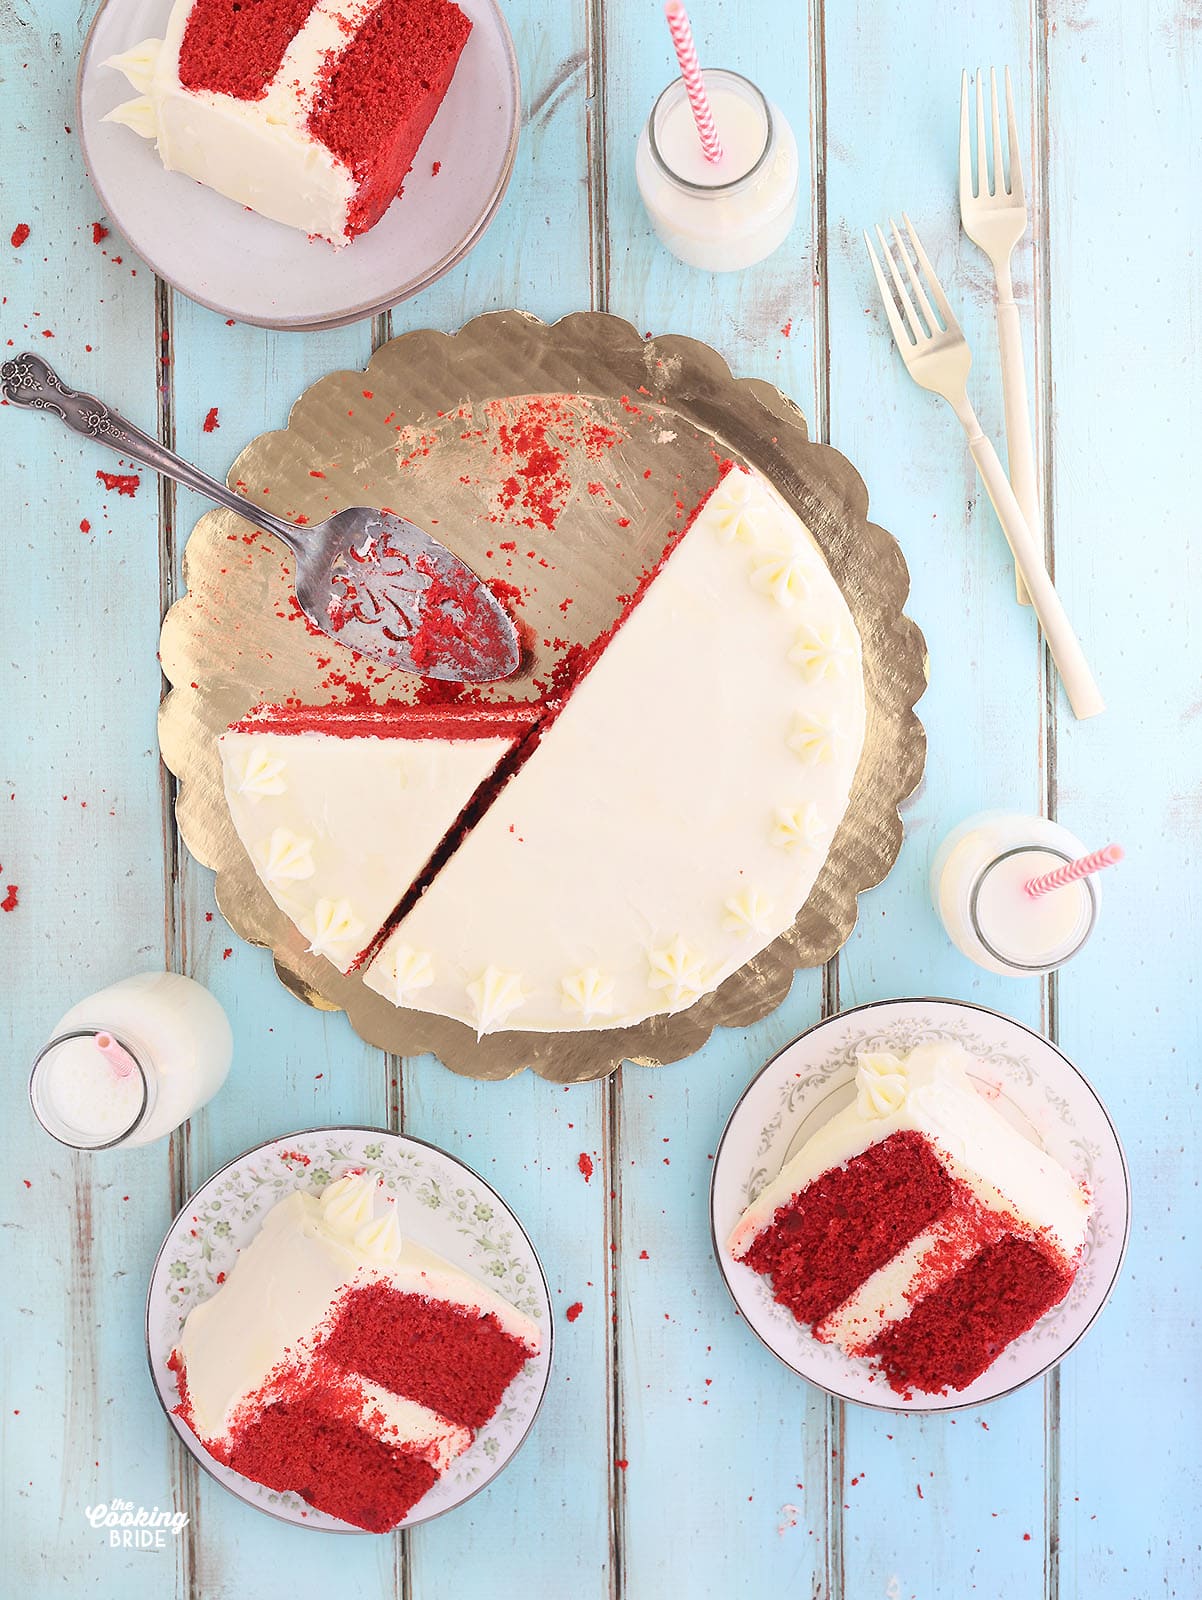
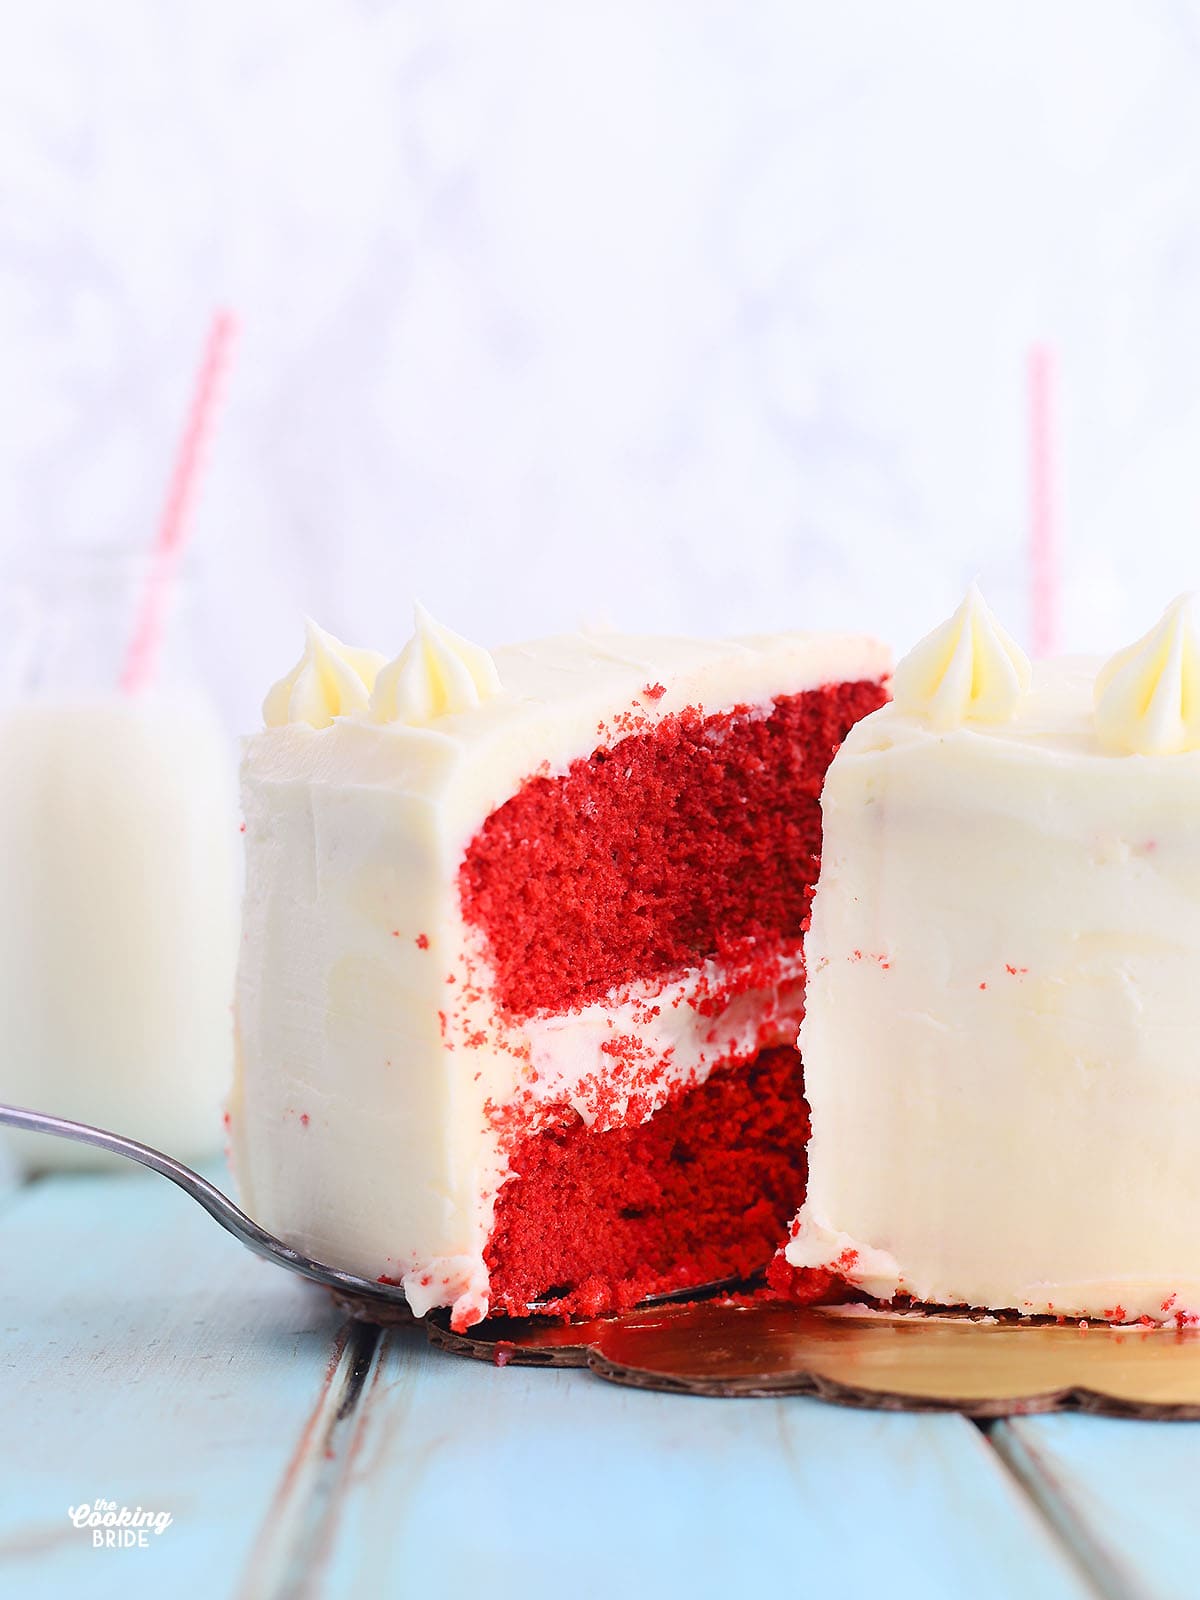
You are definitely going to want to cut yourself a big slice of this delicious red velvet cake made from scratch. Layers of moist red chocolate cake are sandwiched between creamy decadent cream cheese icing.
This post may contain affiliate links. Click here to learn more about how affiliate links are used on this site.
Everyone has their favorite dessert recipe. You know, the one you request for birthdays and special occasions. Like the chocolate meringue pie I make for The Husband every year for this birthday, or the coconut cake with raspberry filling I make at Christmas. Red velvet cake is Big Brother’s favorite. And why not? Layers of moist red chocolate cake sandwiched between creamy decadent cream cheese icing? Sorry bud, but you are going to have to share.
A little backstory on red velvet cake
Red velvet cake is considered a southern dessert. But the truth is, it didn’t originate here. During the Victorian era, cakes made with cocoa were seen as a luxury. The cocoa powder, when mixed with acid from buttermilk, created a chemical reaction that broke down the flour and gave it a softer lighter texture, like “velvet.” It also created a reddish tint, which is where the cake originally got its red coloring from, though it was not as vibrant as red velvet cakes are today. Eventually, people started using beet juice to further enhance the red color of their cakes
The blood red tinge that red velvet cakes later became so famous for can be credited to a well-played marketing tactic masterminded by Adams Extract, a food coloring company, during the 1920’s. The company published a recipe for red velvet cake that called for a lot of their red food coloring (and if you scroll down, you’ll see that this recipe does indeed call for a lot of red food coloring).
So why is red velvet cake considered a southern dessert? As the recipe made its way across the U.S., we added the buttermilk. We didn’t create it, but we did put our touch on it.
Cake flour vs. all-purpose flour
I’ll admit it, I used to use all-purpose flour for everything, including cakes. My thinking was, does cake flour really make that much of a difference that I need to go out and spend money on separate bag of flour?
Turns out, yes. The first time I tried cake flour, I could tell a difference in my end result. Here’s why: First, cake flour is milled from a soft wheat, which has less protein and less gluten. Gluten is what gives baked goods a chewy consistency, which is great for bread for pizza crust. Not for cakes. Second, the flour is milled to a finer texture, giving you a finer lighter texture (also known as the crumb).
When you are shopping, look for cake flour in the same aisle as the all-purpose flour. Swans Down or King Arthur are both good brands to look for. If you don’t make a lot of cakes and are concerned about buying an entire box of flour for one cake, cake flour can be stored in the freezer for up to eight months. I recommend placing it in a plastic freezer bag to prevent the flour from absorbing odors or flavors from other items in the freezer.
The Old-Fashioned Way: Baking Soda and Vinegar
Depending on how far back your recipe dates, you may notice two strange ingredients listed: baking soda and white vinegar. Did you ever build an erupting volcano as a kid? Then you know that when mixed together, baking soda and vinegar create a chemical reaction that causes bubbling and fizzing.
Don’t worry, we’re not using enough baking soda or vinegar to cause an eruption in your kitchen or the cake. But, why are these two ingredients used in this recipe in particular? As I mentioned earlier, before commercial food dyes were readily available, people used to use beet juice to give the cake its trademark red hue. Without a certain amount of acidity though, the vibrant red beet juice would turn blue. The vinegar and baking soda helped to preserve the color. Also, when mixed together, vinegar and baking soda produce carbon dioxide, which creates a leavening agent that makes baked goods light and airy. It’s similar to what baking powder does.
As the popularity of manufactured food dyes grew in the early 1900’s, this practice wasn’t as necessary. Until WWII when so many foods were rationed. Beet juice as a food coloring became popular again; therefore, baking soda and vinegar were included in the recipe. Today, many modern recipes have replaced baking soda and vinegar with baking powder. But chances are, if you watched your grandma make a red velvet cake as a kid, she used vinegar and baking soda. If it was good enough for grandma, it’s good enough for me.
How to Make Red Velvet Cake
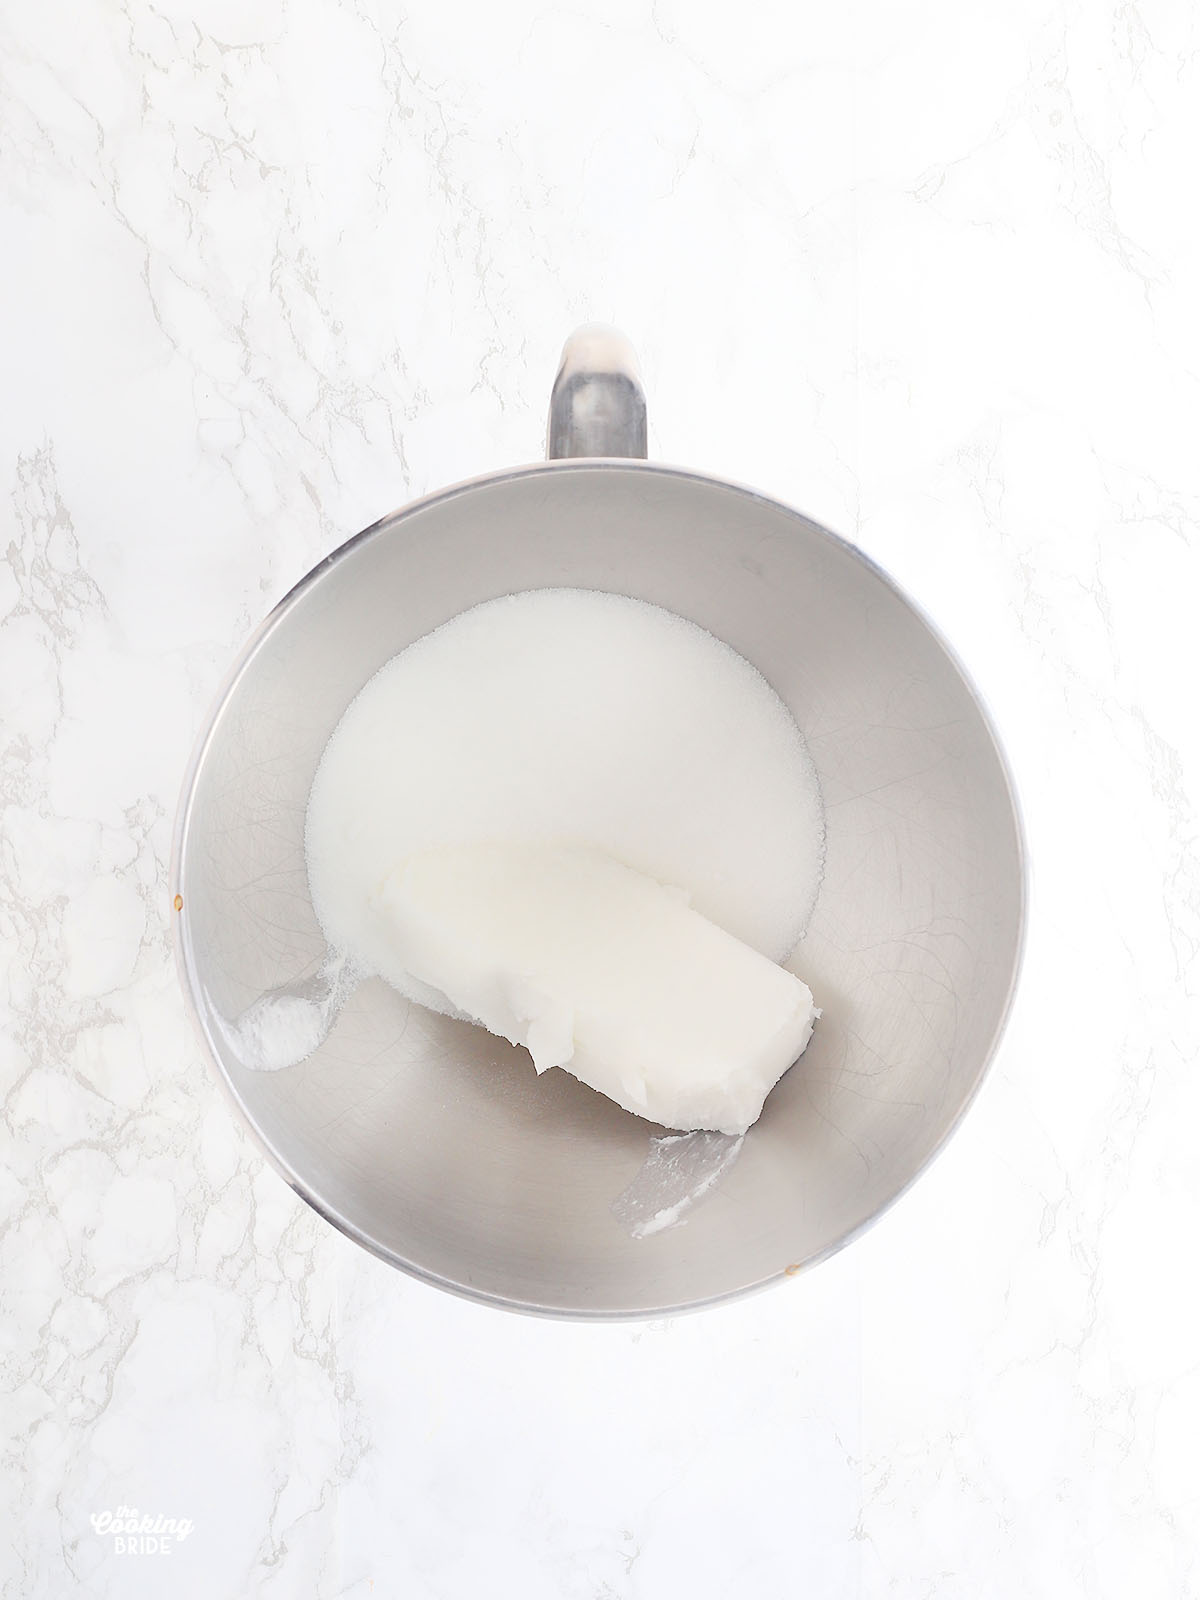
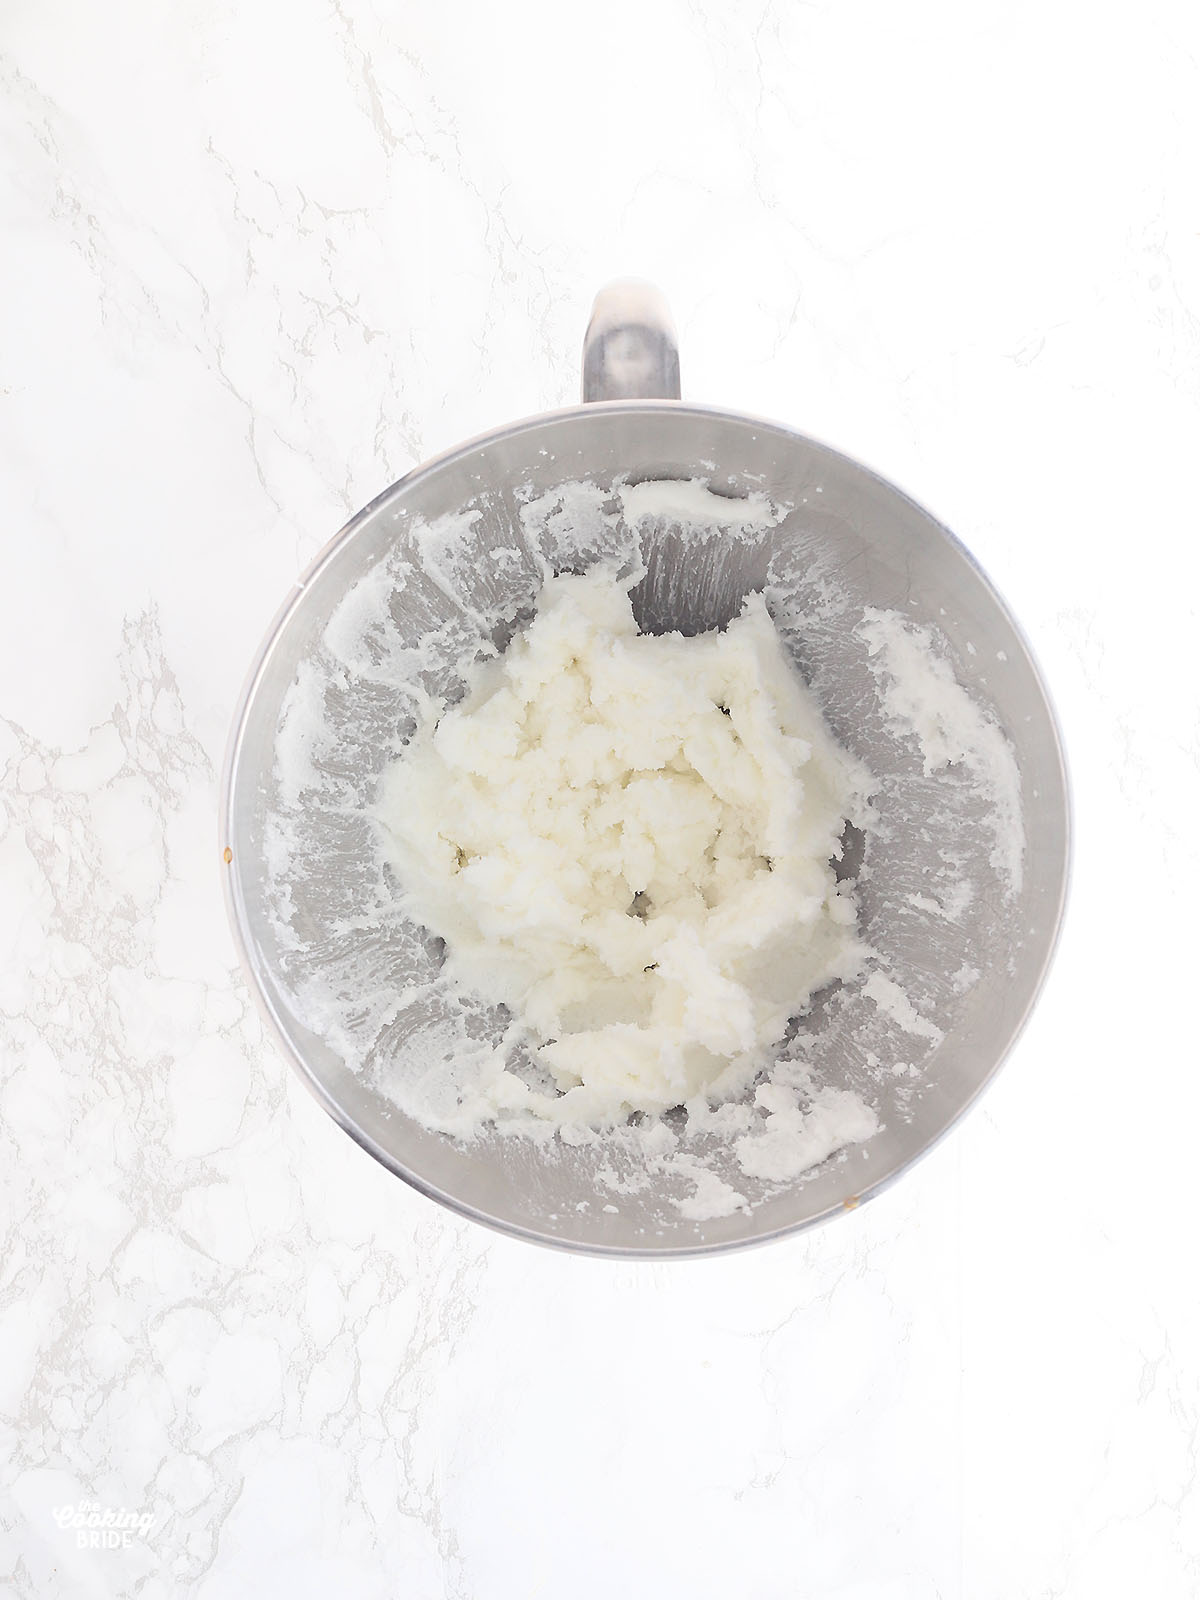
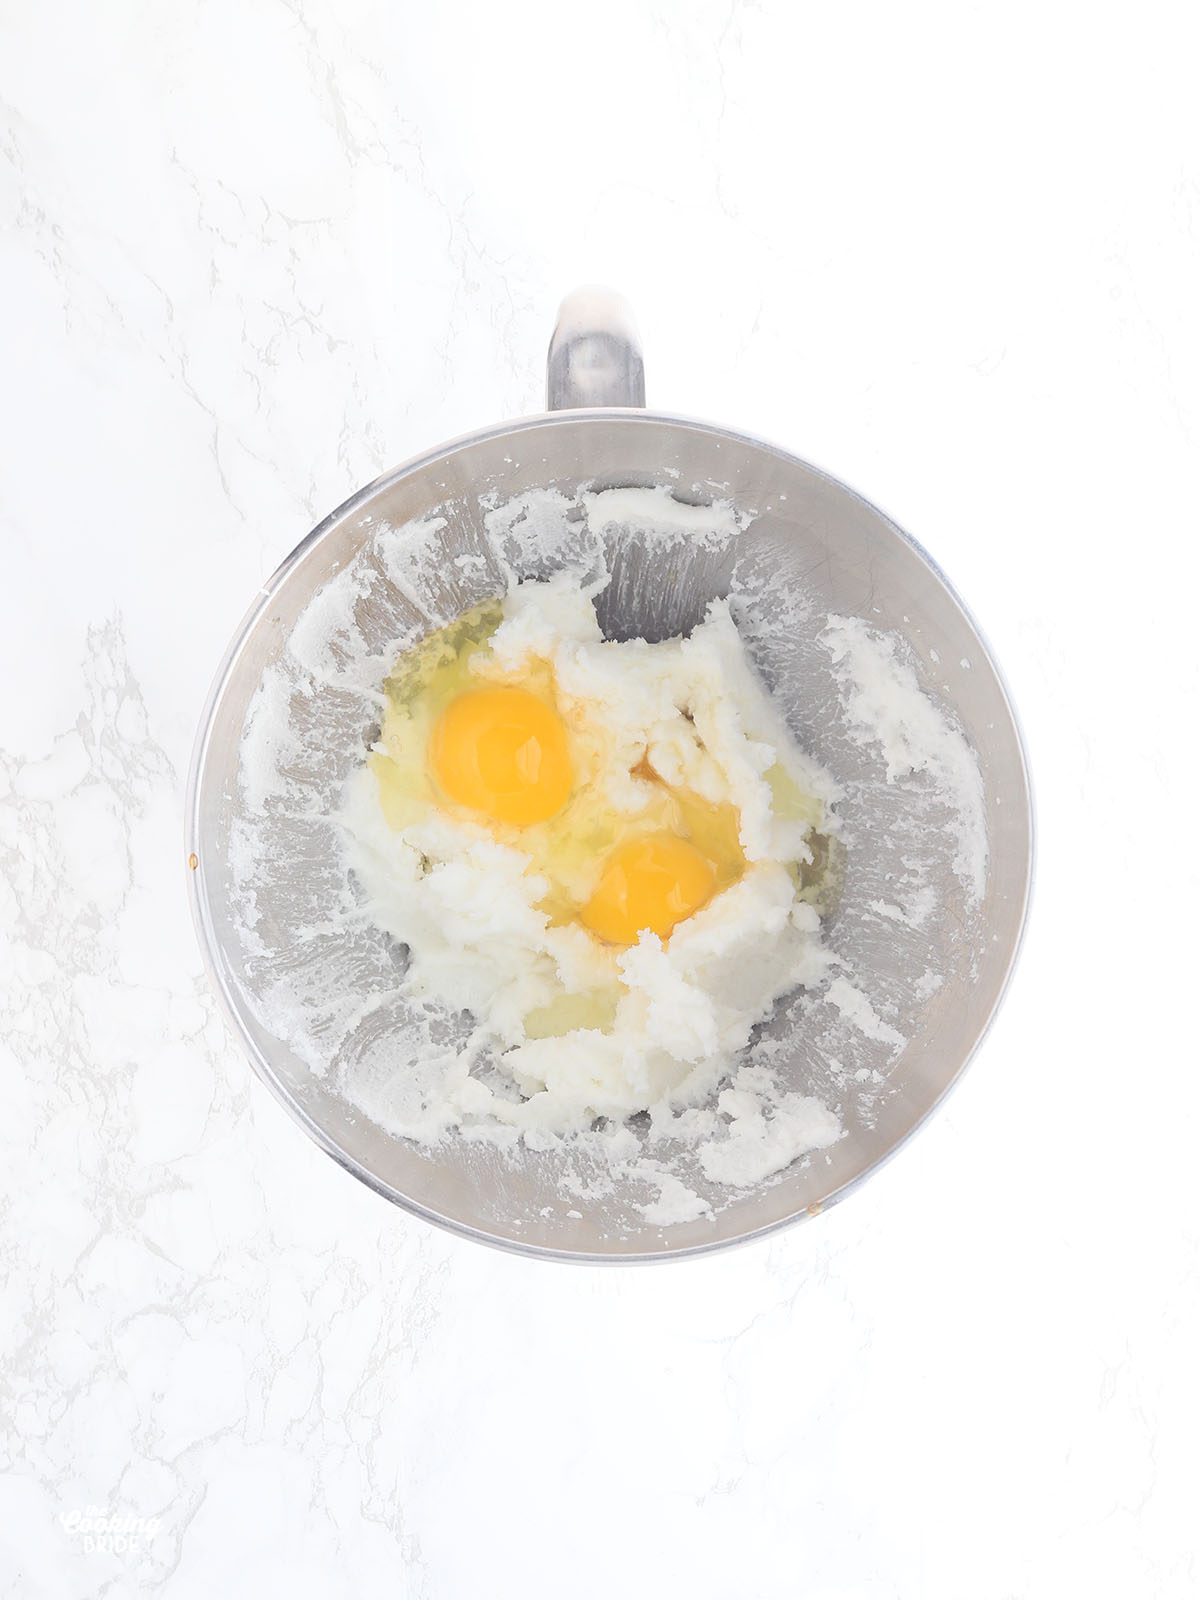
Start by preheating the oven to 350 degrees. Cream 1 cup of softened shortening and 1 ¼ cups of sugar together in a large mixing bowl with an electric mixer on medium. Add two large eggs and one teaspoon of vanilla extract. Beat the mixture on medium speed again just until combined.

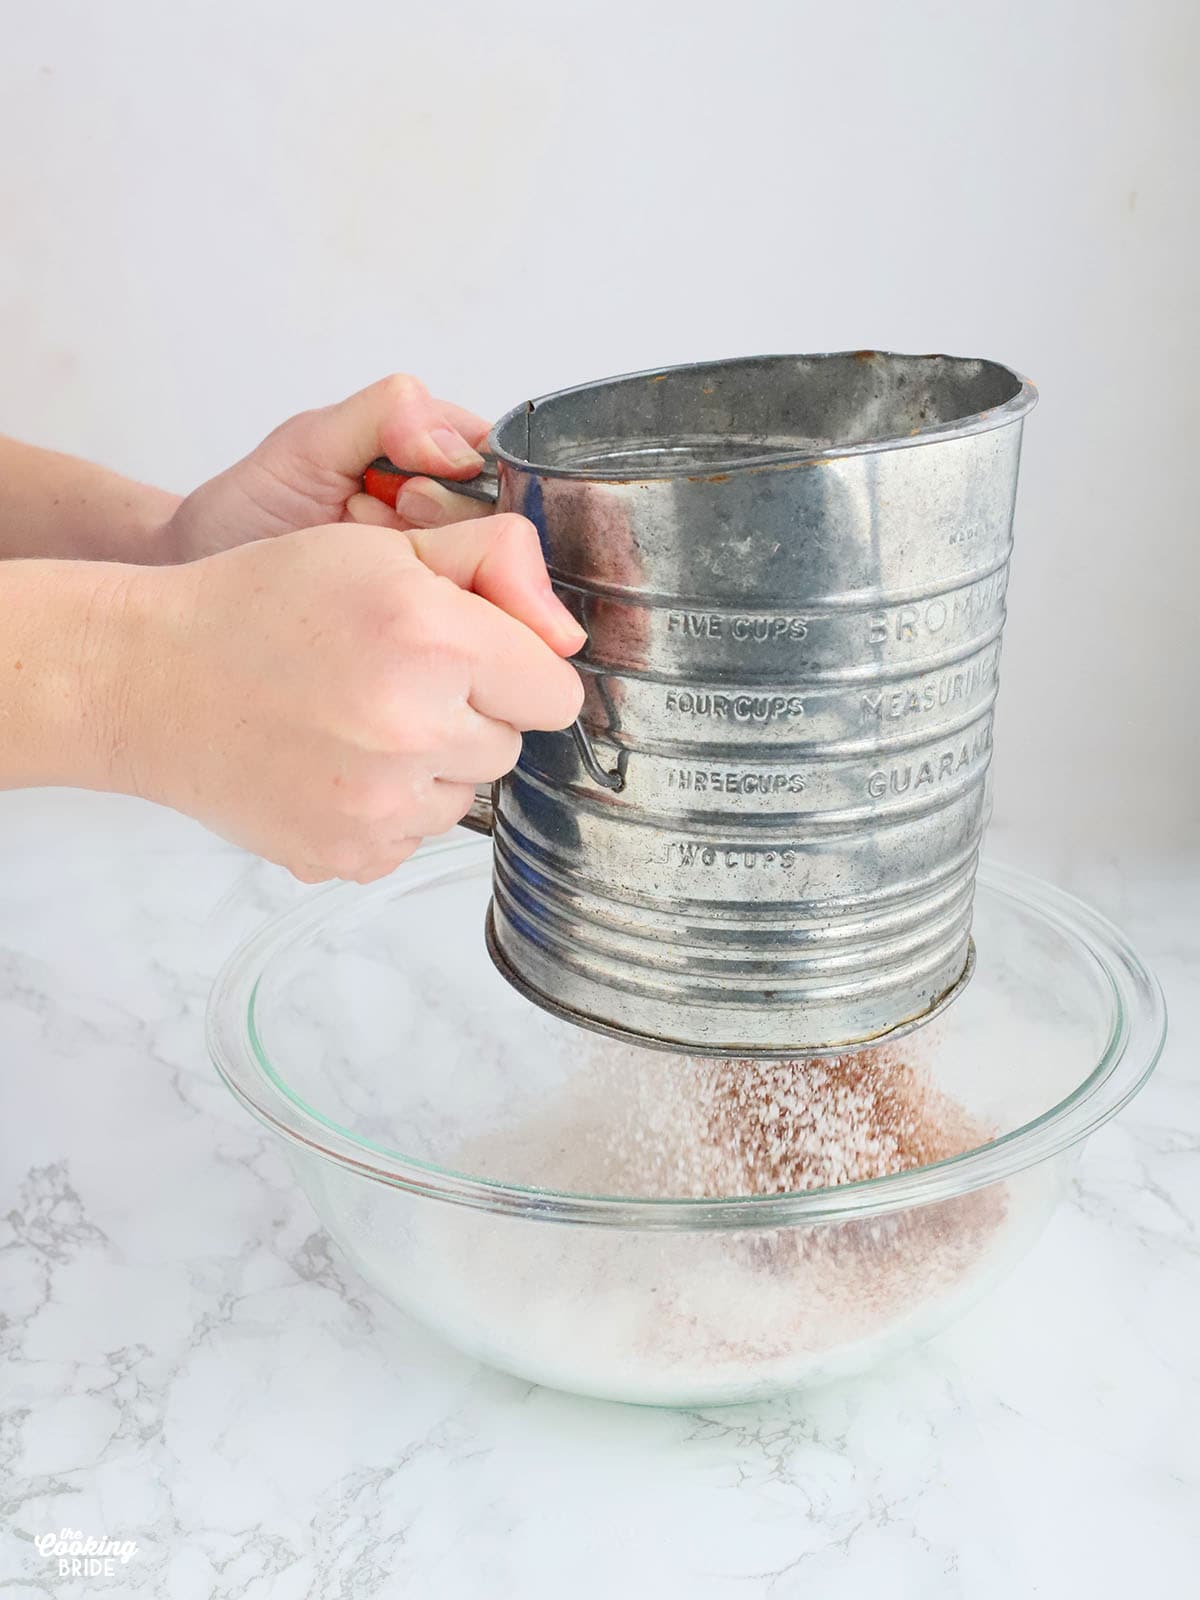
Sift 2 ½ cups of cake flour, one teaspoon of salt and one tablespoon of cocoa powder together in a separate mixing bowl. Do not skip this step! Cocoa powder in particular can be lumpy. You could end up with lumps of cocoa powder in your finished cake. Sifting not only removes lumps from the dry ingredients, it ensures the ingredients are evenly mixed and adds air so the mixture is lighter and fluffier. I prefer the crank sifters over the ones that you squeeze. In my experience, the squeeze ones can get stuck. If you don’t have a sifter, you can use a whisk or a fine mesh colander in a pinch.
With the mixer running on low, add one third of the dry ingredients. Mix to combine. Then add a ½ cup of the buttermilk and continue to mix. Continue to alternate with ⅓ of the dry ingredients and the remainder of the buttermilk, ending with the last ⅓ of the dry ingredients.
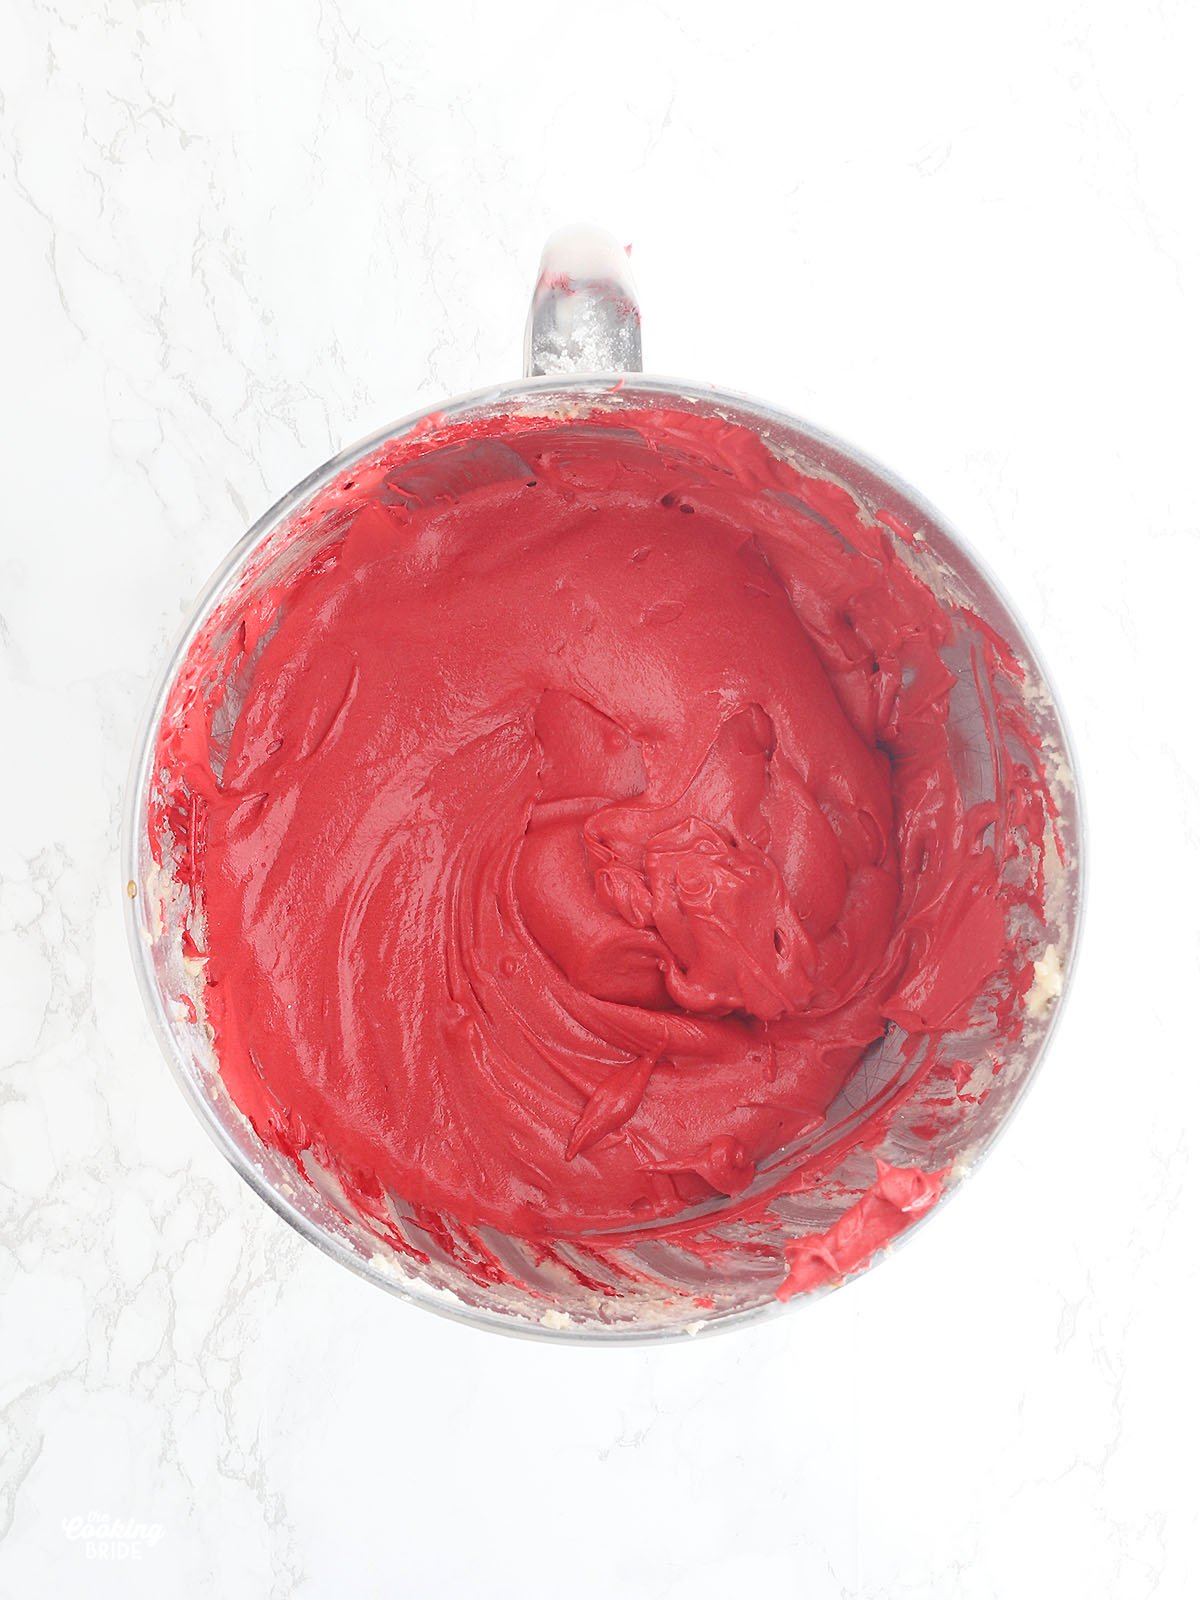
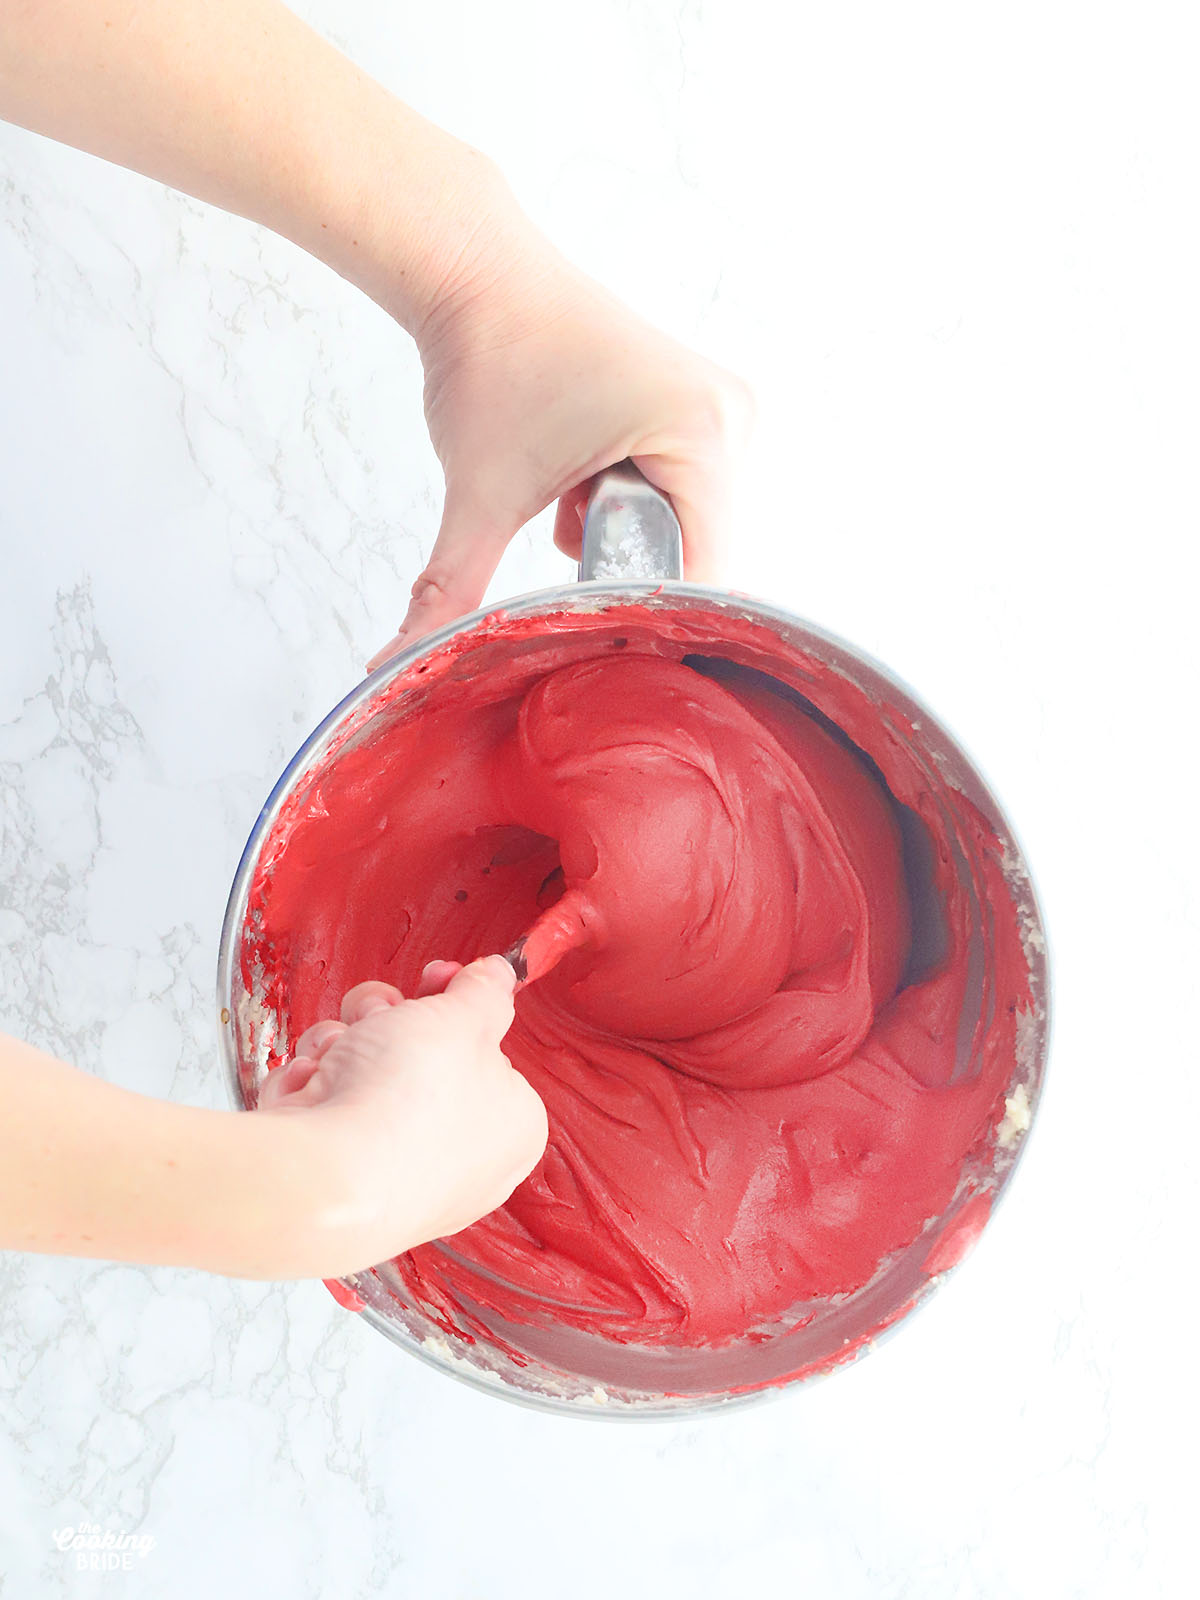
Add two ounces of red food coloring and beat on medium until the food coloring is thoroughly mixed. You may need to turn the mixer off and scrape the sides a few times to ensure the food coloring is evenly mixed.

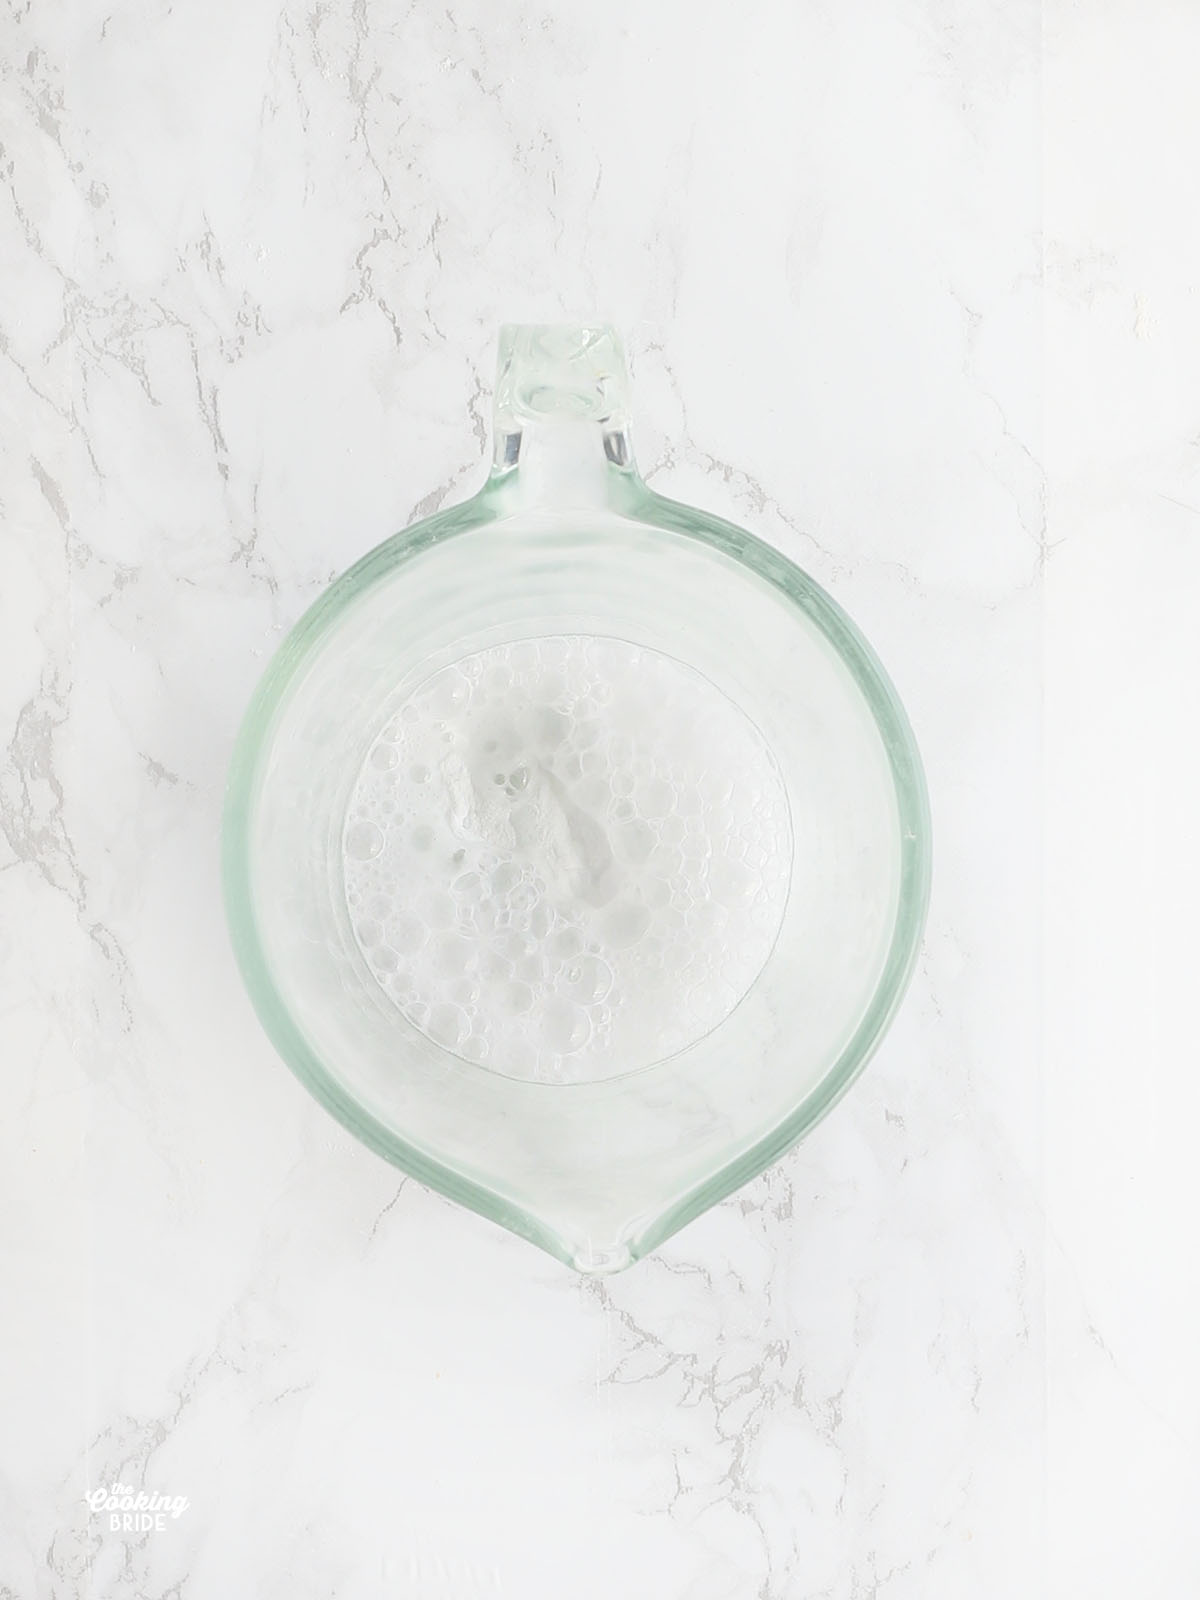
Turn the mixer off. In a nonreactive dish or measuring cup, dissolve one teaspoons of baking soda with one tablespoon of distilled white vinegar. Once the fizzing stops, gently fold (by hand) the soda and vinegar mixture into the bake batter. You want to preserve as much of the fizziness from the baking soda as you can. Using the mixer is too rough and could essentially “beat” all your bubbles out.
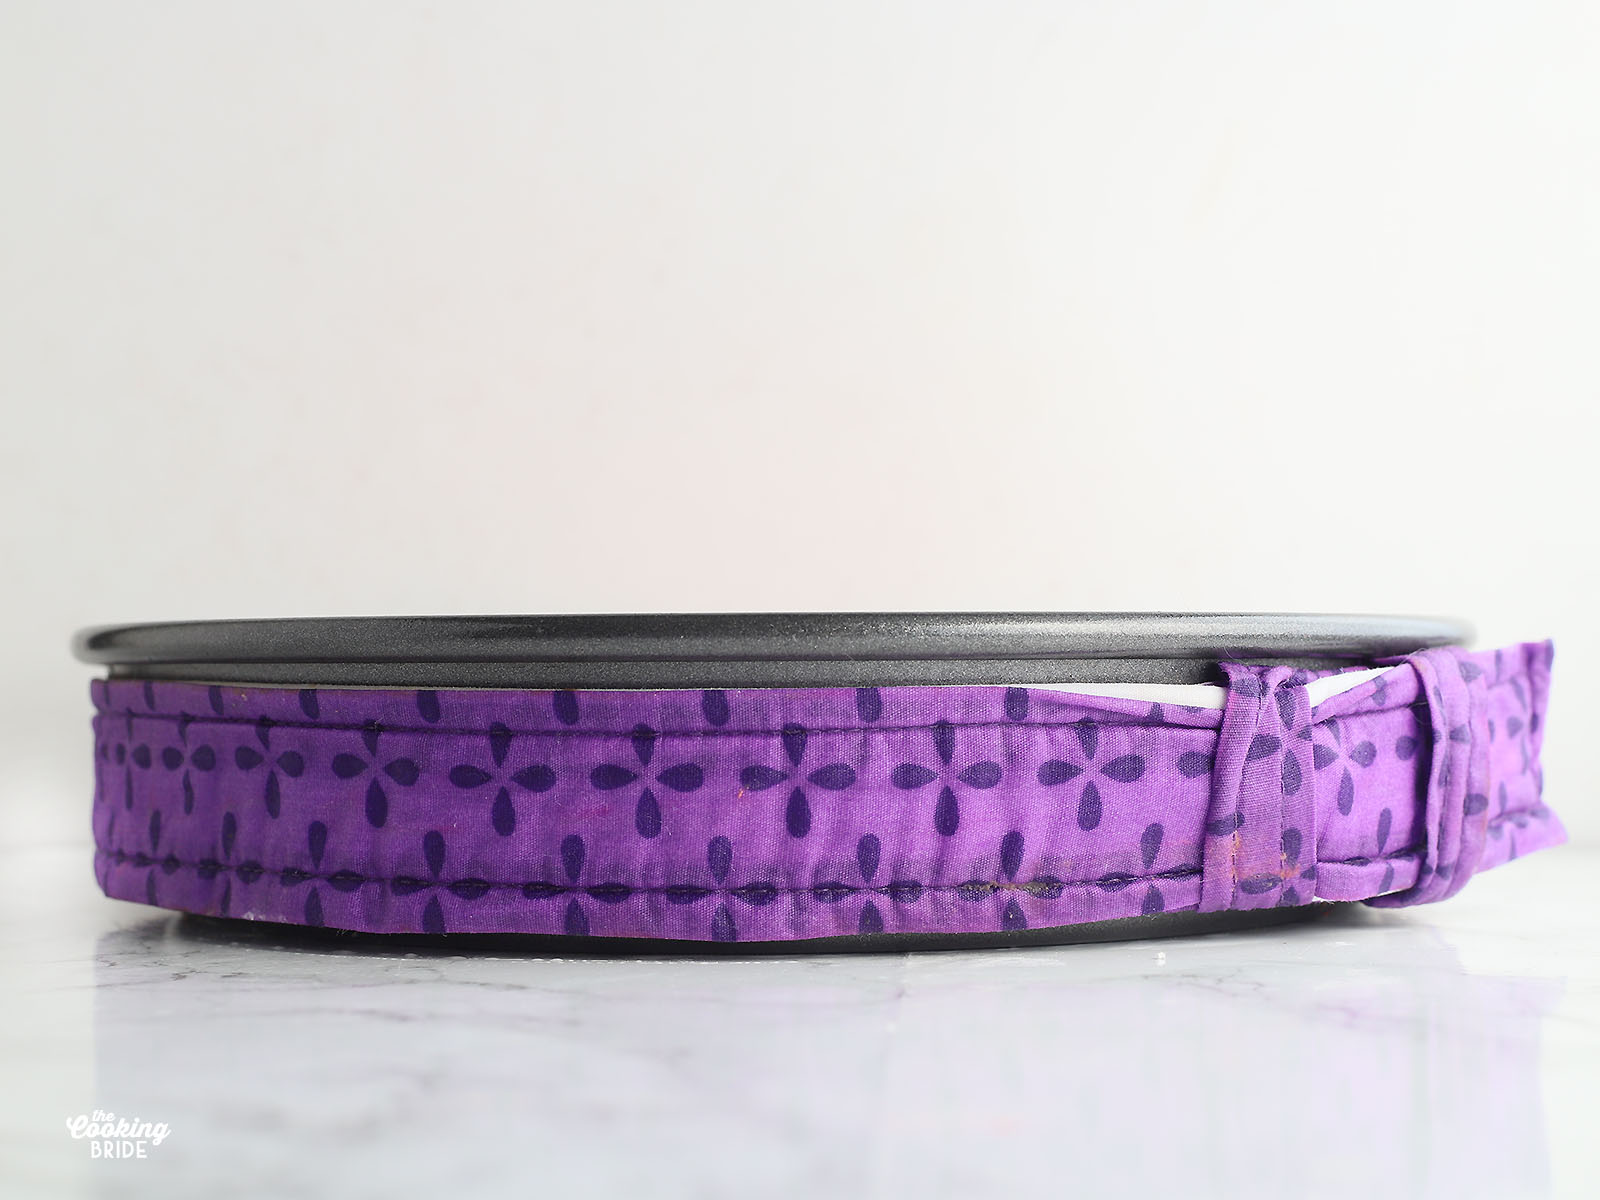
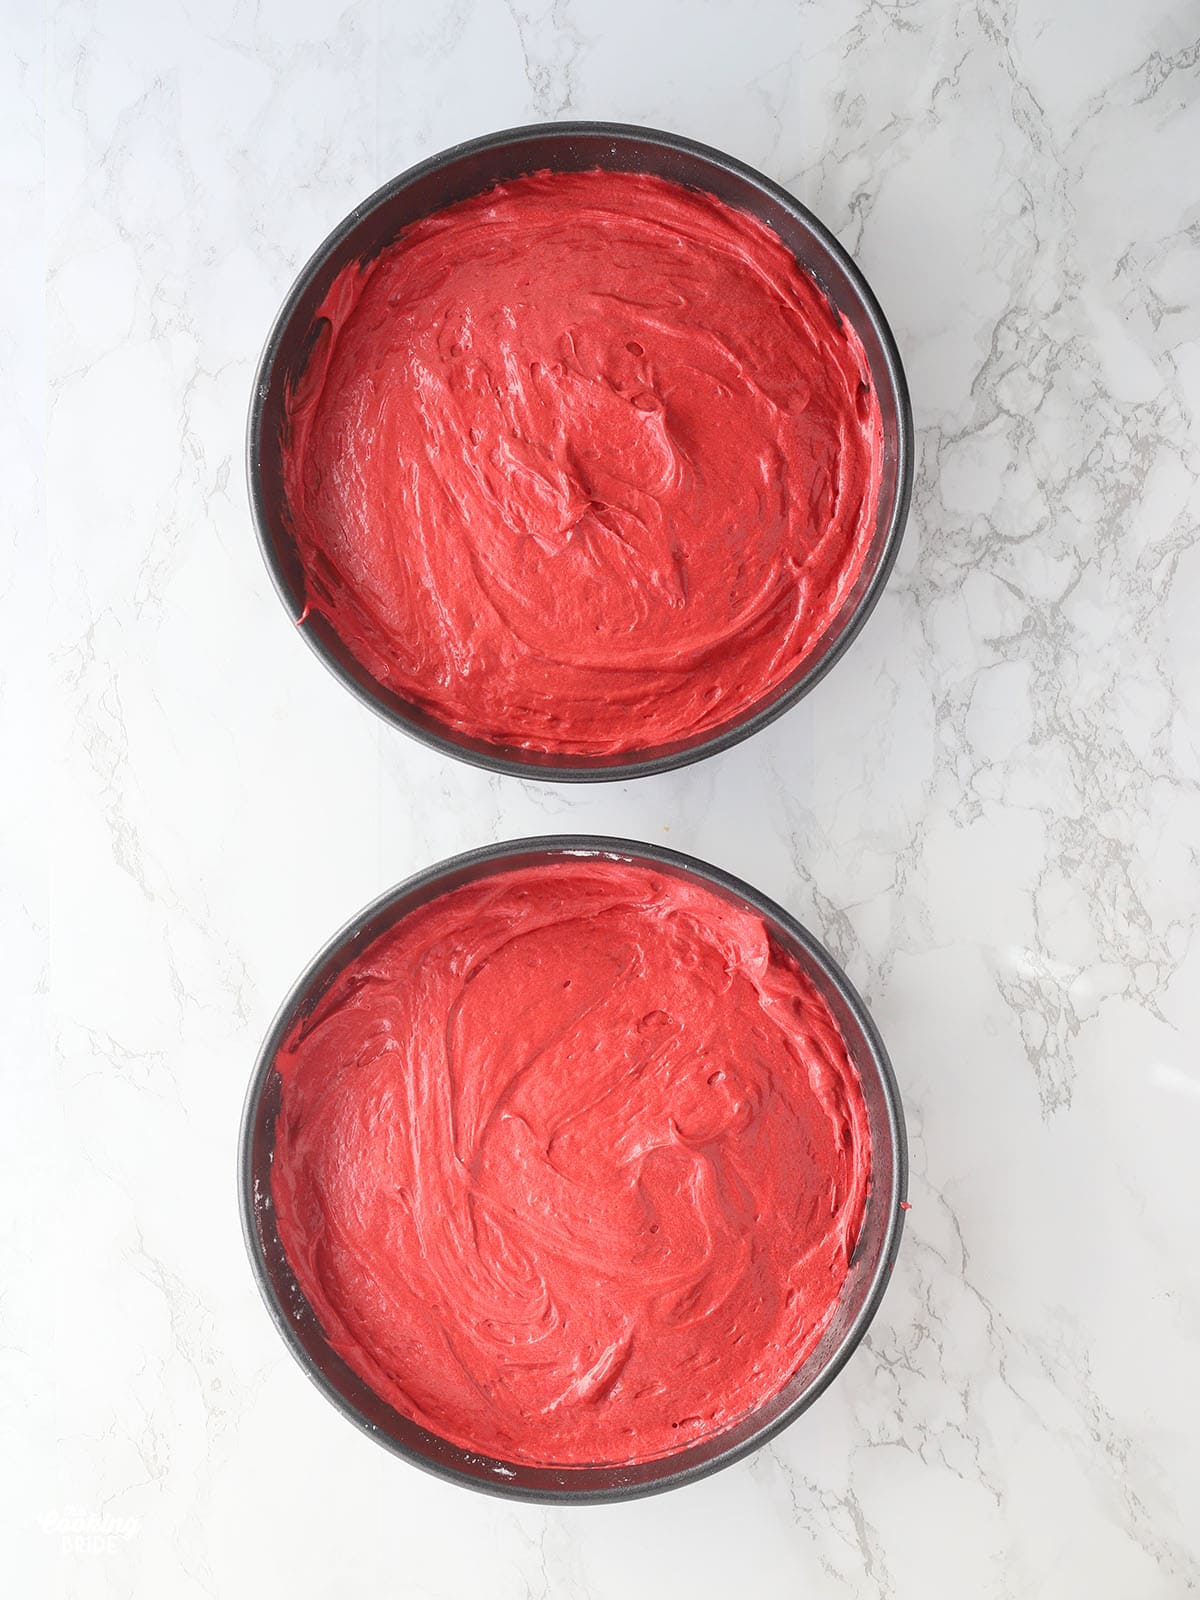
Pour the batter into two greased and floured 8-inch round cake pans. I recommend wrapping your cake pans in cake strips that have been soaked in water. The cake strips are another interesting discovery – they allow the cake to cook more evenly and prevents the middle of the cake from forming a rounded dome. Bake the cake for 30-35 minutes until a toothpick inserted near the center of the cake comes out clean. Allow the cake layers to cool in the pan for 10-15 minutes before removing them. Allow the layers to cool completely before frosting with a double batch of my homemade cream cheese icing.

Storage and Freezing
Storage. Leftover red velvet cake should be store in an airtight container in the refrigerator. I recommend a cake saver, which will allow you to store the cake in its entirety while keeping out air that could cause the cake to dry out. Consume the cake within seven days.
Freezing. Un-iced cake layers should be wrapped carefully in a layer of plastic wrap. I like to add a layer of aluminum foil as well for added protection against freezer burn or weird flavors from the freezer getting absorbed into the cake. Place the cake layers on a flat surface until frozen solid. Use within 3-6 months. Allow the layers to come to room temperature before frosting.
To freeze an iced cake or iced cake slices, place the cake on a plate or cookie sheet. Arrange the plate on a level surface in the freezer and allow the cake to freeze for 1-2 hours until the frosting is set. Then follow the procedure described above and wrap the cake in plastic wrap and aluminum foil. Consume within 3-6 months. To thaw, unwrap the cake and the icing are still frozen. Otherwise, you risk damaging your icing job once the icing becomes soft and starts to stick to the plastic wrap. Allow the cake to thaw at room temperature for up to two hours, or place the cake in a cake saver and allow it to thaw overnight in the refrigerator.
You Might Also Enjoy:
Red Velvet Cake
Ingredients
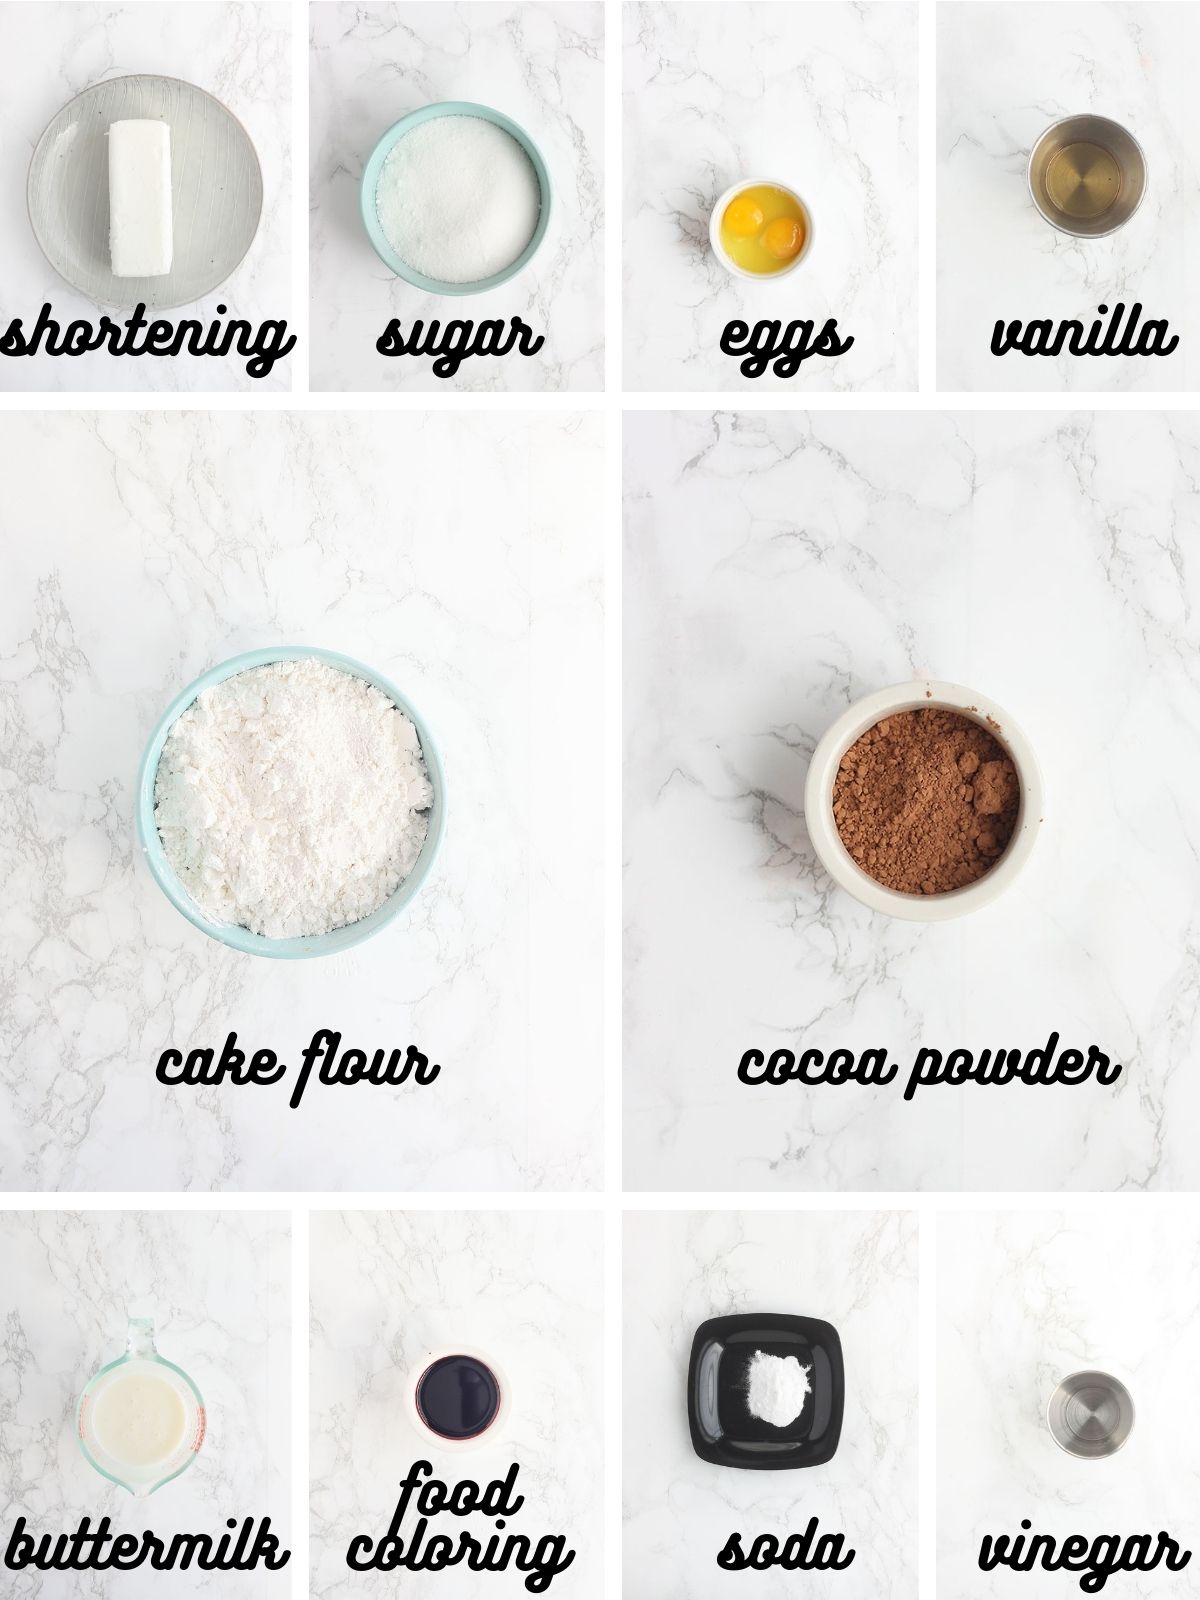
- 1 cup shortening softened
- 1 ¼ cups of sugar
- 2 large eggs lightly beaten
- 1 teaspoon vanilla extract
- 2 ½ cups cake flour
- 1 teaspoon salt
- 1 tablespoon cocoa powder
- 1 cup buttermilk
- 2 ounces red food coloring
- 1 teaspoon baking soda
- 1 tablespoon distilled white vinegar
- 4 cups cream cheese icing
Instructions
- Preheat the oven to 350° F.
- Cream the shortening and sugar together in a large mixing bowl.
- Add the eggs and vanilla. Stir to combine.
- Sift the cake flour, salt and cocoa powder together in a separate mixing bowl.
- With the mixer running on low, add one third of the dry ingredients. Mix to combine.
- Add ½ cup of the buttermilk and continue to mix.
- Continue to alternate with ⅓ of the dry ingredients and the remainder of the buttermilk, ending with the last ⅓ of the dry ingredients.
- Add the red food coloring and beat on medium until the food coloring is thoroughly mixed. Turn the mixer off.
- In a large nonreactive dish or measuring cup, dissolve the baking soda with the vinegar. This will fizz for a moment! Once the fizzing stops, gently fold the soda and vinegar mixture into the bake batter.
- Pour the batter into two greased and floured 8-inch round cake pans. Bake for 30-35 minutes until a toothpick inserted near the center of the cake comes out clean.
- Allow the cake layers to cool in the pan for 10-15 minutes before removing them. Allow the layer to cool completely before frosting.