Kosher Dill Pickle Spears
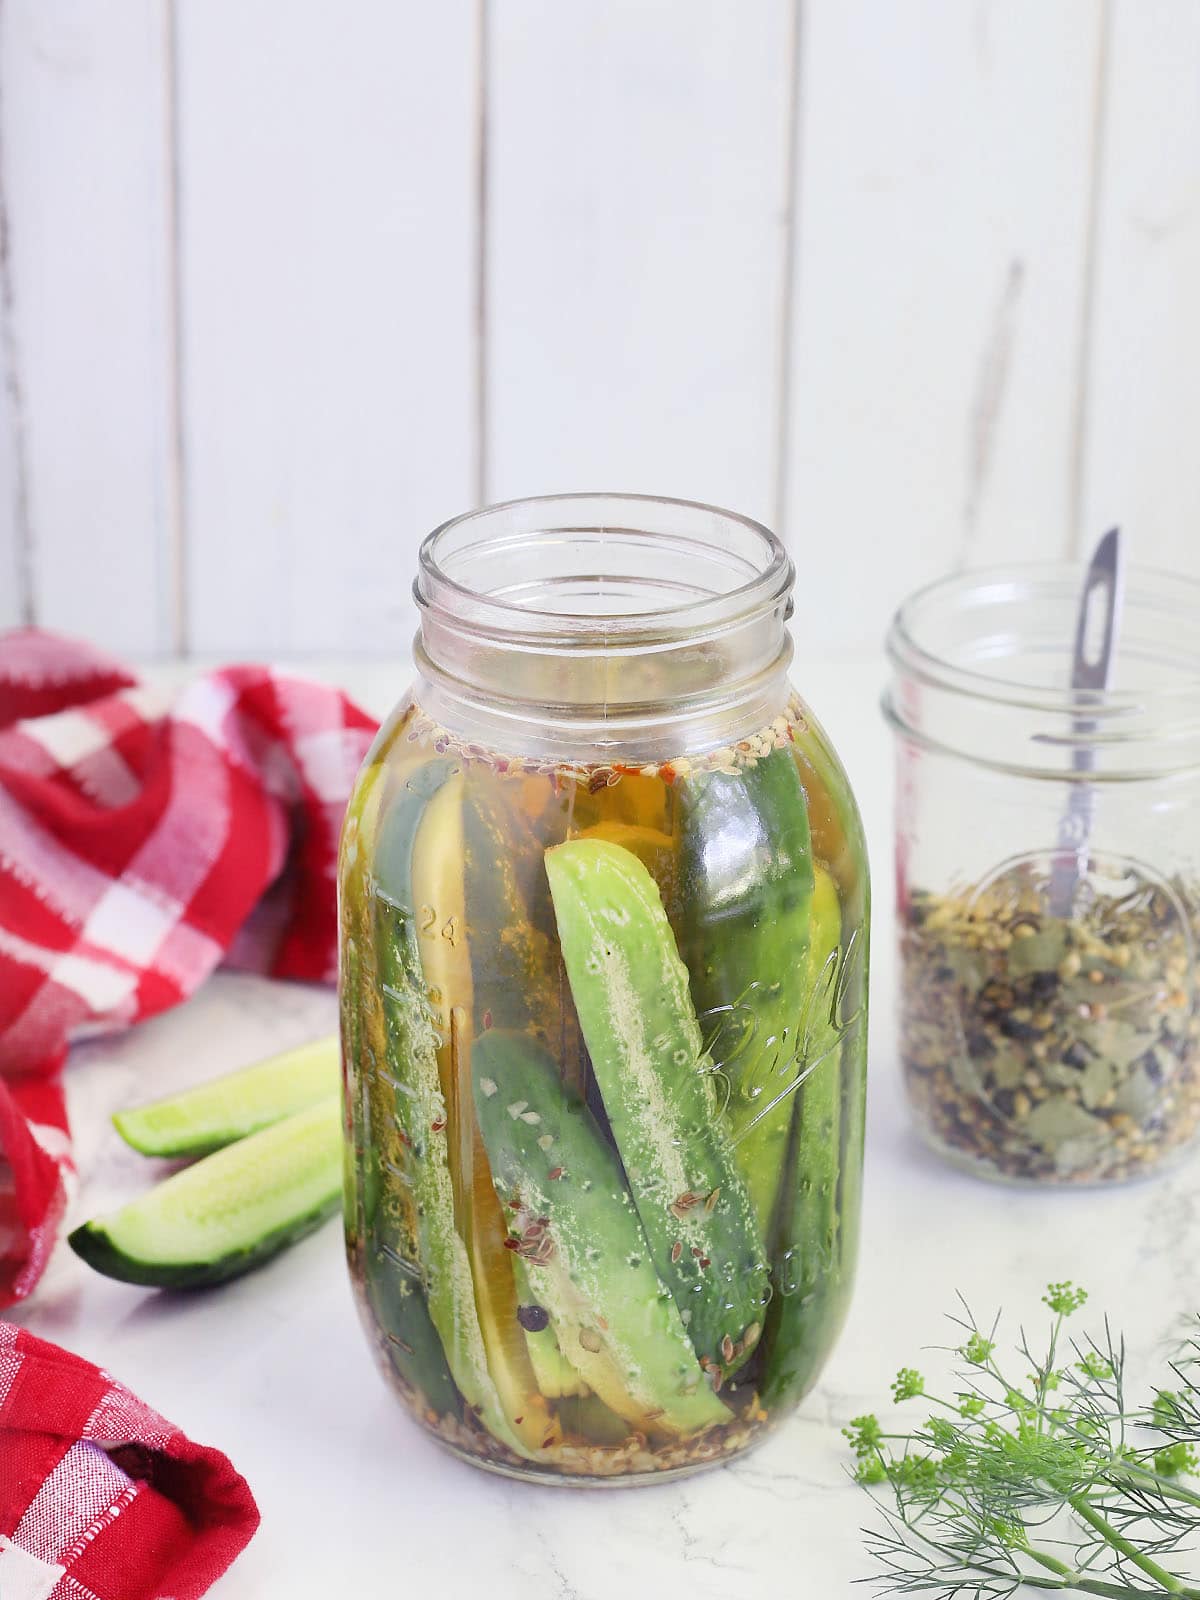
Whether you’re a pickle lover or just looking for a tasty and nutritious snack, kosher dill pickle spears are sure to satisfy your cravings.
This post may contain affiliate links. Click here to learn more about how affiliate links are used on this site.
Every summer, the husband and I plant a garden in our backyard. And every year we devote one entire bed to cucumbers. We love adding them to cocktails, slicing them up and marinating them for salad, but most of all we LOVE kosher dill pickle spears. Along with biting into that first vine ripened tomato from the vine, cracking open the first jar of homemade kosher dills is one of the many joys of summer.
What makes a dill pickle kosher?
The term “kosher” describes any food that is considered fit for consumption under Jewish dietary law. For years, I always assumed the addition of kosher salt was what made a dill pickle “kosher.” Not so.
Turns out, the recipe has nothing to do with Judaism or the type of salt you use. It comes down to whether or not garlic is used in the brine. I can’t imagine making a pickle without garlic, can you?
Best types of cucumbers for making pickles
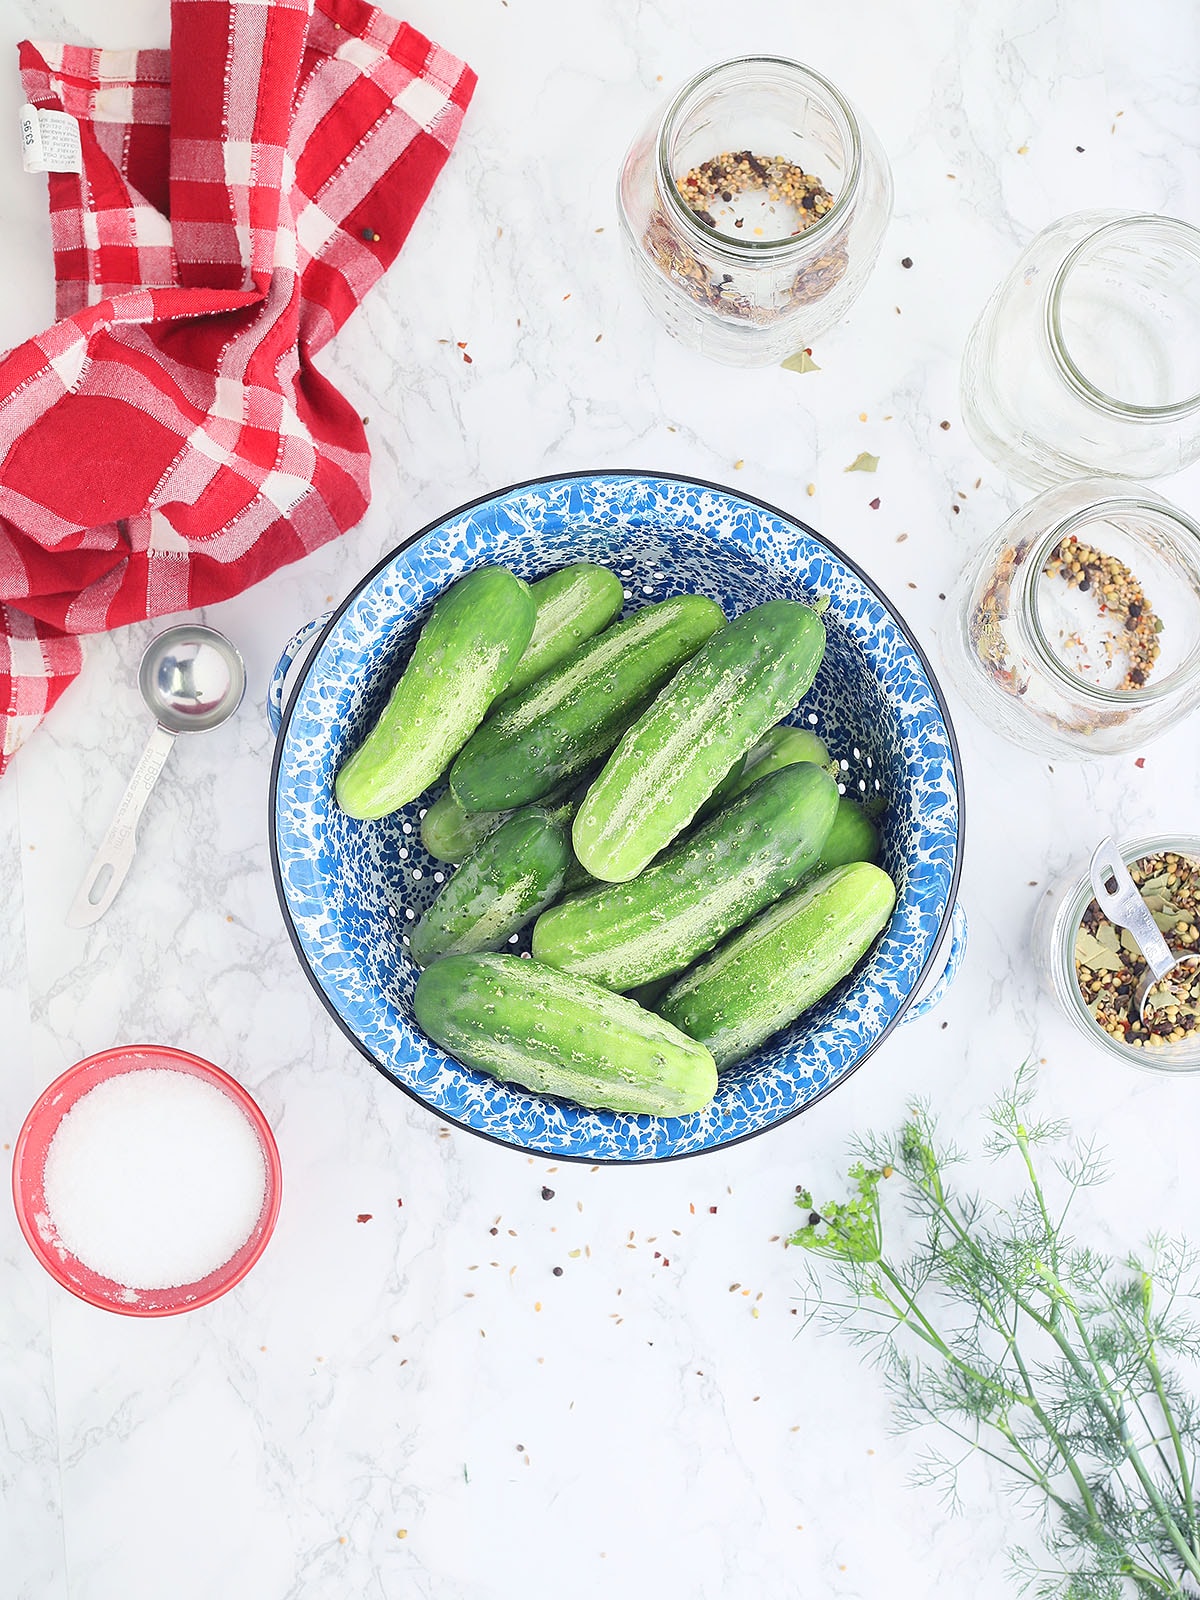
Any type of cucumber can be pickled, but some varieties work better for slicing and some work better for pickling. Picking cucumbers are typically smaller (so they fit in a jar easier), have a better flavor and a thin skin. We grow Boston Pickling cucumbers in our garden. Other types of cucumbers that are ideal for pickling include:
- Kirby
- Bush
- National Pickling Cucumbers
Tips for making the crunchiest pickles
Excuse me for sounding crass, but no one likes a limp pickle. At least I don’t. One of the greatest joys of biting into a dill pickle spear, besides that wonderful tart taste of garlic and vinegar, is the crunch. Here are a few tips I use to ensure my pickles are at their peak.
If using homegrown cucumbers, pick your cukes first thing in the morning. The Husband’s uncle shared this little nugget of wisdom with me years ago. Summer days in the South are hot and as the day wears on, the plants and any fruit on the vine starts to lose water. Once the sun goes down and the temperatures drop, the plant is able to soak up and replenish water that was lost. Therefore, it makes sense that cucumbers picked first thing in the morning will be more crisp than cucumbers harvested late in the afternoon.
If using store-bought cucumbers, look for cucumbers that are green, not yellow, throughout that are firm and unblemished. Stay away from cucumbers that appear wrinkled or have soft spots.
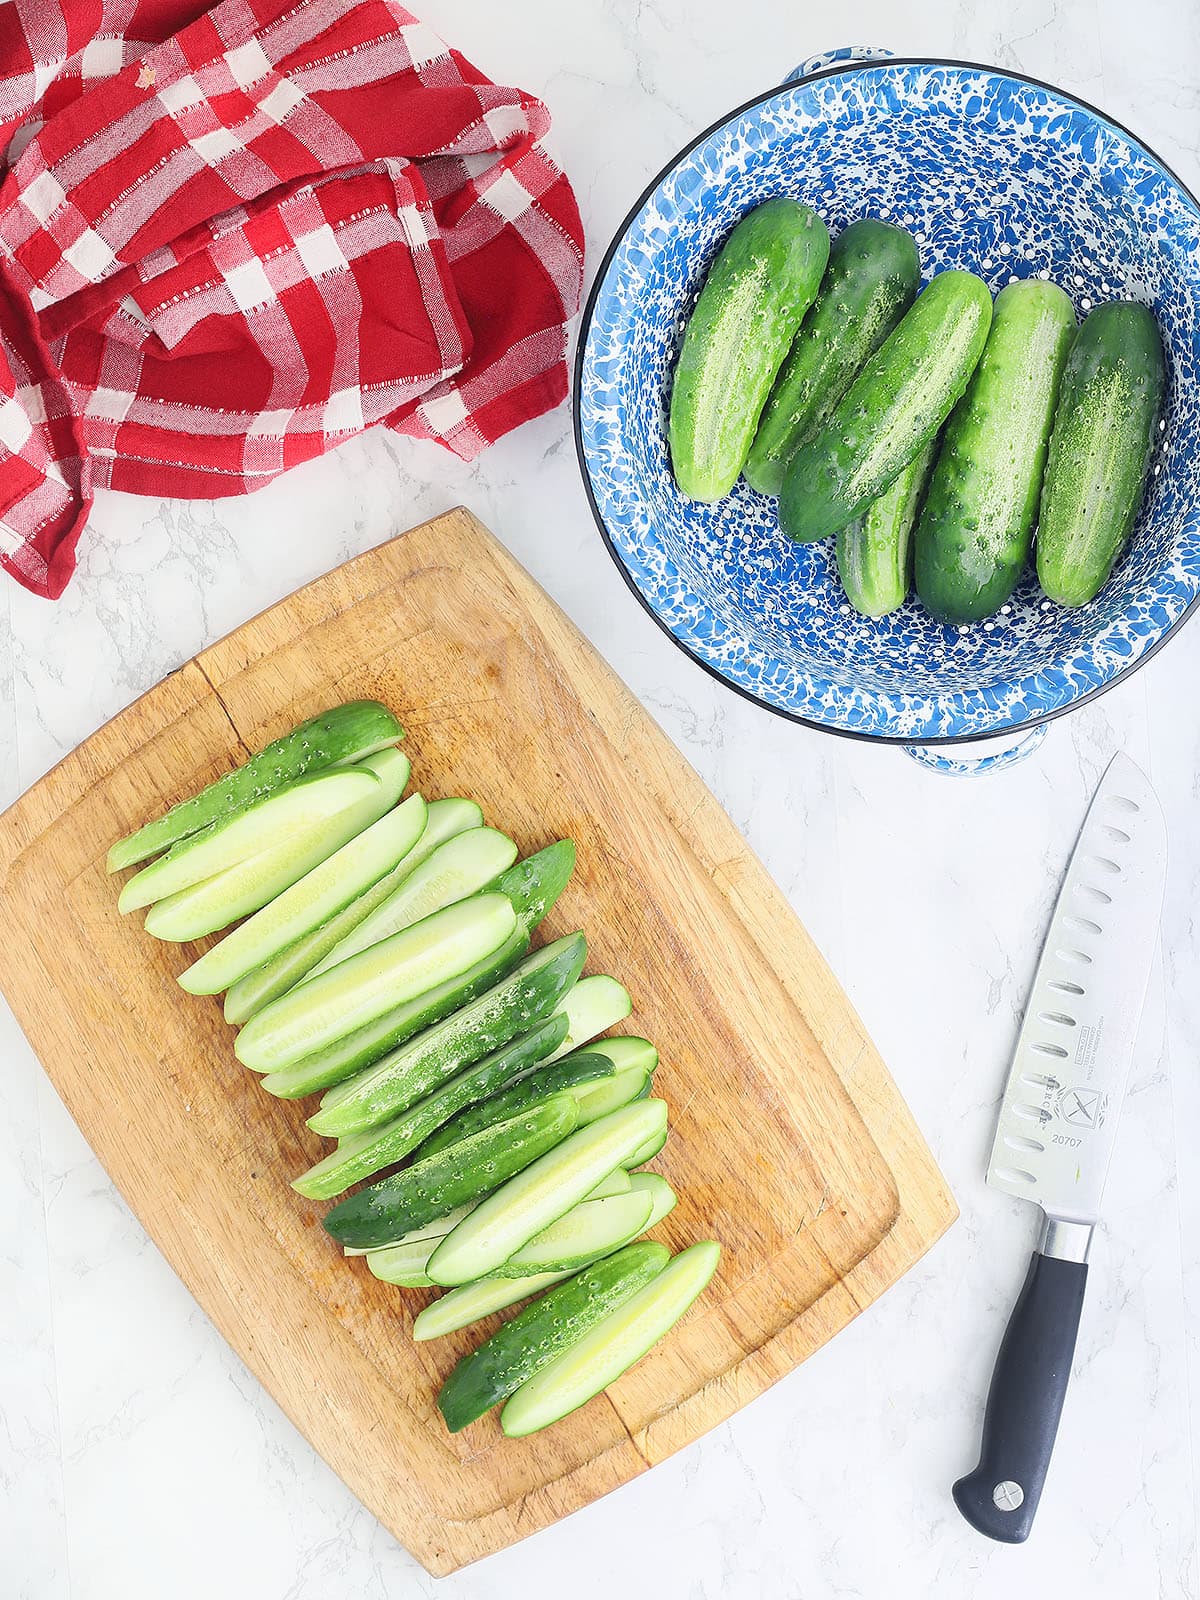
Trim off the blossom end. Before cutting the pickles into spears, trim off the tip of the cucumber where the yellow flower sprouted. The blossom end contains an enzyme that can cause the cucumber to soften. If you’re using store bought cucumbers and you’re not sure which end was the blossom end, trim a little off both ends.
Soak the cucumbers in salt water ASAP. Your cucumbers will start to lose water almost immediately after they are harvested. The longer they sit, the less crisp they will be. Home grown cucumbers should be placed in a salt water bath immediately after harvesting. Of course, if using store bought cukes, you have no control over when they were harvested. Therefore, try to get them in a salt water bath shortly after purchase. I’ll discuss the process of soaking the cucumbers shortly.
Tools and ingredients you’ll need to make kosher dill pickles
All these ingredients are easily found in a local grocery store. You may even have several ingredients in your kitchen already. To make kosher dill pickles spears, you will need:
- Canning or kosher salt – These two types of salt do not contain any additives and are recommended for pickling. Other types of salt, such as table salt, contain iodine and anti-caking agents, which are safe to eat but can affect the appearance and the quality of the pickles. Sea salt also does not contain additives, but it is a finer grain by weight. One cup of pickling or kosher salt is not the same as one cup of sea salt. If you really want to use sea salt, you will need to figure out the correct conversion to achieve the same results.
- 4 pounds pickling cucumbers, sliced into spears
- 4 tablespoons canning or kosher salt, divided
- 2 cups apple cider vinegar
- 1 cup white vinegar
- 2 tablespoons sugar
- 6 tablespoons dill seeds
- 3 teaspoons pickling spices
- 6 teaspoons dried minced garlic
- 6 teaspoons dried minced onion
- Regular or wide mouth quart glass jars or other plastic storage containers with a lid
- Large mixing bowl
- Non-reactive pot – this is a pot made of a metal that will not react with the acid in the vinegar. Reactive pots include aluminum, cast iron or copper. Stay away from these. Non-reactive pots made of stainless steel, ceramic, or metal pot with enamel coating are safe to use.
- Funnel
- Tall stock pot, if canning
- Regular or wide mouth ar lids and rings, if canning
- Canning utensil kit, if canning
Brine the cucumbers
As I mentioned above, before you place the first cucumber spear into a jar with vinegar, we need to soak the spears in salt water first. The brine not only draws out any excess moisture that can eventually lead to soggy pickles, but the cucumbers absorb some of the salty solution, thereby giving the pickles more flavor.
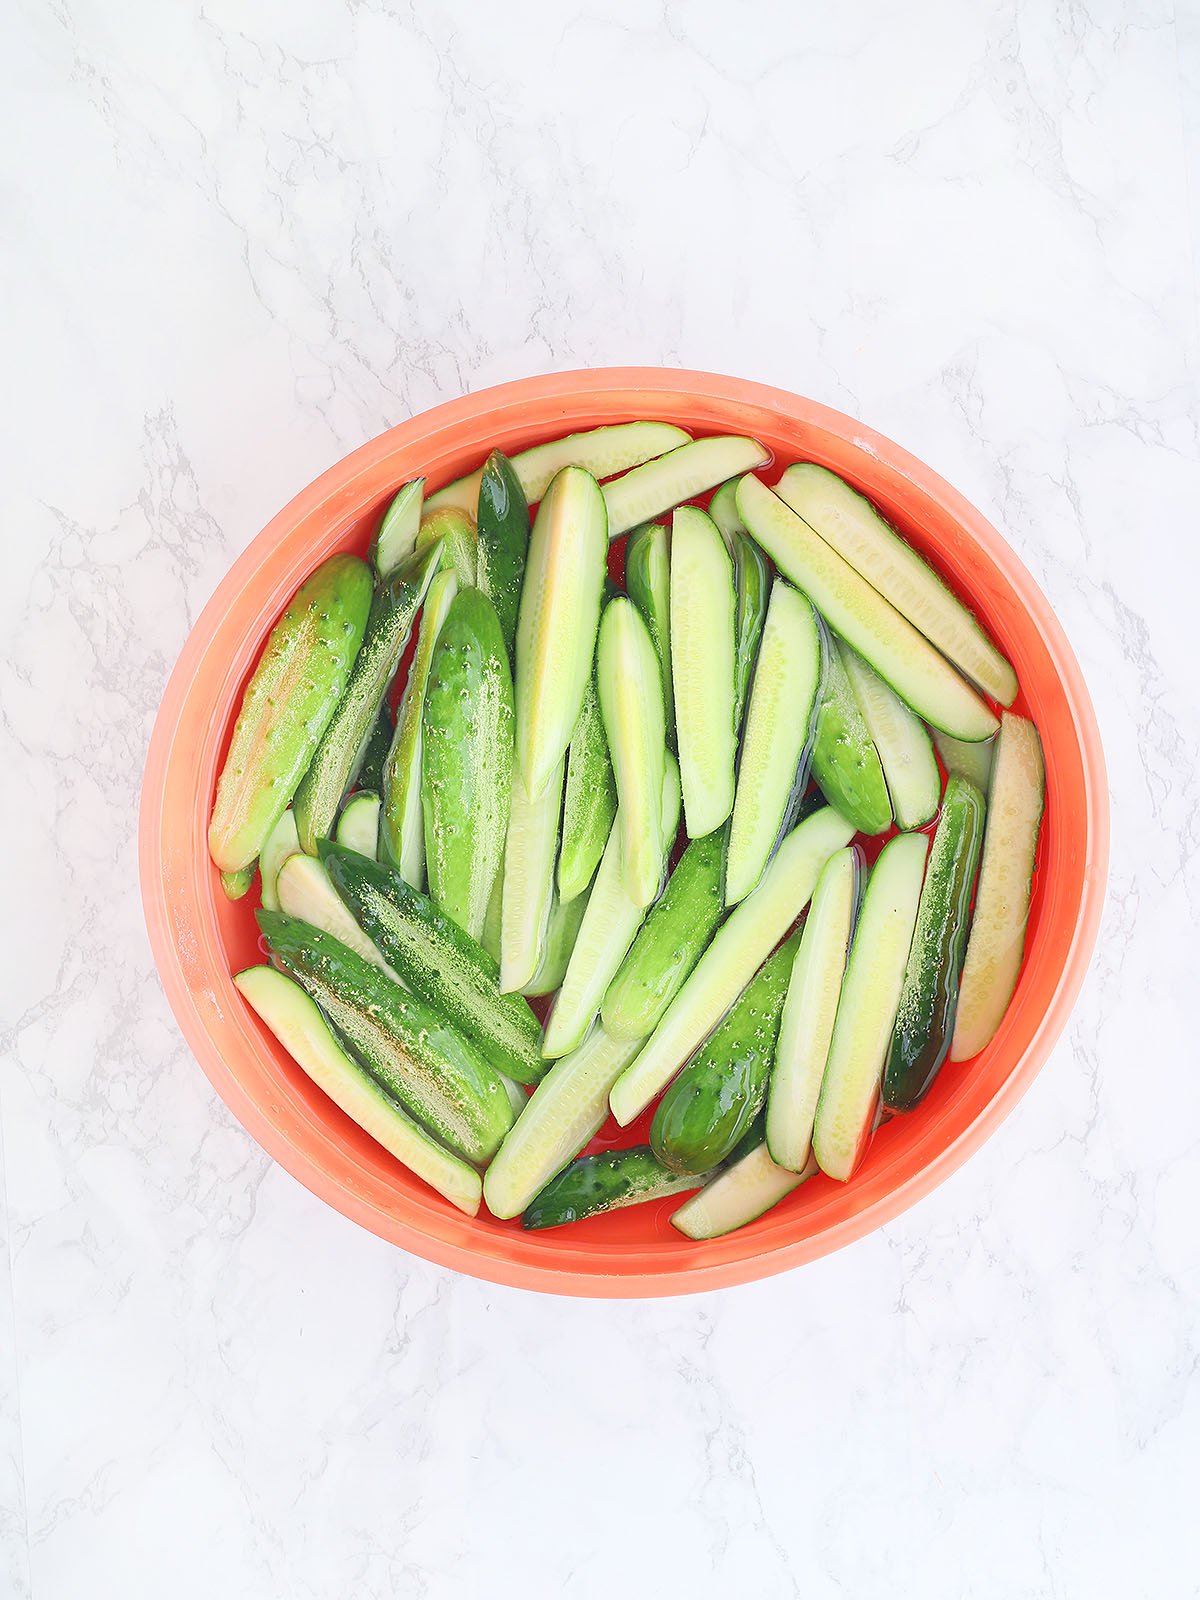
I like to use a bowl large enough to let the cucumber spears move around. For one day in October, this giant orange bowl holds our Halloween candy. During the summer months, it doubles as my pickle brining bowl. Add two tablespoons of Kosher or pickling salt to the bowl, then pour in 2 ½ quarts (10 cups) of cold water. Whisk the water and salt solution until the salt is dissolved.
Add the cucumber spears to the salt water. Swish them around a bit, then place the bowl in the refrigerator and let them soak for at least three hours. You can let them soak longer than this. In fact, I’ve set cucumbers to soaking one morning, then got busy and couldn’t pack them in jars until a day later. Just don’t let them soak too long, or you could end up with overly salty pickles. If this does happen, drain the salt water and replace with fresh unsalted water and let the cucumbers soak again for an hour or so to get rid of some of the salt.
Make the pickling liquid
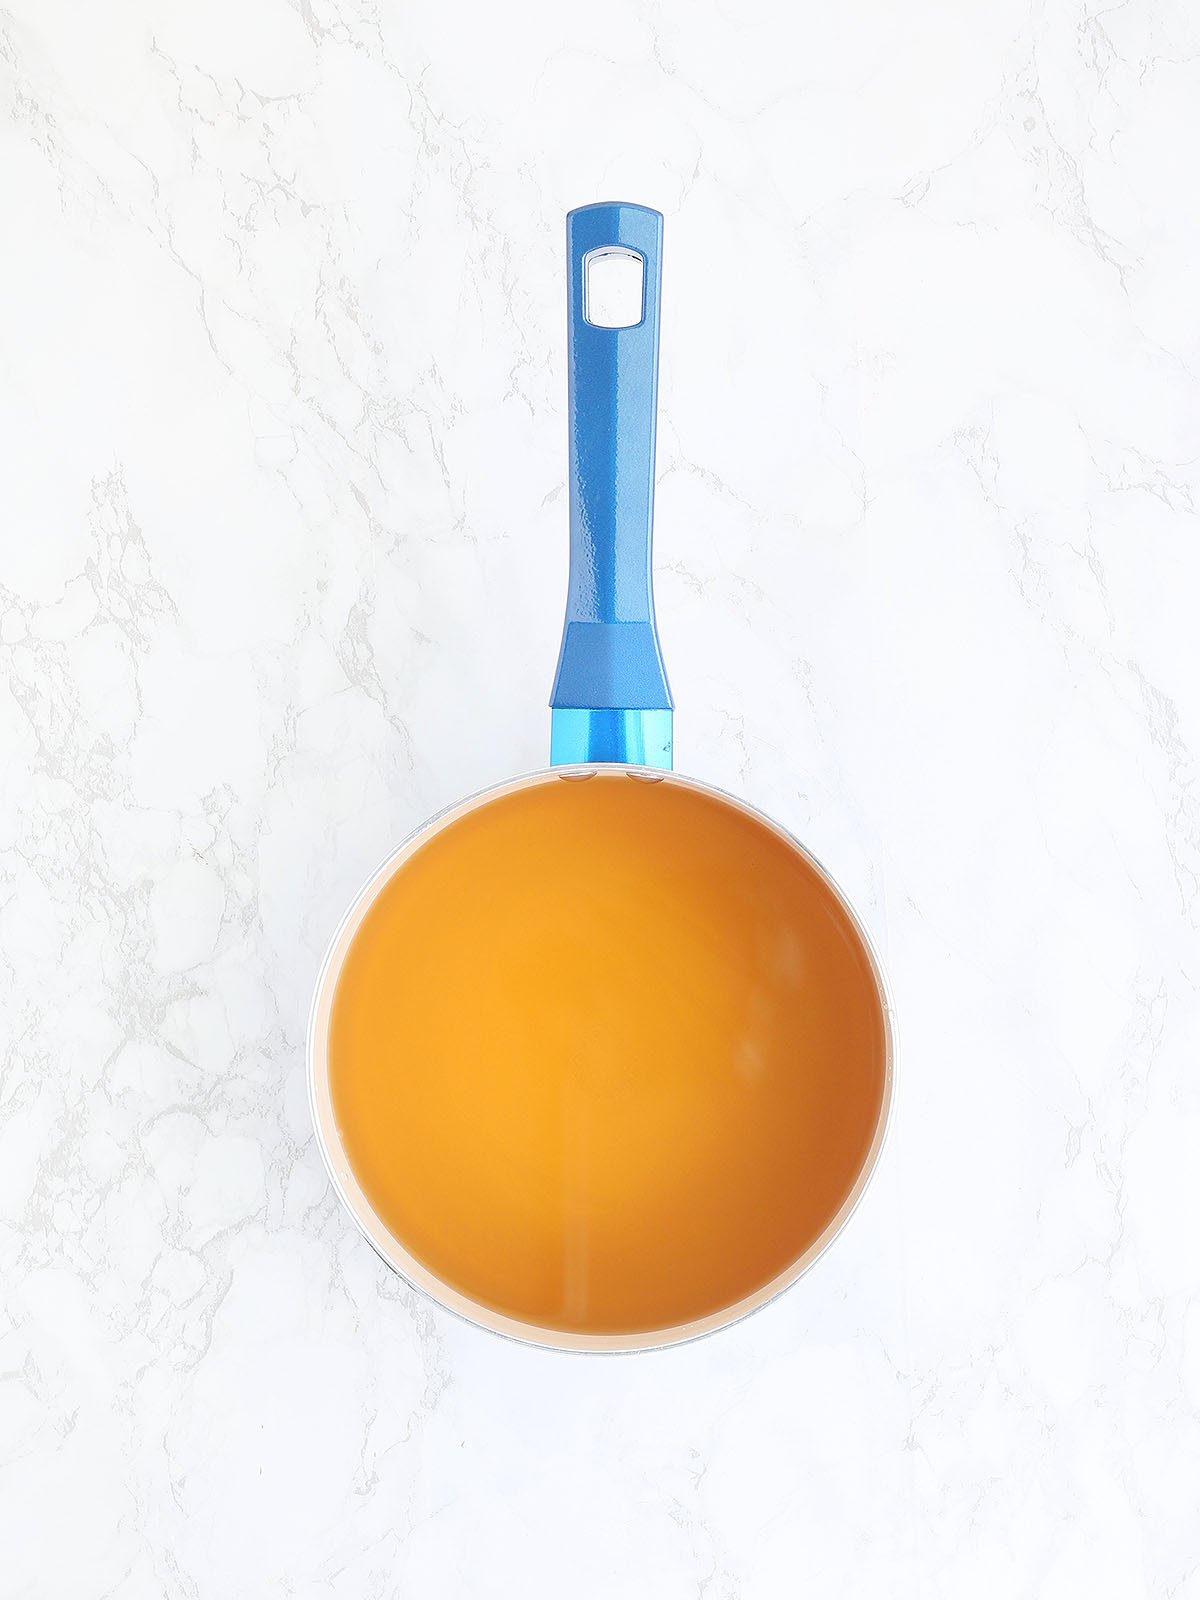
While the cucumbers soak, let’s make the packing liquid. Combine the apple cider vinegar, white vinegar, water, the remaining two tablespoons of kosher salt and sugar in a medium saucepan. The sugar will not make the pickles sweet, it just helps to balance out the flavor.
Heat the liquid over medium low heat, stirring often, until the salt and sugar are dissolved. Remove the liquid from the heat and allow it to cool completely. We don’t want to pack our cucumbers with hot liquid because, again, it could affect the crisp texture of the pickles.
Packing the cucumbers
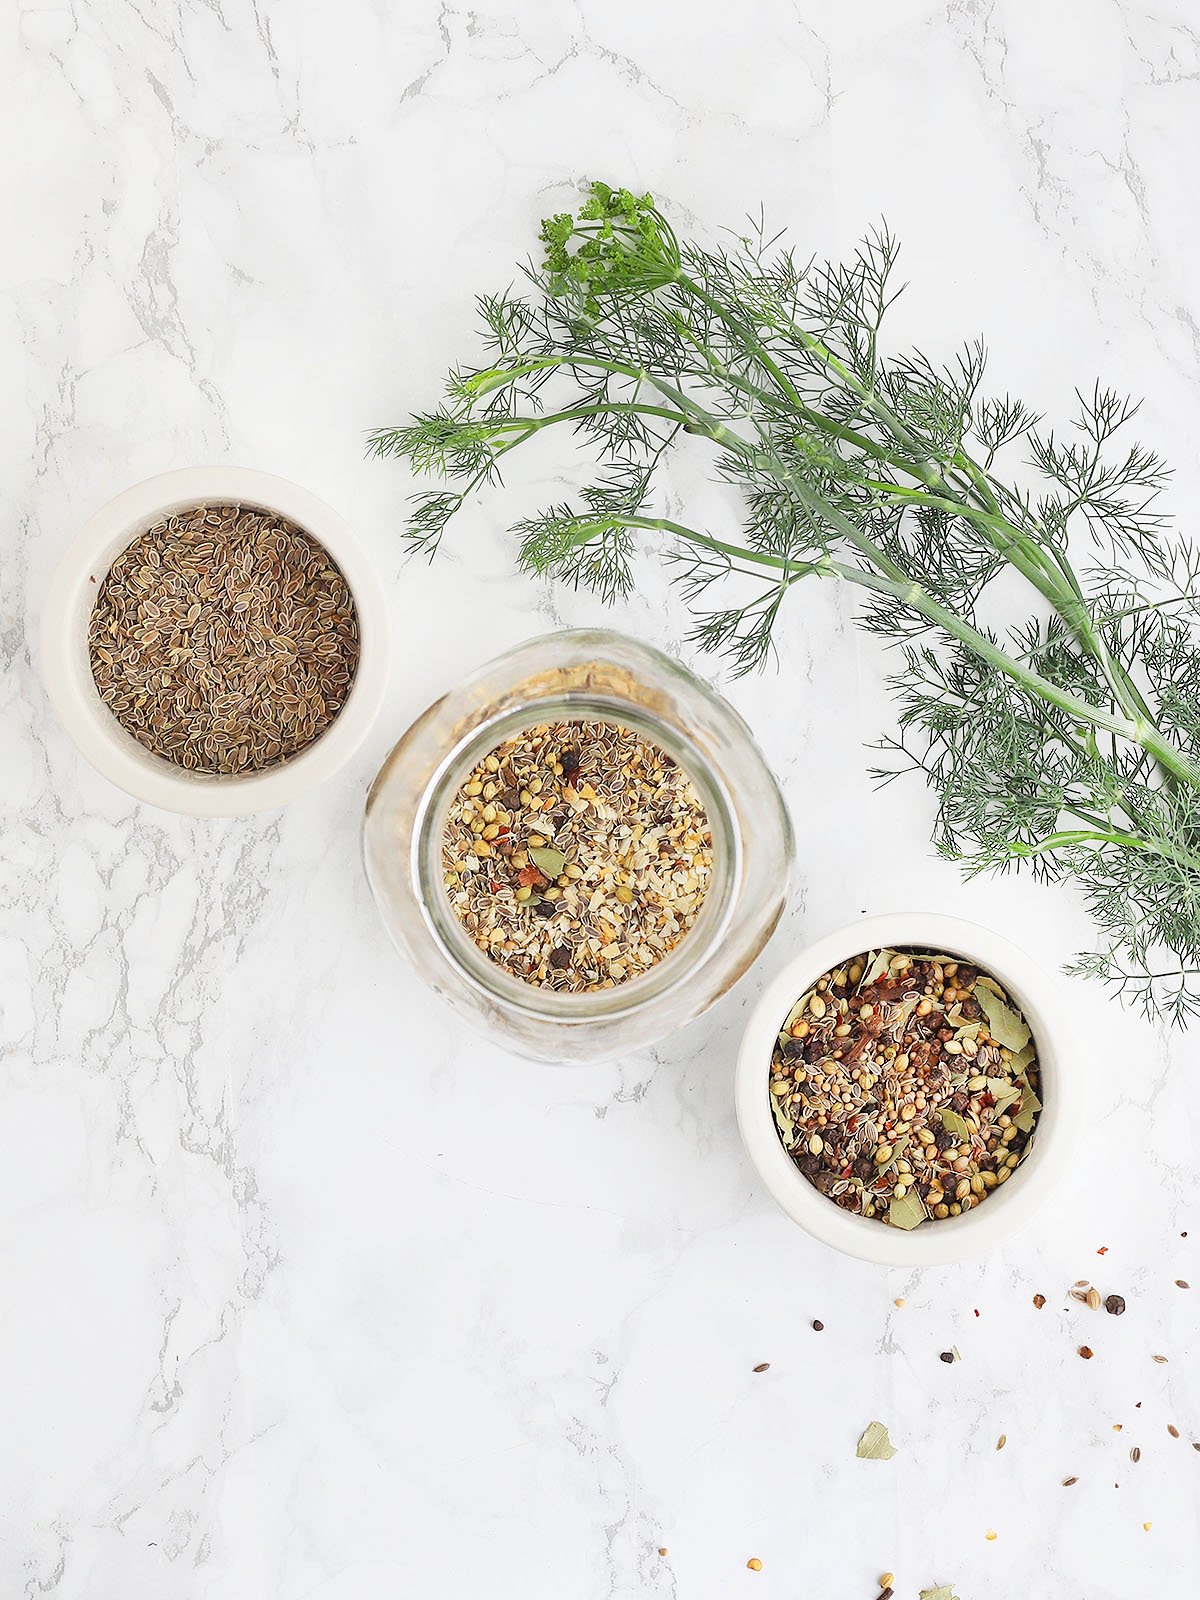
This recipe will typically make six quarts of homemade kosher dill pickles. I like to line my jars up in a row on the counter and get the rest of my supplies handy. In the bottom of each jar, add one teaspoon of dill seed, ½ a teaspoon of pickling spices, one teaspoon of dried minced garlic and one teaspoons of dried minced onion.
Drain the cucumber spears but don’t rinse. I don’t recommend reusing the salt water brine since the cucumbers have been releasing water as they soak up the salt water. As a result, the water will not be as salty. It’s best to discard the water after each use.
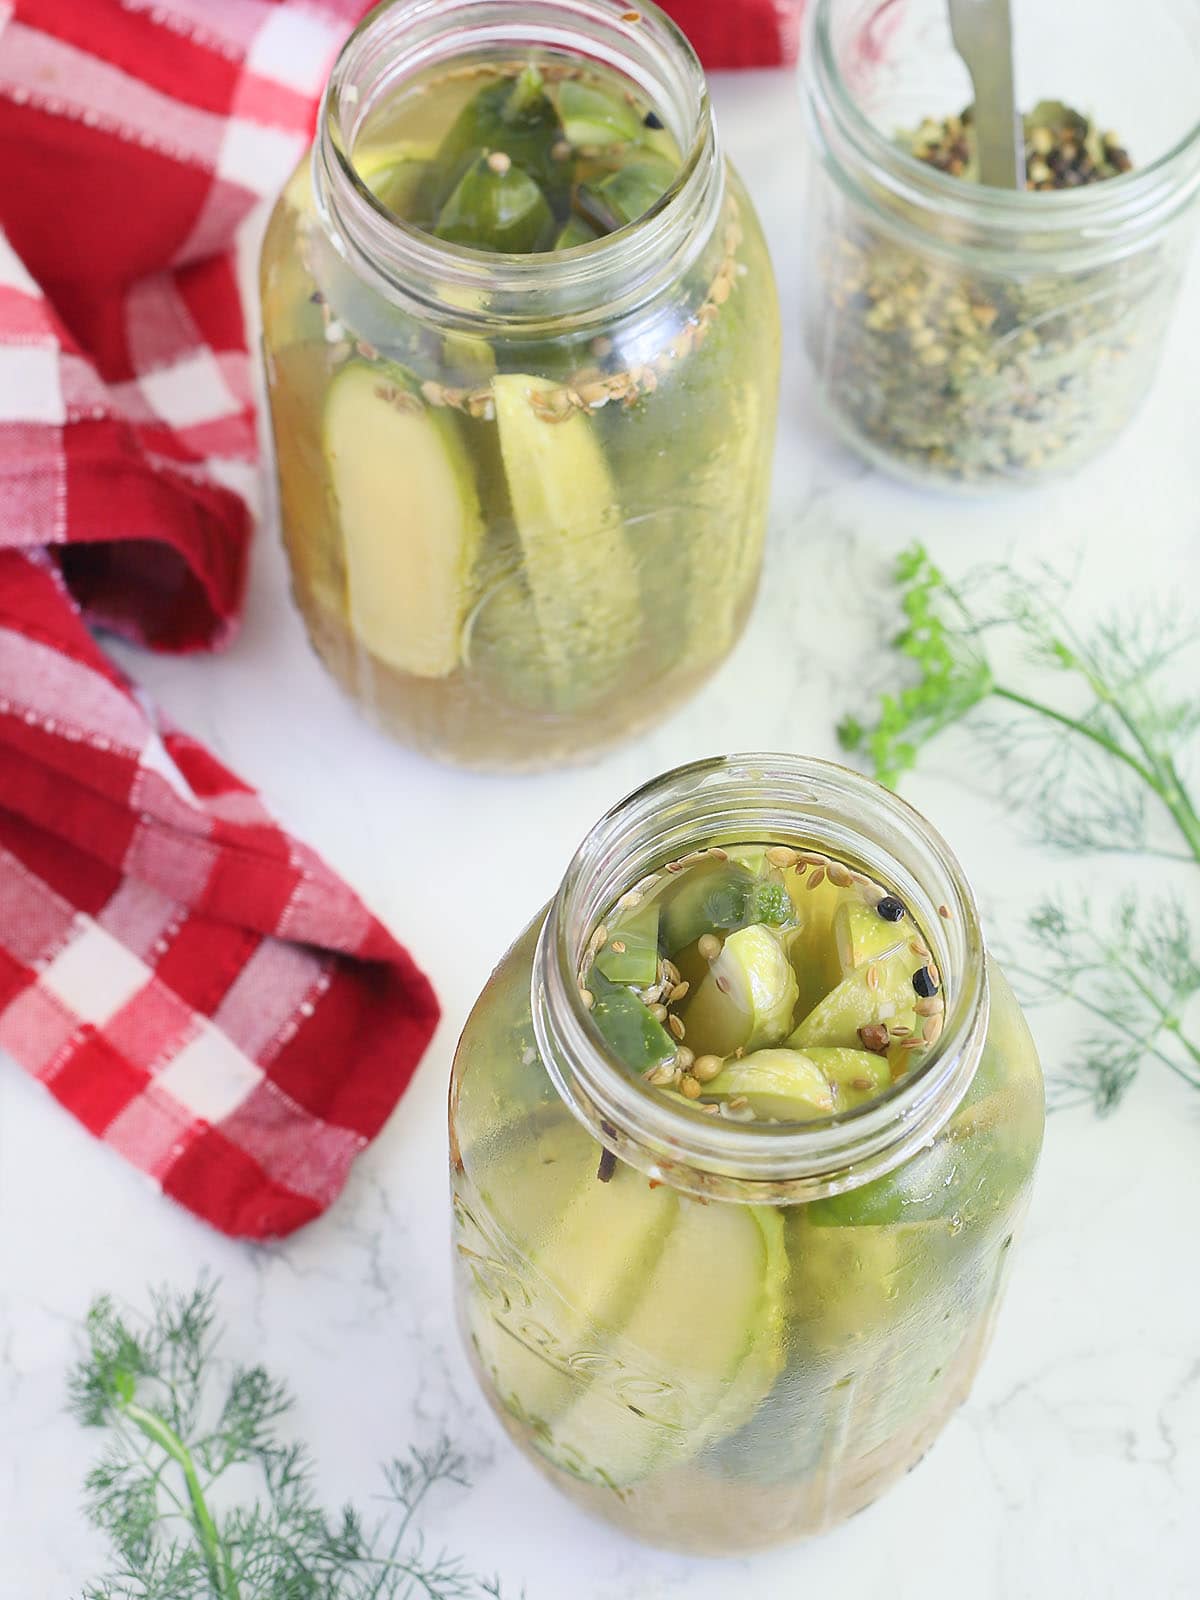
Pack as many of the cucumber spears into the jar as you can. Then, using a funnel, pour the packing liquid over the top of the pickles. Make sure the all the spears are completely submerged in the pickle brine. If you plan on canning these pickles, you will need to leave a headspace of ½-inch. Cover each jar with a lid and allow the pickles to marinate for three weeks. If you end up with leftover packing liquid, you can store the remainder in the refrigerator for later use.
Storage and canning dill pickles
Kosher dill pickles that have not been canned should be stored in the refrigerator. The pickles will stay good for up to three months. This is my preferred method of storage because it ensures the pickles stay as crisp as possible.
The pickles can also be canned using the water bath canning method. You’ll need a large stockpot tall enough to allow you to submerge the jars in water deep enough to cover the tops of the jars by one inch. You’ll also need a canning utensil kit that includes a can lifter. Top each jar with a lid and secure with a ring.
Bring the water in the stock to a boil. Using the can lifter, carefully lower the jars into the boiling water. The longer the packed jars stay in the hot water, the less crisp the pickles will be, so we want to wait until the very last minute to add the jars to the pot. Do not place cold jars straight from the refrigerator into the boiling water. The drastic change in temperature can cause the jars to shatter. Instead, set the jars out on the counter for 30 minutes to warm up a bit.
Process the jars for 15 minutes. Then remove the pot from the heat and allow the jars to sit in the hot water for another five minutes. Remove the jars from the hot water, again using the jar lifter. I like to let the jars cool on a towel on the counter. Remove the rings and allow the jars to set for 24 hours.
Afterwards, check the lids for a seal. The center of the lid should not flex back and forth. If any jars have not sealed, store the jar in the refrigerator and plan on eating that jar first. Do not try to process the jar again. Doing so could affect the texture of the pickles.
For more detailed information, check out my tutorial on water bath canning.
Frequently asked questions
Can I substitute dill seed for fresh dill?
Yes, and no. I’m usually hit or miss when it comes to growing fresh dill, but when when my plant is thriving, I always use it for my pickles. The cluster of flowers that sprouts on a dill plant is known as one head of dill and can be used in place of one teaspoon of dill seed. Dill weed describes the feathery leaves that line the stem. Dill weed has a slightly different flavor profile than dill seed. Because of this, I don’t recommend dill weed as an adequate substitute for seed.
Can I used fresh garlic and onion instead of dried?
Yes, you can. I make a lot of pickles during the summer months and let me tell you, constantly dicing onions and garlic gets old really fast. I started keeping containers of dried garlic and onion on hand simply to save time. The dried version of these two aromatics are super concentrated, so you’ll want to double the amount of fresh. In other words, add two teaspoons of fresh minced garlic and onion for each jar. Garlic and onion powder can also be used at a ratio of ¼ teaspoon of powder for each teaspoon of dried.
What about picking lime, alum or grape leaves?
If you come across an old recipe for pickles, you might notice it calls for lime, alum or grape leaves. Pickling lime (not to be confused with the green citrus fruit used to make margaritas) and alum aren’t recommended for canning anymore. Acidity levels are very important when it comes to canning. It prevents the formation of botulism, a bacteria that occurs in improperly stored food which can make you sick or even kill you. Pickling lime is alkaline, which can neutralize the acidity in the vinegar.
Alum is no longer recommended by the FDA because excessive aluminum contained in the product can be unsafe or lethal to consume.
Grape leaves neutralize the enzymes found in the blossom end of the cucumber. However, if you remove the blossom end as instructed, you don’t need to add grape leaves to the jar. Basically, if you follow the steps above, you should not need any additives.
More canning recipes

Kosher Dill Pickle Spears
Ingredients
- 2 tablespoons canning salt or kosher salt
- 2 ½ quarts water
- 2 pounds pickling cucumbers cut into spears
For the pickles:
- 1 cup cider vinegar
- 2 cups white vinegar
- 3 cups water
- 1 tablespoons sugar
- 3 tablespoons canning or kosher salt
- 6 teaspoons dill seeds
- 3 teaspoons pickling spices
- 6 teaspoons minced garlic
- 6 teaspoons dried minced onion
- 6 pint mason jars and lids and bands
Instructions
- In a large mixing bowl, combine the kosher salt and water. Whisk together until the salt is dissolved.
- Add the pickle spears to the water. Let the spear soak in the salt water for 2 hours.
- Drain and discard the salt water.
- In a nonreactive pot, combine the vinegars, water, sugar, and salt. Cover, bring to a simmer until the salt and sugar is dissolved. Remove from heat and set aside. Allow the brine to cool completely.
- In the bottom of a quart mason jar, add 1 teaspoon of dill seed, ½ teaspoon of pickling spices, and 1 teaspoon of minced garlic and 1 teaspoon dried minced onion.
- Fill jars with cucumber slices.
- Using a funnel, carefully pour the vinegar mixture over the cucumber spears, leaving ½-inch of room between the pickles and to top of the jar. Wipe rims with a clean damp rag or paper towel. Place a lid on each jar and secure tightly.
- Allow jars to set for 3 weeks before opening.
- Jars will last for up to three months in the refrigerator. Pickles can also be preserved using the water bath canning method. Properly canned pickles should be stored in a cool dry place and are good for up to one year.

To Amy
That’s partially right. Yes the fermenting method to make pickles can be used and is more traditional, but so can a vinegar brine, less traditional, it’s just a preference of taste. The term kosher pickle means, it is a pickle made in the traditional manner of Jewish New York City pickle makers, with generous addition of garlic and dill to a natural salt brine.” Typically, dill pickles that don’t use garlic aren’t considered kosher dill pickles.
Traditionally kosher pickles were not made with vinegar, just a salt brine. That is what the term kosher means when referring to pickles. Of course garlic was also included in the barrels, as was dill and other spices according to the maker.