
Buttermilk Brined Fried Chicken
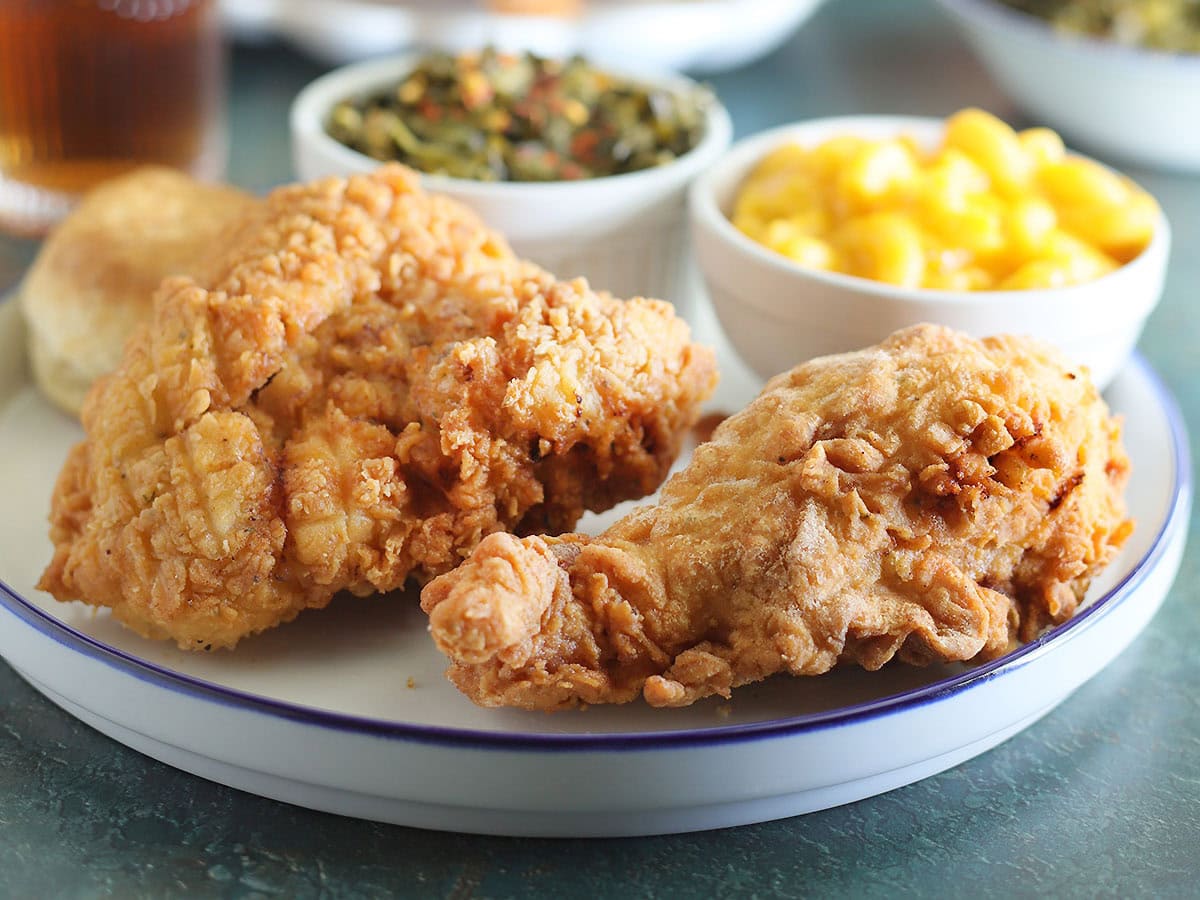
Crispy buttermilk brined fried chicken features juicy legs and thighs coated in seasoned batter and fried until crunchy and golden brown.
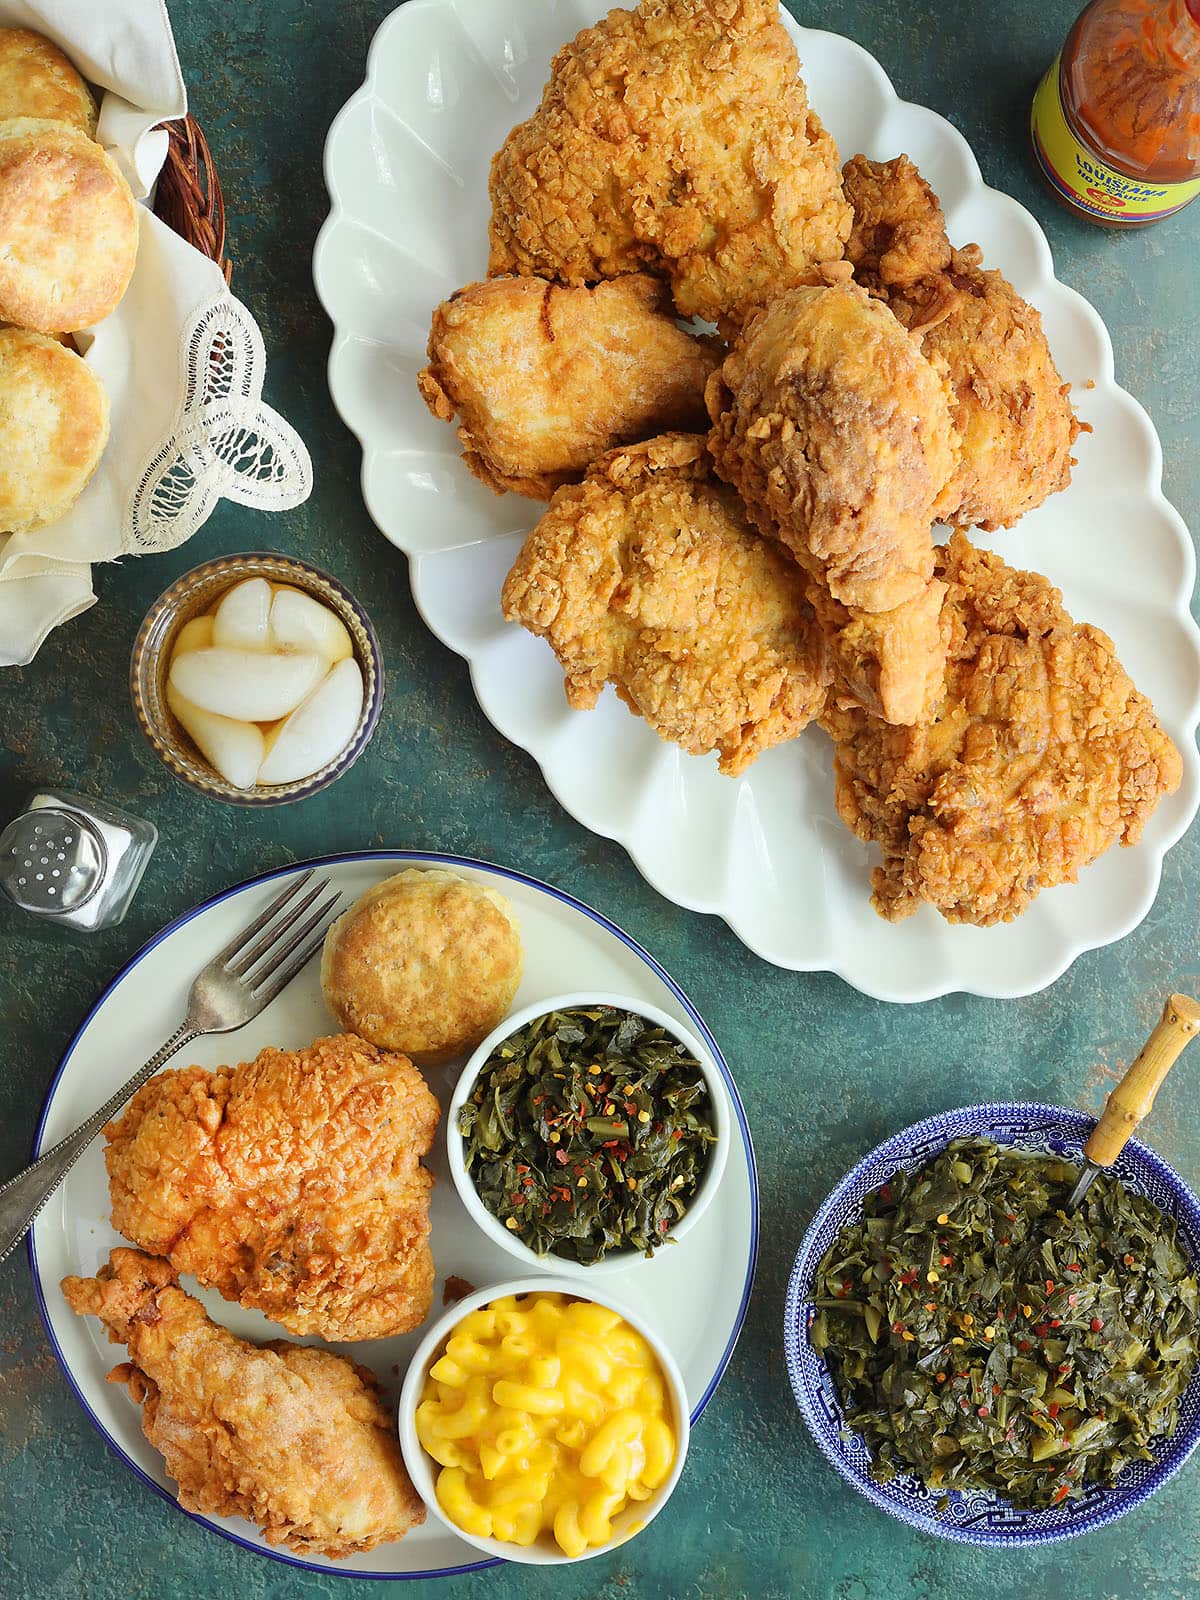
This past summer my 11 year old son issued a challenge: he wanted us to learn how to make fried chicken from scratch. Of coarse, when he said we need to learn how to make fried chicken, he really meant me. I need to learn to make fried chicken.
It has been the summer of fried chicken. I researched, I asked others for tips, and tested recipes. We ate fried chicken for dinner at least four times in one month. Not that anyone in my house complained.
The result is this buttermilk brined fried chicken recipe that soaks overnight in a seasoned buttermilk mixture, followed by a batter and seasoned flour dredge for a crispy coating that stays put. There’s nothing quite like biting into a piece of homemade fried chicken with a crunchy texture, deep golden brown crust and tender, juicy meat underneath.
Recipe at a glance
- Juicy and flavorful. An 8–24 hour buttermilk brine seasons the chicken and helps keep dark meat tender during frying.
- Extra-crispy coating. Cornstarch helps give the breading a crisp texture without making it overly heavy or puffy.
- The breading stays put. Letting the breaded chicken rest before frying gives the coating time to adhere to the meat.
- Made for dark meat. Chicken legs and thighs are more forgiving than breasts and stay juicy during the longer frying time.
- You control the heat. Hot sauce and cayenne pepper are both optional, so you can make the chicken as mild or spicy as you like.
Summarize and save this content on
Jump to:
Ingredients and tools you will need
Buttermilk brined fried chicken features juicy, tender chicken legs and thighs coated in a crispy, craggy seasoned crust and fried until golden brown. To make this recipe, you will need:
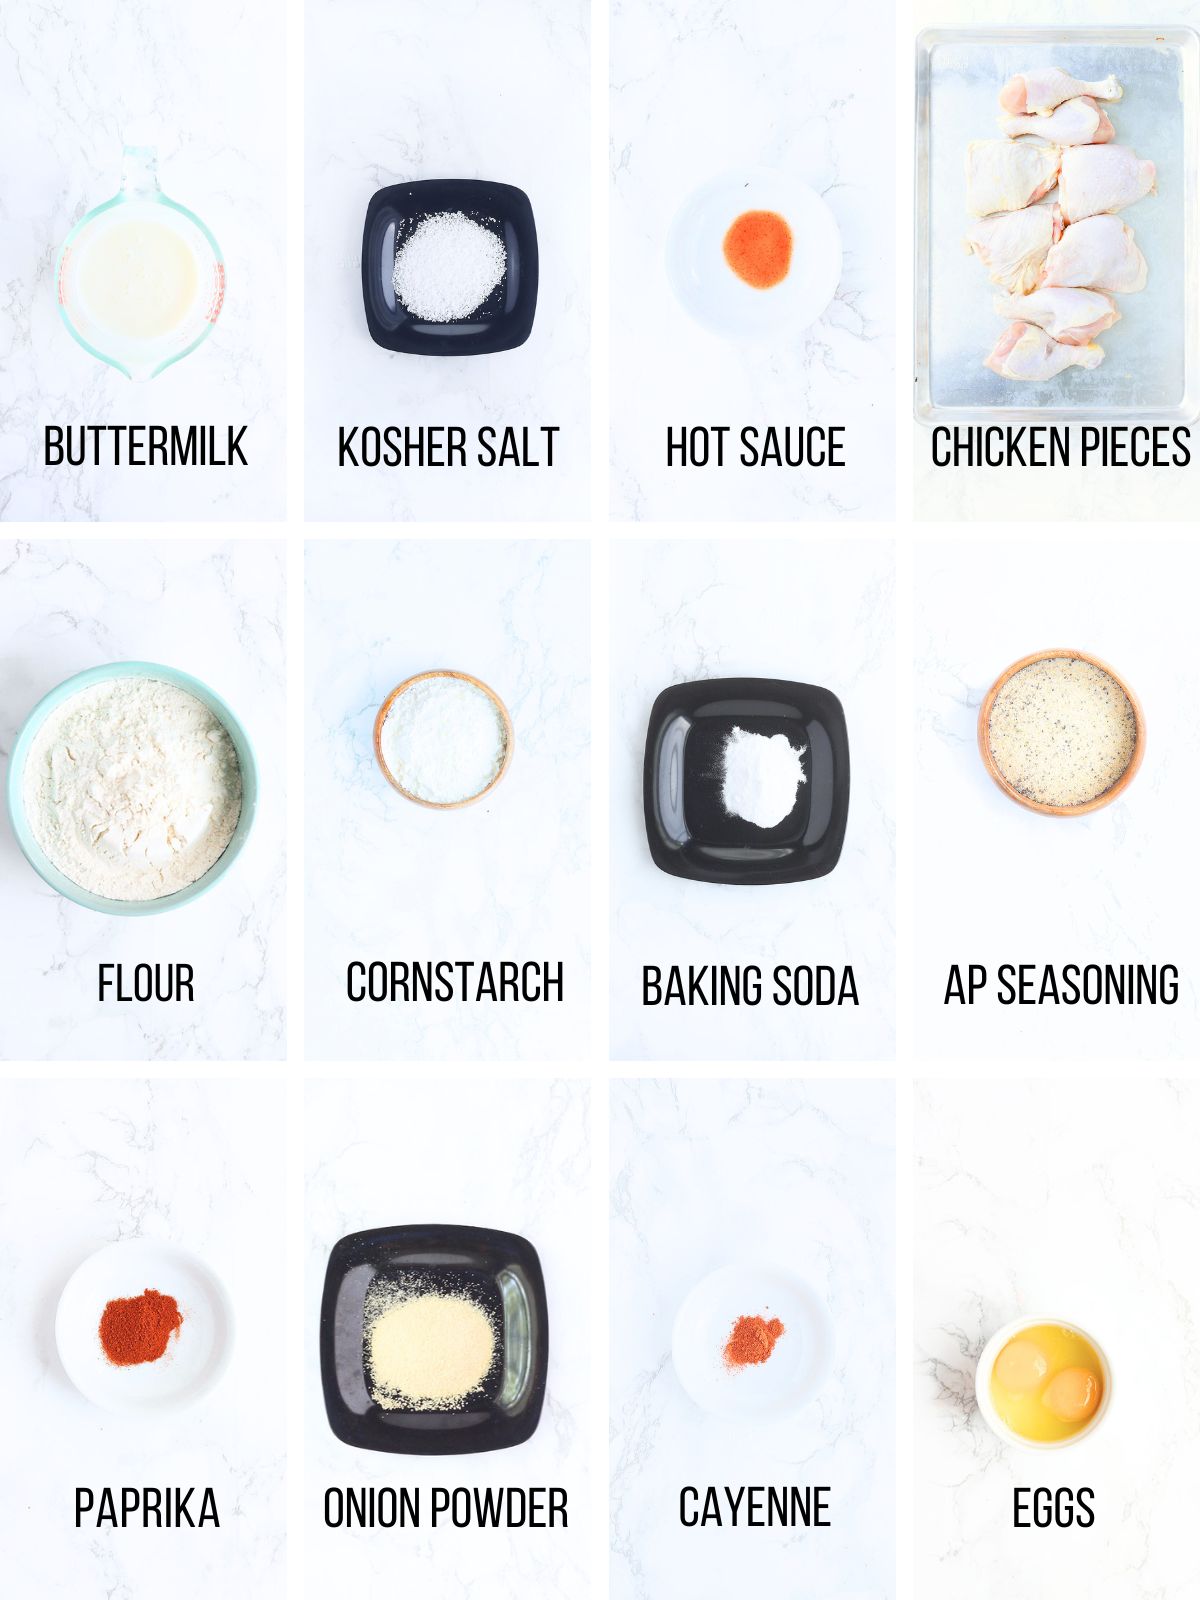
See the recipe card for full information on ingredients and quantities.
- Chicken legs and thighs: I prefer dark meat for fried chicken because it contains more fat than chicken breasts, which means it stays moist and tender during frying. I use three pounds of bone-in chicken thighs and legs. Try to choose pieces that are fairly similar in size so they’ll cook at approximately the same rate.
- Buttermilk: Buttermilk plays two roles in this recipe. First, we use it as the base for the brine. Its acidity helps tenderize the chicken while giving the meat a subtle tang. We’ll use another cup of buttermilk later to make the batter.
- Kosher salt: Salt is an important part of the brine because it seasons the chicken beyond the surface. I recommend kosher salt rather than table salt.
- Hot sauce: A teaspoon of hot sauce adds flavor to the brine without making the finished chicken particularly spicy. Feel free to leave it out if you prefer.
- All-purpose flour: Regular all-purpose flour forms the base of our seasoned dredge and gives the chicken its substantial crunchy crust.
- Cornstarch: Cornstarch is one of my favorite tricks for crispier fried foods. It contains no gluten, so replacing a portion of the flour with cornstarch helps produce a lighter, crunchier exterior.
- Baking soda: You only need a small amount. Baking soda reacts with the acidity in the buttermilk and encourages browning.
- All-purpose seasoning: I use my homemade all-purpose seasoning to add plenty of flavor to the breading. If you substitute a store-bought blend, keep an eye on the salt content since some seasoning blends contain considerably more salt than others.
- Paprika, onion powder and cayenne: Paprika and onion powder add another layer of savory flavor to the flour mixture. Cayenne gives the chicken a little kick, but it’s completely optional.
- Eggs: Two large eggs give the batter structure and help the final flour coating cling to the chicken.
- Frying oil: Choose a neutral oil with a high smoke point. Vegetable, canola or peanut oil are all good choices for deep frying.
Tools:
- Deep-fry thermometer: A thermometer is extremely helpful here. Oil temperature is one of the biggest factors separating crisp, golden fried chicken from greasy chicken with burnt breading.
Substitutions and variations
- Make it spicy: Don’t skip the hot sauce or cayenne. You can also increase the cayenne slightly if your family likes hotter fried chicken.
- Make it mild: Leave out both the hot sauce and cayenne pepper. You’ll still have plenty of flavor from the seasoned flour.
- Change the chicken pieces: You can use other bone-in chicken pieces, but cooking times will vary. Chicken breasts are larger and leaner, so monitor their internal temperature carefully to prevent them from drying out.
- Change the seasoning: Feel free to adjust the paprika, onion powder and cayenne to suit your taste. Just be careful when adding additional salt if your all-purpose seasoning already contains it.
- Extra-crispy variation: Dredge the chicken in the seasoned flour mixture before dipping it into the batter, then dredge it in flour a second time.
How to make buttermilk brined fried chicken
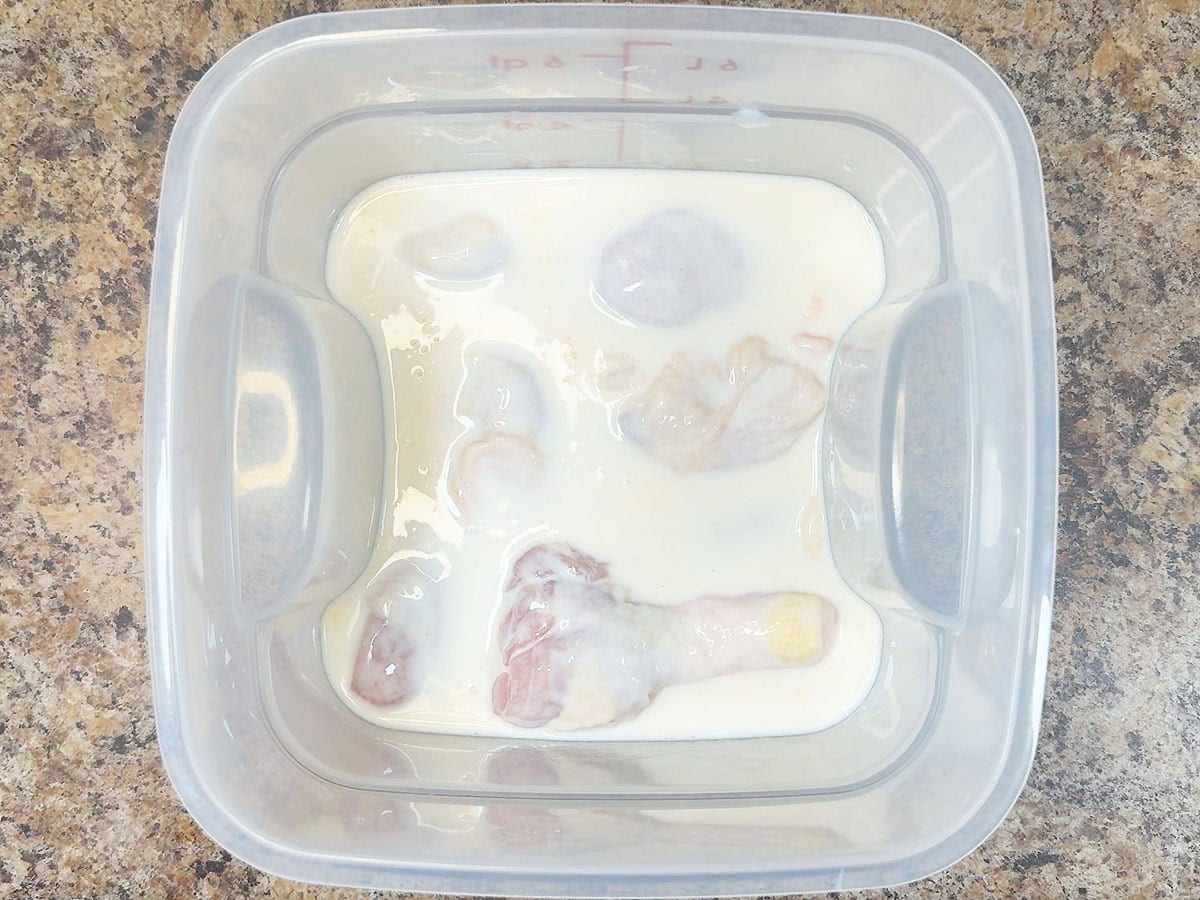
Step 1: Combine two cups of buttermilk, kosher salt and hot sauce in a large mixing bowl. Whisk until the salt has dissolved. Add the chicken legs and thighs and toss until they’re completely coated. Cover the bowl and refrigerate for at least eight hours or up to 24 hours. Turn the chicken about halfway through the brining time to make sure all the pieces spend plenty of time submerged. I don’t recommend going beyond 24 hours. At that point, the texture of the exterior of the chicken can begin to change.
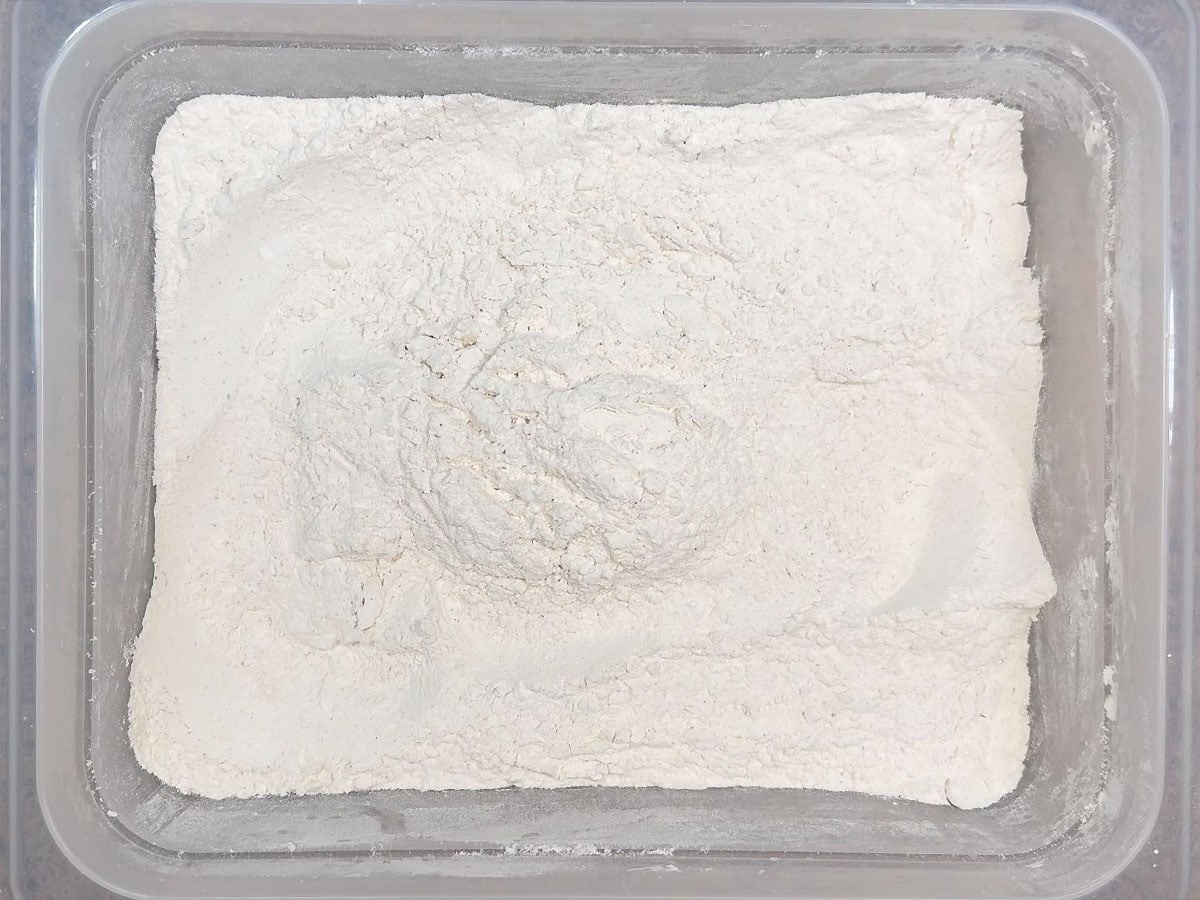
Step 2: When you’re ready to fry, whisk together the flour, cornstarch, baking soda, all-purpose seasoning, paprika, onion powder and cayenne pepper in a large bowl. Before you start breading the chicken, measure out 1 ½ cups of the seasoned flour and set it aside. We’re going to use this to make the batter.
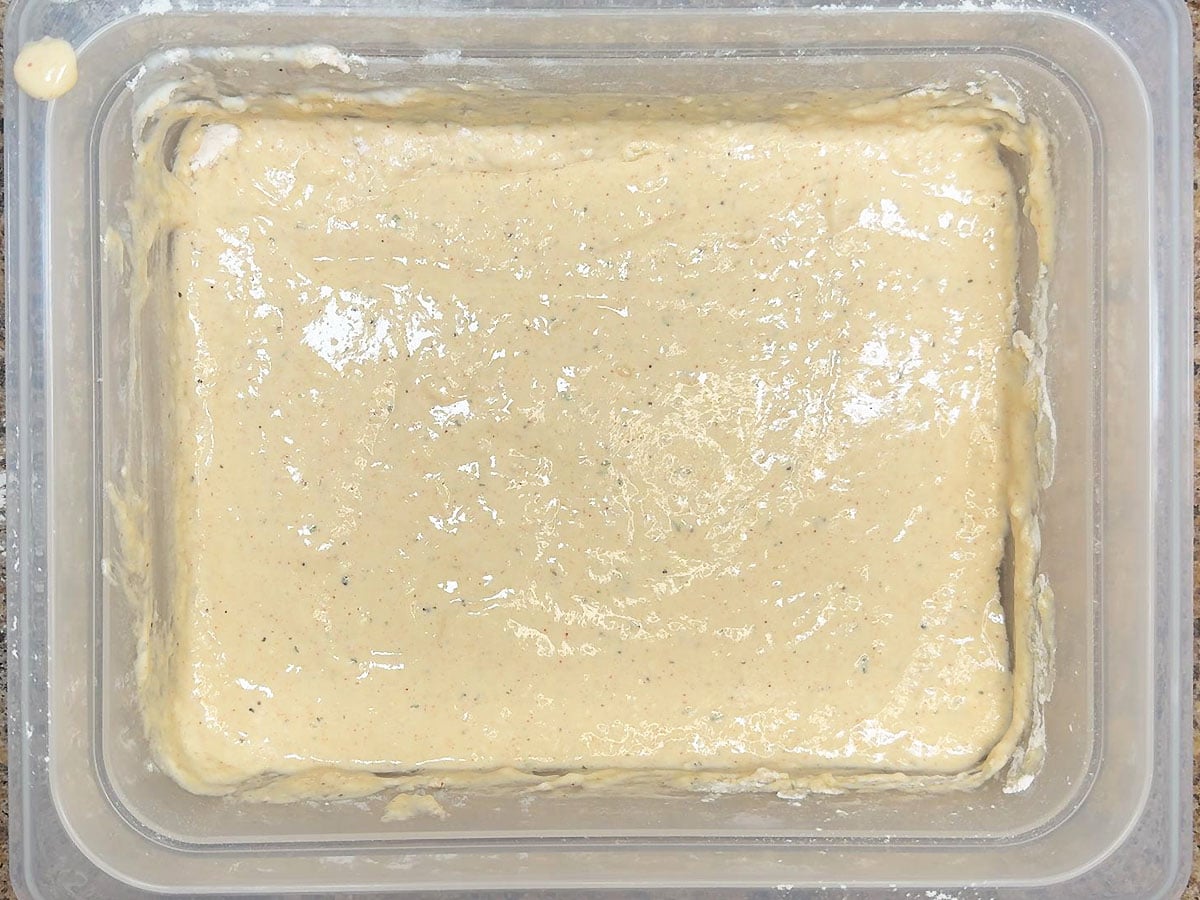
Step 3: In another large mixing bowl, whisk together one cup of buttermilk and two eggs. Whisk in the reserved 1 ½ cups of seasoned flour until combined. You’ll now have two bowls in your breading station: one containing the wet batter and another containing the remaining seasoned flour.
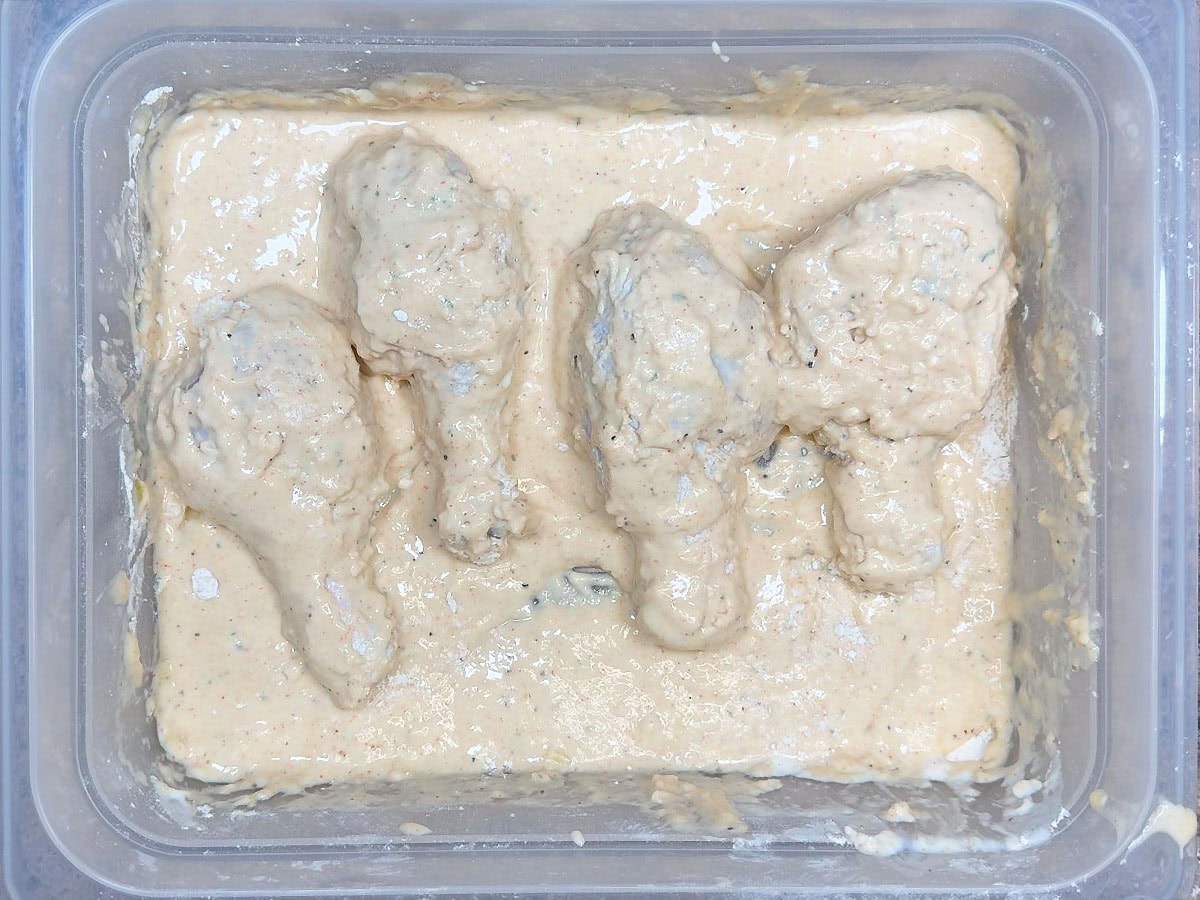
Step 4: Remove a piece of chicken from the brine and let the excess buttermilk drip back into the bowl. Coat the chicken thoroughly in the batter. Let the excess drip away, then transfer the chicken to the seasoned flour.
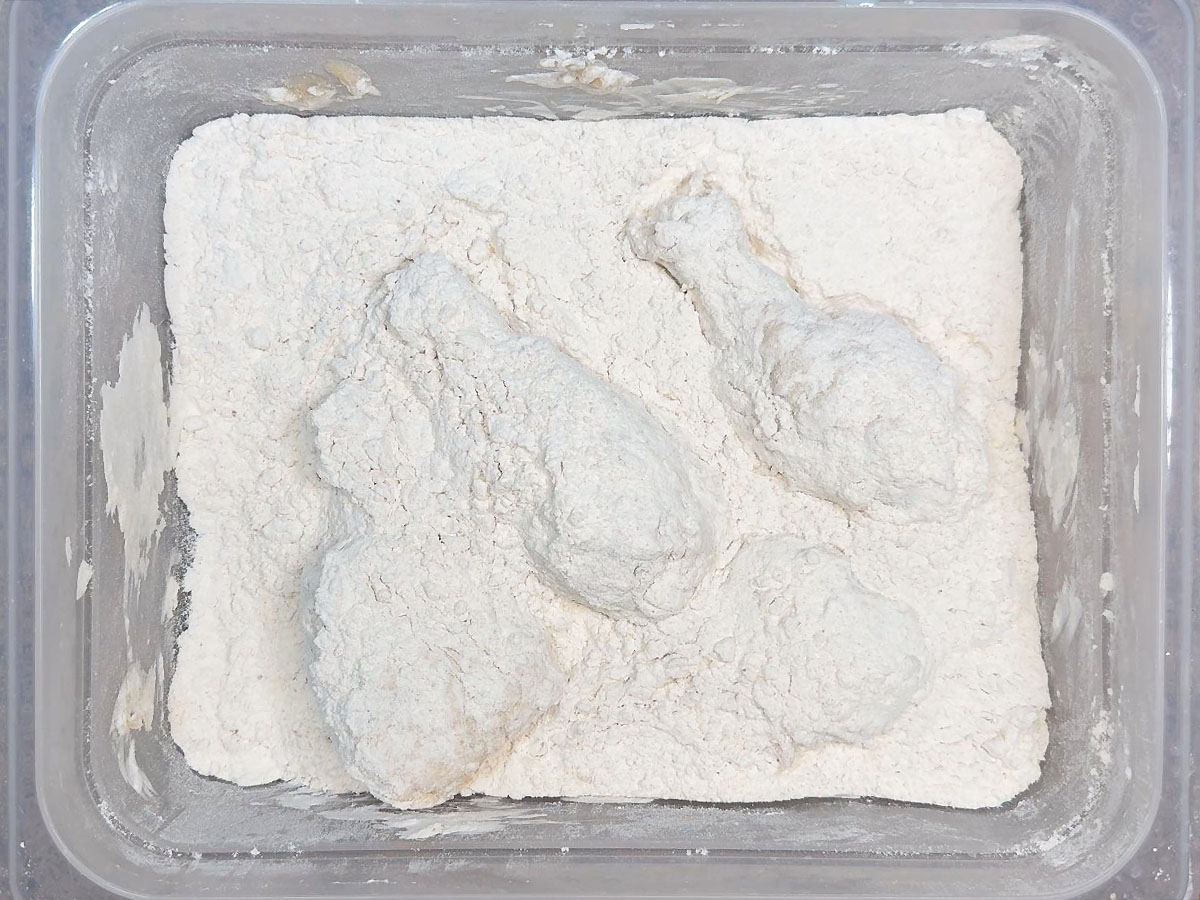
Step 5: Press and toss the flour around the chicken until the entire surface is thoroughly coated. Repeat with the remaining pieces.
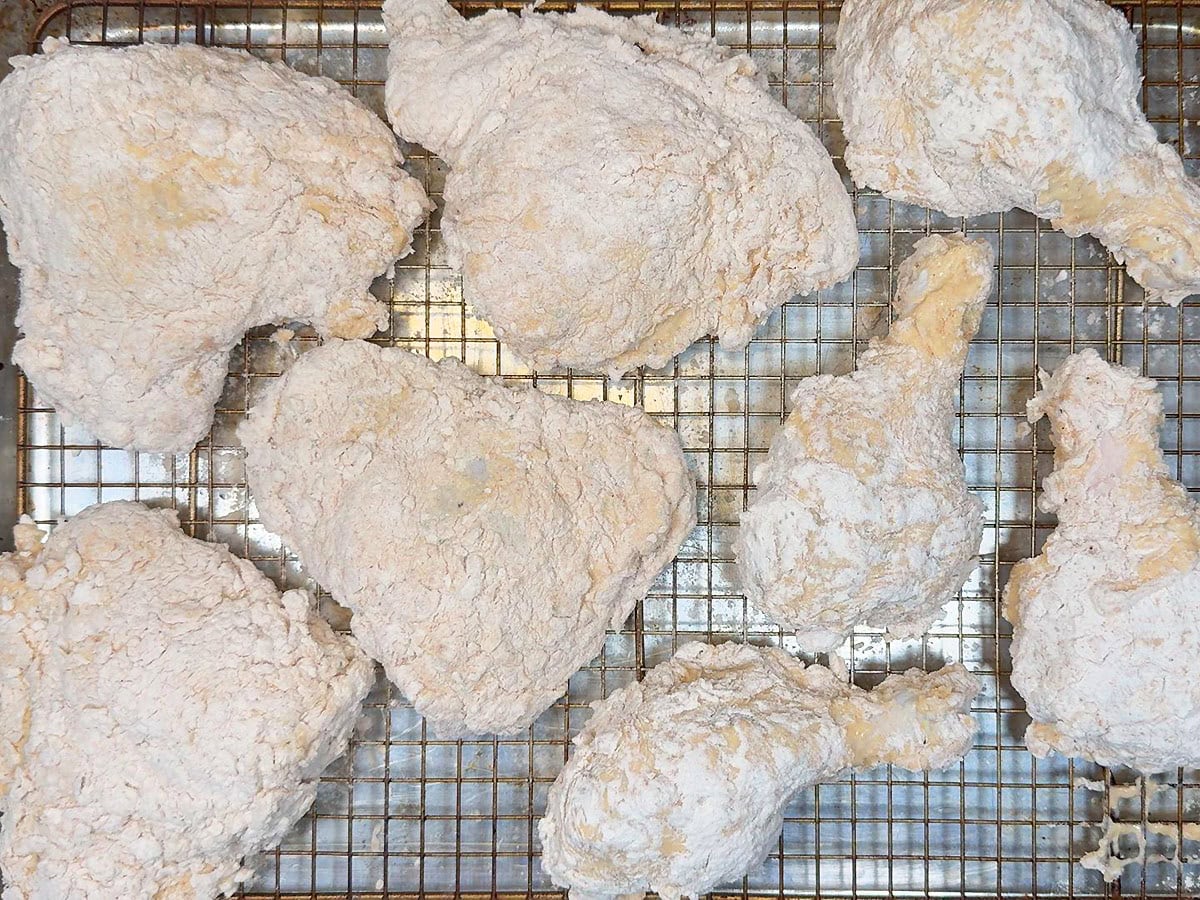
Step 6: Don’t immediately drop your freshly breaded chicken into the fryer. Arrange the coated pieces in a single layer on a baking sheet and refrigerate them uncovered for 15–30 minutes.This short rest gives the flour time to absorb some of the moisture from the batter. The coating becomes tackier and adheres better to the chicken, which means more of that delicious crust stays on the meat instead of floating around in your frying oil.
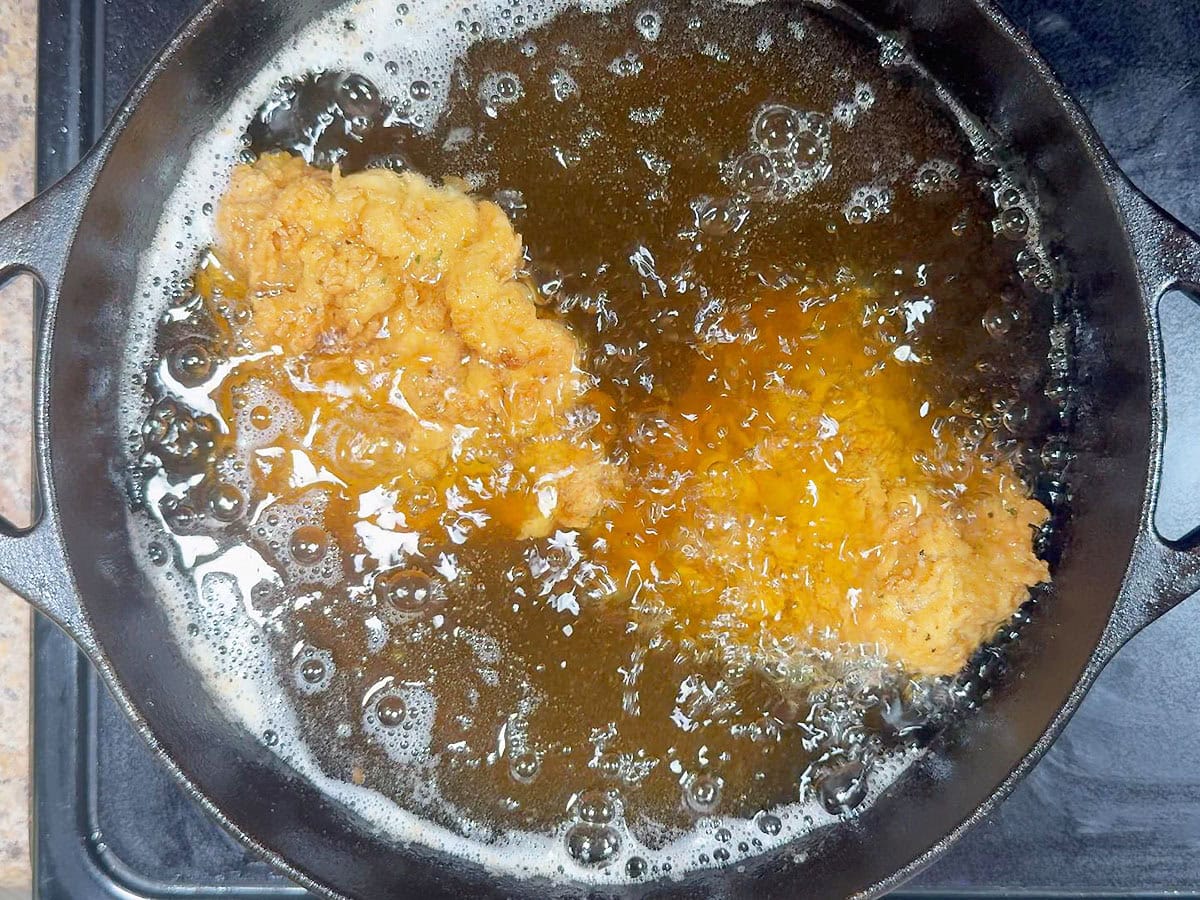
Step 7: Add enough oil to a large, deep skillet or large Dutch oven to allow the chicken pieces to float freely. Heat the oil to 315–325°F. Carefully lower a few pieces into the hot oil. Don’t overcrowd the pot. Adding cold chicken naturally causes the temperature of the oil to drop. Adding too many pieces at once causes it to plummet, which means the breading will start absorbing oil instead of immediately becoming crisp. Adjust your burner as necessary to keep the oil as close to the 315–325°F range as possible. Fry the drumsticks for approximately 14–16 minutes and the thighs for 15–18 minutes.
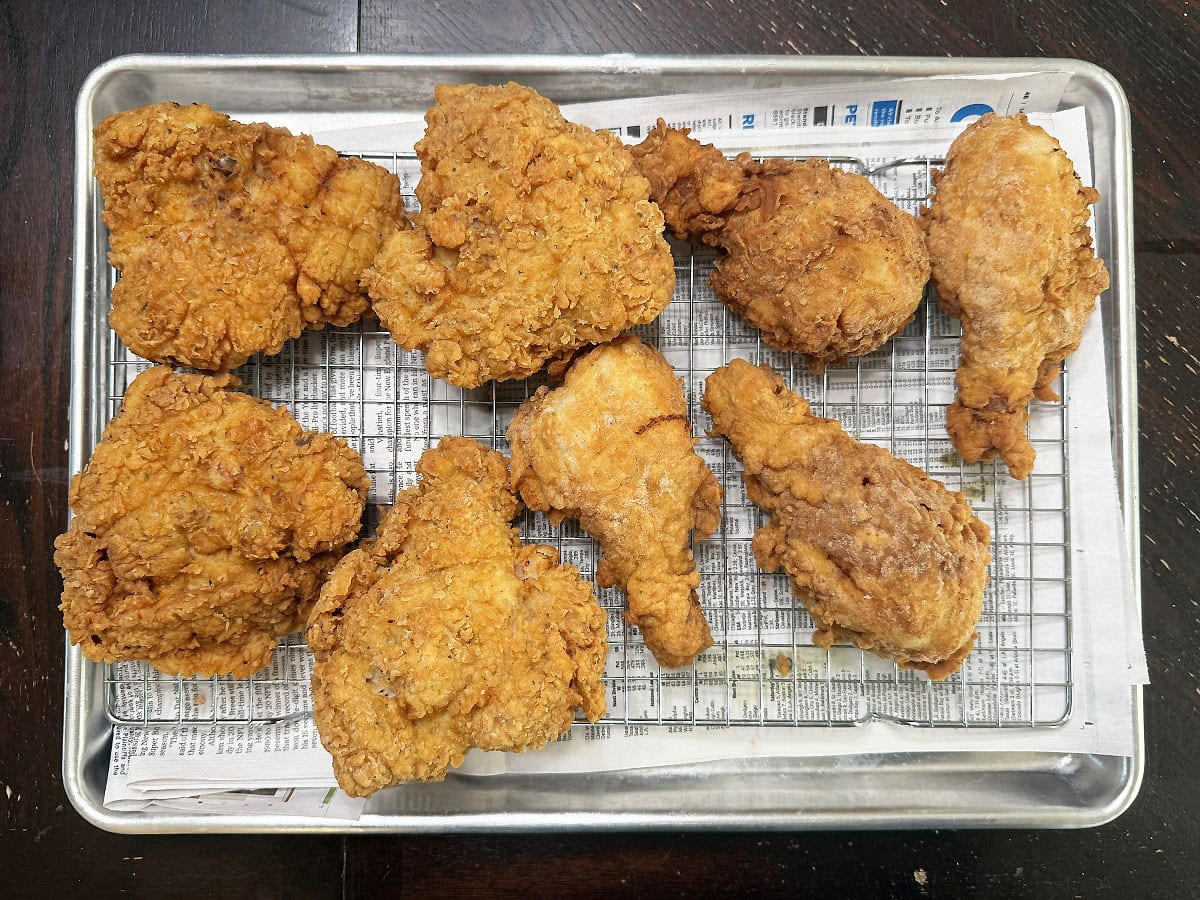
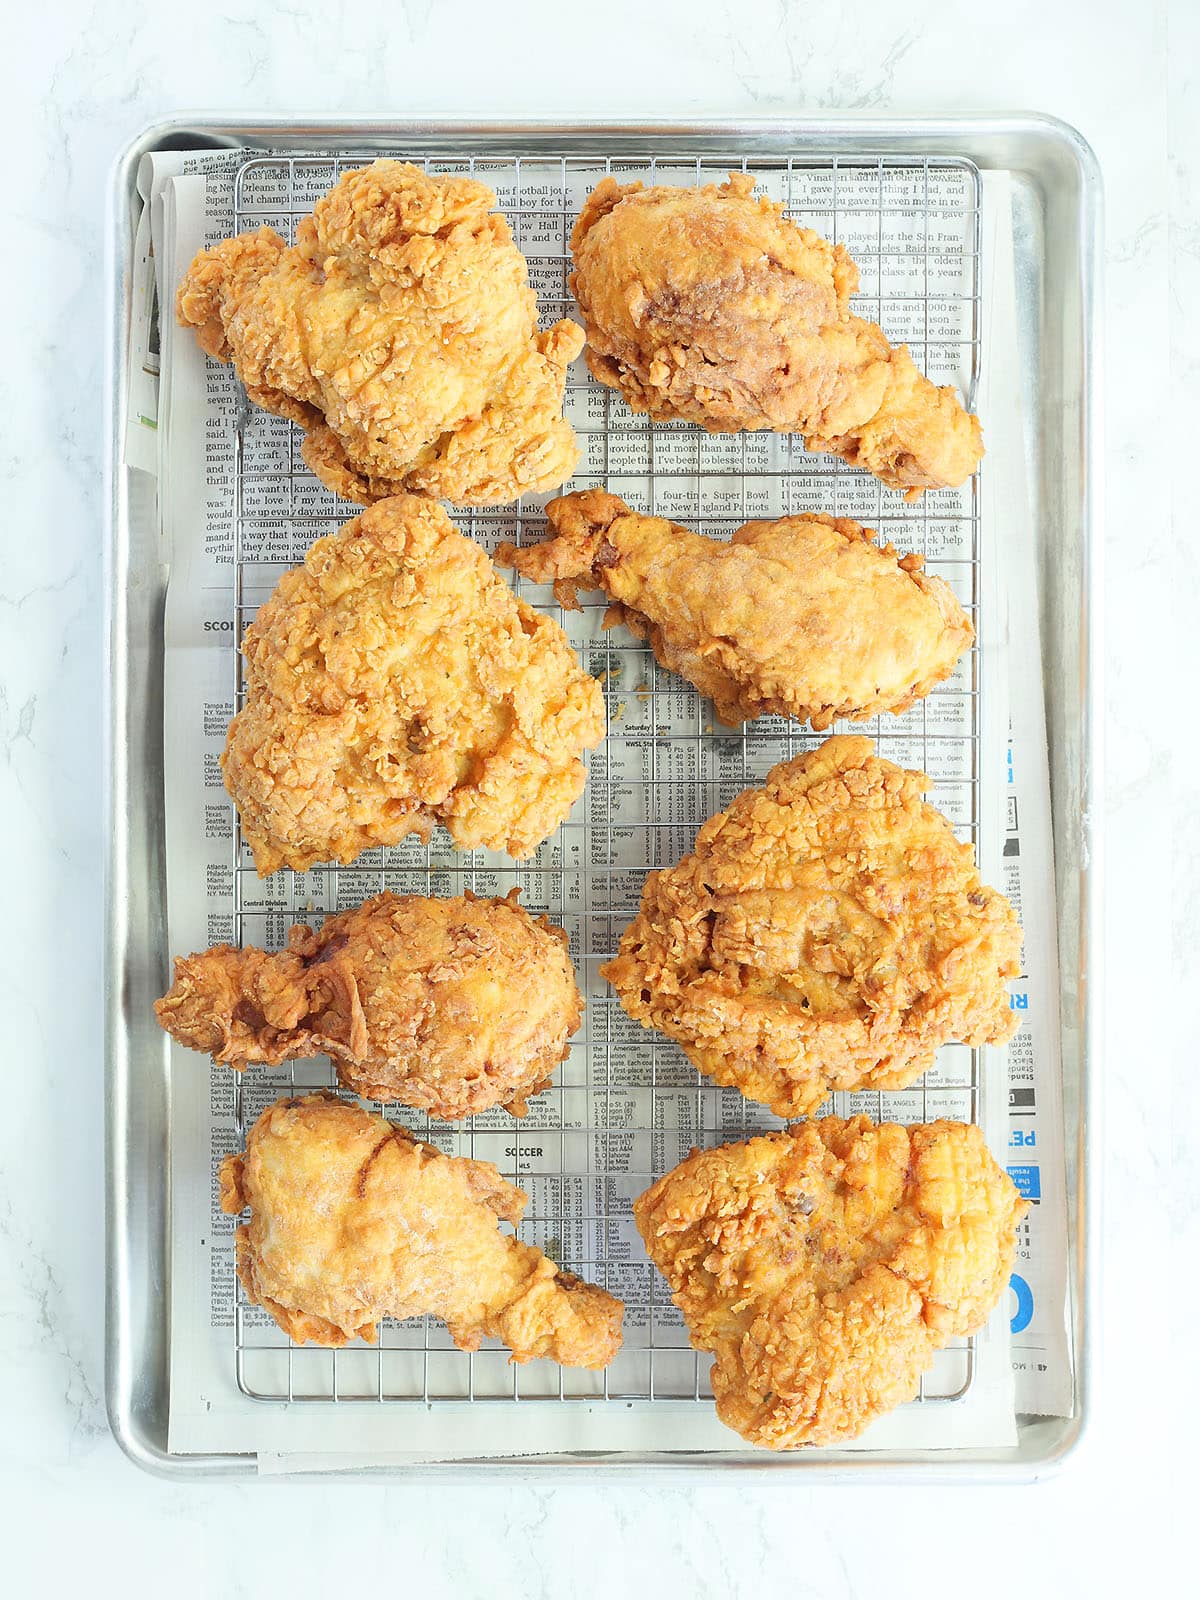
Step 8: Insert an instant-read meat thermometer into the thickest part of the chicken without touching the bone. I prefer to take dark meat to 175–185°F. Unlike chicken breasts, thighs and drumsticks benefit from the higher finishing temperature. The additional cooking gives the connective tissue more time to break down, resulting in more tender dark meat. Transfer the finished chicken to a wire cooling rack placed over a baking sheet and let it rest for about five minutes before serving. A wire rack allows air to circulate around the chicken while the excess oil drips away.
How to maintain the correct frying temperature
Keeping your oil at the right temperature is probably the trickiest part of frying chicken.
Aim for 315–325°F. Check the temperature before adding each batch and periodically while the chicken is cooking.
The temperature will fall when you add cold chicken. That’s normal. You may need to temporarily increase the burner temperature to compensate.
On the other hand, don’t crank the heat so high that the oil shoots past your target range. If the oil gets too hot, the breading can become dark brown before the chicken closest to the bone has finished cooking.
A clip-on frying thermometer makes monitoring the oil considerably easier.
Serving suggestions
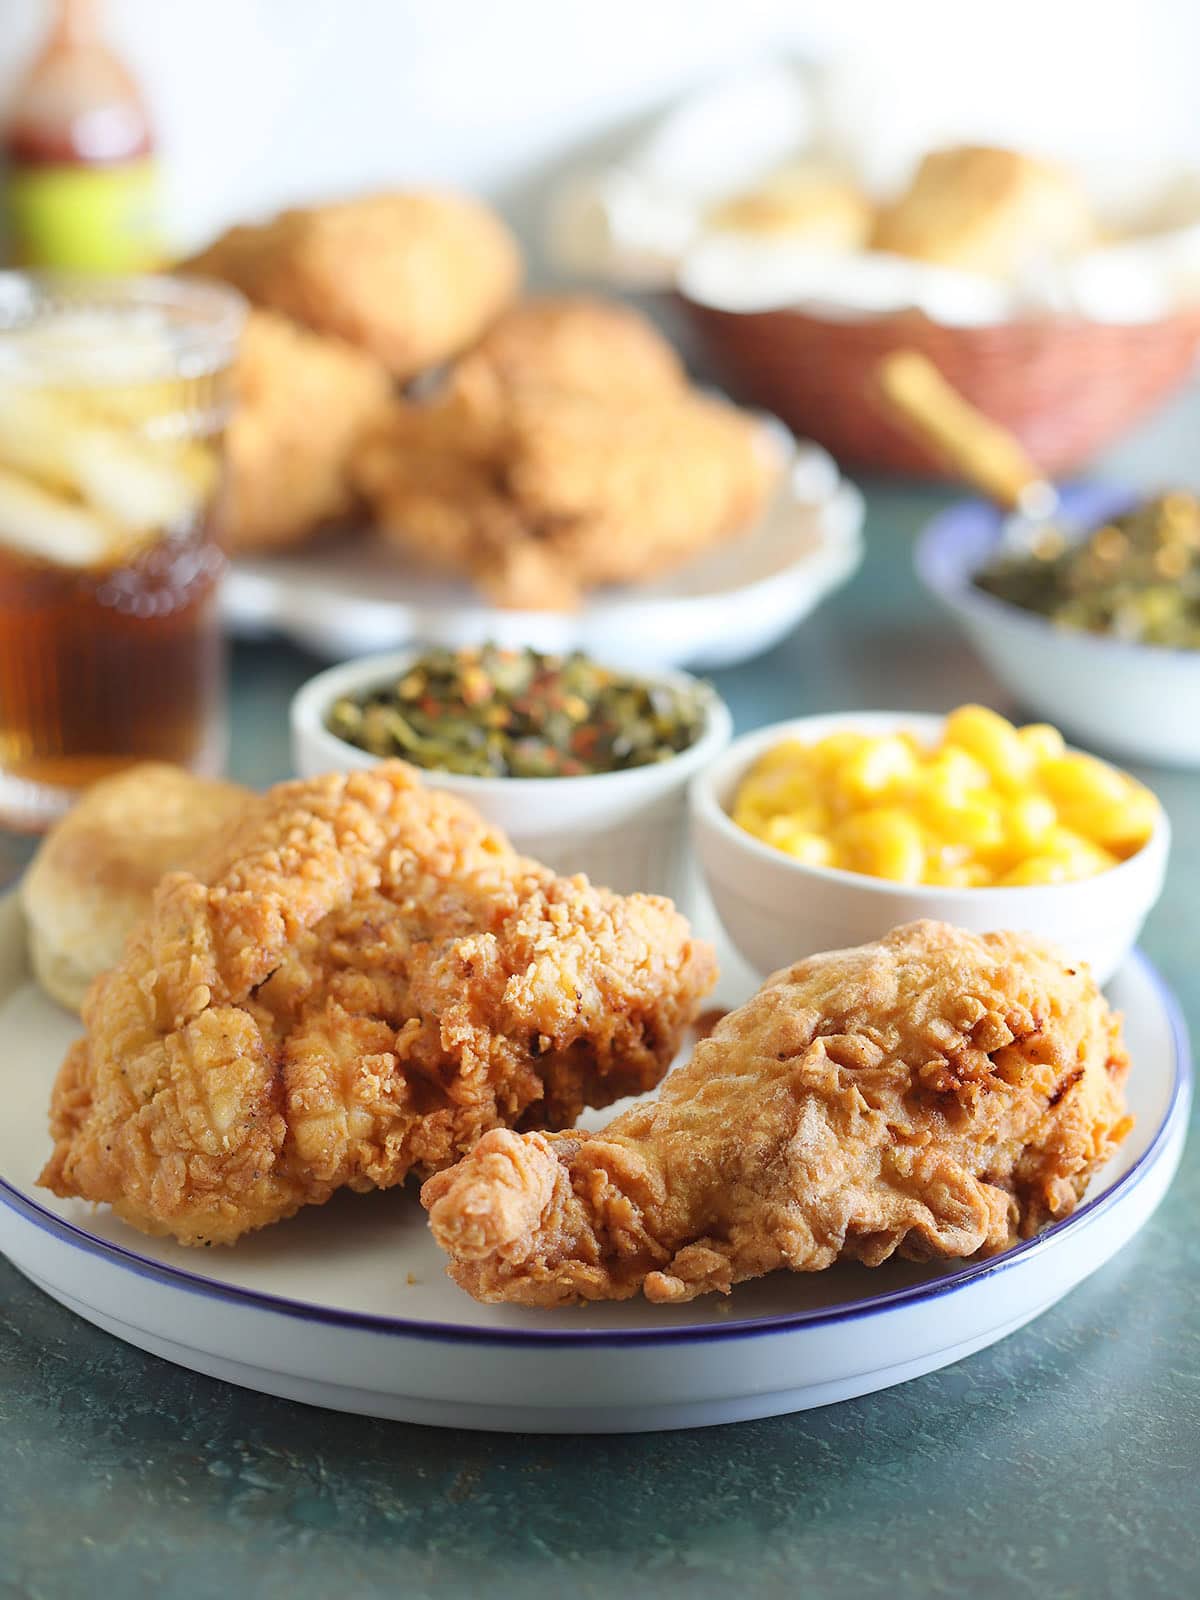
This is the kind of main dish that practically begs for a plate full of Southern sides.
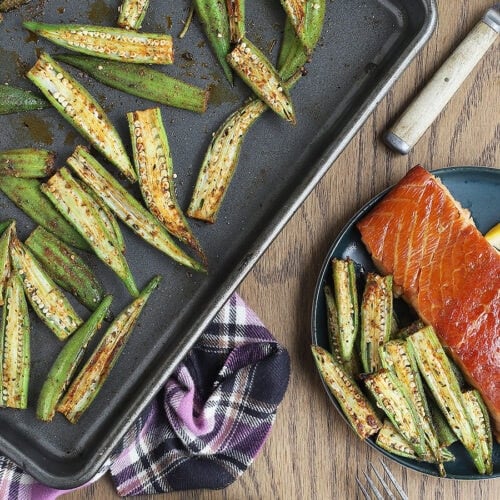
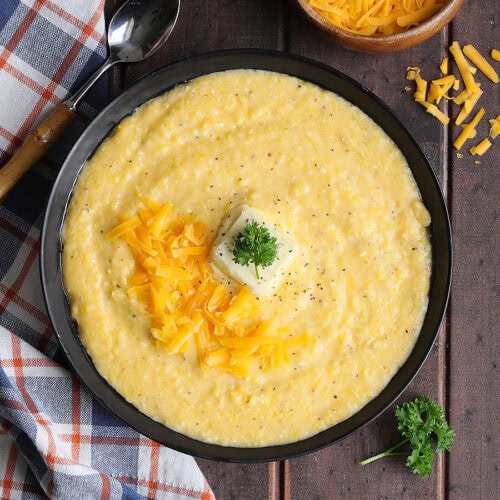
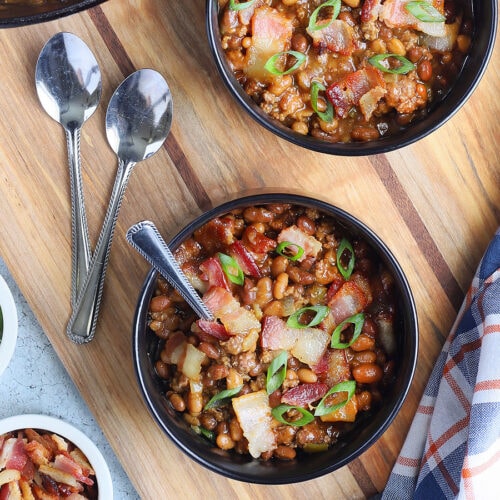
Serve buttermilk fried chicken with creamy macaroni and cheese or garlic mashed potatoes when you’re in the mood for serious comfort food. Southern-style green beans, Instant Pot collard greens or air fryer roasted carrots add a vegetable to the plate without feeling out of place.
You can’t go wrong with a warm buttermilk biscuit, especially if there’s gravy involved. In the summertime, I like something cool and crunchy such as apple cabbage slaw to balance the richness of the fried chicken.
And if you’re putting together a full Southern spread, add cracklin’ bread or traditional cornbread alongside the chicken and vegetables.
Storage, freezing, and reheating instructions
Storage. Allow leftover fried chicken to cool completely before transferring it to an airtight container. Store the chicken in the refrigerator for up to 3–4 days.
For the best texture, avoid packing the pieces tightly together. You can also place a paper towel in the bottom of the container to absorb excess moisture that could make the breading soggy.
Freezing. Fried chicken can be frozen for up to three months. Allow the chicken to cool completely, then arrange the pieces in a single layer on a baking sheet. Place the baking sheet in the freezer until the chicken is frozen solid.
Transfer the frozen pieces to a freezer-safe container or freezer bag. Freezing the chicken individually first prevents the pieces from sticking together and helps protect the breading.
For best results, thaw frozen fried chicken overnight in the refrigerator before reheating.
Reheating. For the crispiest results, skip the microwave. Place refrigerated fried chicken on a wire rack set over a baking sheet and reheat in a 375°F oven for 15–20 minutes, or until heated through and crispy.
You can also reheat fried chicken in an air fryer at 375°F for 5–8 minutes. Arrange the pieces in a single layer and flip them halfway through the reheating time.
Larger thighs may take a little longer than drumsticks. Regardless of which method you use, reheat leftover chicken until the internal temperature reaches 165°F.
Frequently asked questions
Excess moisture, skipping the resting period, handling the chicken too much during frying or allowing the oil temperature to drop too low can all contribute to breading that separates from the chicken.
Your oil was most likely too cool. When the frying temperature drops too far, the breading absorbs oil before it has a chance to crisp. Fry in small batches and monitor the temperature throughout cooking.
Your oil was probably too hot. The coating browned before the heat had enough time to reach the center of the chicken. Keep the frying oil between 315–325°F and always verify doneness with a meat thermometer.
Yes, provided the oil hasn’t burned or developed an unpleasant smell or flavor. Let it cool completely, then strain out the breading and other solids through a fine-mesh strainer. Store the strained oil in a tightly covered container.
Fried chicken is at its absolute best shortly after it comes out of the fryer. However, you can brine the chicken the day before and prepare the seasoned flour ahead of time. Wait to batter and bread the chicken until shortly before you plan to fry it.
More fried chicken serving suggestions

Tried This Recipe? Let Me Know!
⭐️⭐️⭐️⭐️⭐️
If you made Buttermilk Brined Fried Chicken, I’d love to hear how it turned out! Your ratings and reviews help others find the recipe and give me great feedback too.
Buttermilk Brined Fried Chicken
Ingredients
Buttermilk Brine:
- 2 cups buttermilk
- 2 teaspoons kosher salt
- 1 teaspoon hot sauce (optional)
- 3 pounds chicken pieces legs & thighs
Seasoned Flour Dredge:
- 3 cups flour
- ½ cup cornstarch
- ½ teaspoon baking soda
- 2 tablespoon all-purpose seasoning
- 1 teaspoon paprika
- 1 teaspoon onion powder
- ½ teaspoon cayenne optional
Batter:
- 1 cup buttermilk
- 2 eggs
- 1 ½ cups seasoned flour
- Oil for frying
Instructions
- In a large mixing bowl, combine the buttermilk, salt, and hot sauce. Whisk until the salt is dissolved.
- Add the chicken pieces and toss until completely coated in the brine. Cover and refrigerate for 8–24 hours. Turn the chicken about halfway through the brining time to ensure all the pieces remain evenly coated.
- In a large bowl, whisk together the flour, cornstarch, baking soda, all-purpose seasoning, paprika, onion powder, and cayenne pepper. Measure 1 ½ cups of the seasoned flour and set aside for the batter.
- In a separate large bowl, whisk together 1 cup of buttermilk and the eggs. Add the reserved 1 ½ cups of seasoned flour and whisk until combined.
- Remove the chicken pieces from the buttermilk brine and allow the excess buttermilk to drip off. Dip each piece in the batter, allowing the excess to drip off, then coat thoroughly in the remaining seasoned flour.
- Arrange the coated chicken in a single layer on a baking sheet. Refrigerate, uncovered, for 15–30 minutes to allow the coating to adhere.
- Meanwhile, fill a large, deep skillet or Dutch oven with enough oil for the chicken pieces to float freely without touching the bottom. Heat the oil to 315–325°F.
- Working in batches, carefully add the chicken to the hot oil. Do not overcrowd the pan. Fry the chicken legs for 14–16 minutes and the thighs for 15–18 minutes, or until the internal temperature reaches at least 165°F. For more tender dark meat, continue cooking until the internal temperature reaches 175–185°F. Check the temperature in the thickest part of the meat without touching the bone.
- Transfer the fried chicken to a wire rack set over a baking sheet. Allow it to drain and rest for five minutes before serving.
Video
Notes
- Nutrition for 1 serving = 1 fried chicken drumstick + 1 fried chicken thigh. Because the amount of breading and frying oil actually absorbed can vary quite a bit, nutrition values are are estimates.
- For extra-crispy chicken: After removing the chicken from the brine, coat each piece in the seasoned flour first, followed by the batter and then another coating of seasoned flour.
- Don’t skip the resting period. Refrigerating the coated chicken for 15–30 minutes gives the flour time to hydrate and helps the breading adhere during frying.
- Maintain the oil temperature. Try to keep the oil between 315–325°F. If the temperature drops too low, the coating can absorb excess oil. If it gets too hot, the crust may brown before the chicken is cooked through.
- Fry in batches. Overcrowding the pan causes the oil temperature to drop and can prevent the chicken from getting crisp.
- Skip the baking powder. I tested the coating with baking powder and found that it puffed up more than my family and I preferred. Baking soda and cornstarch give the coating the crisp, craggy texture we’re looking for without excessive puffing.
- Use a wire rack instead of paper towels. Air can circulate around the chicken, helping the crust stay crisp while excess oil drains away.

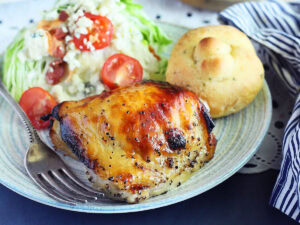
I tested several versions of this fried chicken before landing on this one, and it was hands-down my family’s favorite. The buttermilk keeps the chicken juicy and tender, while the seasoned coating fries up crispy, craggy and golden brown.