Mini Chicken Pot Pies
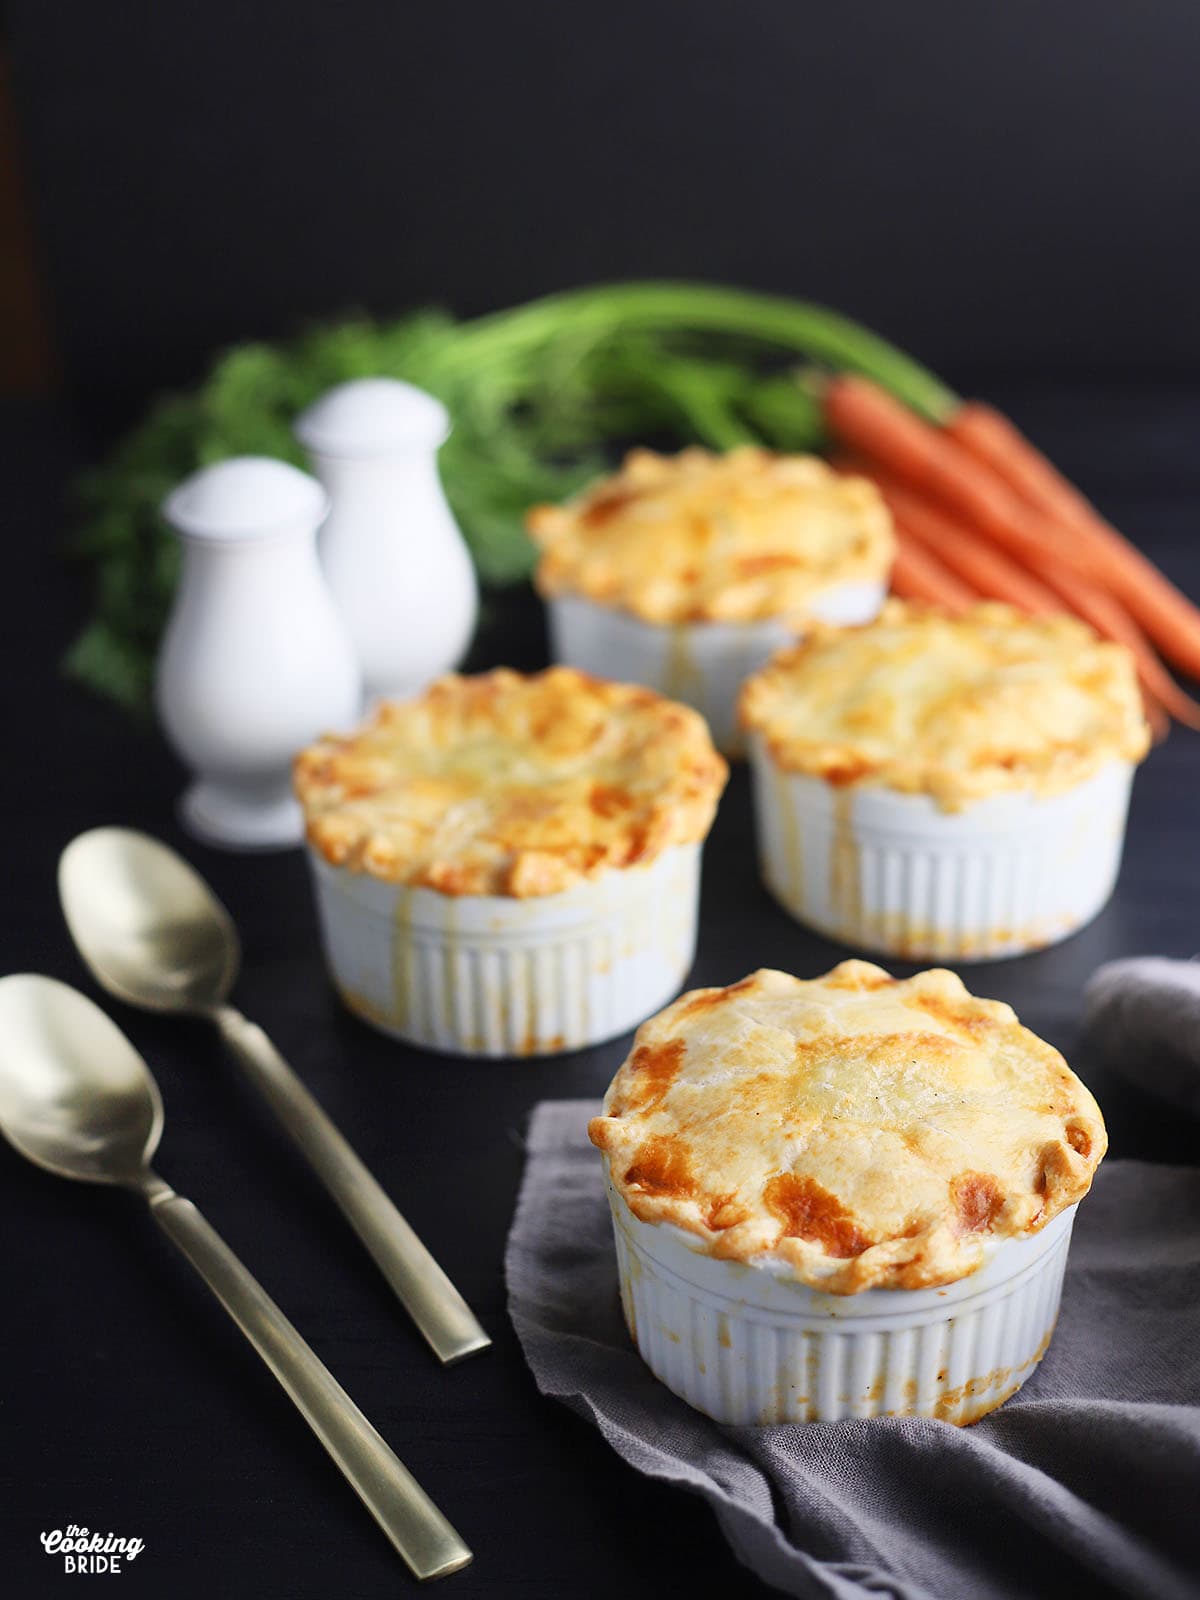
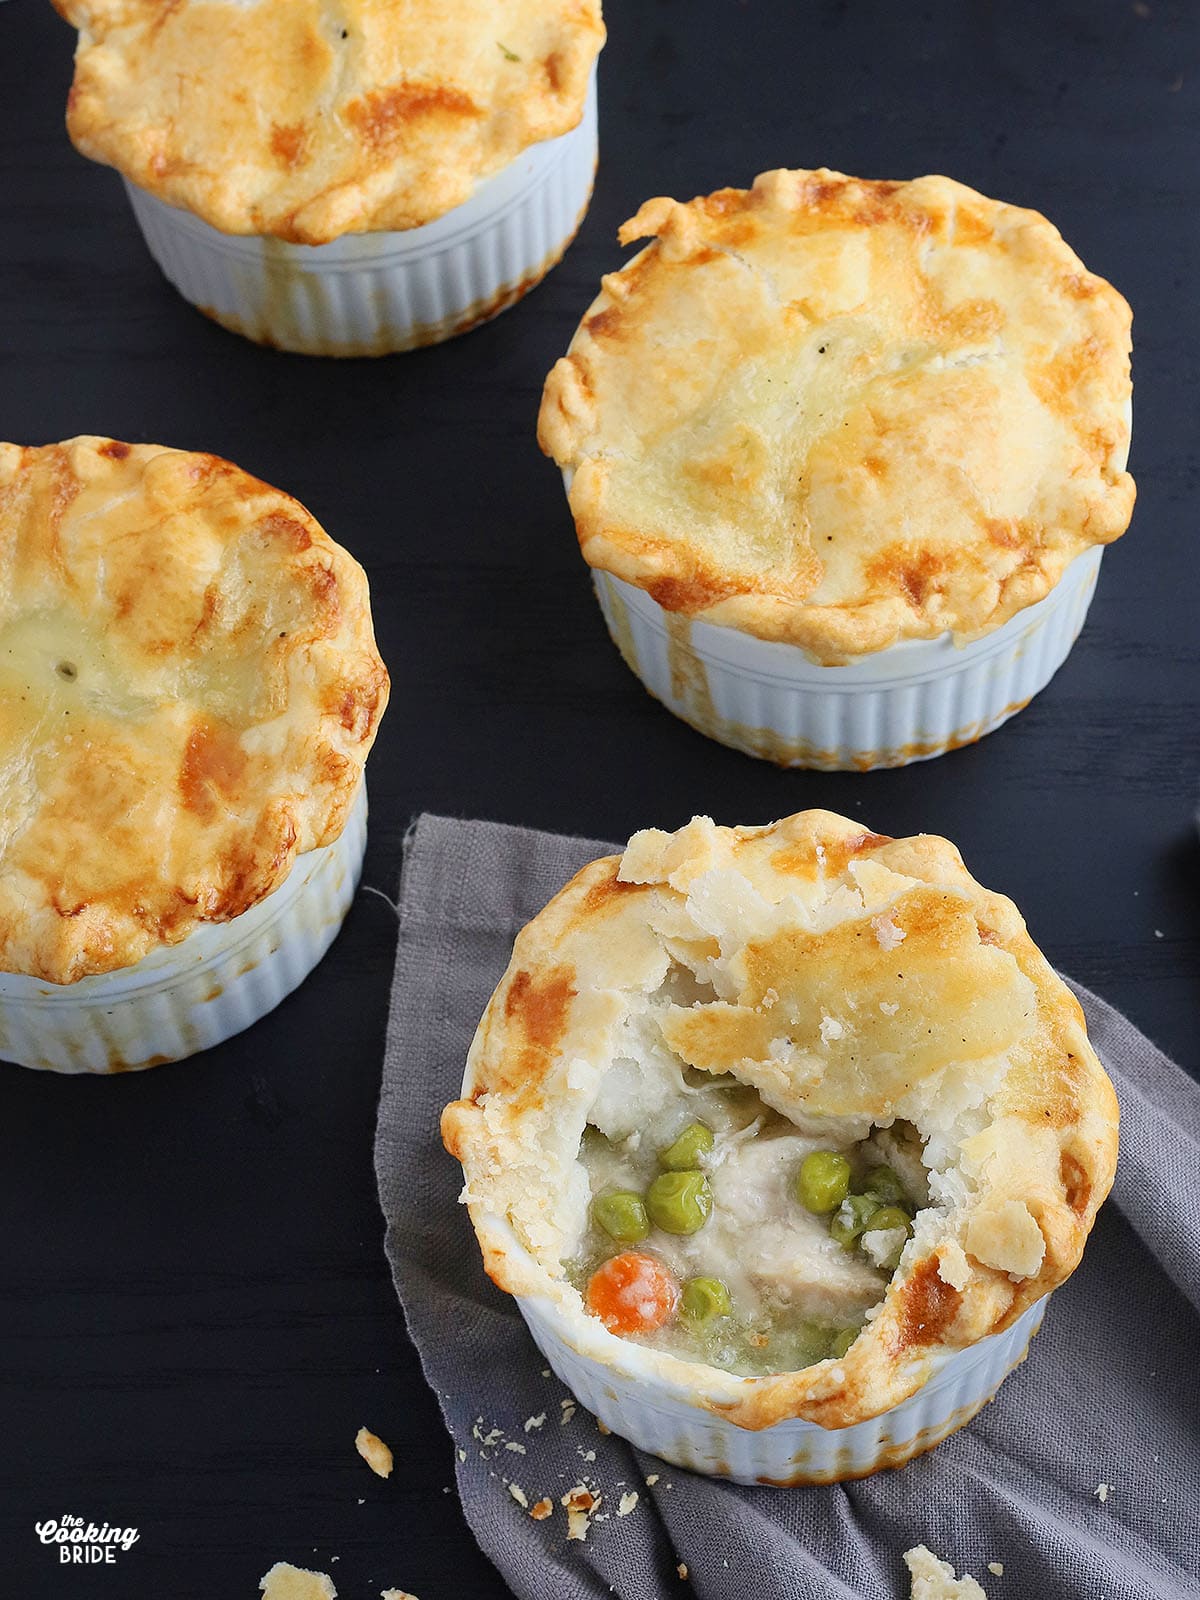
Keep these mini chicken pot pies, filled with tender cubed chicken breasts, vegetables, herbs and a creamy gravy, on hand for a busy weeknight or single serving meal.
This post may contain affiliate links. Click here to learn more about how affiliate links are used on this site.
Chicken pot pie is one of my husband’s favorite meals. If I had to take a guess how favorite, I think it would at least make the top ten. In fact, he has been known to eat it for breakfast, lunch, and dinner. However, when I make an entire pie, it tends to be more than my family of four can eat.
That’s why I like to make mini chicken pot pies. Everyone has their own individual serving and nothing goes to waste. Because the filling freezes beautifully, we can have homemade mini chicken pot pie any night of the week.
Cook the Chicken and Make the Broth
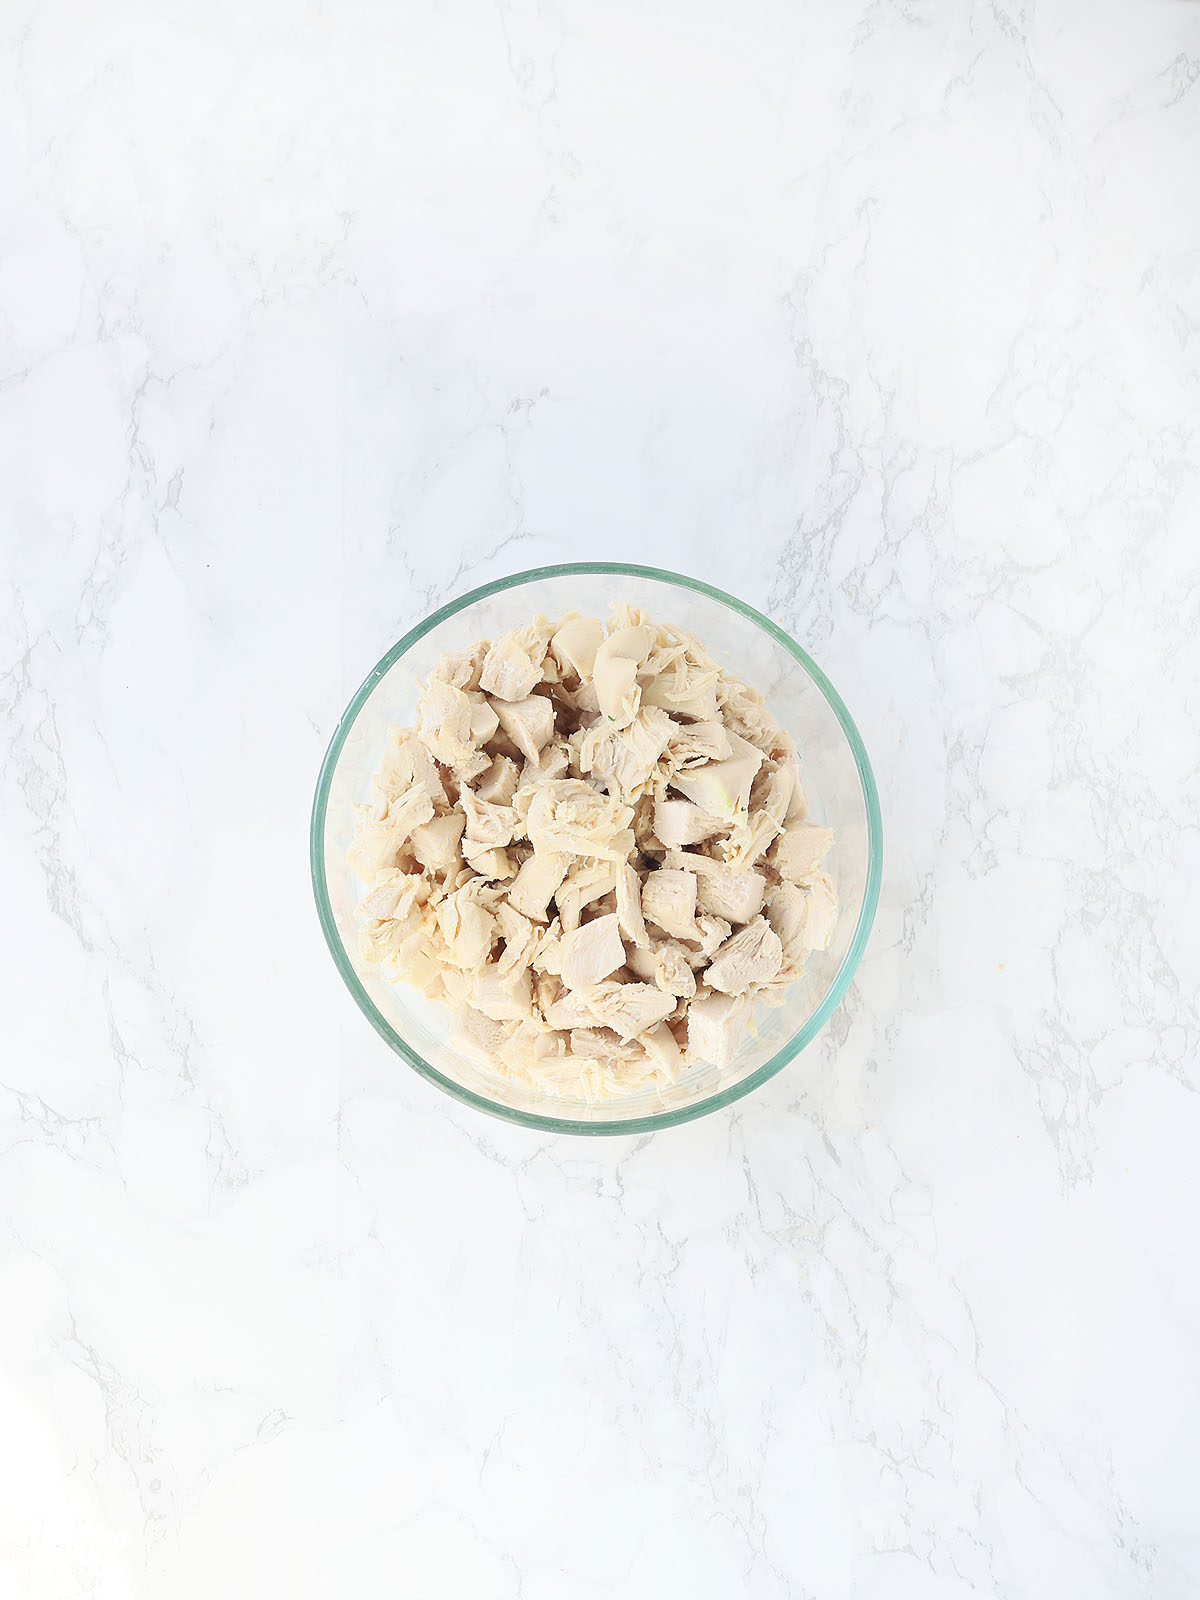
You will need approximately 4-6 cups of diced, cooked chicken breasts and six cups of chicken broth. The most efficient way to do this is to place four large chicken breasts in a stock pot with eight cups of water. You can add some aromatics to the pot, such as a couple slices of carrots or a celery stalk to the pot to add some flavor, but it’s not necessary.
Bring the water to a boil, then reduce the heat to low, cover the pot, and simmer the chicken breasts for about 20 minutes until the chicken is cooked through. Remove the chicken breasts from the pot and set aside to cool. Remove any aromatics and discard. Save the chicken broth you’ve just made. Once the chicken breasts are cool enough to handle, chop or shred the meat.
Make the Pie Crust Dough
For this post, I used 3.5-inch, six-ounce ramekins. For six mini pot pies, you will need two pie crusts. Occasionally, I will also make our pies in these mini pie plates (more crust, which in my opinion is the best part!). If using mini pie plates, you will need 3-4 pie crusts.
Just like with the filling, I like to make several batches of pie crust dough and keep them in the freezer. But, if the thought of making a homemade pie crust seems like to much of a hassle, don’t let that dissuade you. There have been plenty of times I have found myself out of frozen homemade crusts and used store bought pie crust dough from the grocery store.
My secret to a flaky pie crust is to use butter with a higher fat content (such as Kerrygold or Minerva Dairy). I also grate the cold butter on a box grater. It just makes it easier to incorporate the butter evenly throughout the dough.
You’ll need ¾ cup of cold butter. I grate my butter first, then place it in the refrigerator while I mix together two cups of flour and one teaspoon of salt in a large mixing bowl. Then I stir in the grated butter until it’s evenly mixed throughout.
I keep a measuring cup of ice water handy. Add the ice water, one tablespoon at a time, just until the dough comes together. Then I turn the dough out onto a floured surface, divide it into two equal parts, wrap them in plastic wrap and store it in the fridge for one hour.
At this point, you can also freeze the dough for later. In addition to wrapping it in a layer of plastic wrap, I add a layer of aluminum foil. The pie crust dough can be stored in the freezer for up to three months. You will need allow about eight hours for it to thaw in the refrigerator.
Make the Pot Pie Filling
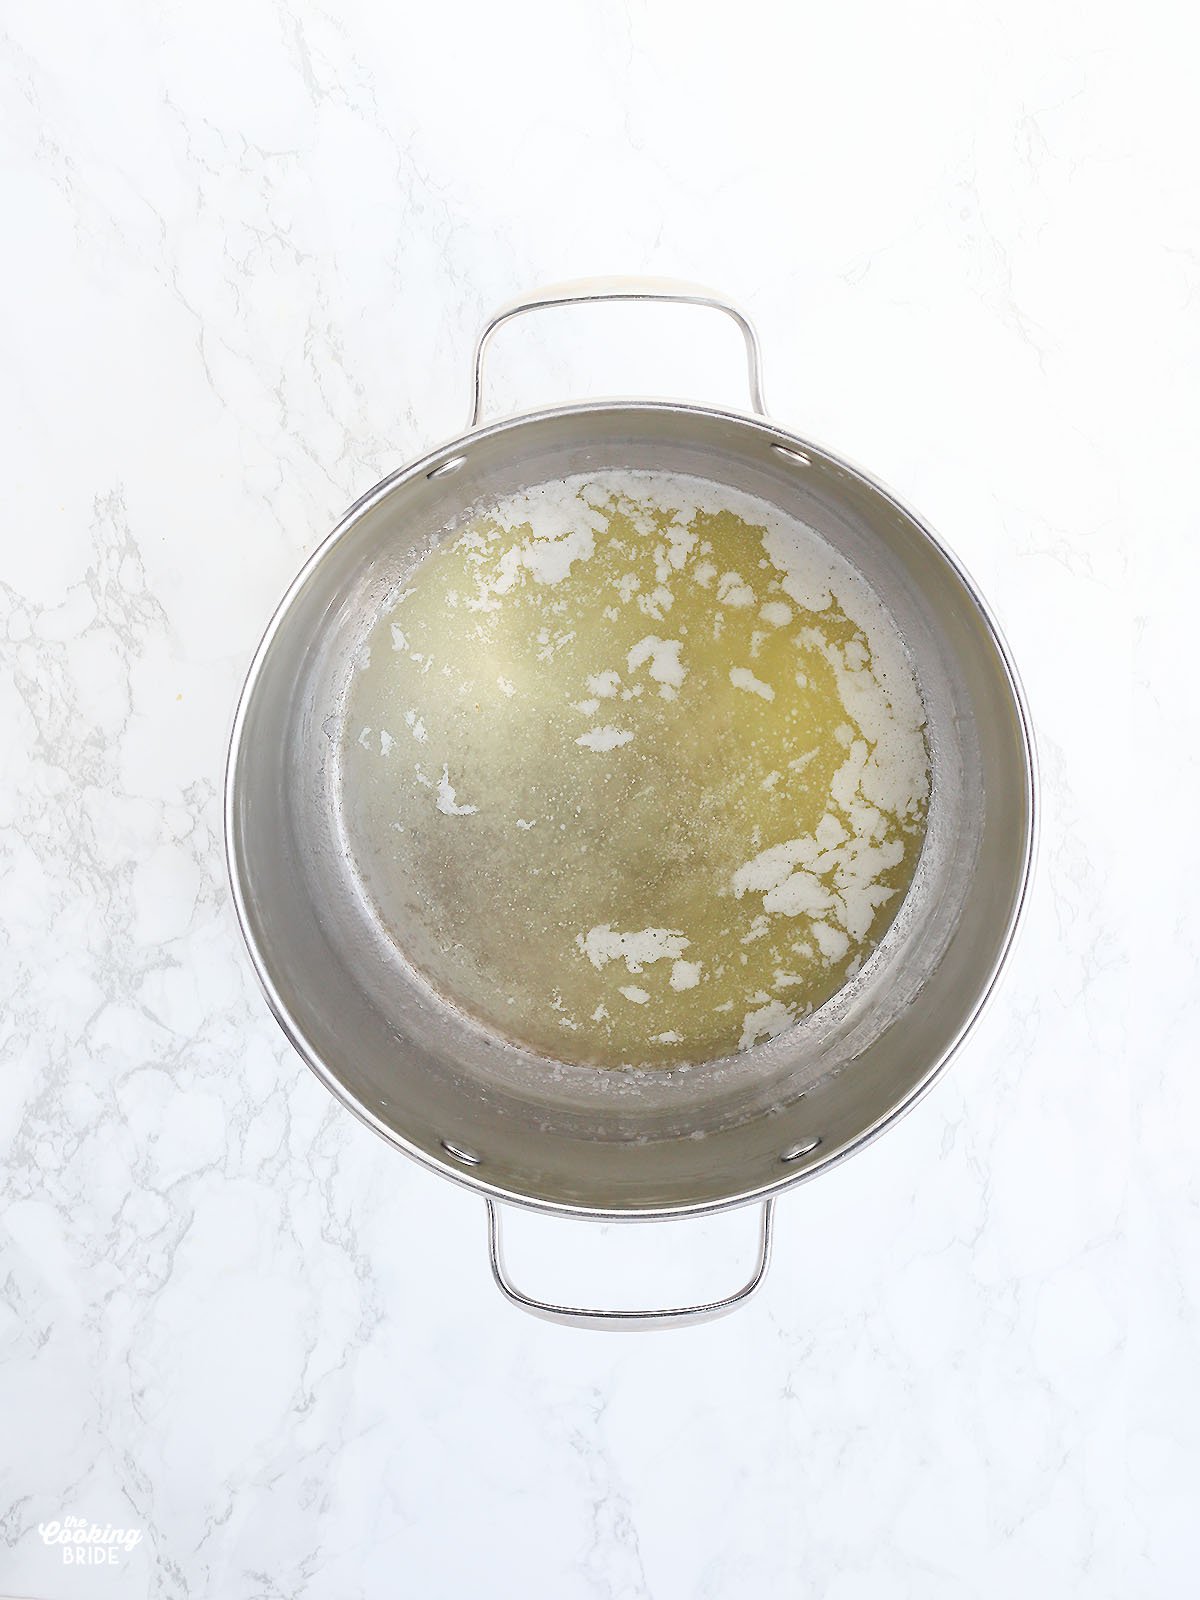
While the pie crust dough is chilling, let’s go ahead and make our filling. Melt ½ cup (1 stick) unsalted butter in a large pot over medium heat. Once the butter is melted, gradually add ½ cup all-purpose flour. Stir until the flour and butter form a paste. Continue to cook for 2-3 minutes to remove the raw taste from the flour.
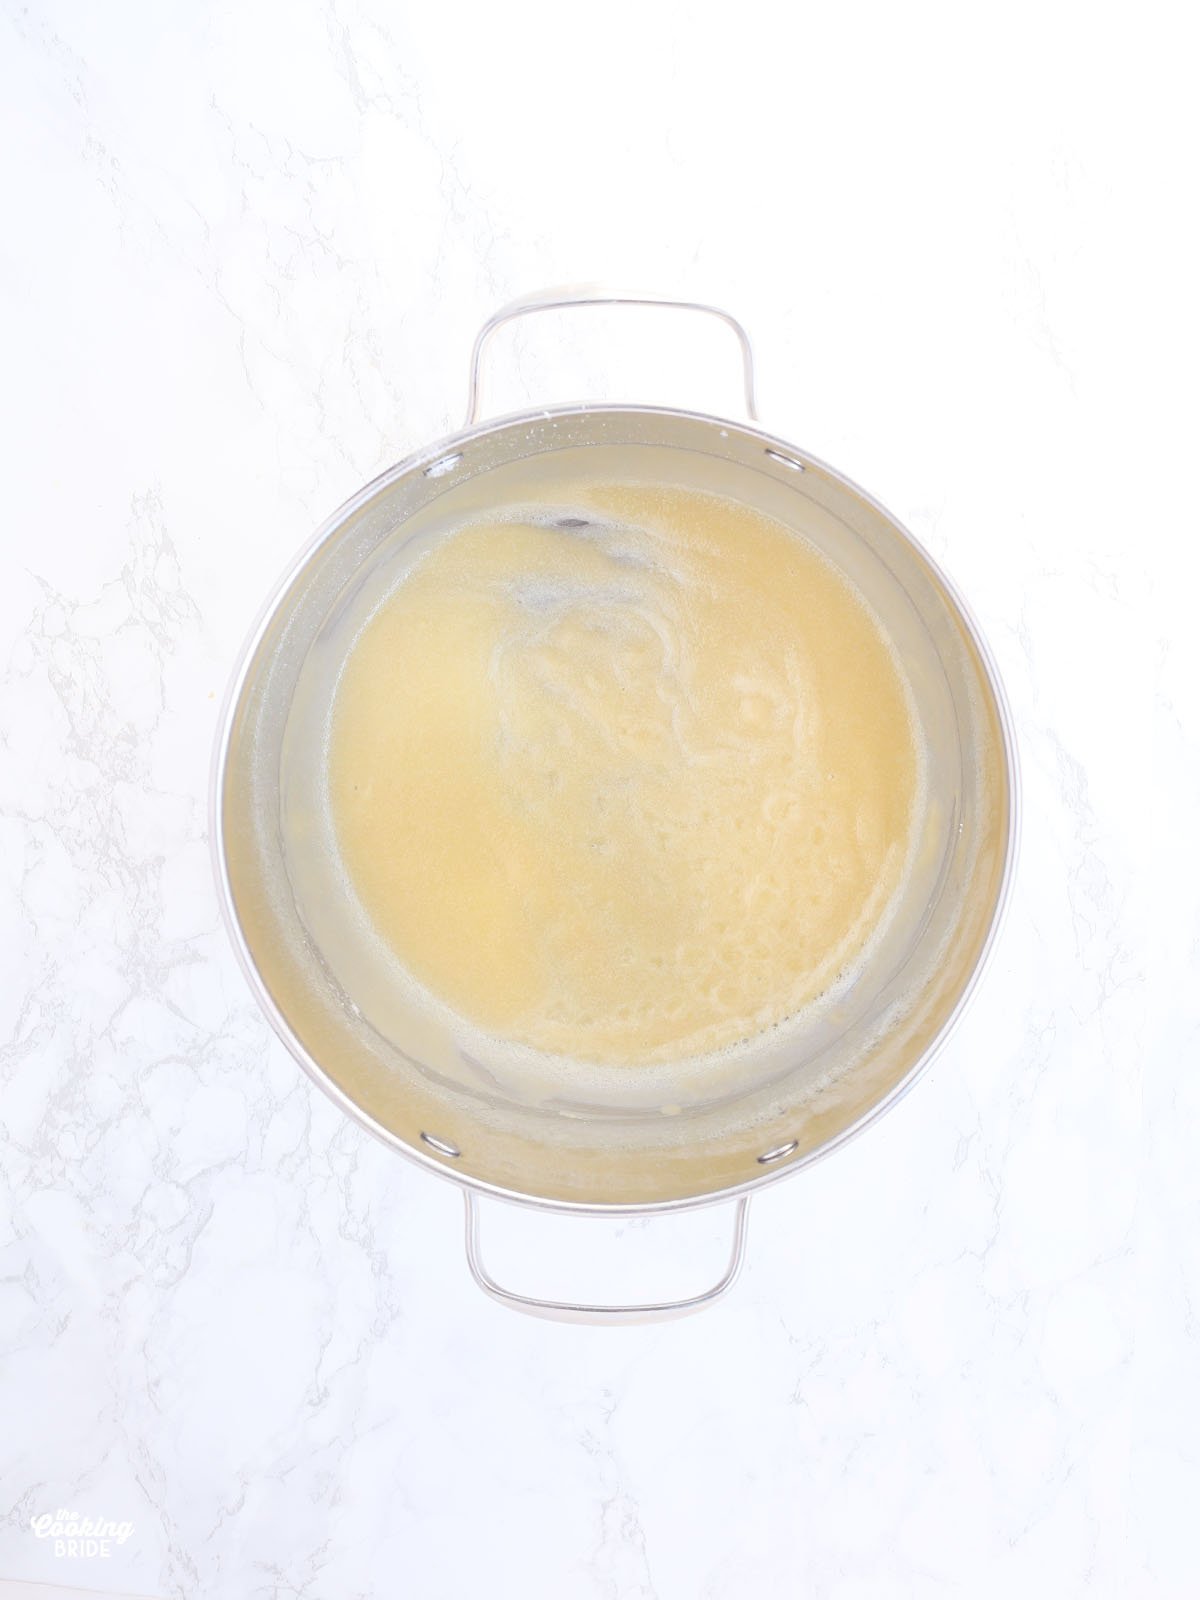
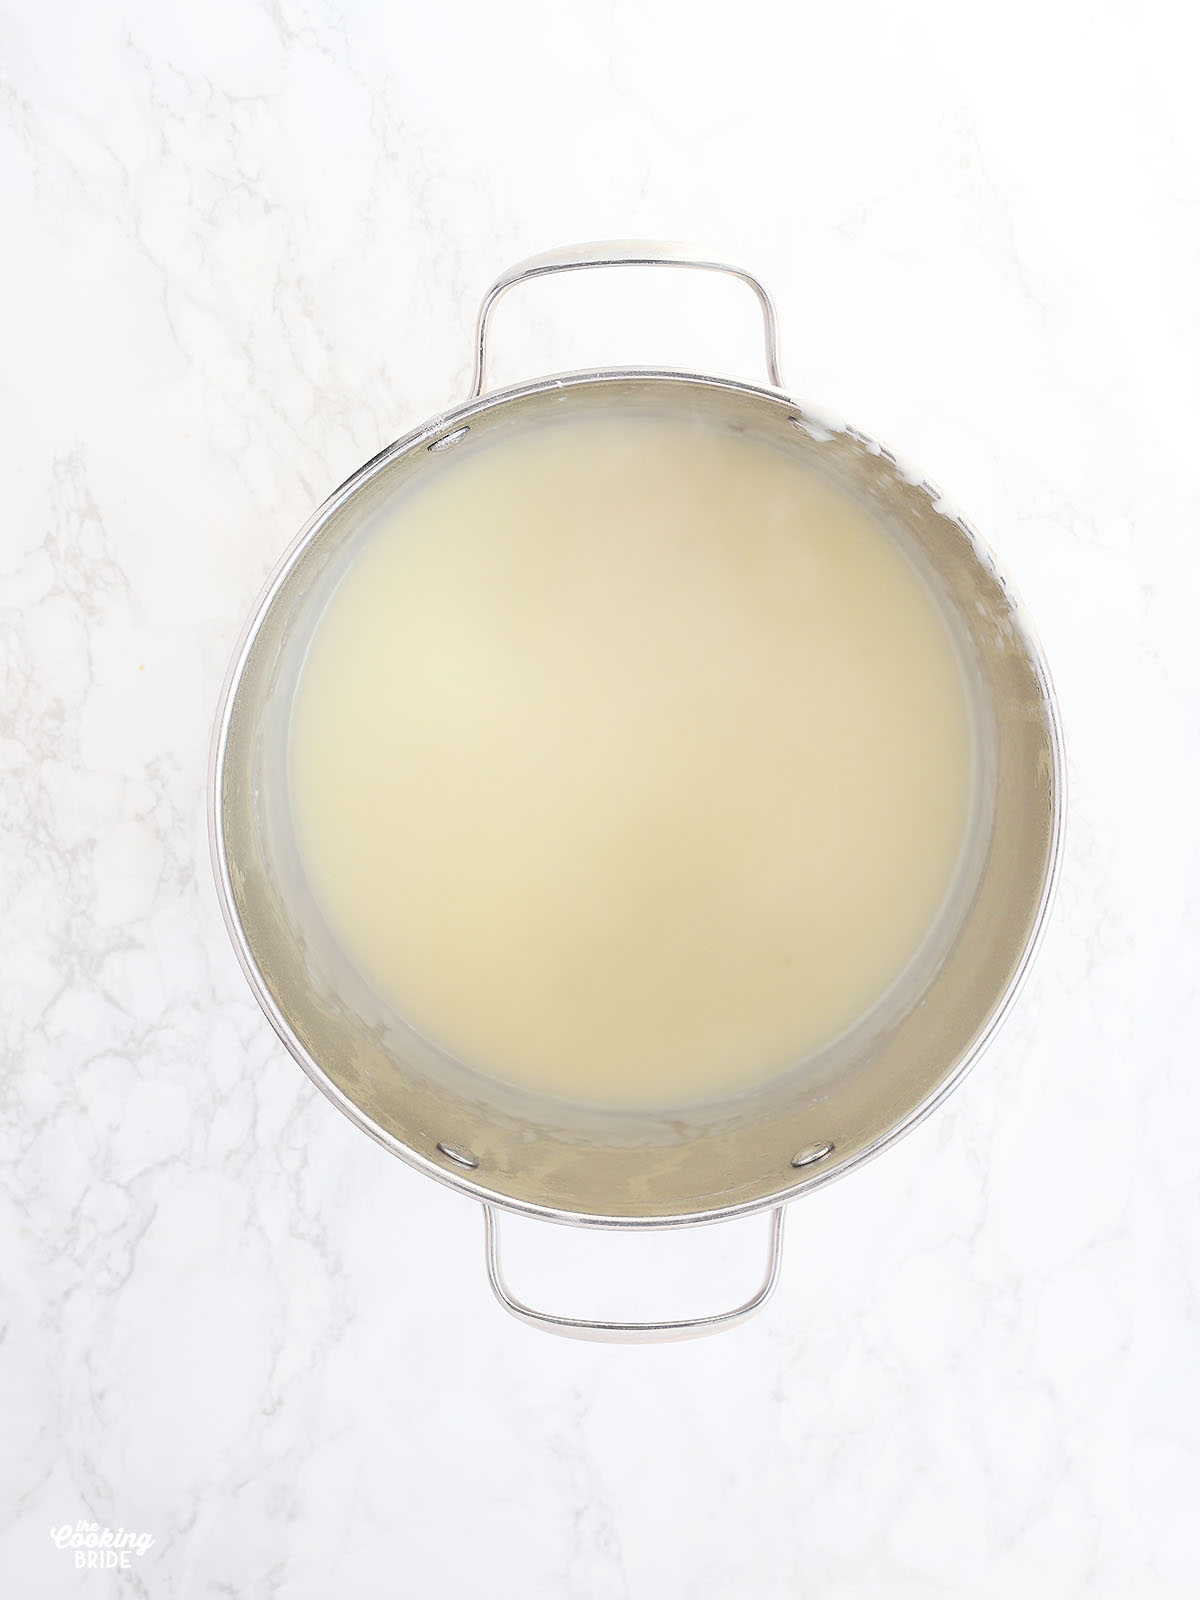
Slowly stir in four cups of the chicken broth, whisking to prevent any lumps from forming. Bring the broth to a simmer and continue to simmer for 10 minutes until the sauce thickens. Stir frequently to prevent lumps from forming. If at any point the sauce starts to get too thick, add in a little more chicken broth.
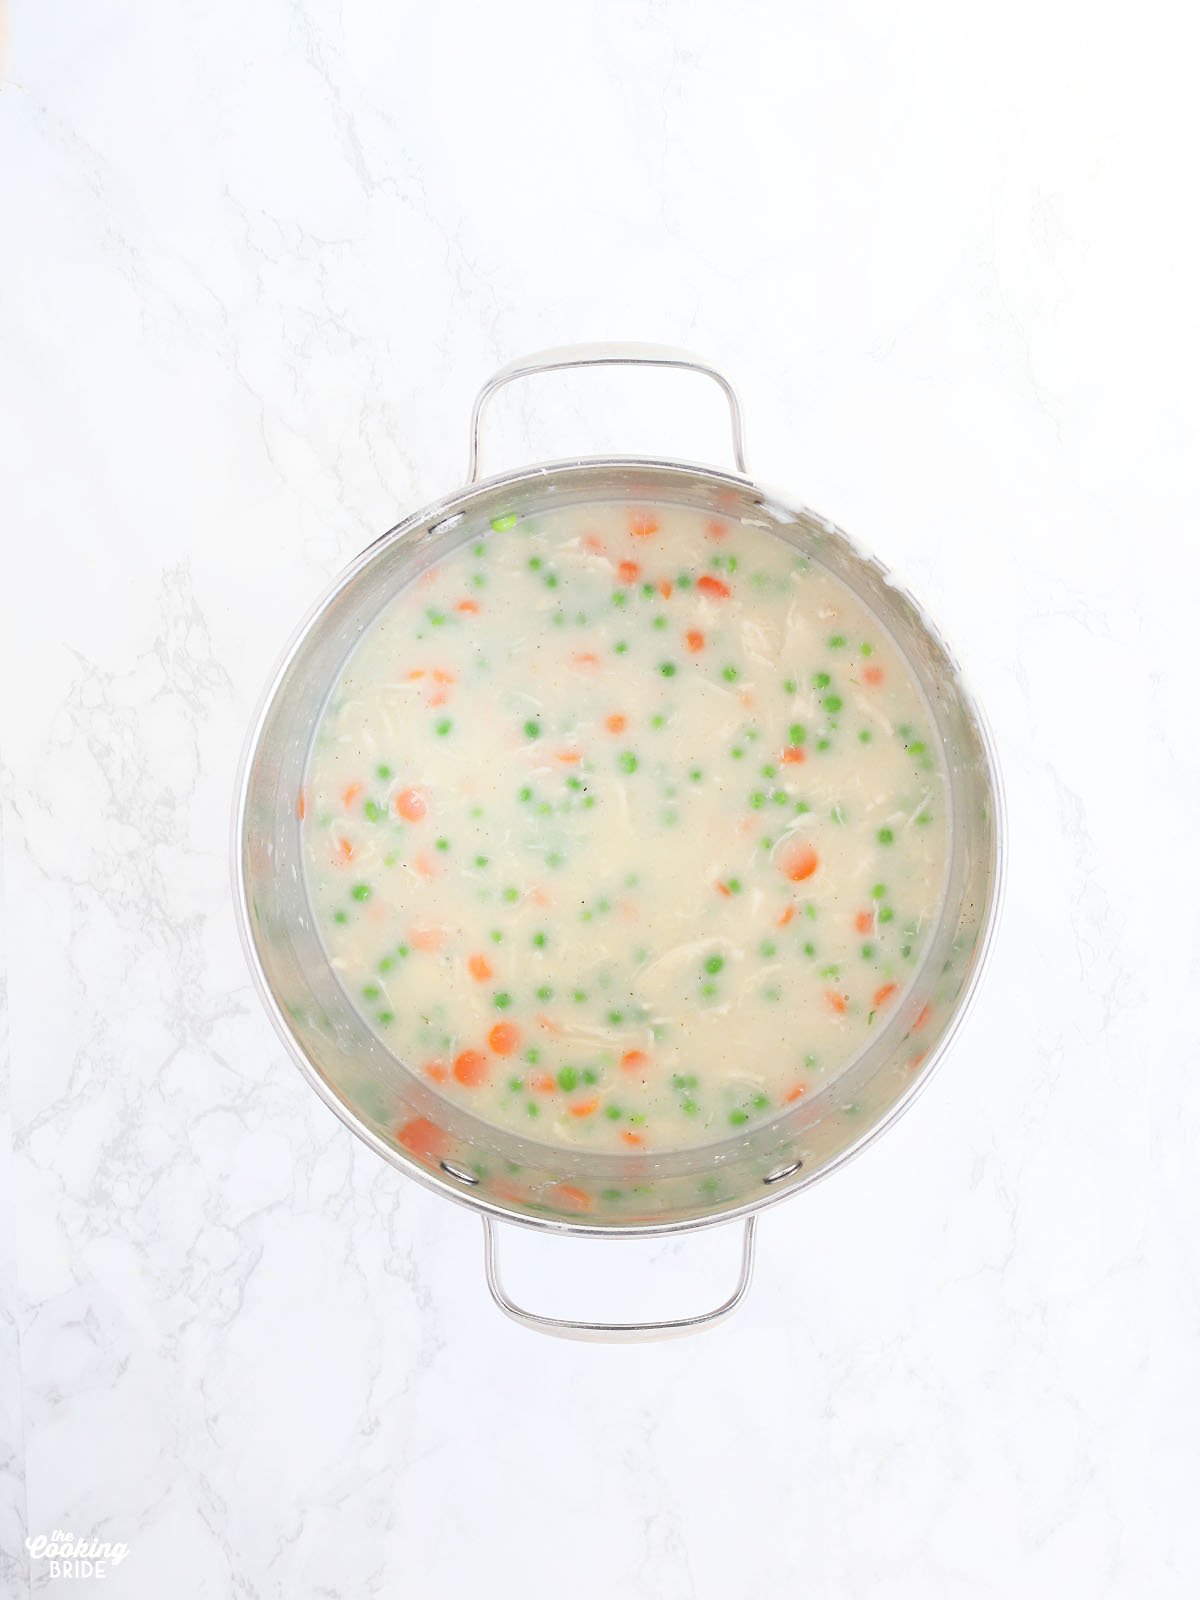
Add three carrots that have been peeled and sliced into ½-inch circles. Add one 12-ounce bag of frozen peas and the cooked chicken. Season with ½ teaspoon of garlic powder and salt and pepper to taste.
Freezing the Pot Pie Filling
If you plan to freeze the pot pie filling, allow it to cool completely first. Transfer the filling to a freezer safe container with a lid. Be sure to leave about an inch of space between the filling and the lid of the container for expansion.
My preferred method is to transfer the filling to freezer bags. Again, leave some room for expansion. Fold the top of the bag over the contents to remove any air. Seal, lay the bag flat on a countertop and carefully spread the contents in an even layer. Freeze the bags of filling flat until they are solid, then you can stand them upright or stack them to take up less room.
You will need to allow the filling to thaw completely ahead of time before using. Once thawed, it may look a little watery. Simply heat the filling over low heat, add some additional chicken broth if necessary, and it will thicken back up.
Roll out the Pie Crusts
Before rolling out the dough, allow the thawed dough to sit at room temperature for 15 minutes, just until it is pliable enough to roll out with a rolling pin. Remember, you will need two pie crusts. Lightly flour your work surface and your rolling pin. Roll out until the crusts are approximately ⅛-inch thick and 13 inches in diameter. From each pie crust, cut (3) five-inch disks – six disks total.
Prepare the Mini Chicken Pot Pies
Preheat the oven to 350 degrees F. Fill each ramekin to the very top with the pot pie filling. The crust needs something to rest on, so if you don’t fill it to the top, your crust could end up sinking.
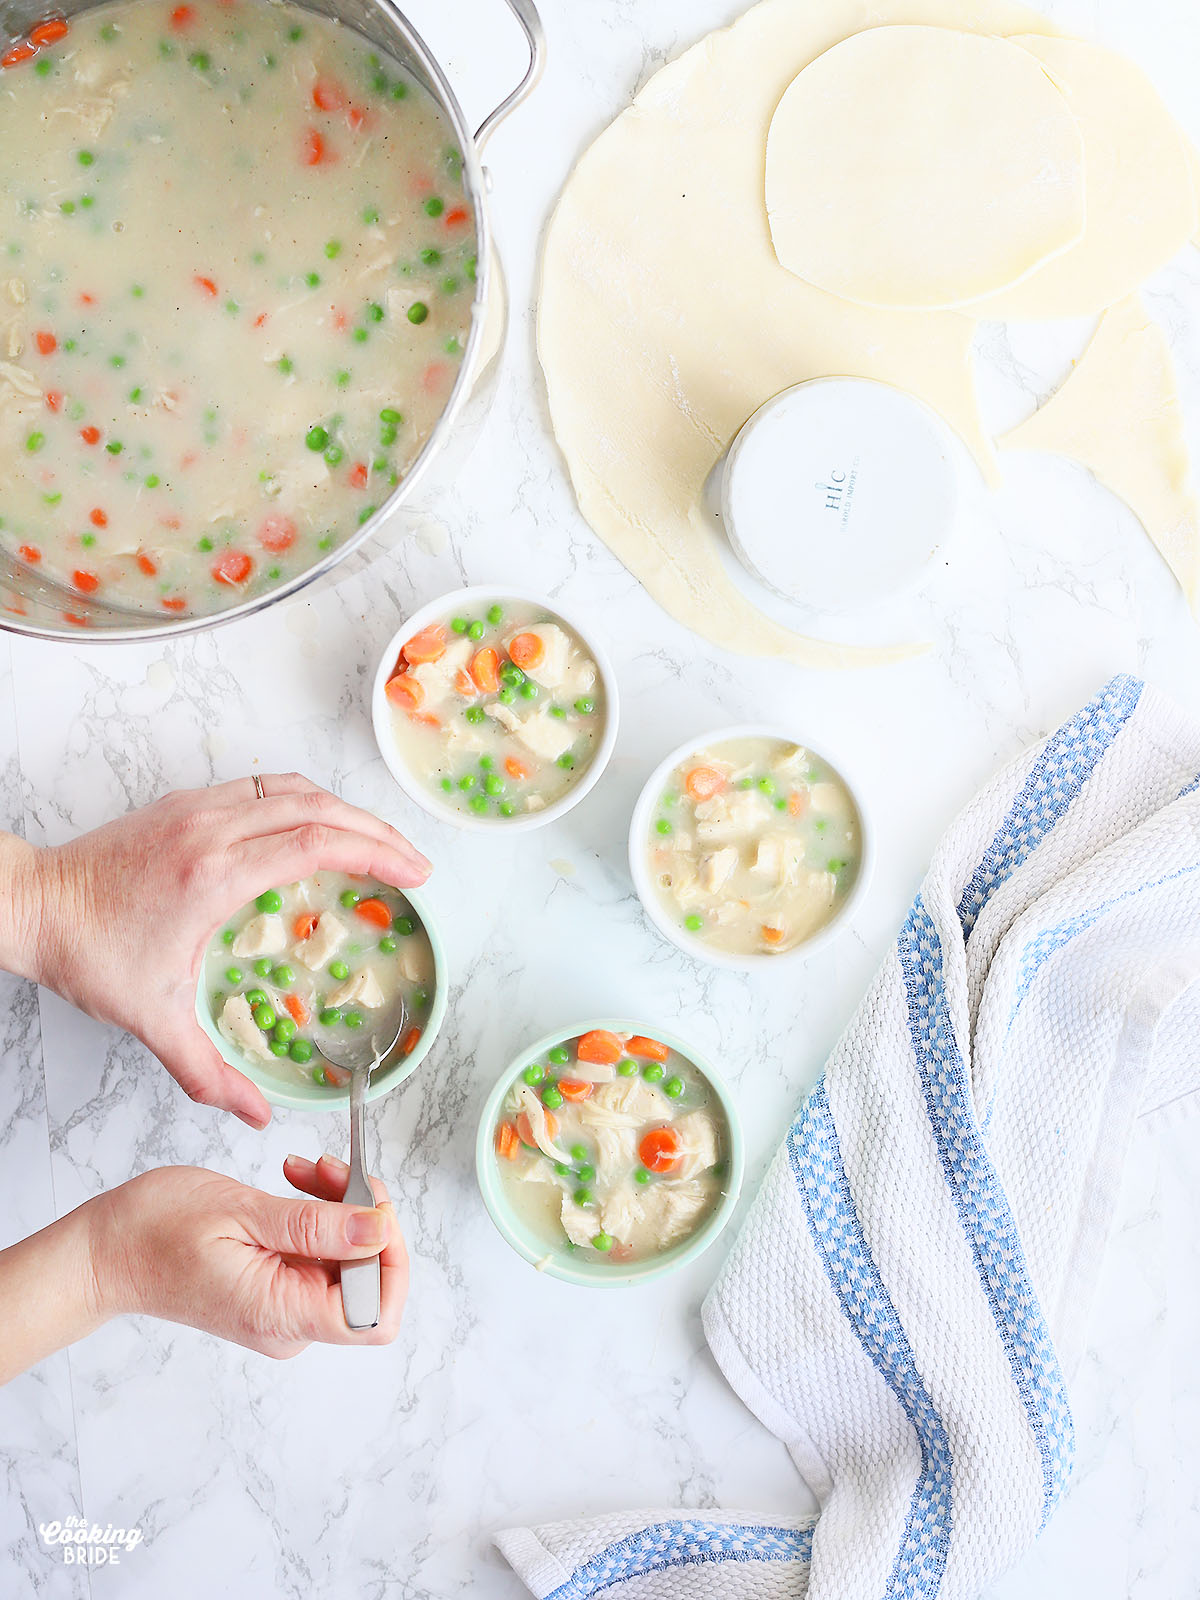
Top each ramekin with a pie crust disk. I like to fold the excess under, then flute the edges by pinching them with my thumbs. Cut four little slits in the top of the crust to allow steam to escape. Then combine one large egg with one tablespoon of water. Using a pastry brush, coat the top of each pie crust with the egg wash.
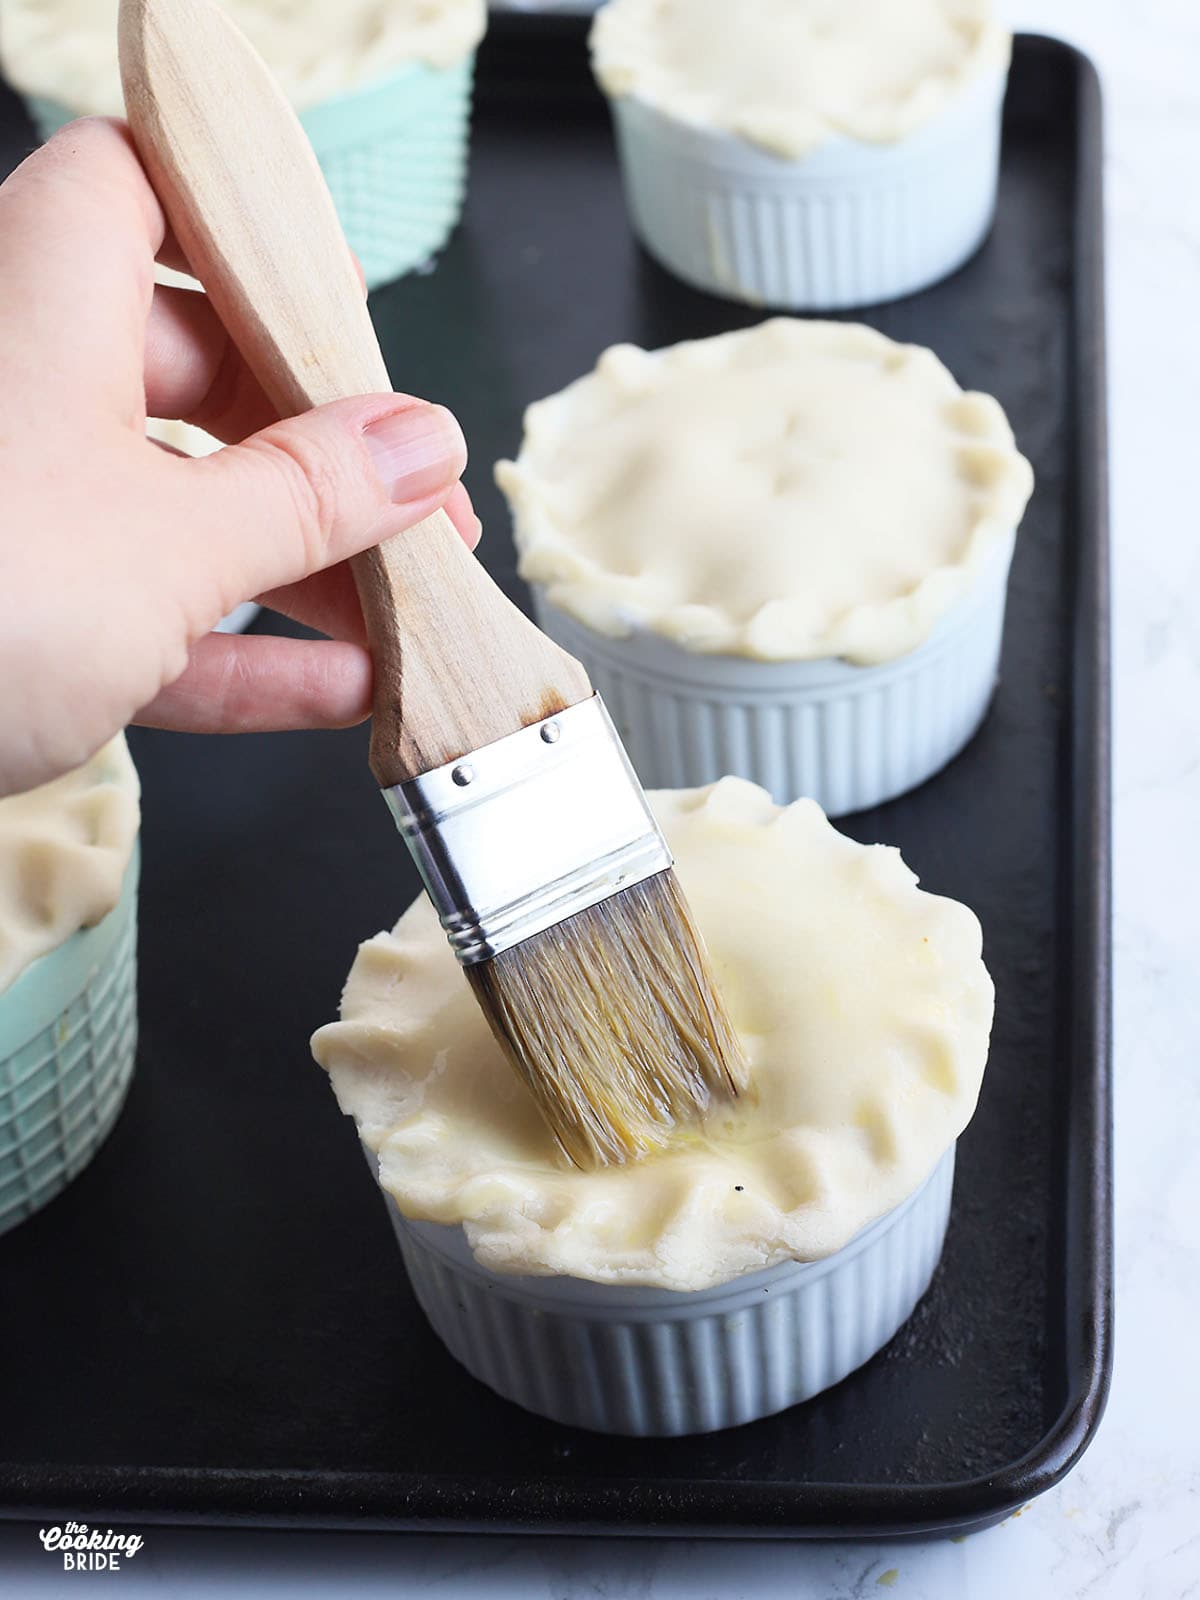
I strongly recommend placing the mini pot pies on a foil line baking sheet to catch any drips. Bake for 1 hour and 10 minutes, until the crusts are golden brown and the filling is bubbly. Allow the pot pies to cool for 15 minutes before serving.
How to Store Leftover Mini Pot Pies
If by some chance you made one too many pot pies, they can be reheated. Wrap the baked pie in plastic wrap or foil. It can be stored in the refrigerator for up to four days. Reheat at 350 degrees for 20 minutes until heated through.
Making up a few pies ahead of time and freezing can be a real time saver, especially during a busy week. I suggest using something like these disposable ramekins instead of ceramic ones so you’re not tying up your dishes or have to worry about glass breaking in your freezer.
While a baked pie can be frozen, the crust has a tendency to become soggy. I prefer to freeze unbaked pies. Skip the eggwash. Place the pies on a flat surface in the freezer until frozen solid, then carefully wrap each pie individually in plastic wrap and aluminum foil. Allow the pies to thaw for about eight hours in the refrigerator before adding the eggwash and baking according to recipe instructions.
You Might Also Enjoy:
- 5 Tips For Making The Best Flaky Homemade Pie Crust From Scratch
- Homemade Chicken Broth
- Step-By-Step Guide To Lattice Pie Crust

Mini Chicken Pot Pies
Ingredients
Pie Crust:
- ¾ cup butter or shortening
- 2 cups flour
- 1 teaspoon salt
- 4-5 tablespoons ice water
Pot Pie Filling:
- 4 large chicken breasts
- 4-6 cups water
- 1 stick unsalted butter
- ½ cup all-purpose flour
- 3 carrots peeled cut into ½-inch circles
- 1 (12 ounce) bag frozen peas
- ½ teaspoon garlic powder
- Salt and freshly ground pepper to taste
- 1 large egg lightly beaten
- 1 tablespoon of water
Instructions
- Place the chicken breasts in a large stockpot and cover with six cups of cold water.
- Bring the water to a boil, then reduce the heat to medium low, cover the pot and simmer for 20 minutes until the chicken is cooked through.
- Remove the chicken from the pot and set aside to cool. Reserve the chicken broth it was cooked in. Once the chicken is cool enough to touch, chop or shred the chicken.
For the pie crust:
- Grate cold butter with a box grater.
- Combine the flour and salt in a large mixing bowl. Add the grated butter and stir to combine until the butter is evenly incorporated.
- Add the ice water, one tablespoon at a time, just until the dough comes together.
- Turn dough out onto a lightly floured surface. Divide it into two equal parts. Form the dough into two round disks. Wrap each disk in plastic wrap. Place dough in the refrigerator and chill for one hour. Make the pot pie filling while you wait.
- Allow the dough to sit at room temperature for 15 minutes until it is pliable enough to roll with a rolling pin. Lightly flour a flat surface and a rolling pin. Roll out each crust until they are ⅛-inch thick and about 13 inches wide.
- Cut the pie crust into (6) 5-inch circles.
For the Pot Pie Filling:
- Melt the butter in a large stockpot over medium heat.
- Gradually add the flour and whisk until the mixture forms a paste. Cook for 2-3 minutes, stirring constantly.
- Slowly add four cups of the chicken broth, whisking constantly to prevent lumps. Simmer for 10 minutes, stirring frequently, until the sauce begins to thicken. If at any point the sauce becomes too thick, add a little more chicken broth to your desired consistency.
- Add the carrots, frozen peas and garlic powder.
- Add the diced cooked chicken. Season with salt and pepper to taste.
To Bake the Pies:
- Preheat the oven to 350 degrees.
- Fill (6) 3.5-inch, six-ounce ramekins to the top with the filling.
- Place a pie crust over the top of each bowl. Fold the excess under, flute the edges and into the rim of each ramekin to form a seal. Cut four small slits in the top of each crust.
- Combine the egg with the water. Brush the top of each pie crust with the egg mixture.
- Arrange the ramekins on a baking sheet covered with aluminum foil (to catch any leaks while cooking). Cook for 1 hour and 10 minutes or until the pie crust is golden brown and the filling is bubbling.
- Allow the pot pies to cool for 15 minutes before serving.
Notes
Allow the filling to cool completely. Transfer the filling to a freezer safe container with a lid. Be sure to leave about an inch of space between the filling and the lid of the container for expansion. You can also transfer the filling to freezer bags. Again, leave some room for expansion. Fold the top of the bag over the contents to remove any air. Seal, lay the bag flat on a countertop and carefully spread the contents in an even layer. Freeze the bags of filling flat until they are solid, then you can stand them upright or stack them to take up less room. You will need to allow the filling to thaw completely ahead of time before using. Once thawed, it may look a little watery. Simply heat the filling over low heat, add some additional chicken broth if necessary, and it will thicken back up. To freeze unbaked pot pies:
Follow the recipe instructions through Step X. Place the pies on a flat surface in the freezer until frozen solid, then carefully wrap each pie individually in plastic wrap and aluminum foil. Allow the pies to thaw for about eight hours in the refrigerator before applying the eggwash and baking according to recipe instructions.


This looks GOOD! May have to try it this week if the temps don’t move up.
Your take on this one came out fantastic!
I LOVE chicken pie!!!! This looks so perfect for a chilly night! I know what Im craving now!
Wow, that looks delicious! So homey and perfect for a winter’s night. What a nice wifey you are.