5 Tips for Making the Best Flaky Homemade Pie Crust from Scratch
Want to make your own flaky, homemade pie crust from scratch? Check out these five tips for making the perfect crust every time.
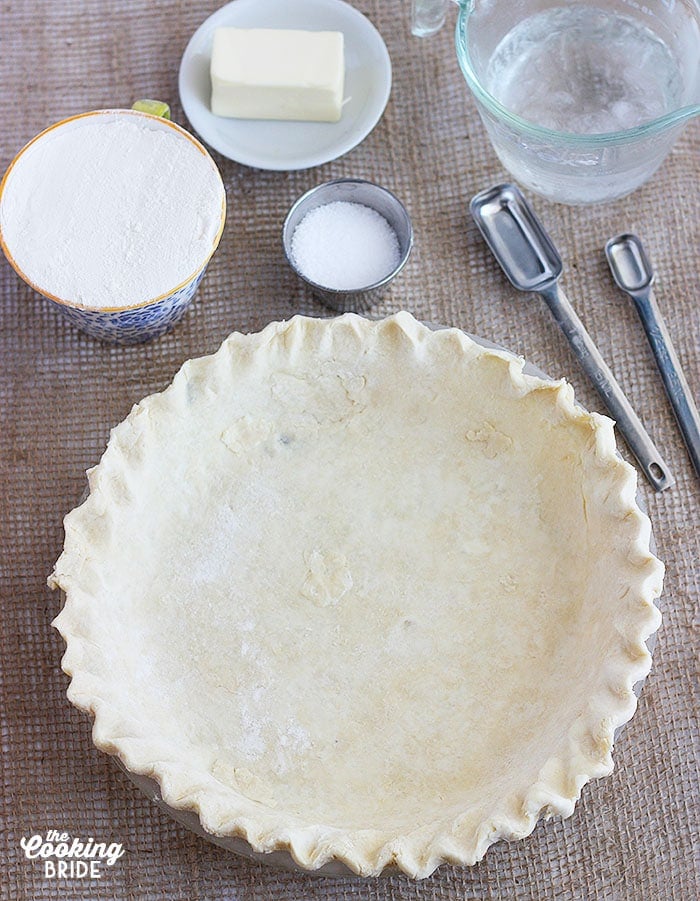
When I moved out of the house and into my own apartment, my mom gave me a little recipe binder as a housewarming gift. Inside she jotted down a few of her go-to recipes she thought I would need as I began to set up house, including her recipe for homemade pie crust.
Making pie crust from scratch is something every home cook needs to attempt at least once. It’s like a rite of passage. That doesn’t mean you can’t have some Pillsbury hidden away in the back of your freezer. Trust me, I plan on stocking up once the grocery stores mark down baking supplies in anticipation of the holiday rush. I always keep pre-made pie crusts on hand. Because sometimes, you just want pie.
But if you have time to make a crust from scratch, you should. Because there really is no comparison. It’s tastier. It’s flakier. It is more work, but there is a difference. Look at your pre-made dough. Now look at your homemade dough. See those little bits of butter in the homemade dough? There’s your difference.
Butter or Shortening?
Pie crust at it’s basic level is flour, fat and water. The fat is what helps give the crust its flaky texture. The fat melts during baking and releases steam. The steam creates pockets in the dough as it evaporates. Those pockets create the flaky texture.
When it comes to making pie crust, there are two teams: butter or shortening. Shortening creates more of a flaky texture. Butter gives it that rich flavor. Some people use a combination of both. I prefer all butter.
My pie crust secret weapon
It’s a box grater. Just like for my biscuits, I use a box grater to grate frozen butter for my dough (why frozen? I’ll explain in a minute). It’s a fool proof way to make sure you get those flecks of butter evenly disbursed all through your crust.
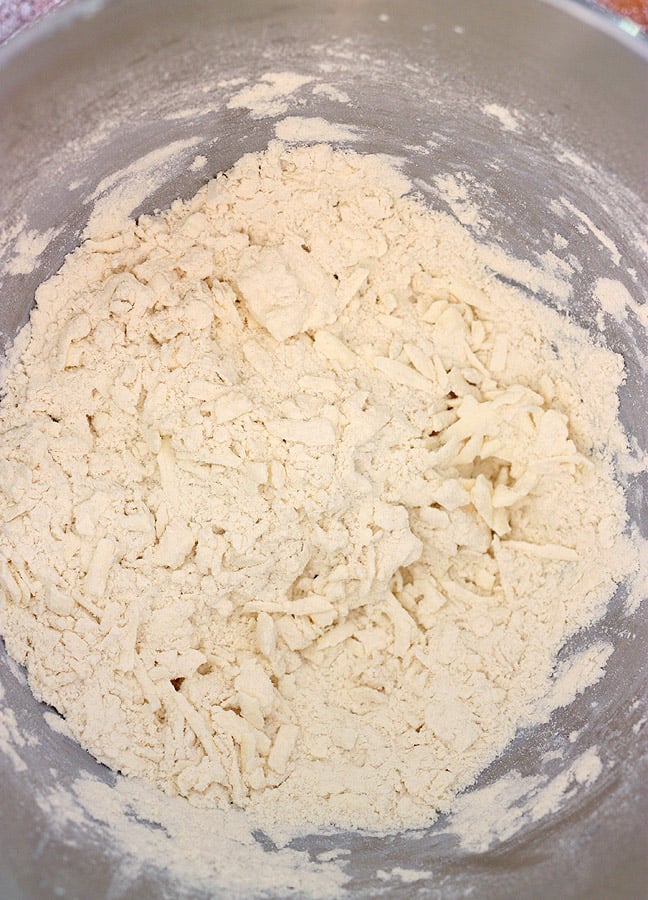
Five Tips for Making a Perfect Flaky Pie Crust
Tip #1. This is the pie crust golden rule: Keep everything cold! Remember earlier when I mentioned melting fat creates steam? You don’t want your butter to melt or get soft before you put your crust in the oven. Beforehand, I freeze my butter and my flour. I even go so far as to freeze my mixing bowl. When the recipe tells you to chill the dough, don’t get in a hurry and decide skip that part. You could end up with a chewy pie crust.
Tip #2: When it comes time to add water, add the least amount and work up from there. Water promotes gluten development, which makes a tough crust. It’s okay if the dough is a little clumpy. The best way to test if it is ready is to squeeze a little in your hand. If it breaks apart, add a little more water. If it sticks together, it’s ready.
Tip #3: On a lightly floured surface, form the dough into a disk. The more round, the better. You will spend less time trying to get that perfect circle when you roll it out later.
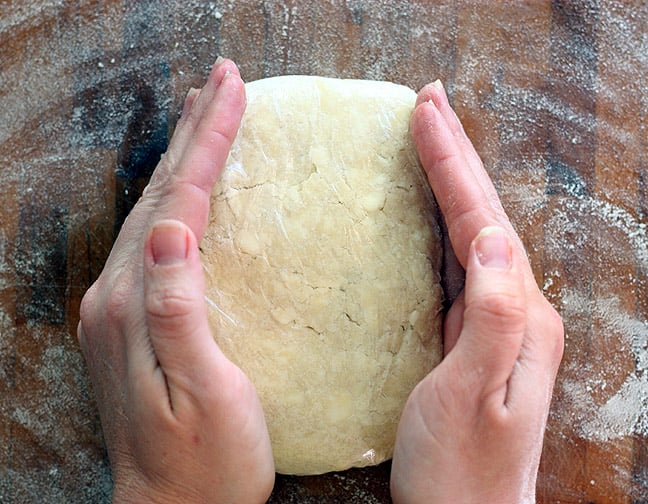
Tip #4: Let the dough rest in the fridge before you roll it out. Ever attempted to roll out pizza dough and no matter how hard you tried, it just wouldn’t keep its shape? That’s due to the gluten in the dough. Letting the dough rest makes it more relaxed (kinda like after you’ve had a nap!). It makes it easier to roll out and keeps that dough cold.
Tip #5: Use a heat-resistant glass pie pan (like Pyrex) for the flakiest results. Glass pie dishes disperse heat more evenly than metal.
Do you have any tips to add? Leave me a comment below. I would love to hear them!
You Might Also Like:

Pie Crust from Scratch
Ingredients
- 2 cups flour
- 1 teaspoon salt
- ¾ cup butter or shortening
- 4-5 tablespoons ice water
Instructions
- Grate frozen butter with a box grater. Place grated butter in a dish in the refrigerator for a few minutes while you prep for the next steps.
- Combine flour and salt in a large mixing bowl. Add grated butter and stir to combine. Mixture should resemble course meal. Add ice water, one tablespoon at a time, just until the dough holds together if squeezed in the palm of your hand.
- Turn dough out onto a lightly floured surface. Divide into two equal parts. Form dough into two round disks. Wrap each disk in plastic wrap. Place dough in the refrigerator and chill for one hour.
- Before rolling out, allow dough to sit at room temperature anywhere from 10-30 minutes, just until it is pliable enough to roll with a rolling pin. Lightly flour your surface and your rolling pin. Starting at the center of the disk, roll straight out and away from you, easing the pressure as you get to the edge. Return to the center and repeat to the left and the right. Rotate the dish and repeat rolling straight, then side to side, easing the pressure as you get to the edge.
- Continue to roll dough until it reaches 13-inches in diameter (for a 9-in. pie plate). Once you are ready to move the dough, dust the crust and your rolling pin with additional flour. Then carefully roll your crust about the rolling pin. Lift the rolling pin up and place it directly over your prepared pie dish. Gently unroll the dough over the dish, making sure that there is a an even amount of dough hanging over the edge.
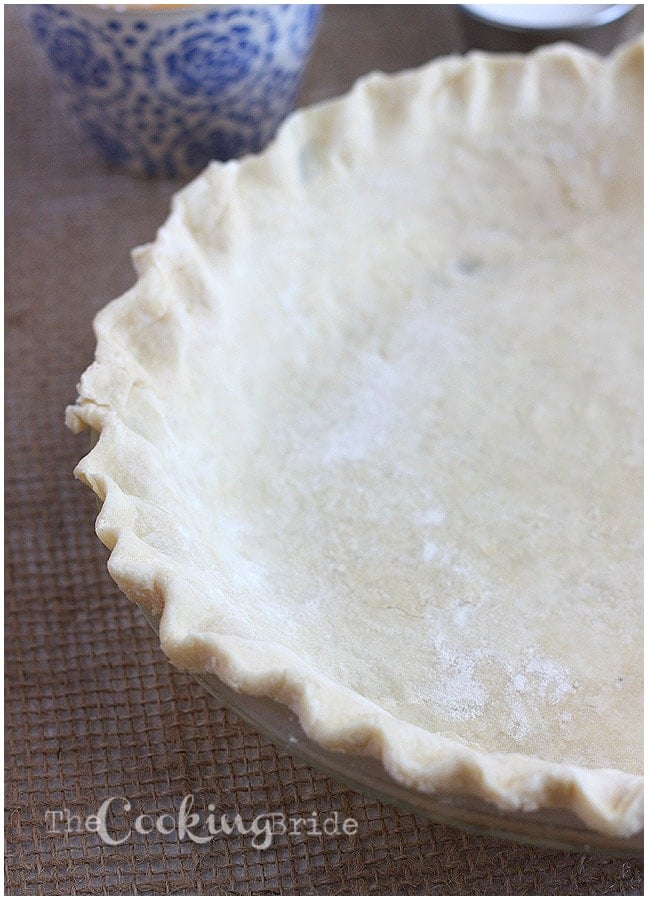
- Using kitchen shears, trim the excess overhang, leaving ¾ of an inch. Gently fold the excess dough under the edge. Crimp the edges using your thumb and forefinger, or press the edges with the tines of a fork.
- Freeze pie crust in the pie plate for 15 minutes before adding filling or baking.



If the pie needs to be prebaked, yes. I will prick the bottom.
Do you prick sides and bottom before filling