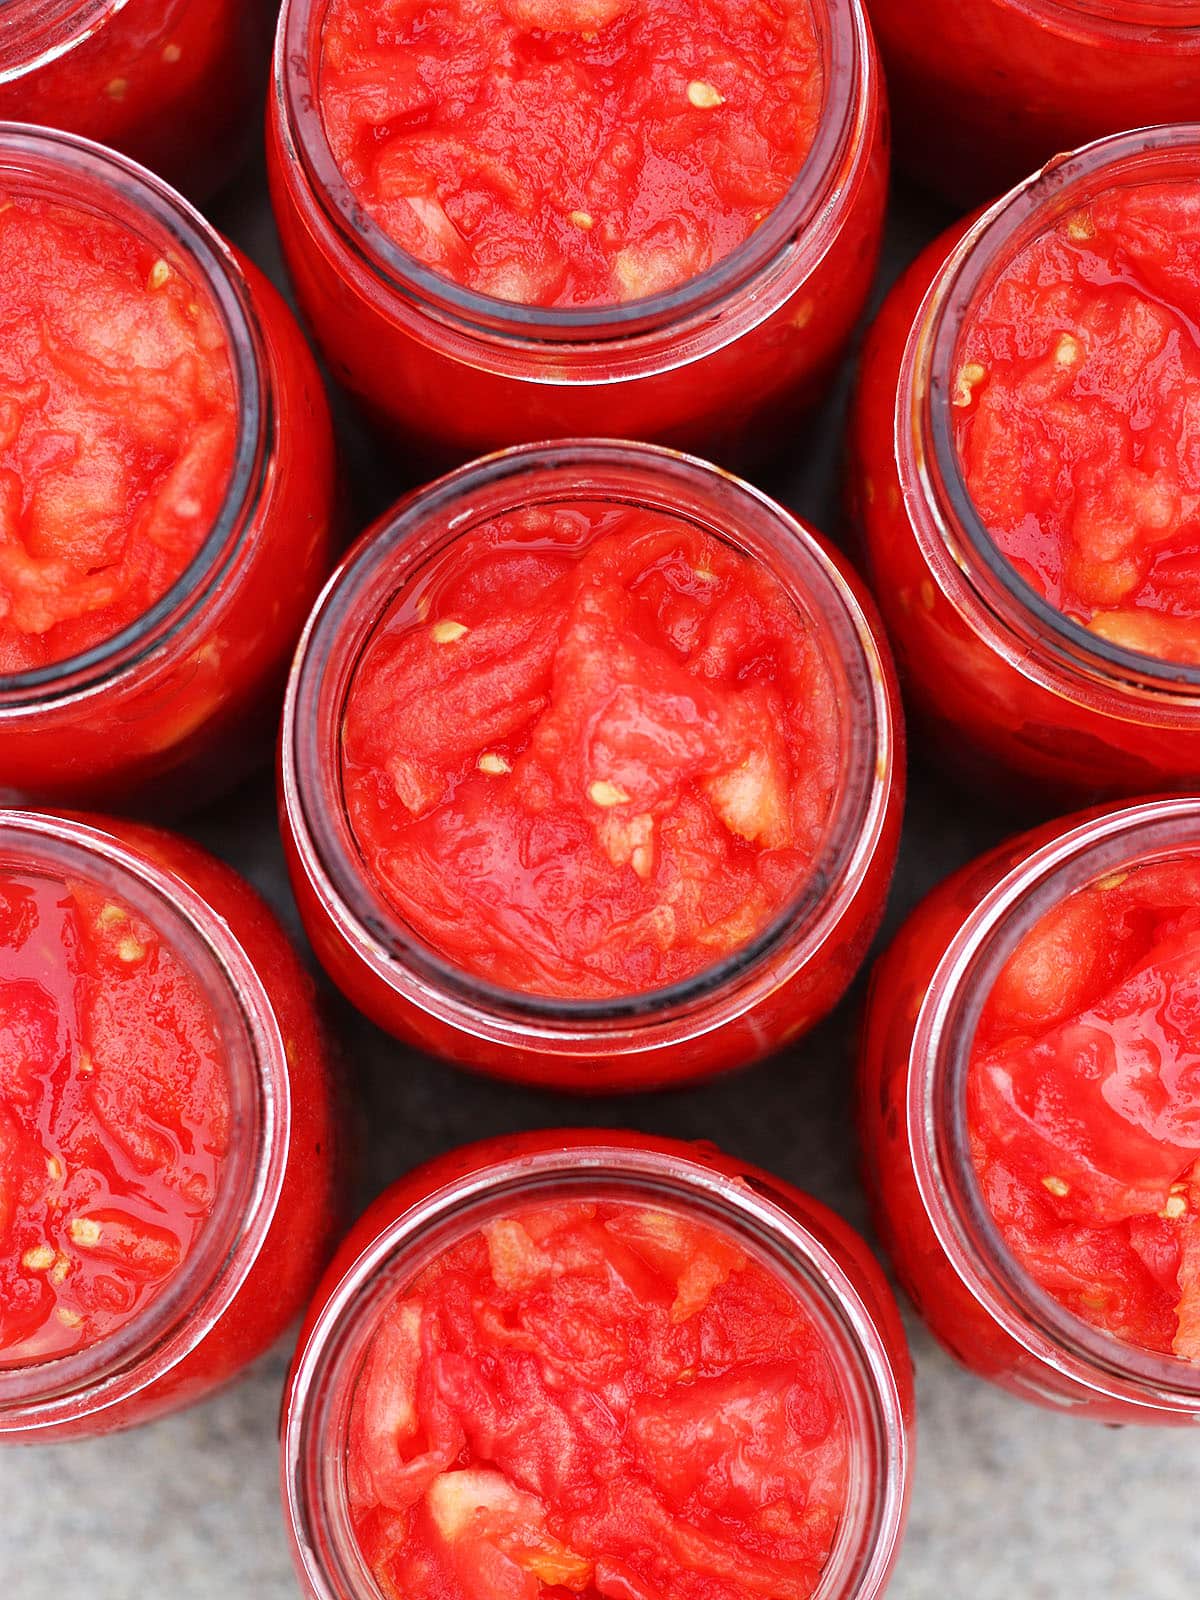
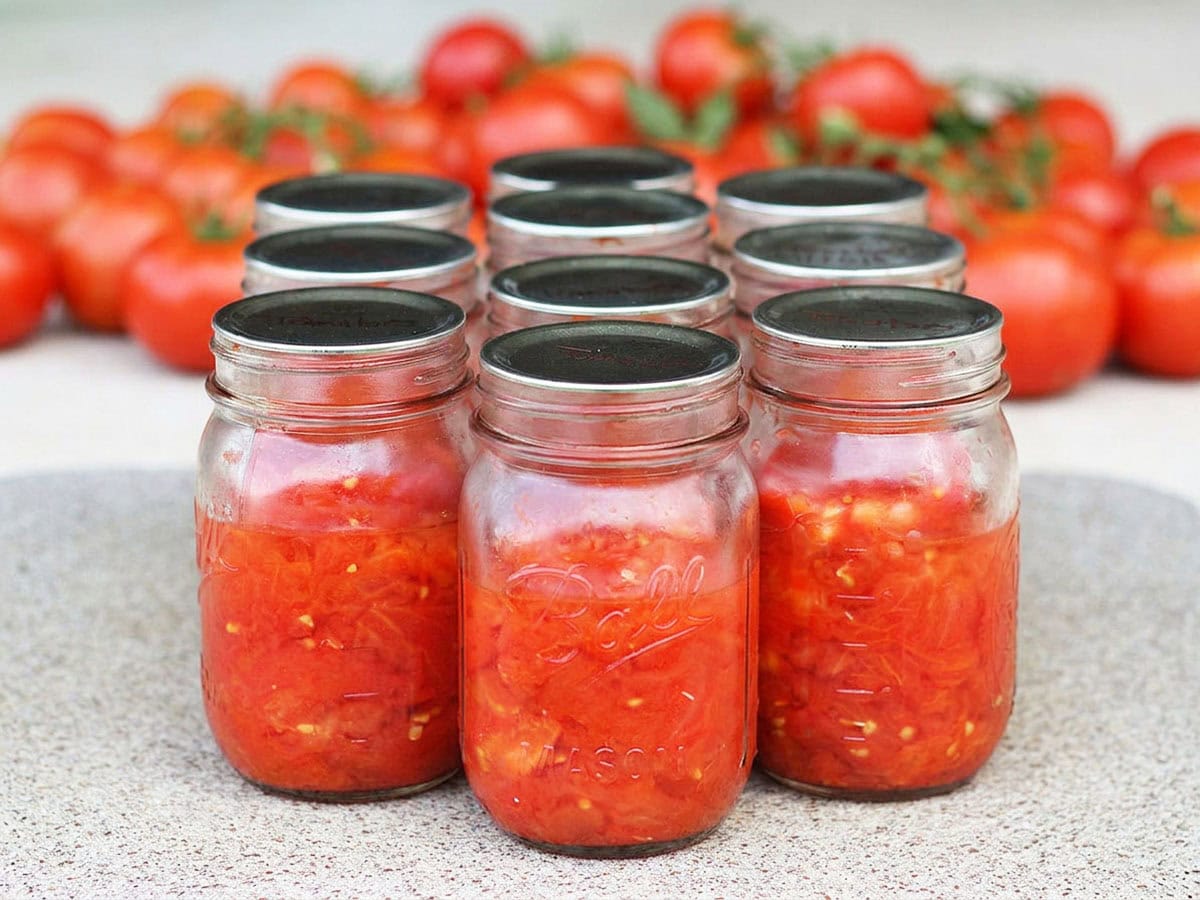
How to Can Diced Tomatoes
Learn how to can diced tomatoes with this step-by-step guide. Includes water bath and pressure canning instructions, safety tips, and storage advice.
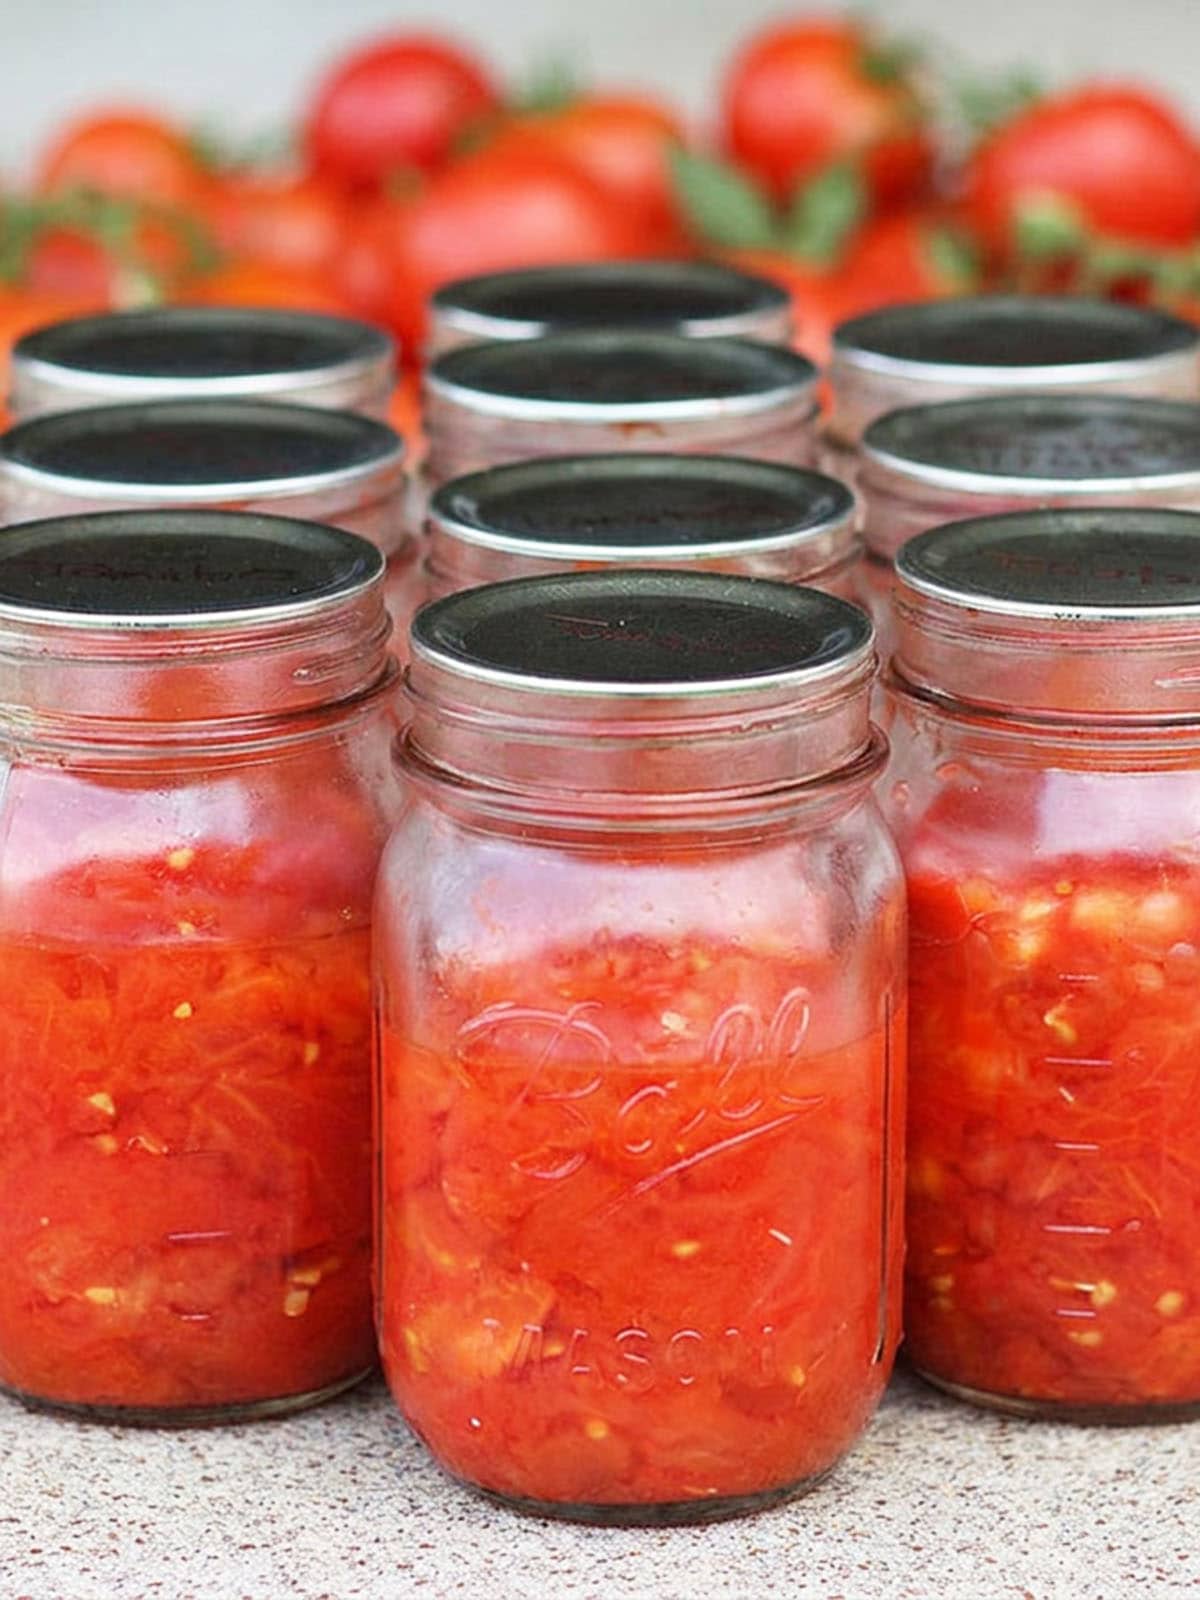
If your garden is overflowing with fresh tomatoes, don’t let them go to waste. Learning how to can diced tomatoes is one of the easiest ways to preserve the flavor of summer tomatoes for soups, stews, casseroles, chili, and homemade pasta sauce all year long.
This beginner-friendly guide walks you through the complete canning process, including how to peel tomatoes, prepare the jars, safely process them in a water bath canner or pressure canner, and store them for long-term home food preservation.
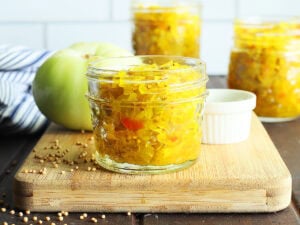
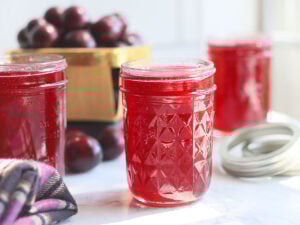
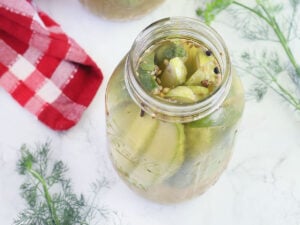
Interested in more canning recipes? You might also be interested in homemade plum jelly, homemade strawberry preserves, green tomato jam, or kosher dill pickle spears.
Recipe at a glance
- Preserves fresh tomatoes from your own garden
- Great for beginners trying home canning for the first time
- Works with pint jars or quart jars
- Requires only a few simple ingredients
- Perfect for soups, chili, salsa, and tomato sauce
- Shelf stable for up to 18 months
Summarize and save this content on
Jump to:
- Recipe at a glance
- Water bath canning vs. pressure canning
- Ingredients and tools you will need
- Substitutions and variations
- How to can diced tomatoes
- Canning processing time
- How to use canned diced tomatoes
- Storage instructions
- Canned tomatoes frequently asked questions
- More uses for canned diced tomatoes
- How to Can Diced Tomatoes
Water bath canning vs. pressure canning
Both methods are approved for canning tomatoes when the proper amount of acid is added to each jar. The best option depends on your equipment and comfort level.
| Water Bath Canning | Pressure Canning |
|---|---|
| Uses a water canner or large stock pot | Requires a pressure canner |
| Less expensive equipment | Higher initial investment |
| Longer processing time | Shorter processing time |
| Great for beginners | Faster for large batches |
| Safe when bottled lemon juice or citric acid is added | Safe with added acid and approved pressure settings |
If you’re new to home canning, water bath canning is often the easiest place to start. To learn more, check out my tutorial on water bath canning.
Ingredients and tools you will need
You only need a handful of ingredients and basic canning supplies to preserve fresh garden tomatoes and enjoy their flavor long after tomato season has ended. To can your own tomatoes, you will need:
See the recipe card for full information on ingredients and quantities.
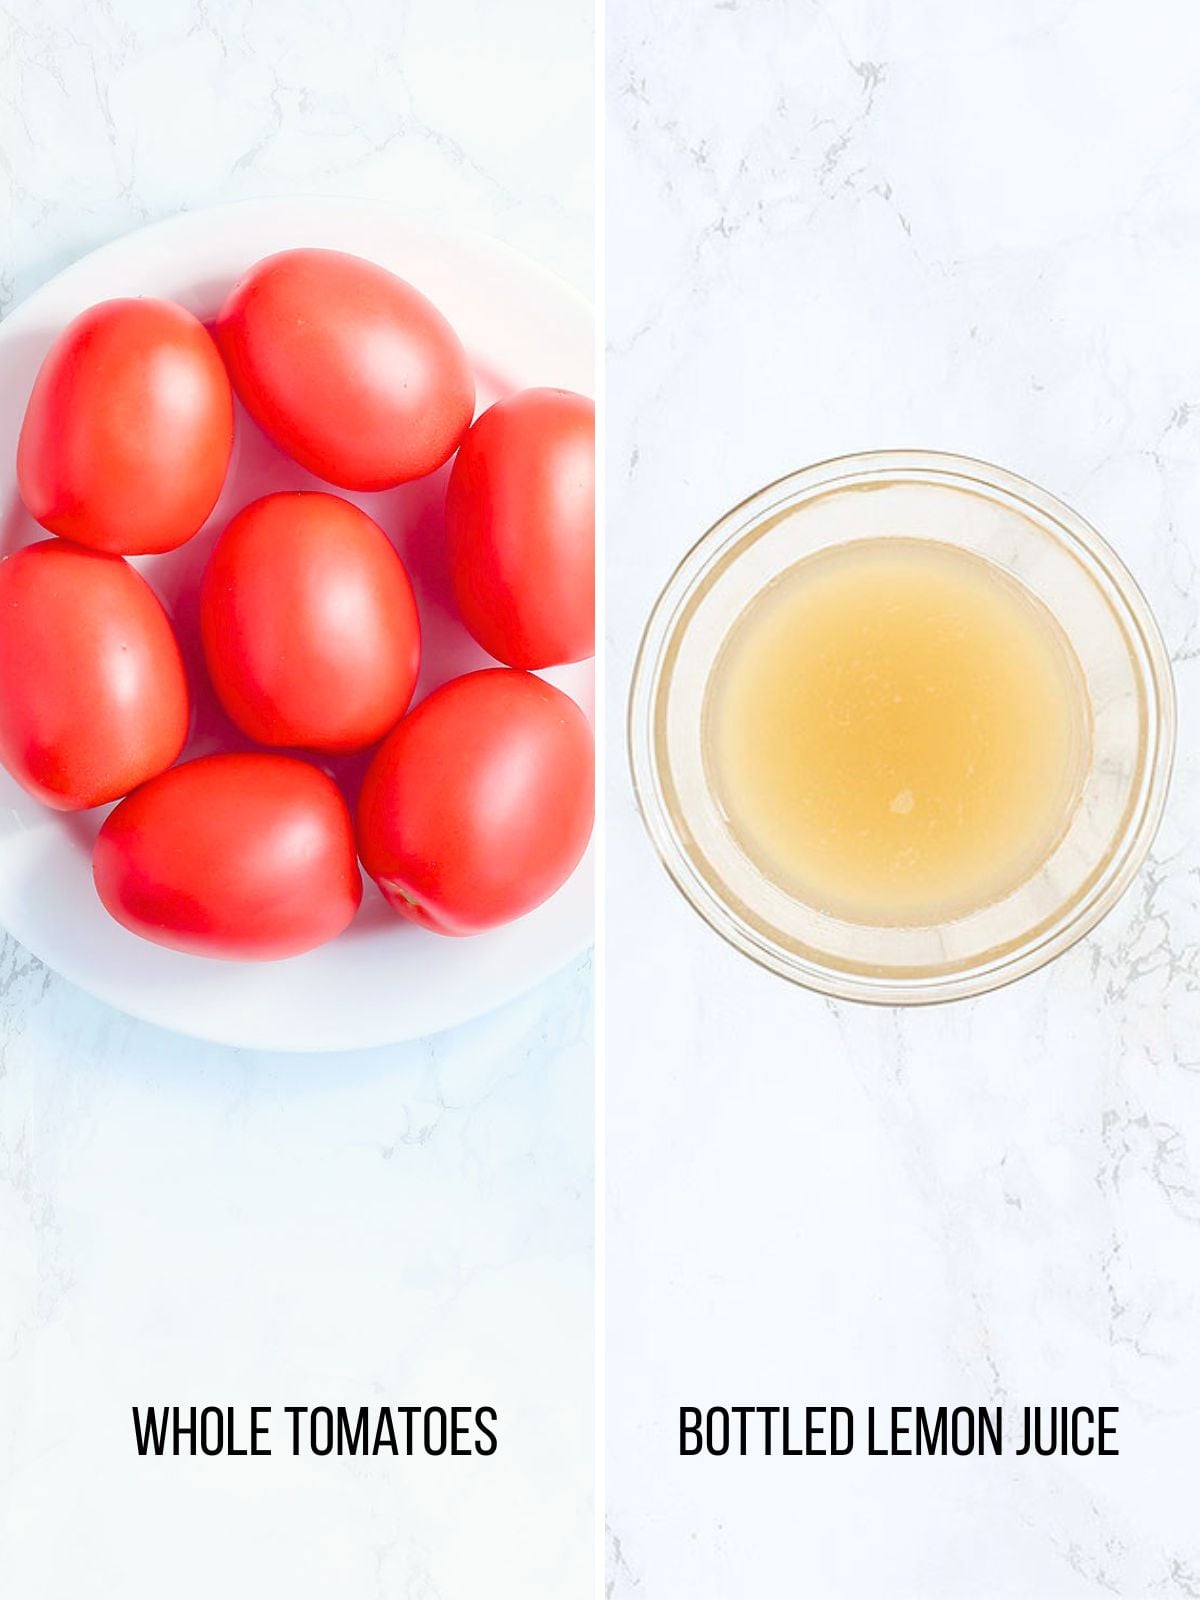
- Fresh tomatoes – Fresh, ripe tomatoes are the star of this recipe. Choose tomatoes that are fully ripe but still firm, with no bruises or soft spots. Roma tomatoes are a popular choice for canning because they have fewer seeds, less water content, and a meatier texture. However, almost any variety of garden-fresh tomatoes can be used. Plan on approximately 2½–3 pounds of tomatoes per quart jar and 1¼–1½ pounds per pint jar.
- Bottled lemon juice – Bottled lemon juice is an essential ingredient for safe home canning. It increases the acidity of the tomatoes, making them safe for water bath canning. Unlike fresh lemon juice, bottled lemon juice has a standardized acidity level, ensuring consistent results every time..
- Reserved juice from tomatoes – Tomato juice helps fill empty spaces in the jars and creates a flavorful liquid that’s perfect for adding to soups, chili, and sauces.
Equipment needed
- Canning jars – Use mason jars specifically designed for home canning. Pint jars are great for smaller recipes, while quart jars are ideal if you frequently use diced tomatoes in soups, stews, and sauces.
- New lids and bands – New lids are essential for creating a proper seal during the canning process. The bands hold the lids in place while the jars are processing and can be reused as long as they are free of rust or damage.
- Jar lifter – A jar lifter is specially designed to safely grip hot jars when removing them from the canner. It provides a secure hold and helps prevent burns or dropped jars.
- Large stock pot or water bath canner – You’ll need a large pot deep enough to cover the jars with at least 1–2 inches of water during processing. A dedicated boiling water canner often includes a rack that keeps jars from sitting directly on the bottom of the pot.
- Pressure canner (optional) – A pressure canner is required if you choose to pressure can your tomatoes instead of using a water bath canner. Be sure to use a pressure canner, not a pressure cooker, as the two are not interchangeable for safe home food preservation.
- Bowl of ice water – After blanching, tomatoes are transferred to an ice bath to stop the cooking process and cool them quickly. This makes the skins much easier to remove.
- Canning funnel (recommended) – A wide-mouth canning funnel helps guide tomatoes into the jars without making a mess. It also helps keep the rims clean for a better seal.
- Bubble remover or plastic utensil – This tool is used to release trapped air bubbles from the jars before sealing. Removing air pockets helps ensure proper headspace and successful processing. Using a plastic utensil allows you to safely release trapped air bubbles without damaging the jars. Even tiny scratches can weaken the glass and increase the risk of breakage during processing or storage.
Don’t get overwhelmed by this list. This canning supplies starter kit has everything you need.
Substitutions and variations
While canning tomatoes is a science and not a recipe you can freely modify, there are a few variations you can make safely.
- Use different tomato varieties – Roma tomatoes are the preferred choice because they’re meaty and contain less water, but any ripe tomato can be canned. Beefsteak, Celebrity, Early Girl, and even cherry tomatoes will work. Just keep in mind that juicier varieties may produce more liquid in the finished jars.
- Leave the tomatoes whole or crushed – Instead of diced tomatoes, you can leave the tomatoes halved, quartered, or crush them by hand before packing them into the jars. The processing time remains the same as long as you’re following a tested canning recipe.
- Citric acid instead of lemon juice – If you don’t like the slight flavor that lemon juice can add, substitute citric acid. Use ½ teaspoon citric acid per quart jar or ¼ teaspoon per pint jar. Make sure you are using food grade citric acid and not citric acid meant for cleaning.
- Add canning salt – Salt is optional and used only for flavor. Add 1 teaspoon of canning salt per quart jar or ½ teaspoon per pint jar if desired. Because it contains no anti-caking agents, it dissolves easily and won’t cause the liquid in your jars to become cloudy.
- Save the tomato juice – Don’t throw away the juice removed during preparation. Freeze it for later use in soups, stews, homemade tomato sauce, or Bloody Marys.
- What not to add – For safety reasons, do not add onions, peppers, garlic, fresh herbs, olive oil, or other vegetables to the jars unless you’re following a tested canning recipe specifically developed for those ingredients.
How to can diced tomatoes
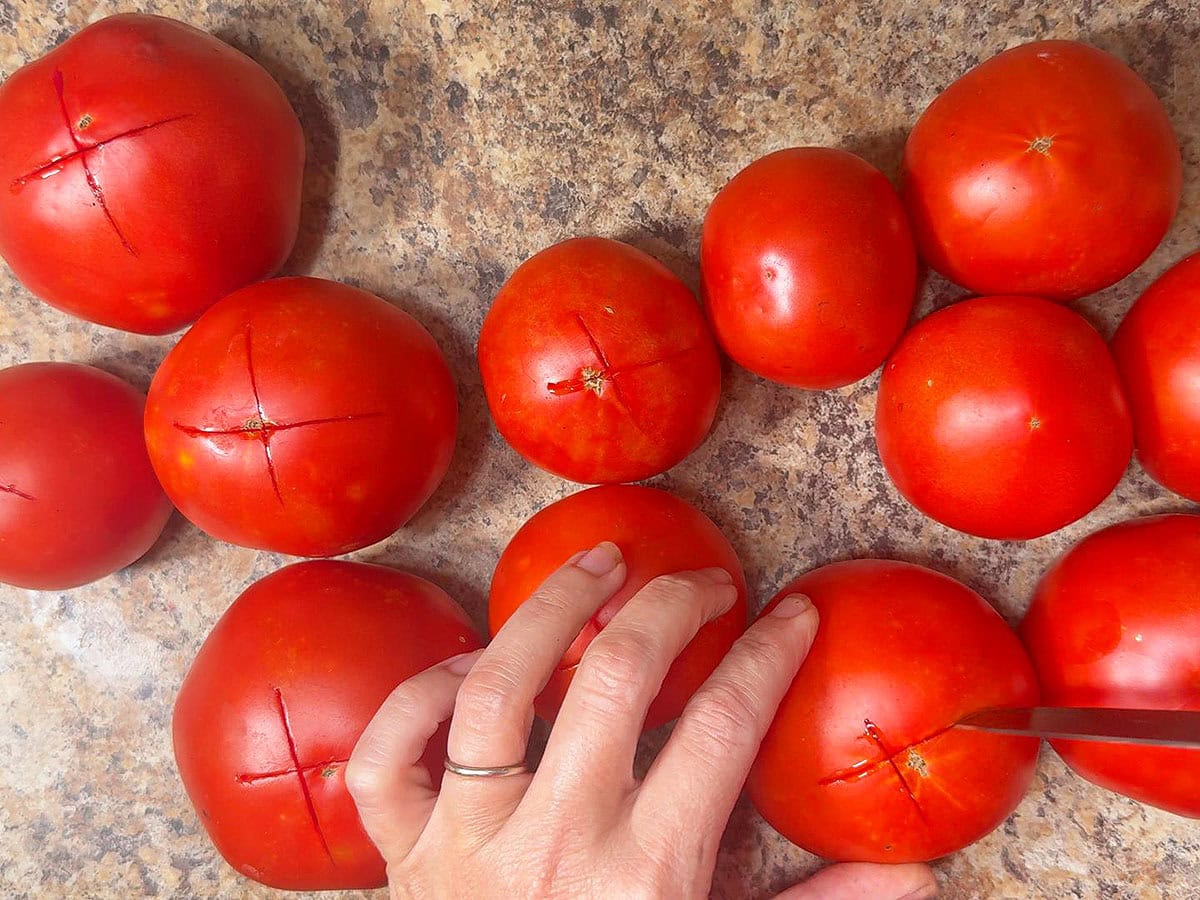
Step 1: Bring a large pot of water to a rolling boil over medium-high heat. Using a paring knife, cut a small X in the bottom of each tomato.
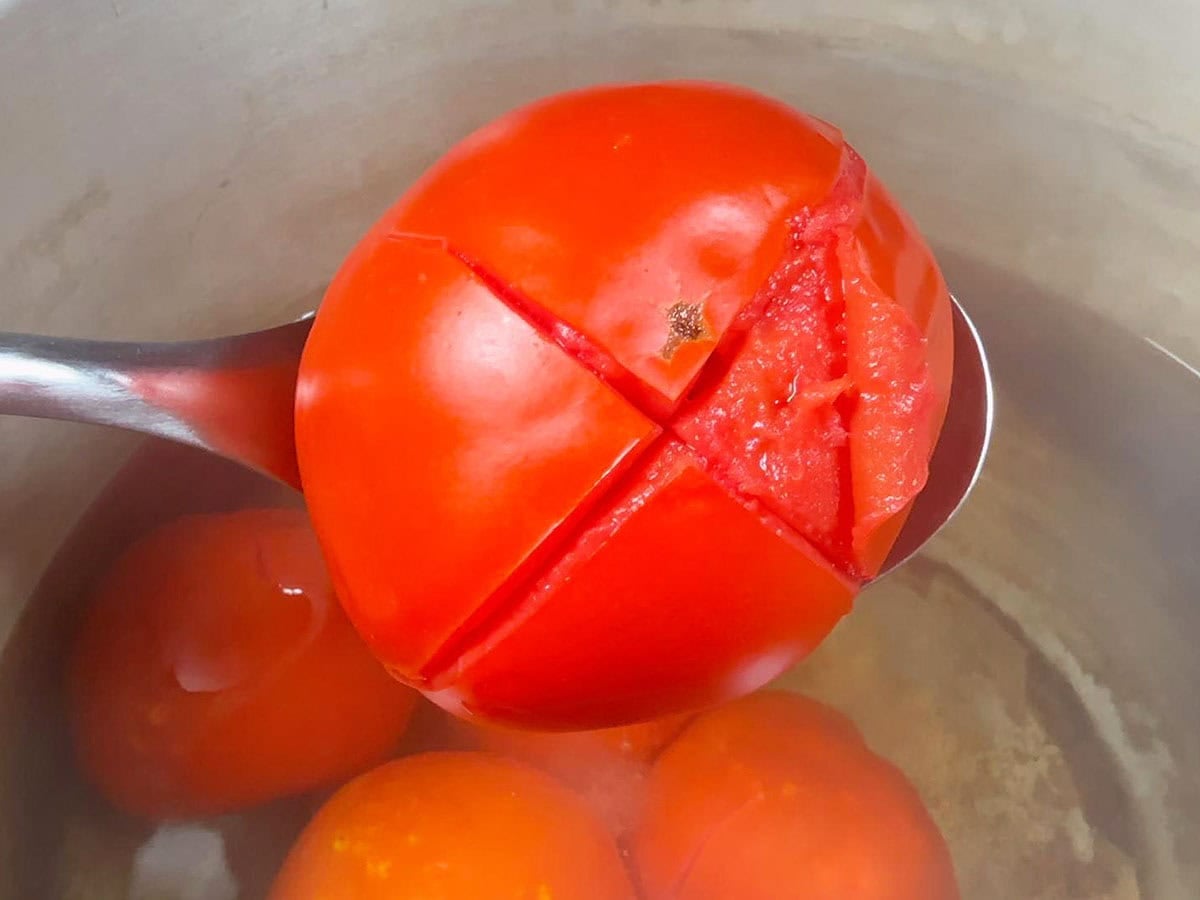
Step 2: Working in batches, place tomatoes into the boiling water for 30-60 seconds. When the skins begin to split, remove them using a slotted spoon and transfer immediately to a bowl of ice water. Allow the tomatoes to cool before peeling away the skins.
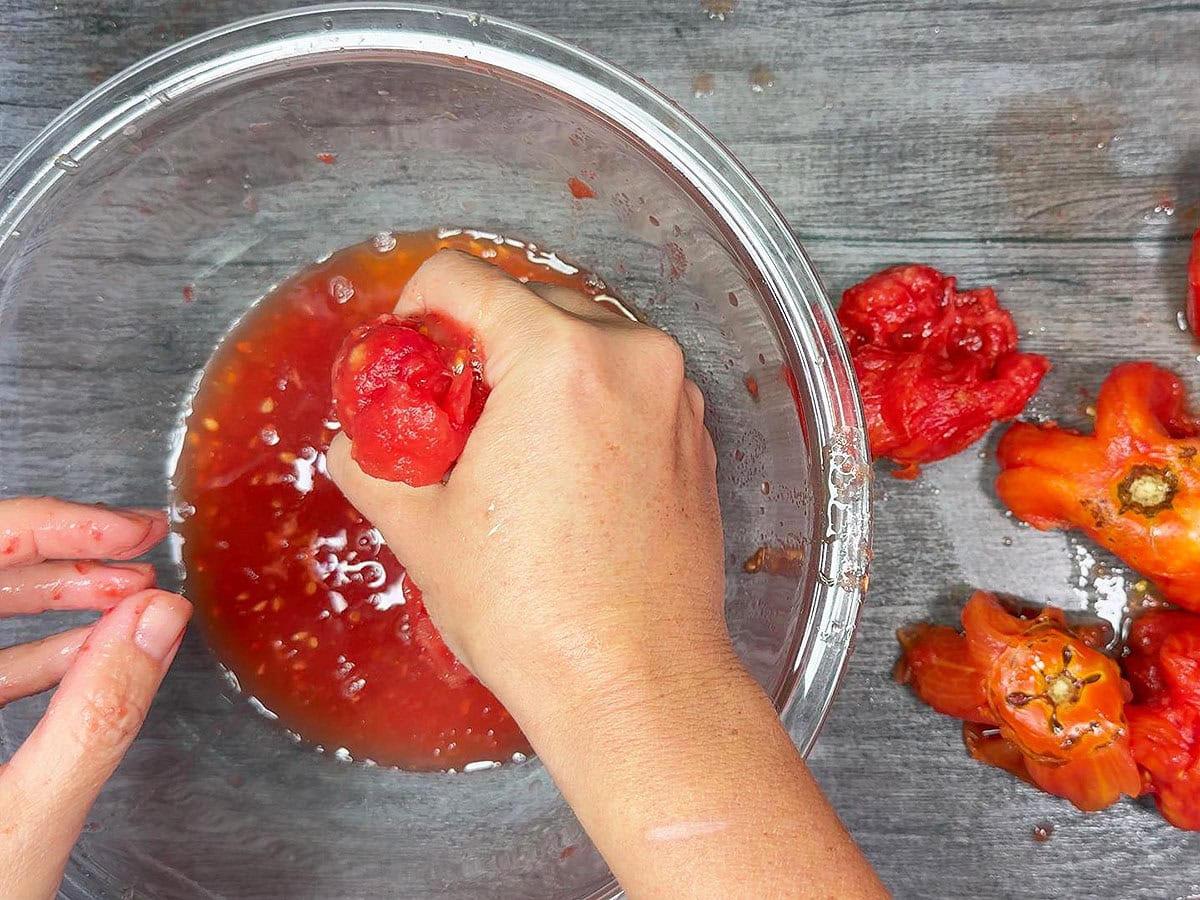
Step 3: Cut each tomato in half. Remove the core from the top of the tomato. Squeeze out seeds and excess liquid into a bowl. Strain and reserve any collected tomato juice.
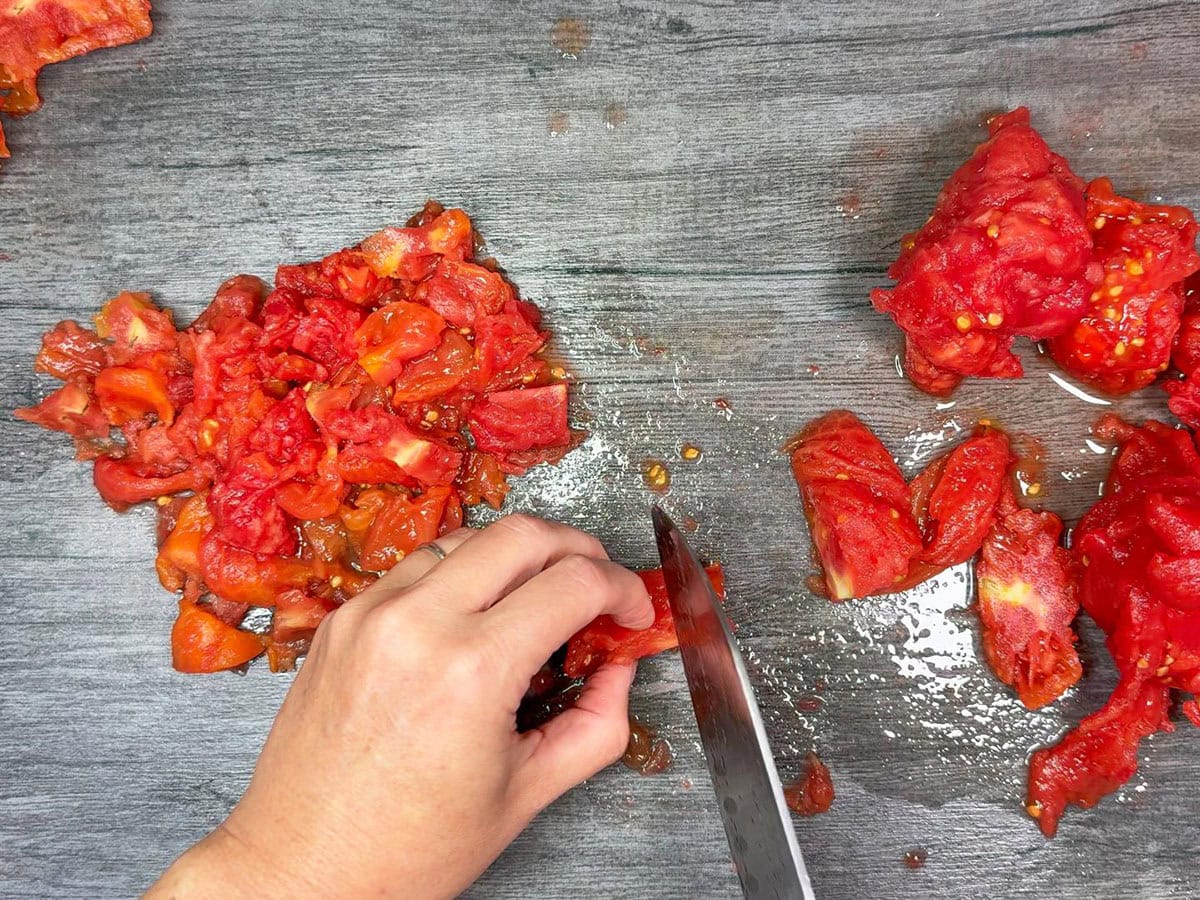
Step 4: Cut the peeled tomatoes into bite-sized pieces.
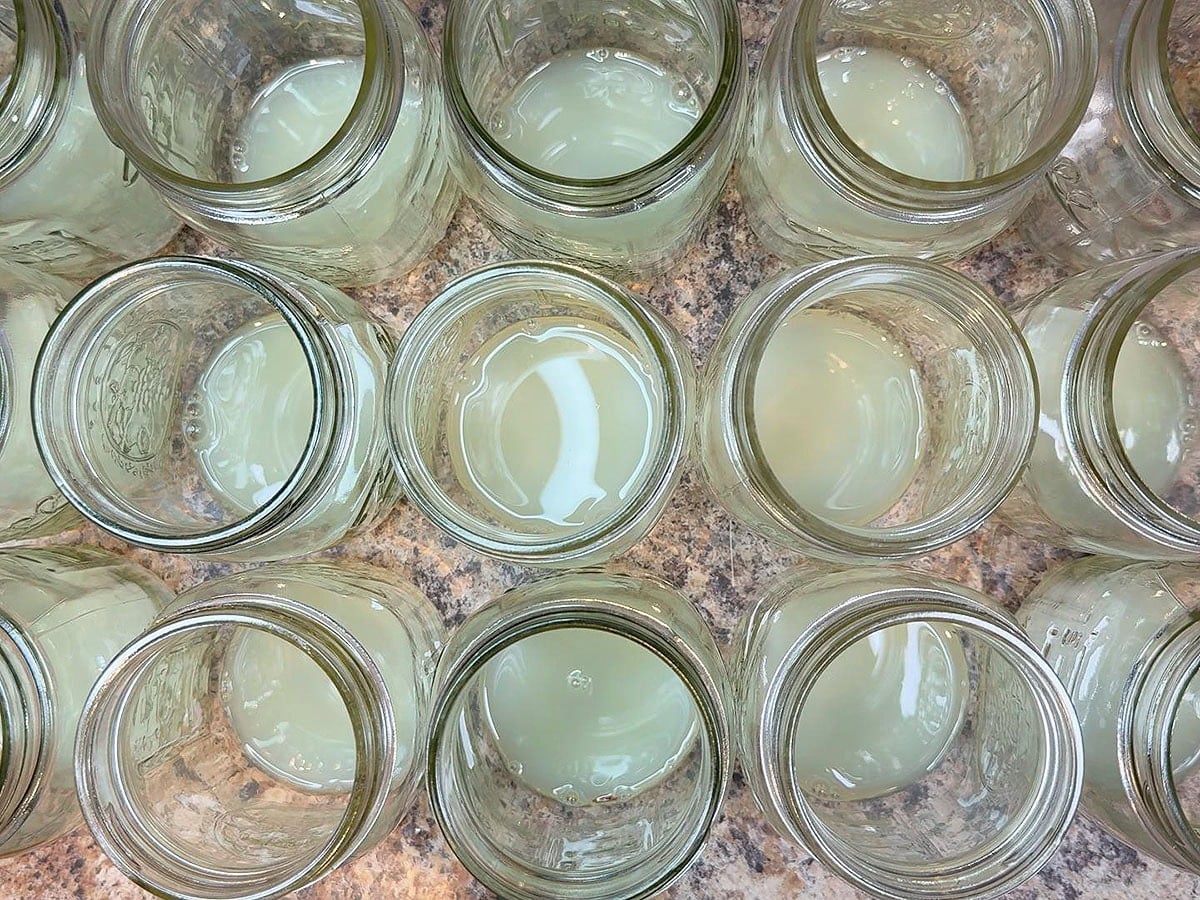
Step 5: Add bottled lemon juice to each jar: 1 tablespoon per pint or 2 tablespoons per quart. You can also add 1 teaspoon canning salt per quart or ½ teaspoon per pint at the point for added flavor.
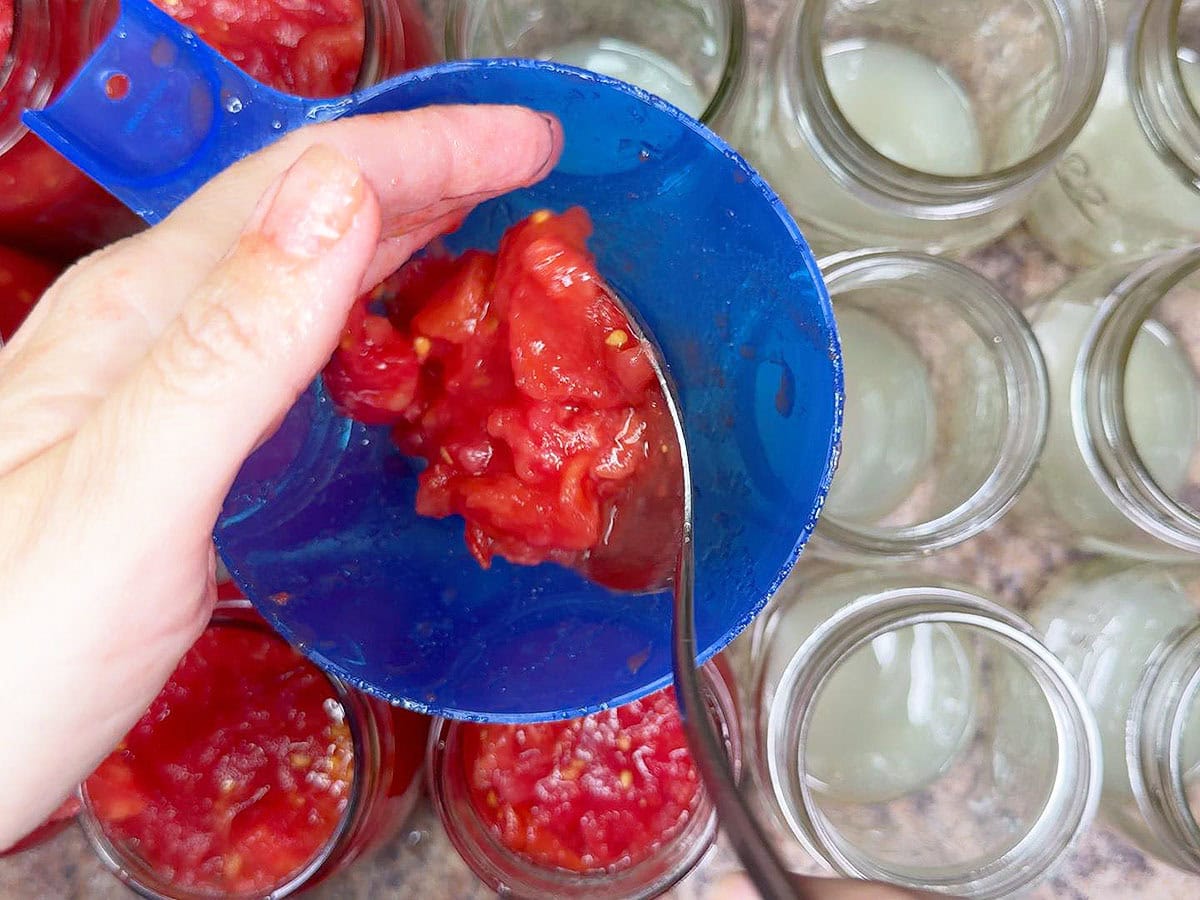
Step 6: Pack the tomatoes into jars. Use a nonmetallic utensil to remove air bubbles. Fill any gaps with the reserved tomato juice. Use a ruler or canning headspace tool to measure ½-inch of headspace between the top of the tomatoes and the rim of the jar. Wipe the rims of jars with a damp cloth. Apply the lids and bands until fingertip tight.
Canning safety tips
Safe home food preservation starts with following tested canning recipes and current recommendations.
- Always use bottled lemon juice or food grade citric acid. Tomatoes are considered a low-acid food and require additional acidification for safe water bath canning.
- Use only canning jars designed for home canning.
- Inspect jars for cracks or chips before using.
- Use new lids each time you can.
- Follow the recommended processing time exactly.
- Adjust processing times when canning at higher elevations.
- Never alter ingredient ratios in tested canning recipes.
- Discard any jars with broken seals, unusual odors, mold, or signs of spoilage.
These recommendations are based on guidelines from the National Center for Home Food Preservation and current USDA home canning recommendations.
Canning processing time
Canning tomatoes lets you preserve the fresh flavor of peak-season tomatoes, reduce food waste, and keep a ready supply on hand for soups, sauces, stews, and other recipes year-round.
Water bath canning
- Place jars into a boiling water canner.
- Ensure water level covers the tops of the jars by at least 1 inch.
- Cover with the canner lid.
- Once the water reaches a rolling boil, process:
| Jar Size | Processing Time |
|---|---|
| Pint jars | 40 minutes |
| Quart jars | 45 minutes |
Check your local elevation before beginning the canning process and adjust the processing time for altitude if necessary.
Altitude Adjustments for Water Bath Canning
Water boils at a lower temperature as elevation increases, which means jars must be processed longer to ensure food safety.
Water Bath Canning Altitude Adjustments
| Elevation | Additional Processing Time |
|---|---|
| 0–1,000 feet | No adjustment needed |
| 1,001–3,000 feet | Add 5 minutes |
| 3,001–6,000 feet | Add 10 minutes |
| Above 6,000 feet | Add 15 minutes |
Pressure canning
Follow the instructions that came with your pressure canner.
Pressure canning may reduce processing time and is another safe option for canning tomatoes.
Cooling the jars
Once processing is complete:
- Turn off heat
- Allow jars to rest in the canner for 5 minutes
- Remove with a jar lifter
- Place on a towel away from drafts
Allow jars to cool undisturbed for 12-24 hours.
How to check the seal
After jars reach room temperature:
- Remove the bands. Leaving the bands on can actually hide a failed seal. Bands can also trap moisture between the metal ring and the lid, which may lead to rust over time.
- Press the center of the lids. A properly sealed lid should not flex or pop.
Any unsealed jars should be refrigerated and used within several days.
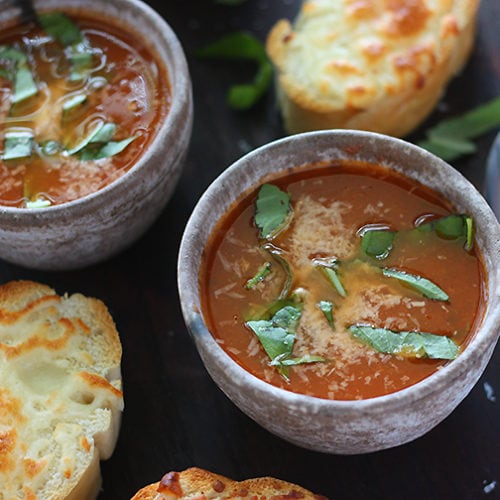
How to use canned diced tomatoes
One of the best things about learning how to can diced tomatoes is how versatile they are. Use your home-canned tomatoes in:
- Cowboy chili
- Vegetable beef soup – also a good way to use any reserved juice.
- Meat sauce for spaghetti
- Cowboy soup
- Chicken jambalaya
You can also puree them into tomato sauce or blend them into soups and stews.
Storage instructions
Store sealed jars in a cool, dark place away from direct sunlight. Properly processed jars can last up to 18 months. For best quality, use within one year. Once the jars have been opened, any unused portions should be stored in the refrigerator for up to one week.
Canned tomatoes frequently asked questions
Yes. The National Center for Home Food Preservation recommends removing skins because they can harbor bacteria and affect texture.
Headspace is the empty space between the top of the food and the rim of the jar. Leaving the correct amount—½ inch for diced tomatoes—is essential for creating a strong vacuum seal during the canning process.
If you leave too little headspace, the tomatoes and their juices may expand during processing and force liquid out of the jar, a problem known as siphoning. This can interfere with the seal and increase the risk of spoilage.
If you leave too much headspace, there may not be enough air expelled from the jar during processing to create a proper vacuum seal. Excess air can also cause discoloration and reduce the quality of the tomatoes during storage.
Following the recommended ½-inch headspace helps ensure safe processing, a reliable seal, and the best quality canned tomatoes.
Floating tomatoes are very common and are usually caused by trapped air in the fruit. As long as the jars were processed correctly and remain sealed, floating tomatoes are safe to eat.
This is completely normal. Tomato solids often float above the liquid during storage and remain safe to eat.
Yes. Within 24 hours, you may replace the lid with a new lid and process the jar again using the full processing time.
No. A mason jar vacuum sealer is not a substitute for water bath canning or pressure canning.
Vacuum sealers remove air from the jar, but they do not heat the food to a temperature that destroys microorganisms that can cause spoilage. They also do not create the shelf-stable environment achieved through proper home canning methods.
If you vacuum seal fresh tomatoes without canning them, they must be refrigerated or frozen and should not be stored at room temperature.
More uses for canned diced tomatoes


Tried This Recipe? Let Me Know!
⭐️⭐️⭐️⭐️⭐️
If you found this tutorial for canned diced tomatoes helpful, I’d love to hear how it turned out! Your ratings and reviews help others find the recipe and give me great feedback too.
How to Can Diced Tomatoes
Ingredients
- Fresh tomatoes (as many as you have), see notes
- Bottled lemon juice, (1 tablespoon per pint or 2 tablespoons per quart)
- Pint or quart mason jars with lids and bands
Instructions
- Bring a large stockpot of water to a boil. Fill another large bowl or pot with ice water and set it nearby.
- To peel the tomatoes, use a sharp knife to cut a small “X” on the bottom of each one. Working in batches, carefully lower the tomatoes into the boiling water—don’t overcrowd the pot.
- After a few minutes, the skins will begin to pucker and pull away from the flesh. Use a slotted spoon to transfer the tomatoes immediately into the ice water. Let them sit for a few minutes, then move them to another bowl. Repeat with the remaining tomatoes. You will need to periodically replenish your ice if you have a lot of tomatoes.
- Once the tomatoes are cool enough to handle, slip off the skins and discard them.
- Cut the tomatoes in half, remove the cores, and squeeze out the seeds and excess juice.
- At this point, you can leave the tomatoes halved or chop them into smaller pieces, depending on your preference.
- Add bottled lemon juice to each jar—1 tablespoon for pint jars or 2 tablespoons for quart jars.
- Pack the tomatoes into the jars, pressing gently to remove air pockets. Leave ½ inch of headspace at the top.
- Wipe the rims with a clean, damp cloth.
- Prepare the jar lids according to the manufacturer's instructions.
- Carefully lift the lids one at a time and place them on top of your jars. Secure the lids in place with rings. Screw the rings on just tight enough to hold the lid in place.
- If water bath canning, place the jars in a pot deep enough to cover them with 1–2 inches of water. Bring to a boil, cover, and process for 40 minutes for pints and 45 minutes for quarts. Turn off the heat and let jars sit in the water for 5 minutes before removing.
- If pressure canning, follow the manufacturer’s instructions for your specific canner.
- Transfer the jars to a towel and let them cool undisturbed for 24 hours. After cooling, remove the bands and check the seals. Properly sealed lids will be concave and won’t flex when pressed.
- Store sealed jars in a cool, dry place for up to 18 months. Any unsealed jars should be refrigerated and used within a few days.
Notes
- As a general guide, it takes about 2½–3½ pounds of tomatoes to fill one quart jar and 1¼–1½ pounds per pint jar.
- Approximately 9 pounds of ripe tomatoes yields about 3 quart jars or 6 pint jars.
- Roma tomatoes are ideal because they contain less water and fewer seeds than slicing tomatoes.
- Keep jars hot until you’re ready to fill them to prevent thermal shock.
- Always start the processing time once the water reaches a full rolling boil.
- For best results, use tomatoes at peak ripeness during the height of tomato season.
- A quart jar is roughly twice the volume of a pint jar, so you can approximately double the nutrition values.
- Nutrition values are estimates and will vary depending on the tomato variety and whether salt is added.
I’ve been canning diced tomatoes for years, and there’s nothing quite like opening a jar in the middle of winter and tasting the flavors of summer. Whether your garden produced a handful of tomatoes or a bumper crop, this simple canning method is a great way to reduce food waste and keep homegrown tomatoes on hand for soups, sauces, chili, and so much more all year long.
Awesome! Thanks, yes. It makes perfect sense. Thank you!
Hi Eric, if you purchase a canning kit similar to the one I recommend, it will come with a stick to measure headspace. Second picture from the bottom shows me holding one of these. Each notch in that stick is marked with a measurement. For example, the notch I have resting on the edge of the jar in the picture represents 1/2″ of headspace. You’ll notice the top of the food is touching the very bottom of the stick. That’s how you can ensure your headspace is exact. Does that make sense?
You mentioned your husband eyeballing the headspace and how that is a big no. How do you properly measure headspace?