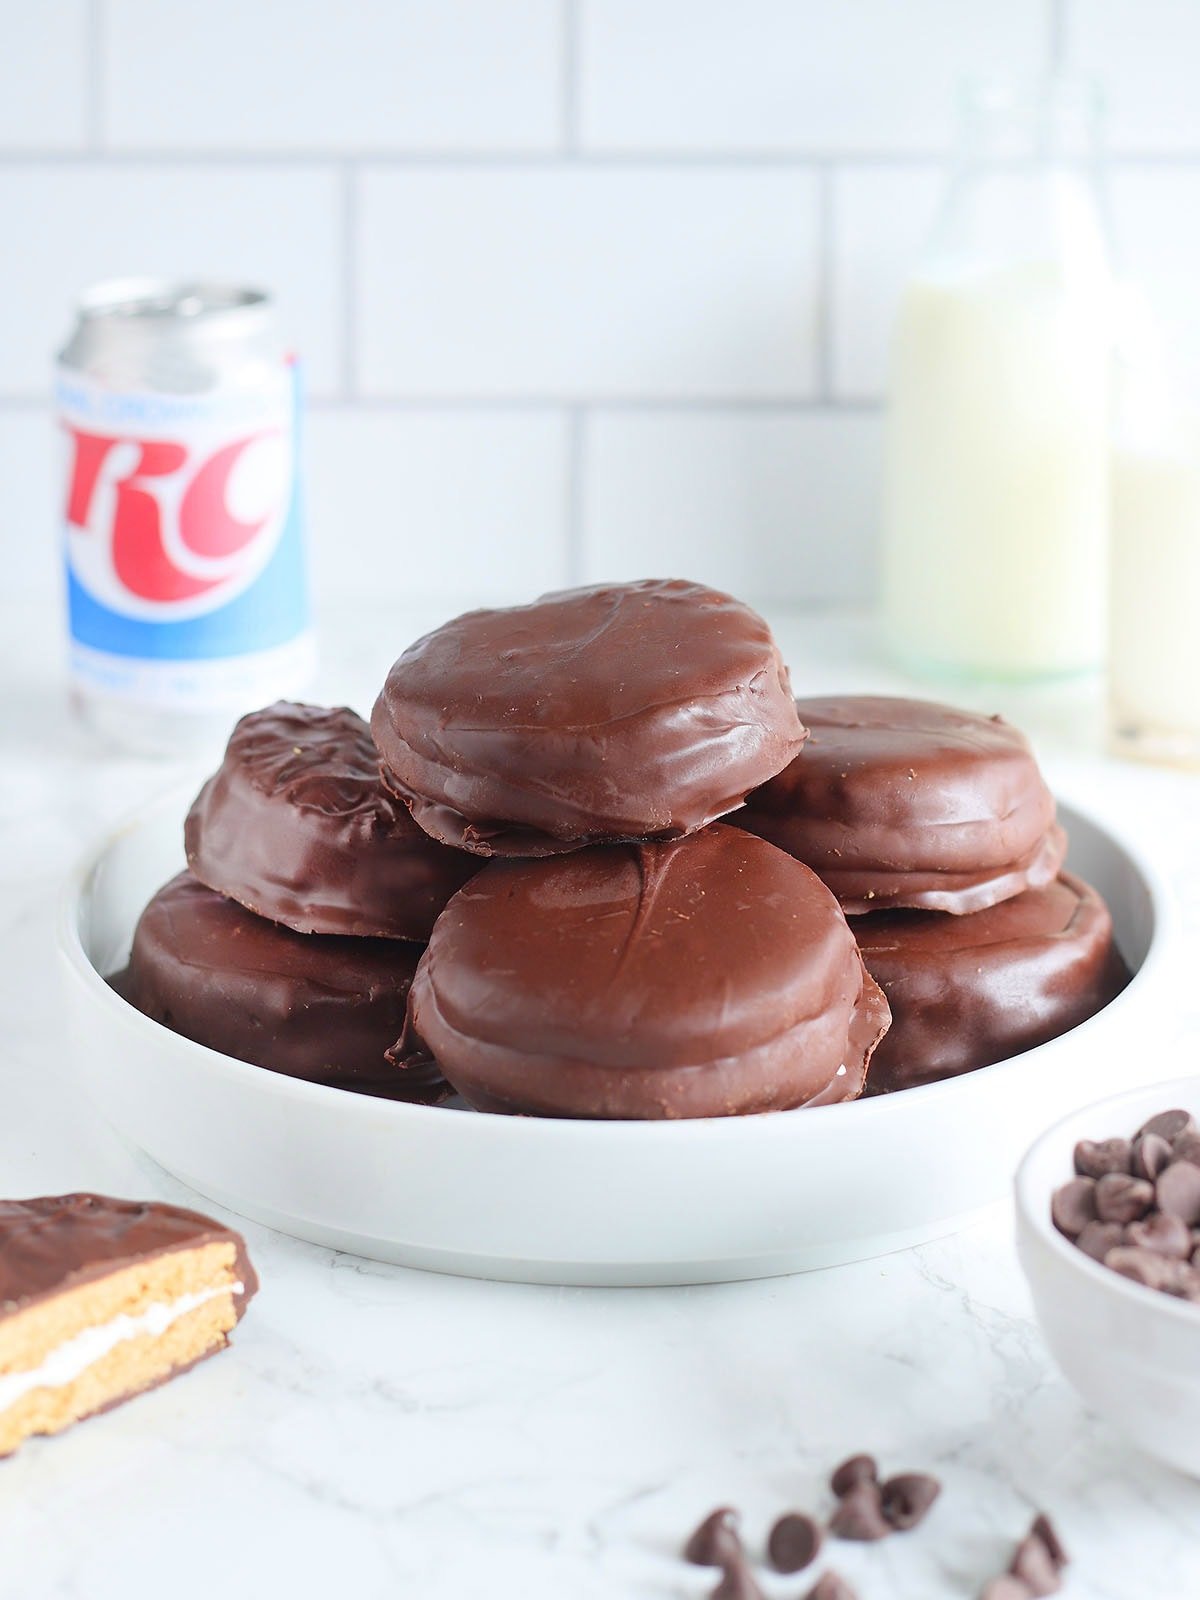
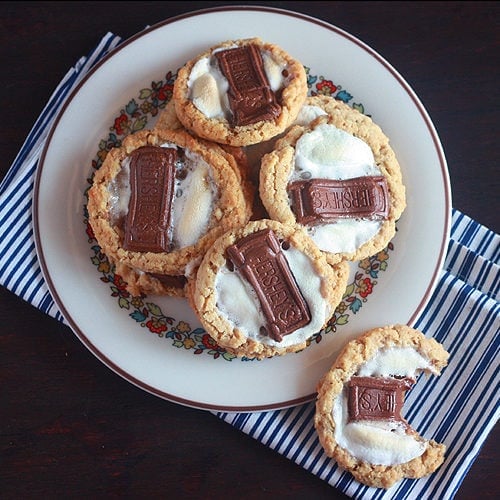
Homemade Moon Pies
Learn how to make homemade Moon Pies with tender graham cracker cookies, marshmallow filling, and a smooth chocolate coating—just like the classic Southern favorite.
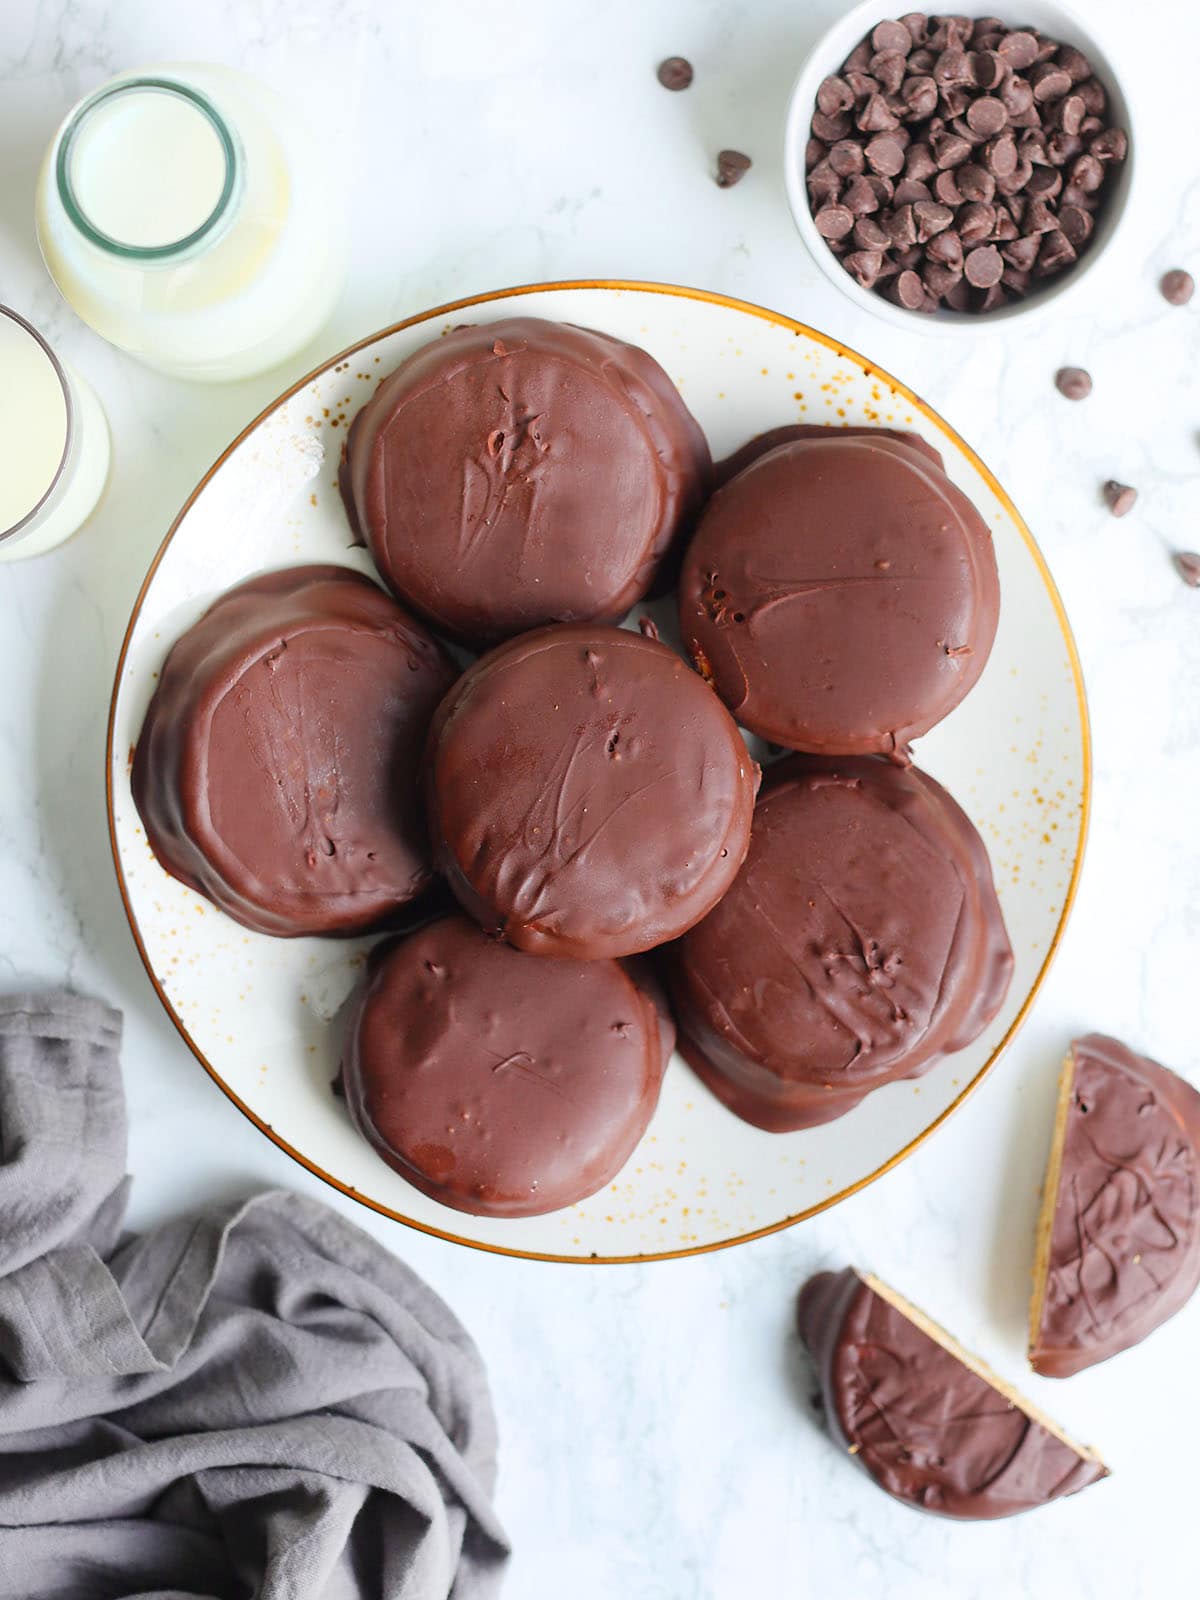
You’ve heard of Moon Pies, right? They’re not just a Southern thing—though we do claim them proudly. The Moon Pie was created in 1917 in Chattanooga, Tennessee, by the Chattanooga Bakery. Legend has it that a traveling salesman asked coal miners what kind of snack they wanted, and their answer was simple: something cheap, filling, and round “as big as the moon.”
They rose in popularity during the Great Depression because they were inexpensive, filling, and easy to enjoy on the go. Tradition says they’re best eaten with a cold RC Cola in hand, and in many Southern towns, Moon Pies are a Mardi Gras tradition, where they’re thrown from parade floats along with beads.
Looking for more Mardi Gras treats? You will love homemade beignets and crescent roll king cake.
“I have made these three times now and they are great. “
– Deborah
Recipe at a glance
- Classic flavor, homemade upgrade – Real butter, graham crumbs, and cane syrup give these cookies a deep, nostalgic flavor.
- Soft, tender cookies – Baking at a lower temperature keeps the cookies from drying out.
- Generous marshmallow filling – These are true Moon Pies, not stingy on the center.
- Perfect for make-ahead – The freezing steps make dipping easy and stress-free.
Summarize and save this content on
Jump to:
Ingredients you will need
This homemade moon pie recipe walks you through each step so you end up with bakery-quality moon pies that look impressive but are completely doable at home. To make homemade moon pies, you will need:
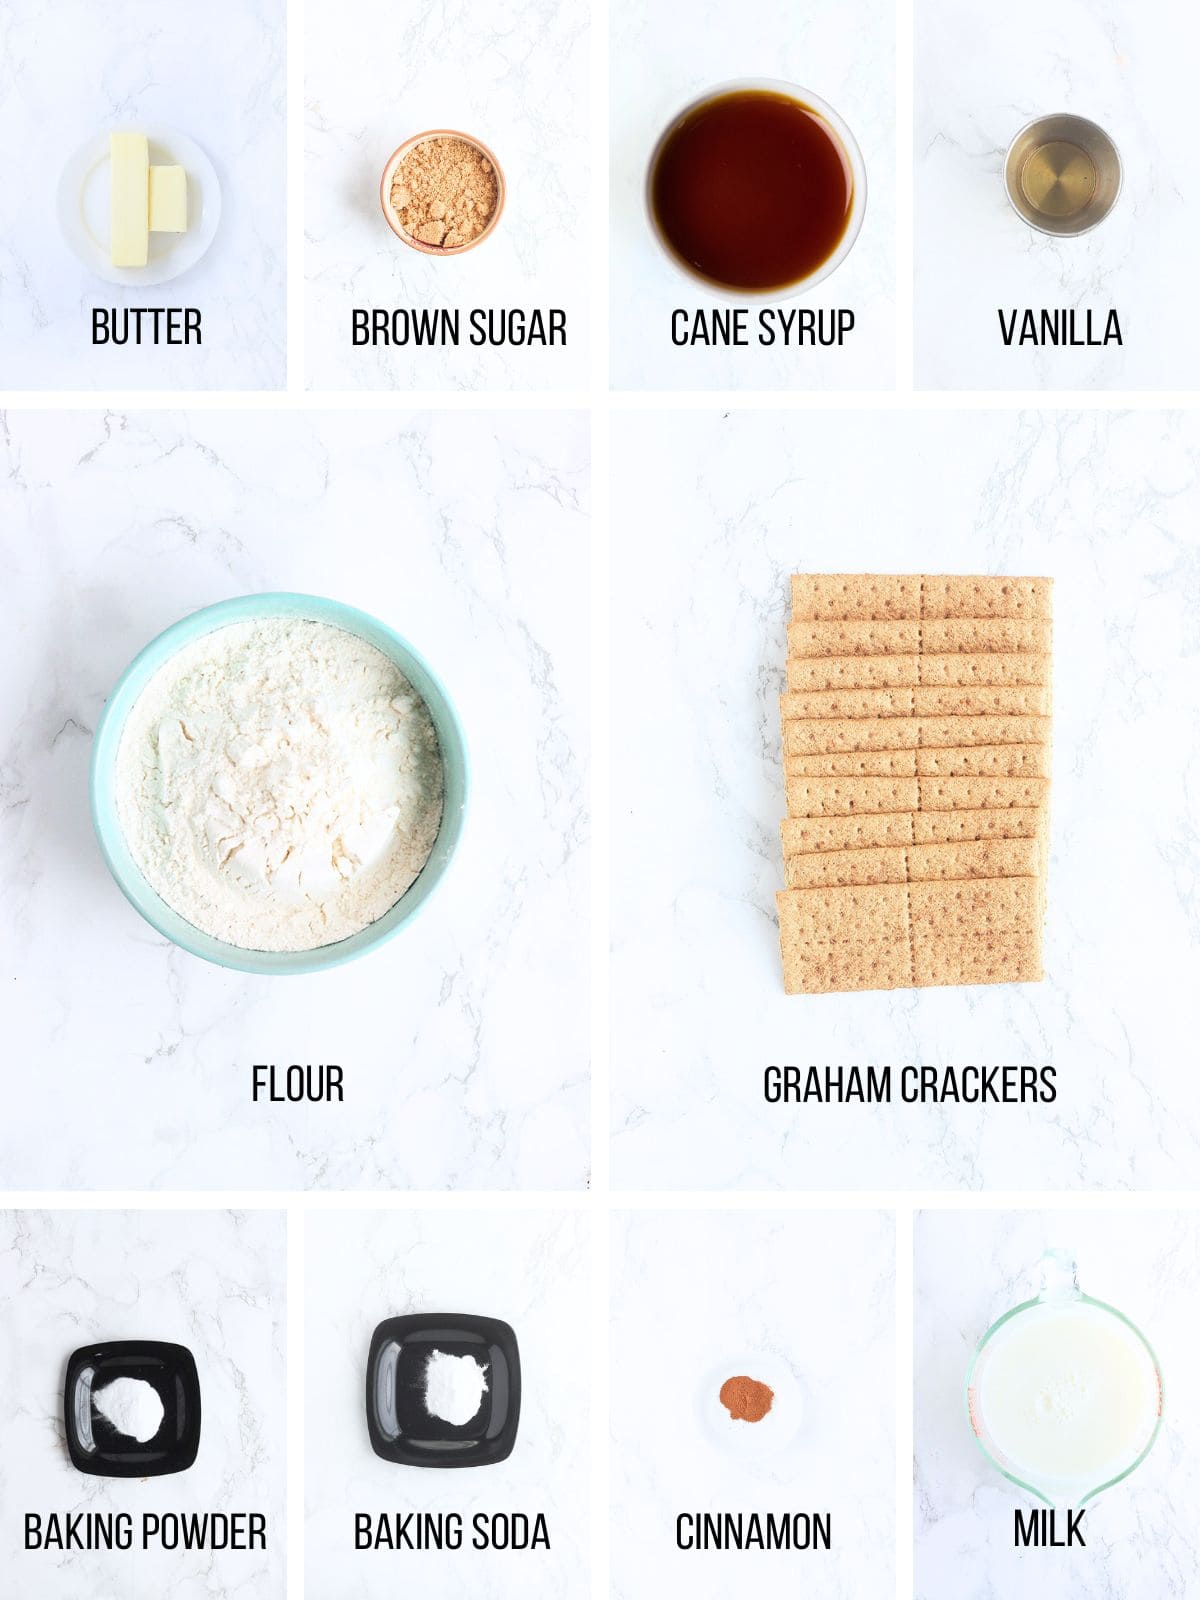
See the recipe card for full information on ingredients and quantities.
- Graham Cracker Crumbs – These give the cookies their signature flavor and texture. Grinding them very fine helps the dough hold together and keeps the cookies tender.
- Cane Syrup – Adds sweetness with a subtle molasses note that pairs beautifully with the graham crumbs and cinnamon.
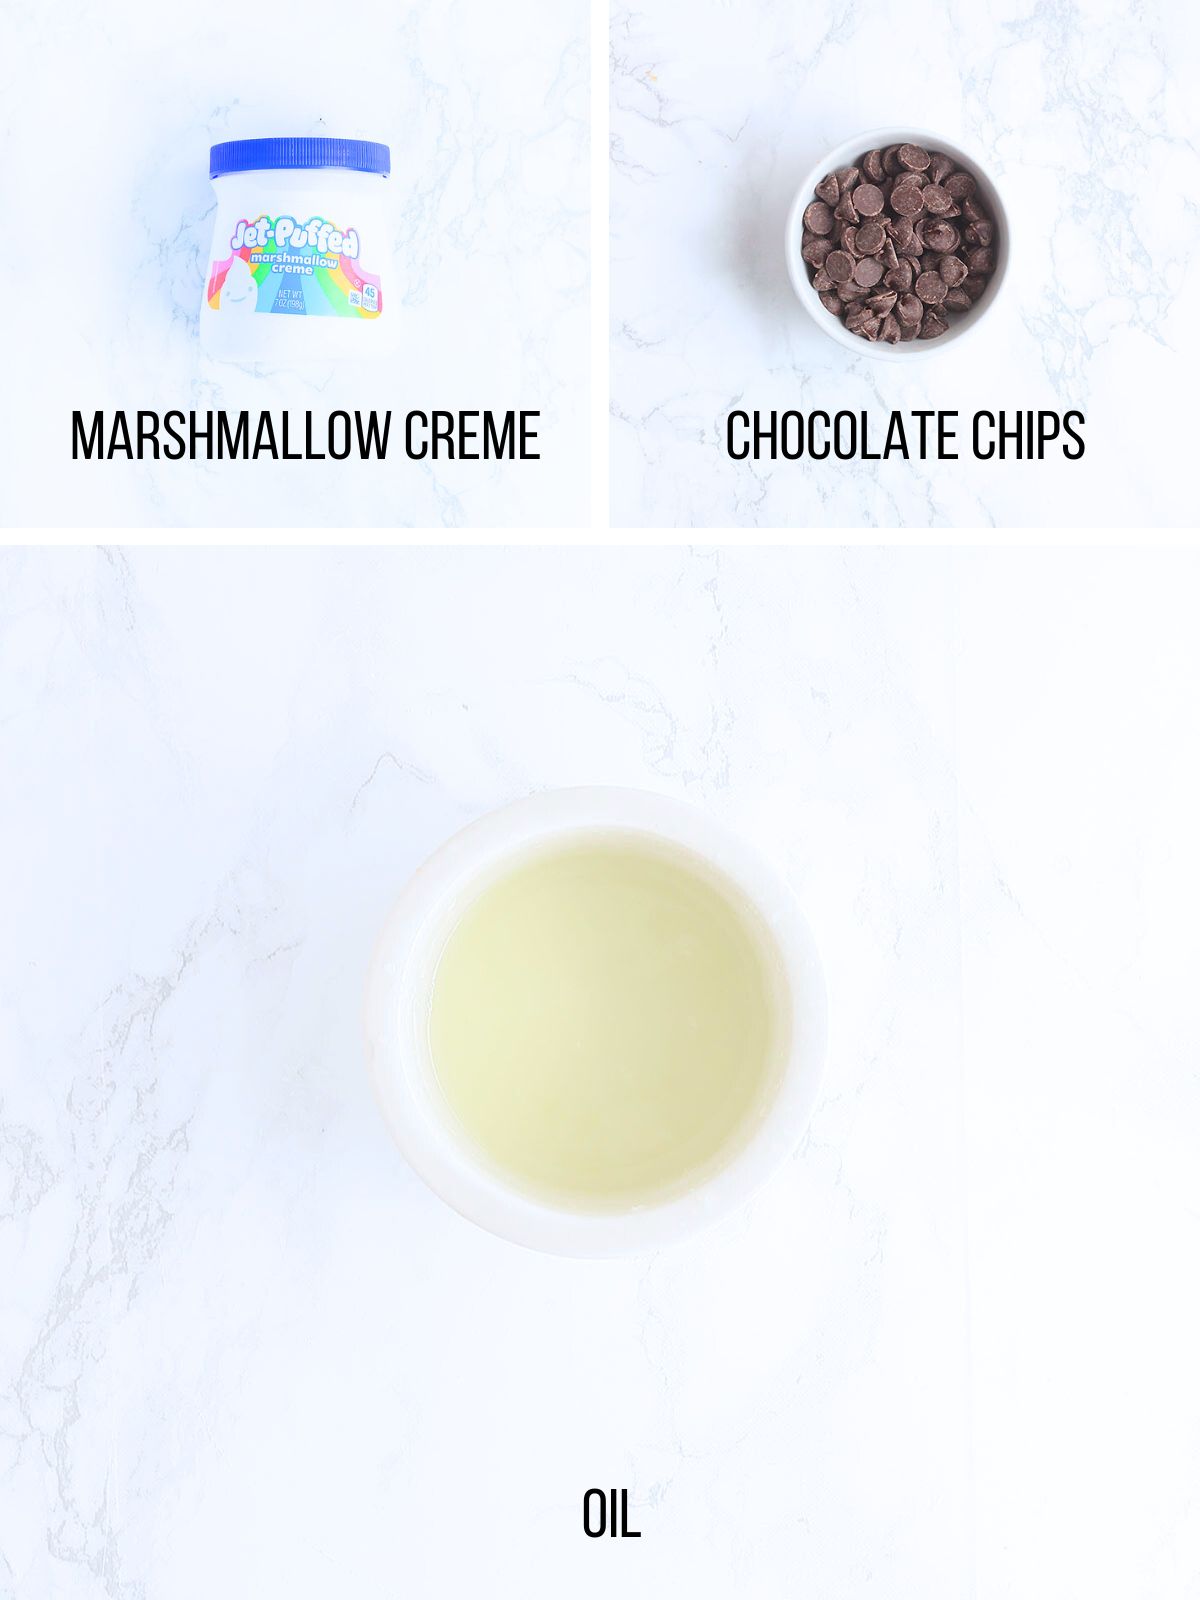
- Marshmallow Crème – Using marshmallow creme instead of homemade marshmallow keeps this recipe approachable while still delivering that fluffy center.
- Chocolate + Oil – Adding oil to the melted chocolate creates a smooth, glossy coating that sets nicely without becoming brittle.
Substitutions and variations
- Chocolate coating: Semi-sweet chocolate is classic, but milk chocolate or dark chocolate work just as well. For a richer flavor, use bittersweet chocolate.
- Marshmallow filling: Marshmallow crème is the easiest option, but homemade marshmallow or even marshmallow fluff can be used in a pinch.
- Graham cracker crumbs: If you don’t have graham crackers, digestive biscuits or vanilla wafers can be ground and used instead, though the flavor will change slightly.
- Cane syrup substitute: Light corn syrup or honey can be substituted for cane syrup. Cane syrup gives the most traditional flavor, but the recipe will still work with either.
- Spice variation: Add a pinch of nutmeg or extra cinnamon to the dough for a warmer, spiced cookie.
- Flavor twist: Stir a small amount of espresso powder into the melted chocolate for a subtle mocha flavor, or add a splash of peppermint extract for a holiday version.
- Mini Moon Pies: Use a smaller cookie cutter and reduce the marshmallow filling for bite-sized versions—perfect for parties or gifting.
How to make homemade moon pies
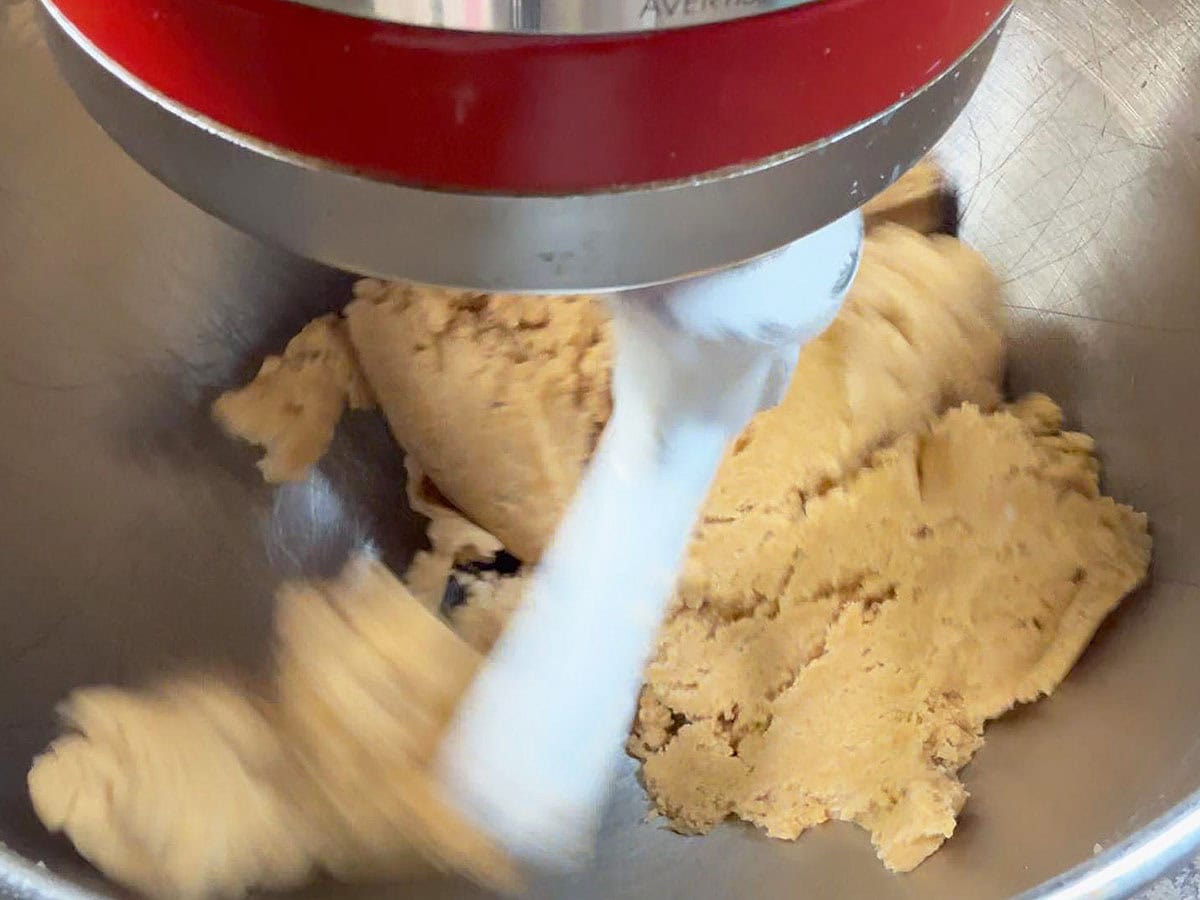
Step 1: Cream the unsalted butter, brown sugar, cane syrup, and vanilla in a large bowl until light and fluffy. In a separate bowl, whisk together the all purpose flour, graham cracker crumbs, salt, baking powder, baking soda, and cinnamon. With the mixer on low speed, gradually add the dry ingredients to the wet ingredients, then slowly mix in the milk until a soft dough forms and pulls away from the sides of the bowl.
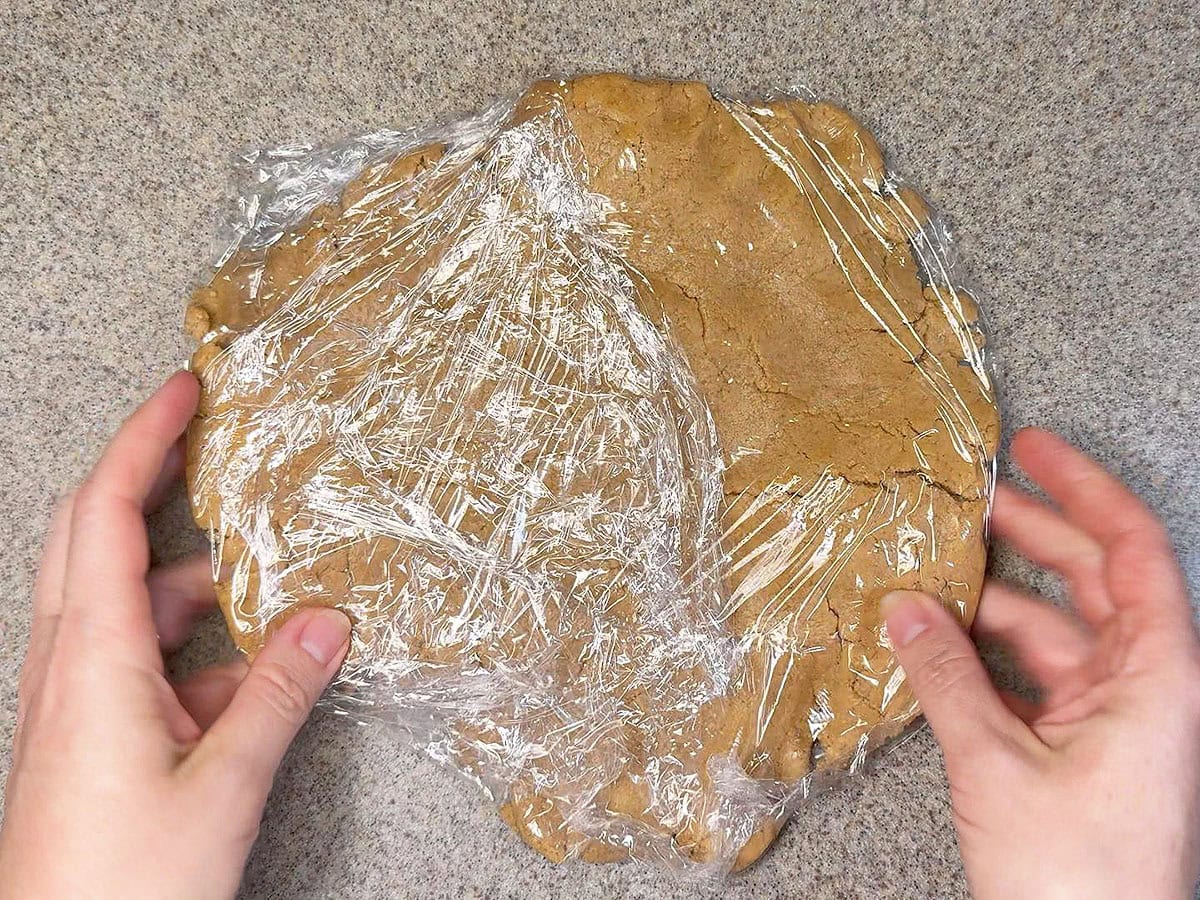
Step 2: Turn the dough out onto plastic wrap, flatten slightly, wrap tightly, and refrigerate for up to 1 hour. Preheat the oven to 325°F and line a baking sheet with parchment paper.
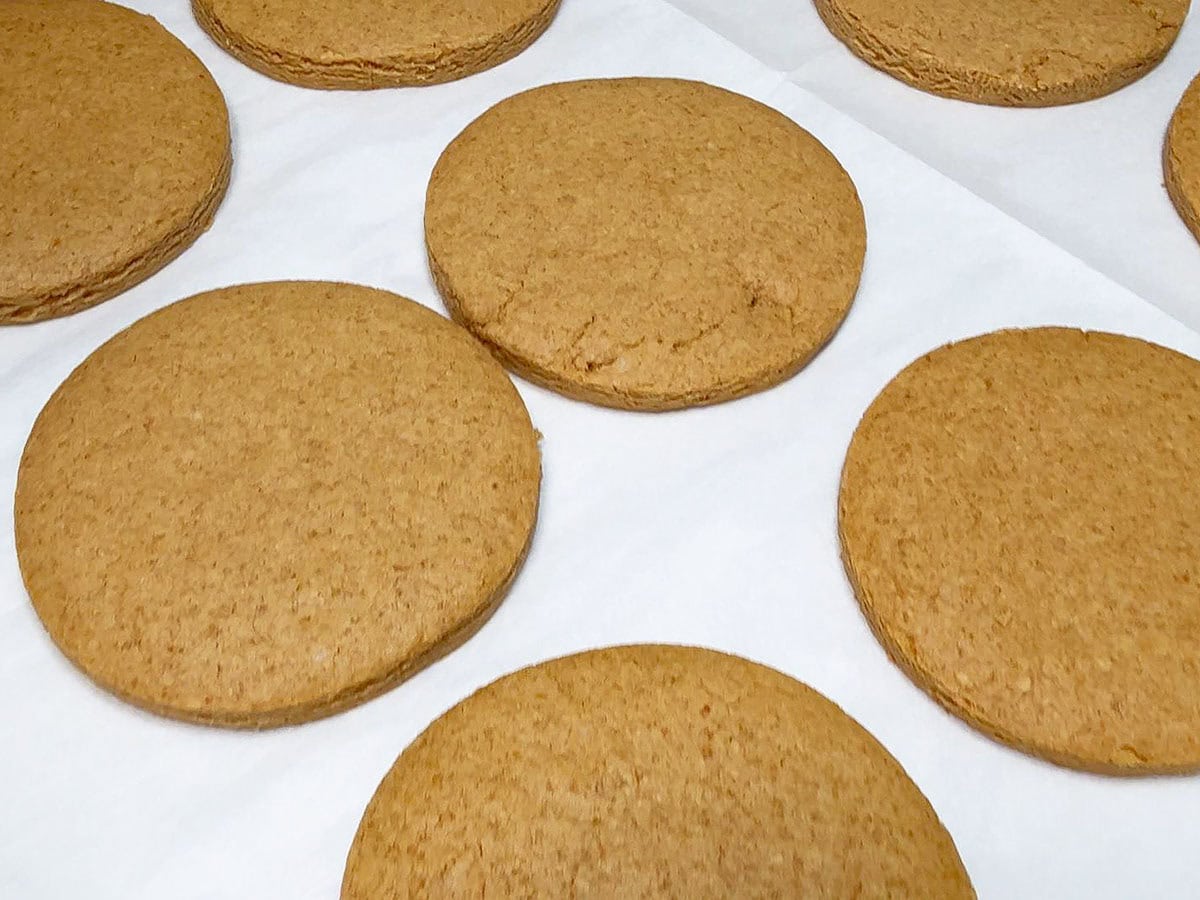
Step 3: Roll the chilled dough on a lightly floured surface to ¼-inch thickness. Cut out cookies using a 3-inch round cutter and place them on the prepared baking sheet. Bake for 10–12 minutes, until set but still soft. Cool briefly, then transfer to a wire rack to cool completely.
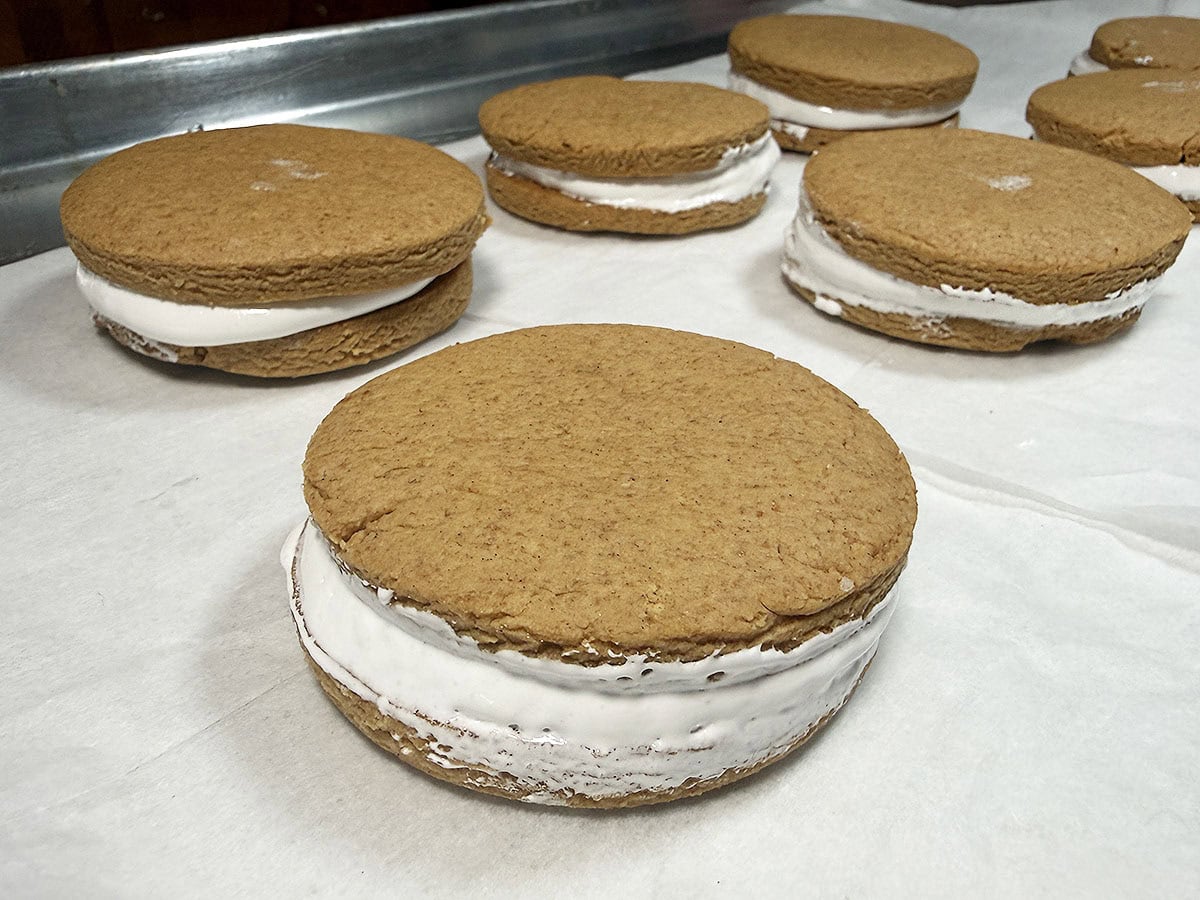
Step 4: Spoon about two tablespoons or up to ¼ cup of marshmallow crème onto the center of half the cookies. Top with the remaining cookies and gently press until the marshmallow spreads to the edges. Place the sandwich cookies on a baking sheet and freeze for at least 30 minutes.
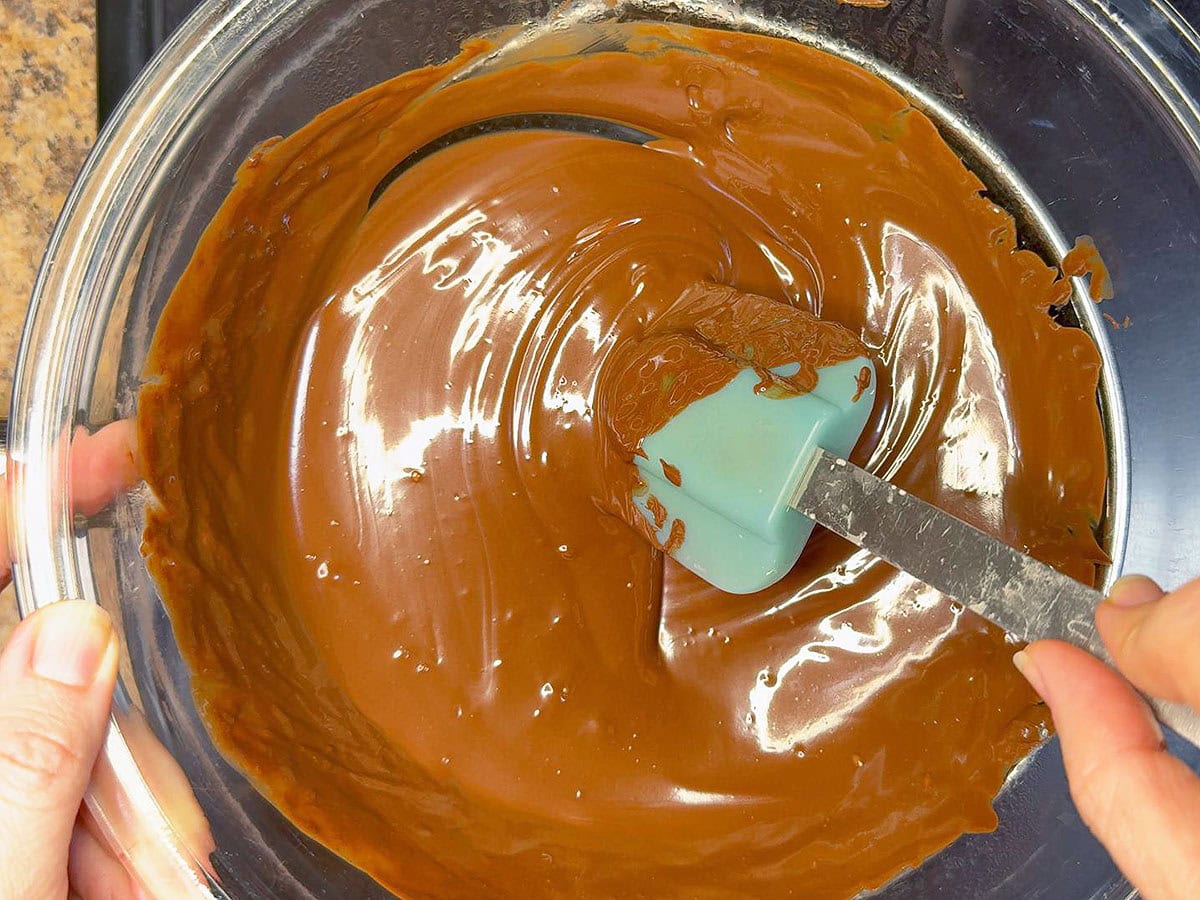
Step 5: Melt the chocolate chips in a double boiler or heatproof bowl set over simmering water. Remove from heat, let cool slightly until warm but not hot, then whisk in the oil until smooth.
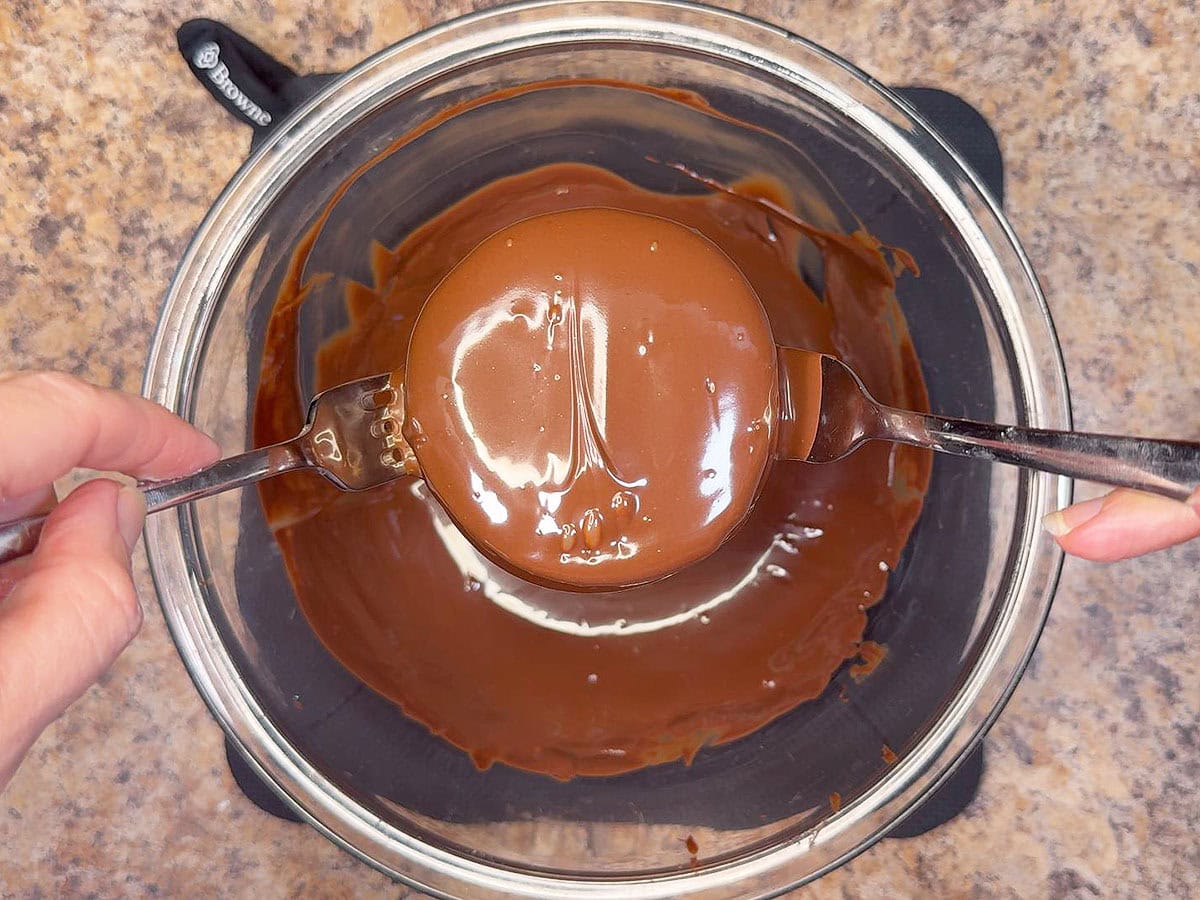
Step 6: Using two forks, dip each frozen sandwich cookie into the chocolate, coating completely. Transfer to a parchment-lined baking sheet and return to the freezer until the chocolate is fully set.
Tips for Success
- Don’t overbake the cookies. They should still feel soft when removed from the oven.
- If the dough feels too firm after chilling, let it sit at room temperature for a few minutes before rolling.
- Work with one sandwich cookie at a time when dipping to keep everything neat.
How to prevent the top cookie from slipping
- Freeze before dipping. – After assembling the sandwich cookies, freeze them for at least 30 minutes. Firm marshmallow is the biggest key to keeping the cookies from sliding.
- Use a light touch when pressing. – Gently press just until the marshmallow reaches the edges. Pressing too hard creates excess filling that acts like a lubricant.
- Center the marshmallow carefully. – Spoon the marshmallow crème directly in the middle of the bottom cookie so it spreads evenly when topped.
- Dip quickly and confidently – Don’t let the sandwich sit in the warm chocolate too long. A quick dip prevents the marshmallow from softening.
- Let the chocolate set undisturbed. – Once dipped, place the cookies on the baking sheet and avoid moving them until the coating has fully hardened.
Serving suggestions
- Serve Moon Pies slightly chilled or at room temperature for the best texture.
- Pair with a cold RC Cola, root beer, or classic cola for a nostalgic treat.
- Add them to a dessert platter with Hello Dolly magic cookies bars, loaded pretzel cookies, or saltine toffee for parties and potlucks.
- Wrap individually in parchment or cellophane for bake sales, gifting, or lunchbox treats.
- Serve as a fun dessert after backyard cookouts, picnics, solar eclipse party or Mardi Gras–themed gatherings.
- For an extra-indulgent option, warm slightly and serve with a scoop of vanilla ice cream.
Storage and freezing instructions
Storage. Store finished Moon Pies in an airtight container in the refrigerator for up to 5 days.
Freezing. Moon pies can be frozen for up to 1 month—just let them sit at room temperature for 10–15 minutes before serving.
Homemade moon pies FAQ’s
A Moon Pie is made with graham-style cookies, a marshmallow filling, and a chocolate coating, giving it a slightly crunchy cookie and sweet, fluffy center.
A Whoopie Pie uses soft, cake-like cookies (often chocolate or spice) with a creamy filling—usually frosting or marshmallow—but it’s not coated in chocolate. Essentially, Moon Pies are crunchy and coated, while Whoopie Pies are soft, cake-like, and uncoated.
Freezing the assembled cookies keeps the marshmallow filling firm so it doesn’t melt or slide out when dipped into the warm chocolate.
That’s intentional. The cookies will firm up slightly as they cool but should remain soft to mimic the classic Moon Pie texture.
Tried This Recipe? Let Me Know!
⭐️⭐️⭐️⭐️⭐️
If you made homemade moon pies, I’d love to hear how it turned out! Your ratings and reviews help others find the recipe and give me great feedback too.
Homemade Moon Pies
Ingredients
For the cookie dough:
- 6 ounces unsalted butter, softened
- ¼ cup light brown sugar, firmly packed
- ¼ cup cane syrup
- ¼ teaspoon vanilla extract
- 1½ cups all-purpose flour
- 1¼ cups (about 1 sleeve) graham cracker crumbs, ground fine
- ¾ teaspoon kosher salt
- ½ teaspoon baking powder
- ½ teaspoon baking soda
- ¼ teaspoon ground cinnamon
- 3 tablespoons whole milk
For the marshmallow center:
- 1 container (7-ounces) marshmallow crème
For the chocolate coating:
- 1 bag (12-ounces) semi-sweet chocolate
- 2 tablespoons vegetable oil or canola oil
Instructions
- In a medium mixing bowl, cream together the butter, brown sugar, cane syrup, and vanilla until light and fluffy, about 1 minute.
- In a separate bowl, whisk together the flour, graham cracker crumbs, salt, baking powder, baking soda, and cinnamon.
- With the mixer on low speed, gradually add the dry ingredients to the wet ingredients until incorporated. Slowly stream in the milk and continue mixing until the dough comes together and pulls away from the sides of the bowl.
- Turn the dough out onto a large sheet of plastic wrap and flatten slightly with the palm of your hand. Wrap tightly and refrigerate for up to 1 hour.
- Preheat the oven to 325°F.
- Turn the chilled dough out onto a lightly floured work surface. Allow it to sit at room temperature for 5–10 minutes if needed to soften slightly. Roll the dough to ¼-inch thickness. Cut out cookies using a 3-inch round cutter and place them on a prepared baking sheet. You should end up with 12 cookies.
- Bake for 10–12 minutes. The cookies will still be soft when removed from the oven. Cool for 10–15 minutes, then transfer carefully to a wire rack to cool completely.
- Once cooled, spoon approximately 2 tablespoons to ¼ cup of marshmallow crème onto the center of 6 cookies. Top each with a second cookie and gently press until the marshmallow spreads to the edges. Place the sandwich cookies on a baking sheet and freeze for at least 30 minutes.
- Meanwhile, melt the chocolate in a double boiler or a heatproof bowl set over simmering water. Remove from heat and allow the chocolate to cool until warm but not hot. Whisk in the oil until smooth.
- Using two forks, gently lower one sandwich cookie into the chocolate. Turn to coat completely, then transfer to a parchment-lined baking sheet. Return the cookies to the freezer until the chocolate coating is fully set.
Video
Notes
- The dough will be soft after mixing; chilling is important to make rolling and cutting easier.
- Don’t overbake the cookies—they should still feel soft when removed from the oven and will firm up slightly as they cool.
- Freezing the assembled sandwich cookies before dipping is key to keeping the marshmallow filling from shifting or melting.
- Let the melted chocolate cool slightly before dipping so it coats smoothly without melting the filling.
- Work with one cookie at a time when dipping for the cleanest finish.
- Store finished Moon Pies in the refrigerator or freezer for best texture and shape.


I’m so glad you enjoyed the recipe! Thank you for coming back and leaving a comment and review.
Delicious! The flavors are amazing. I followed the recipe but made a few adjustments. I needed to add any additional 2 tablespoons of milk for the dough. I didn’t add any oil to the chocolate. For the filling, I melted marshmallows in some butter. It was a fun baking project and the result tastes like a gourmet version of a moonpie that you buy in stores.
Yes, agave syrup can be used in place of cane syrup. I would not eliminate it entirely. You cookie will have a different texture.
QUESTION: As I do not have Cane Syrup, might Agave be a substitute, or have a decreased amount, or even eliminated, as it is only 1/4C? Is it essential to recipe in making the cookies? Thank you for ideas and or advice!
No, once the chocolate cools completely it should not stick to the paper. It should just peel off the bottom.
Question, doesn’t the chocolate stick to the parchment paper when cooling thus leaving a bare spot?
Chocolate tends to do that.
I’ve only ever had the packaged type before so these were a big improvement. I do not recommend adding oil to the chocolate. The additional fat will prevent it from hardening — it ended up very messy. I ultimately put them in the fridge to harden but they melt quickly again at room temp.
Hi, Kelly! They will be fine at room temperature for 2-3 days. Make sure you keep them in a cool place where there isn’t a lot of humidity. Any longer than three days and you will want to store them in the refrigerator.
Hi! Can these be stored on the counter/airtight container, or do they need be refrigerated?