Homemade Plum Jelly
Learn how to make delicious homemade plum jelly with just a few simple ingredients! Includes easy tips for using honey, sweeteners, or less sugar—plus answers to all your jelly-making questions.
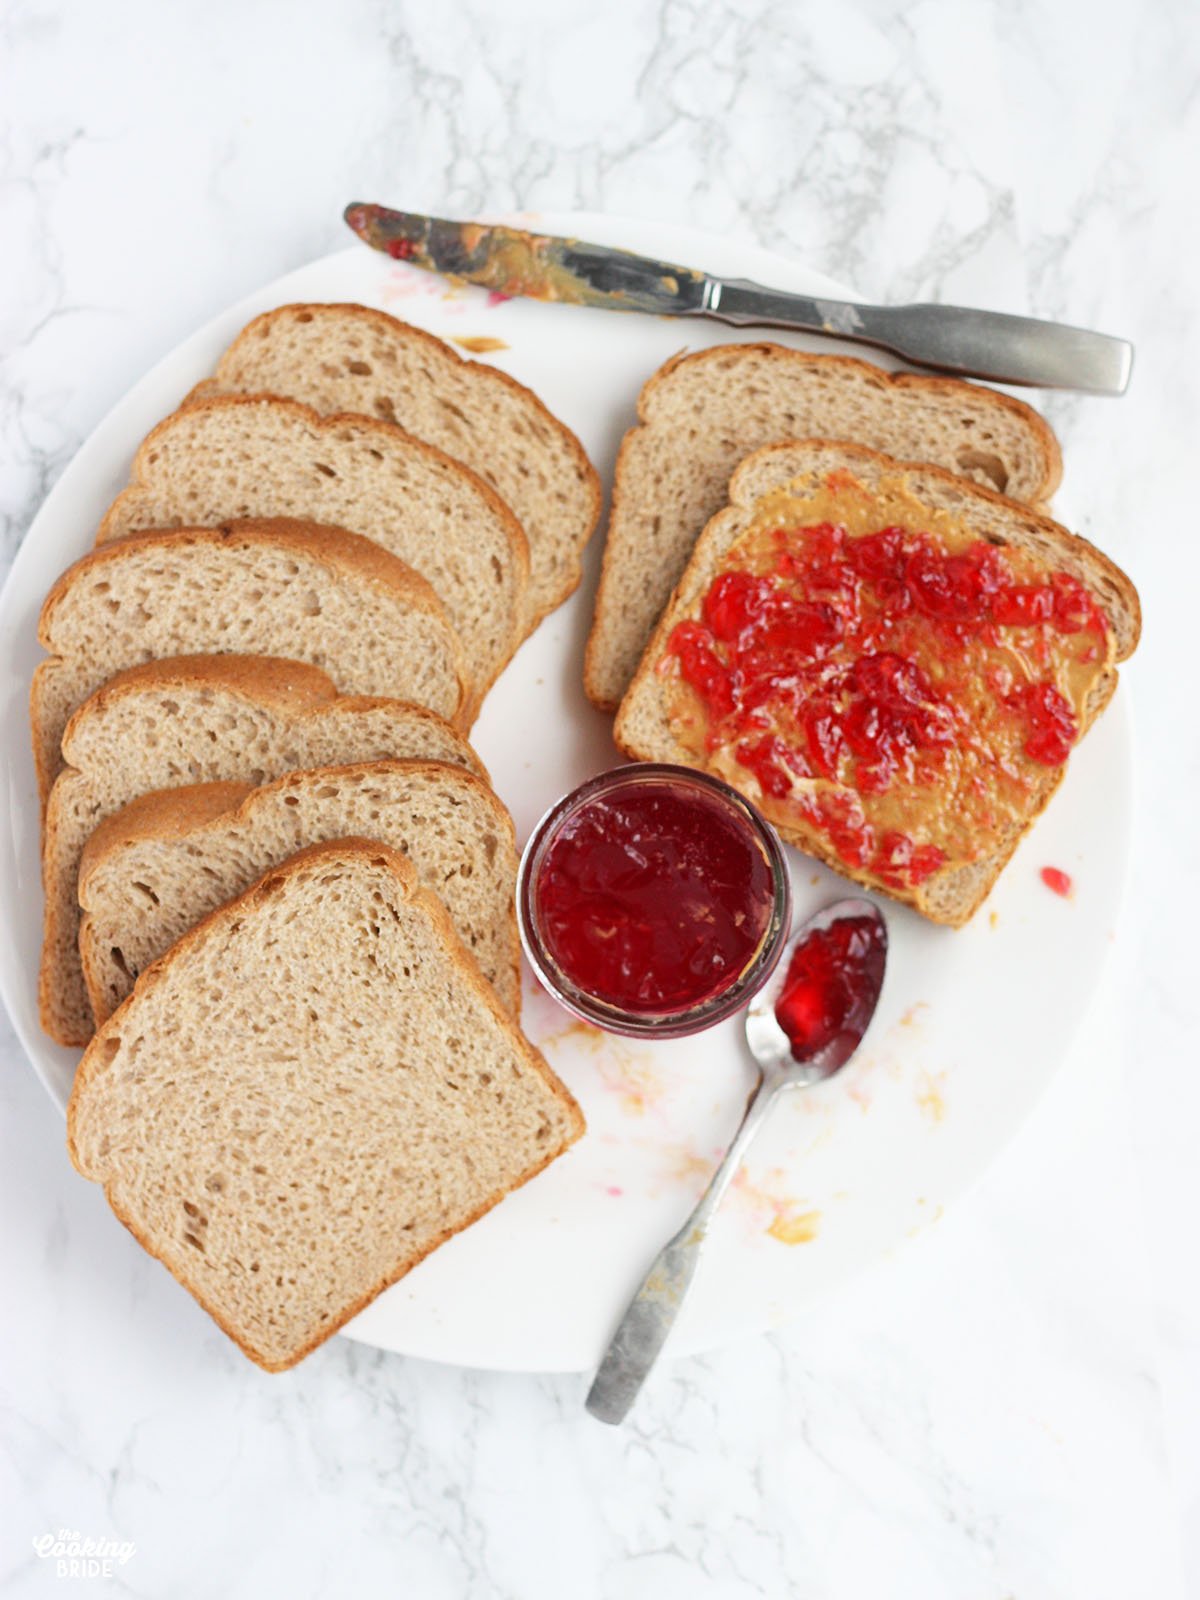
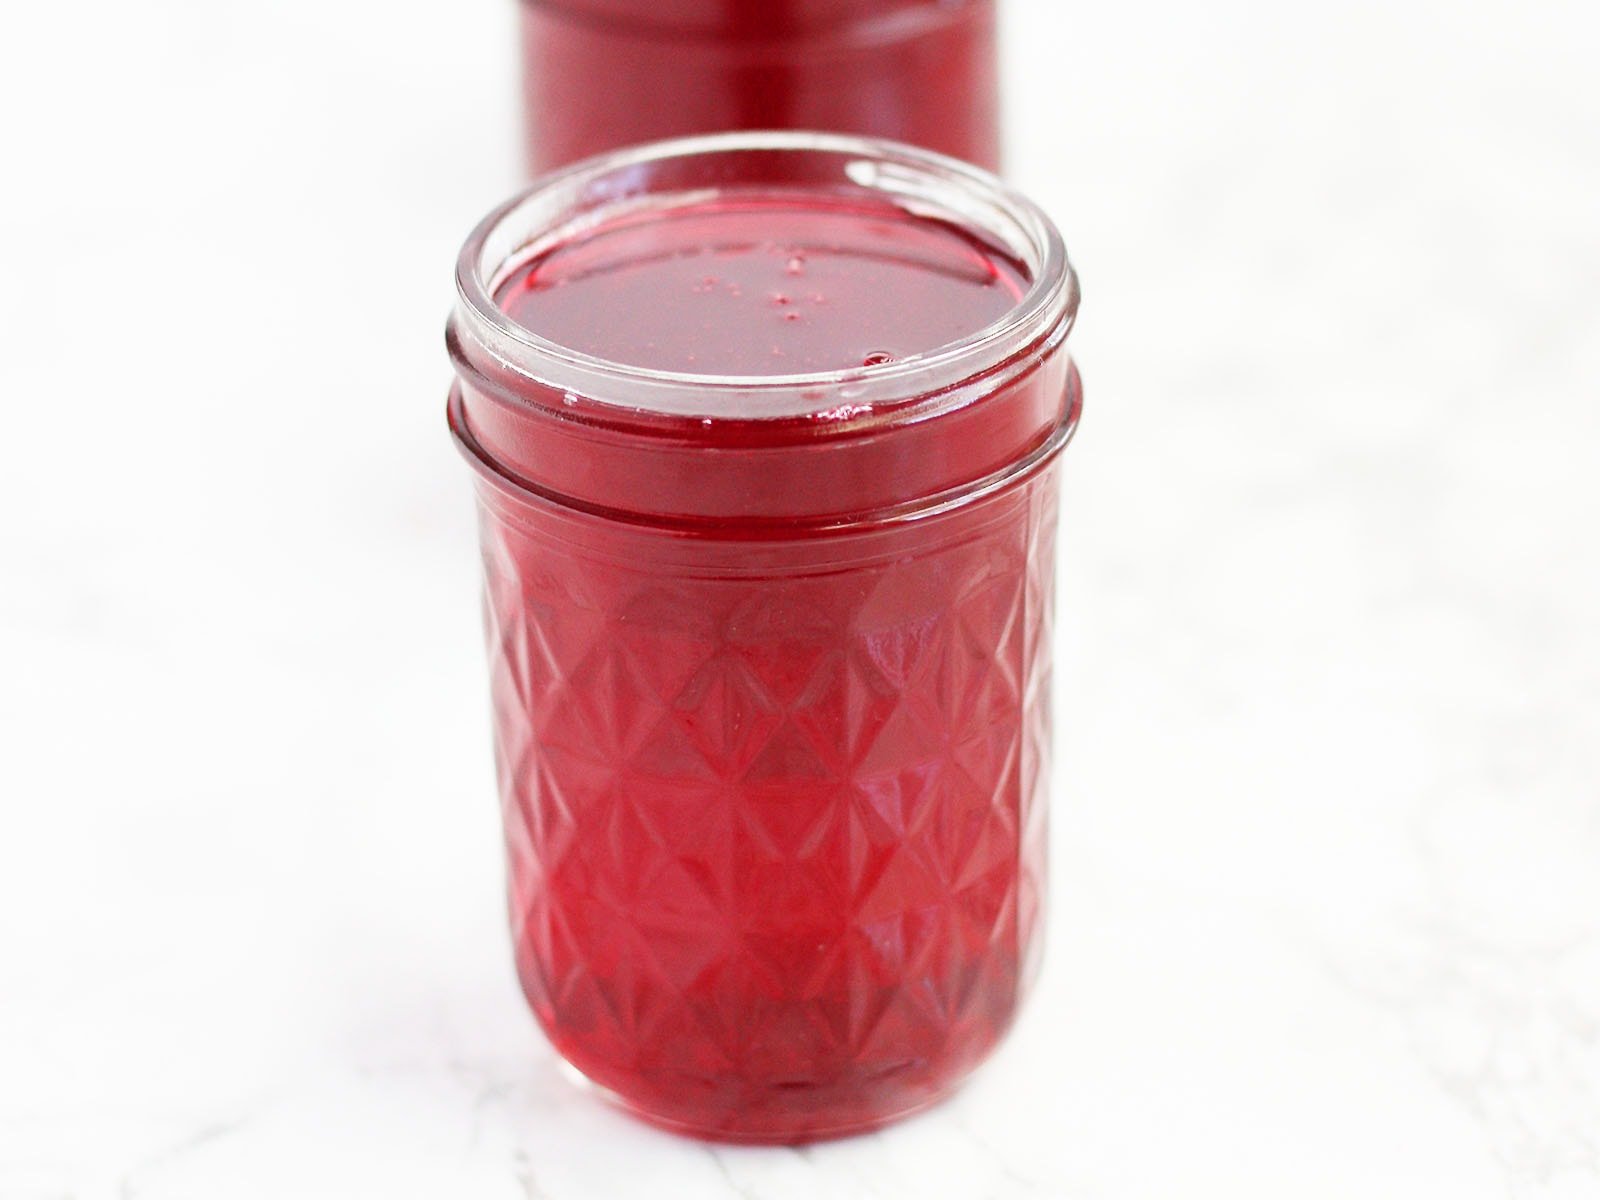
Few things capture summer’s essence like homemade fruit jelly. This simple recipe for easy homemade plum jelly will transform ripe plums into a jewel-toned jelly that’s bursting with tart-sweet flavor that’s perfect for toast, biscuits, or even gifting.
Ingredient and tools you will need
Turn those plump, juicy fruits into a pantry staple that lasts all year. To make my plum jelly recipe, you will need:
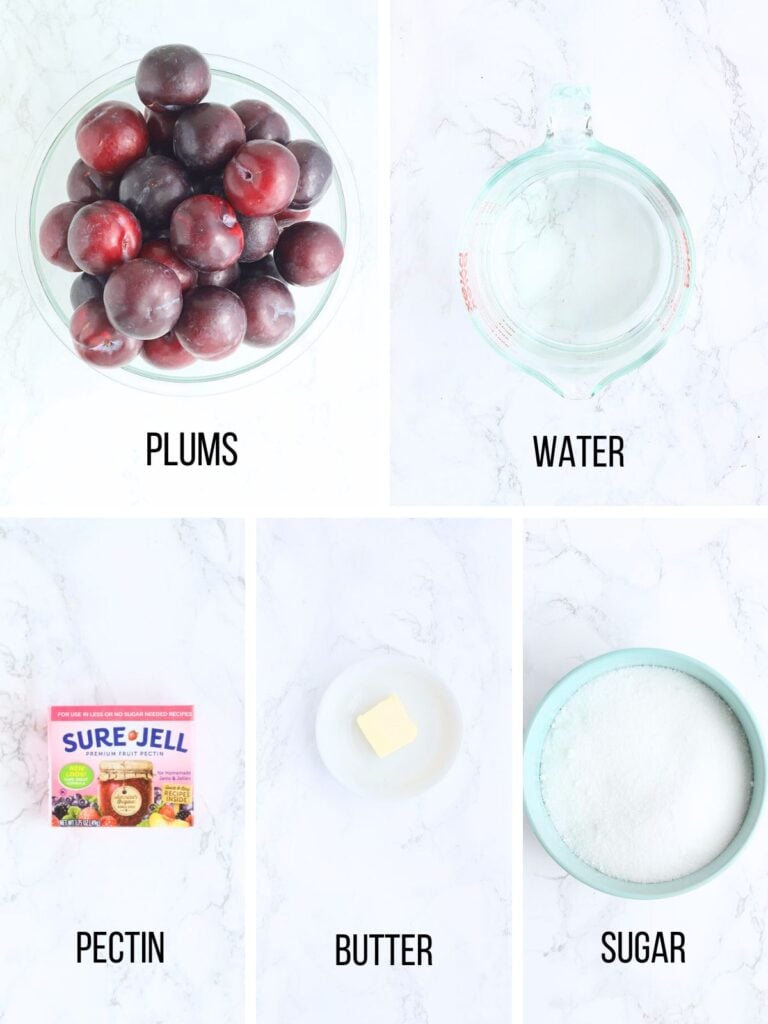
Ingredients:
- 5 pounds fully ripe plums – I used red plums, but any type will work. Choose dark, fragrant, slightly soft fruit for best flavor.
- 1½ cups of water
- 1 (1.75 oz) box fruit pectin – Pectin is a naturally occurring fiber found in fruits. It helps to thicken the jelly to a spreadable consistency.
- 1 tablespoon unsalted butter – helps reduce foaming.
- 6½ cups granulated sugar
Tools:
- Cutting board – For slicing the plums.
- Sharp knife – To halve and pit the fruit.
- Large stock pot – A heavy-bottomed pot is ideal for simmering the plums and later boiling the jelly.
- Wooden spoon or heat-resistant spatula – For stirring the mixture during cooking.
- Measuring cups and spoons – For accurate measuring of sugar, water, and butter.
- Fine mesh strainer or colander lined with cheesecloth – To strain out the juice from the cooked plums while keeping the jelly clear.
- Canning jars with metal lids and bands – Half pints or pint jelly jars work best for jelly.
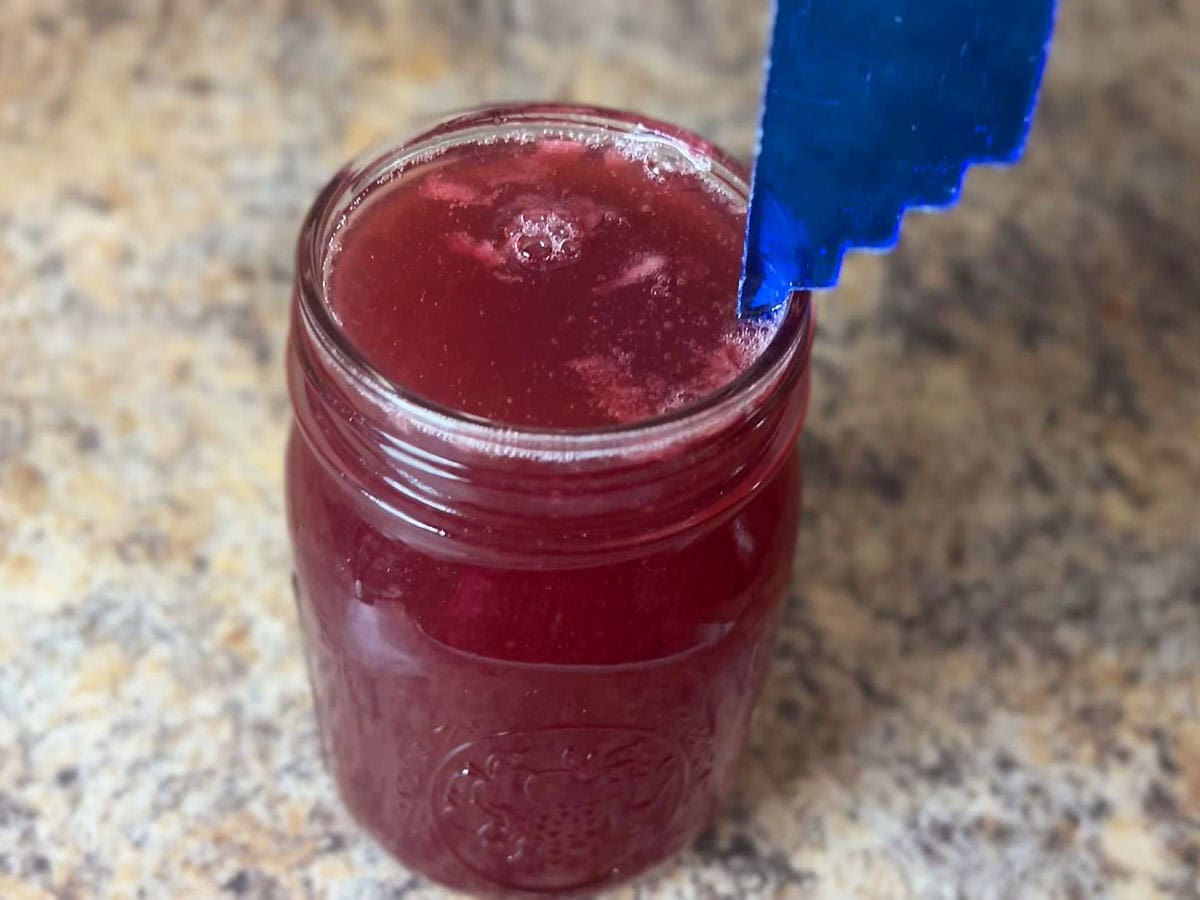
- Ladle, jar funnel, and bubble remover/headspace tool (optional but handy) – Makes it easier to ladle jelly into jars without making a mess and ensures proper headspace and removes trapped air bubbles.
Extract the plum juice
Don’t worry, you won’t be standing over a juicer for hours. We extract the juice by cooking the plums down and then separating the pulp from the liquid.
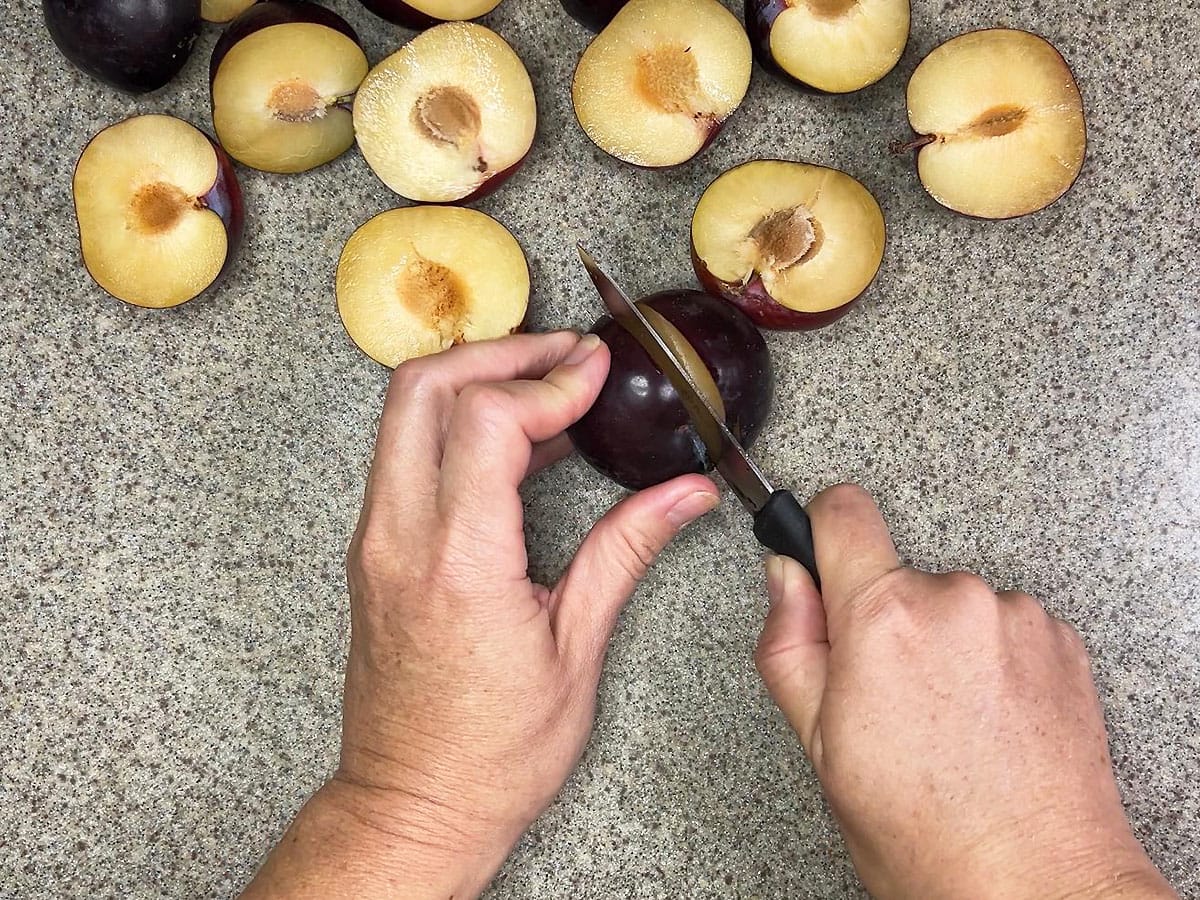
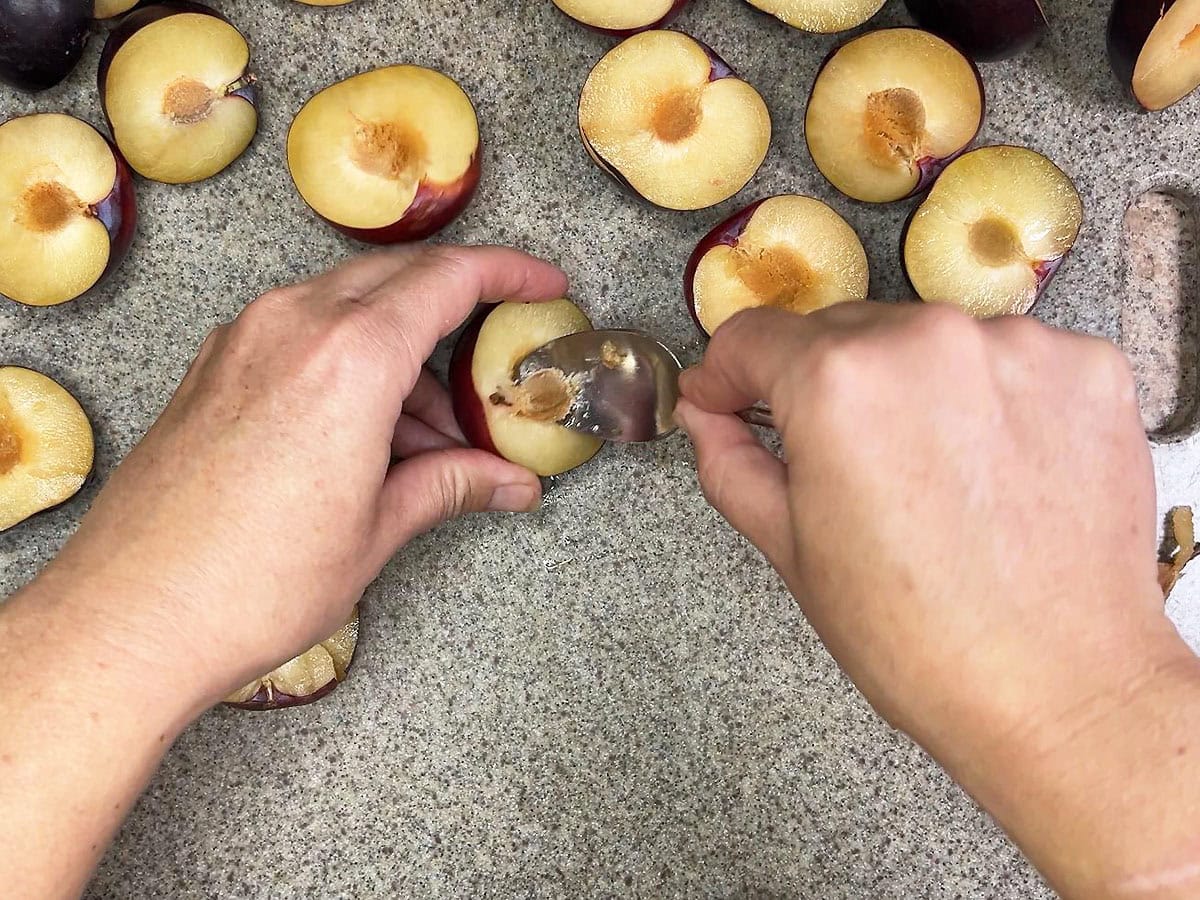
- Prep the plums by slicing them in half and removing the pits. There’s no need to peel them—most of the color and flavor lives in the skins, and it all gets strained out later.
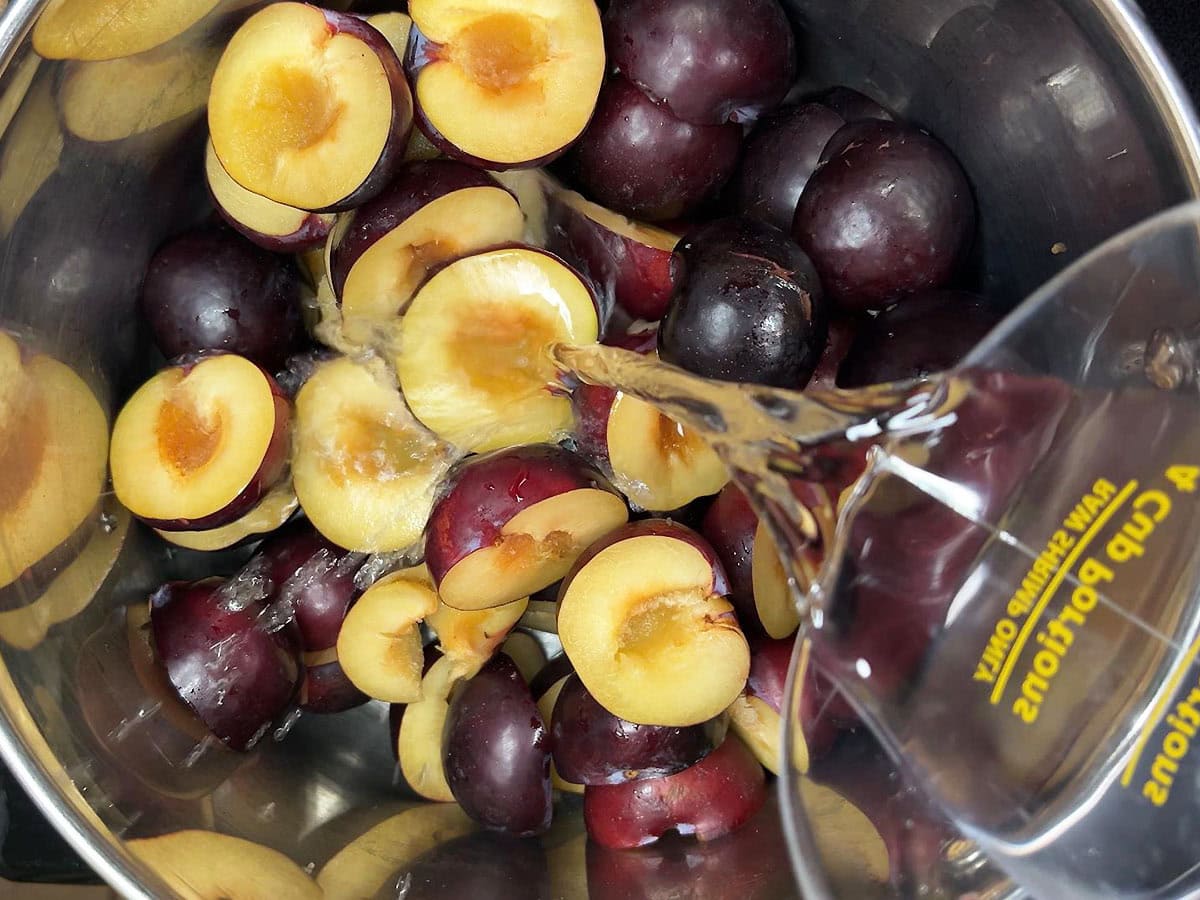
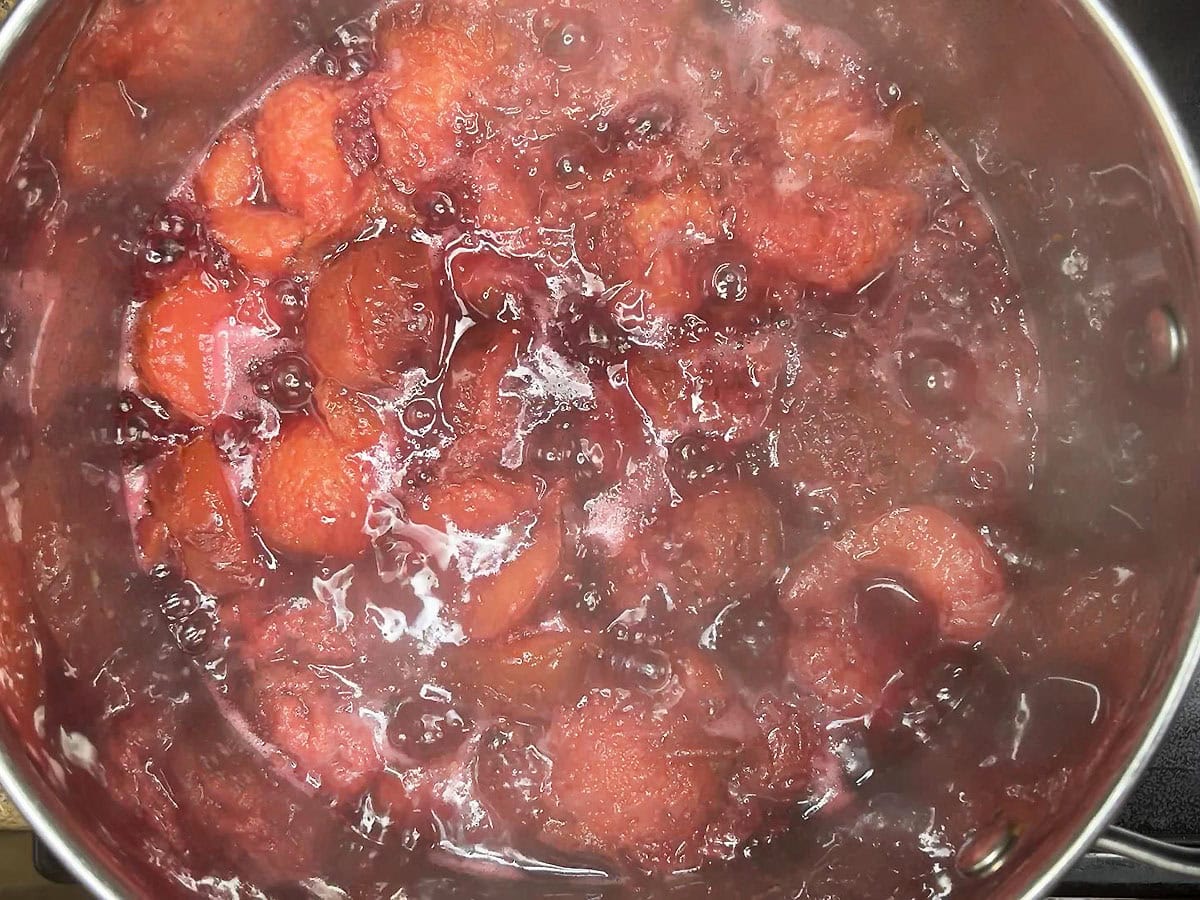
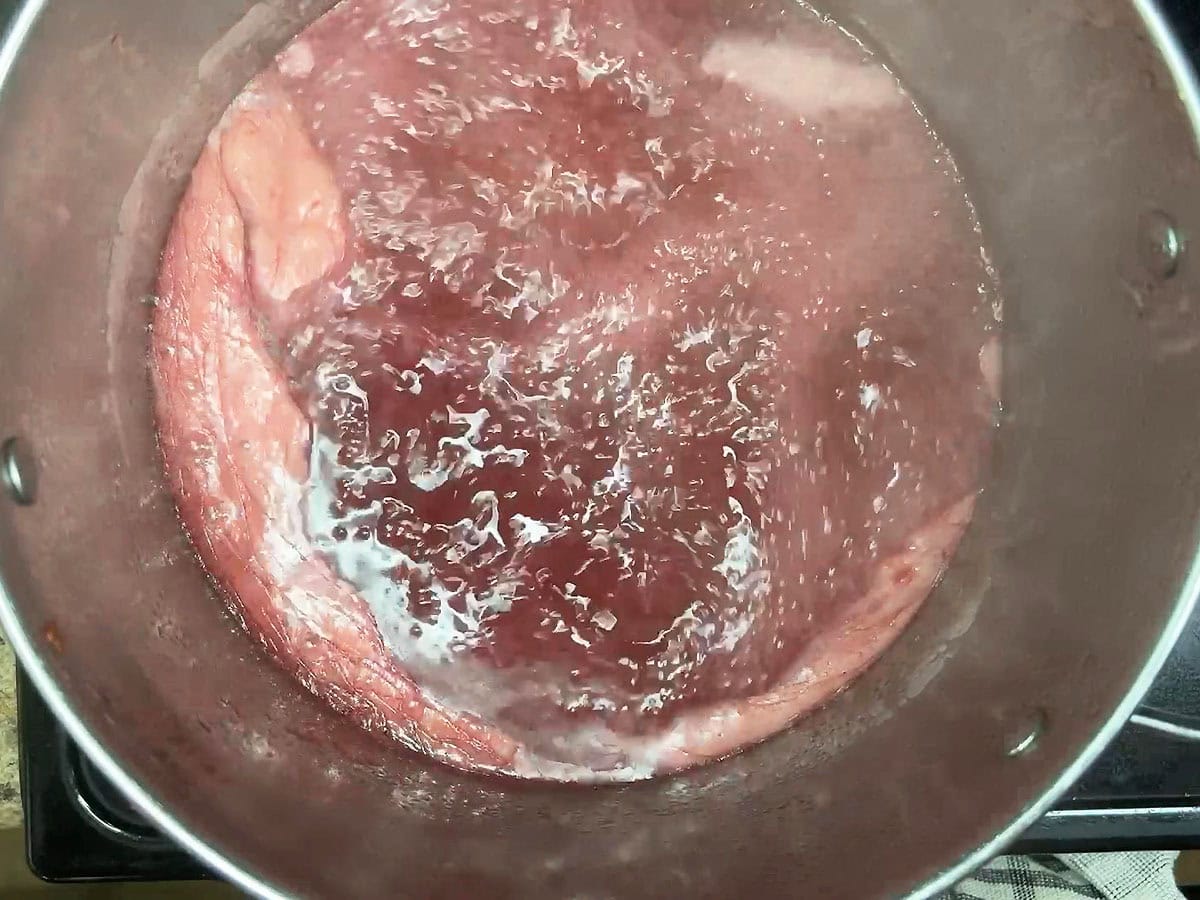
- Place the halved plums and water into a large stockpot. Bring the water to a boil, then cover and simmer on medium heat for about 10 minutes. The fruit will soften and release its deep, ruby-red juices.
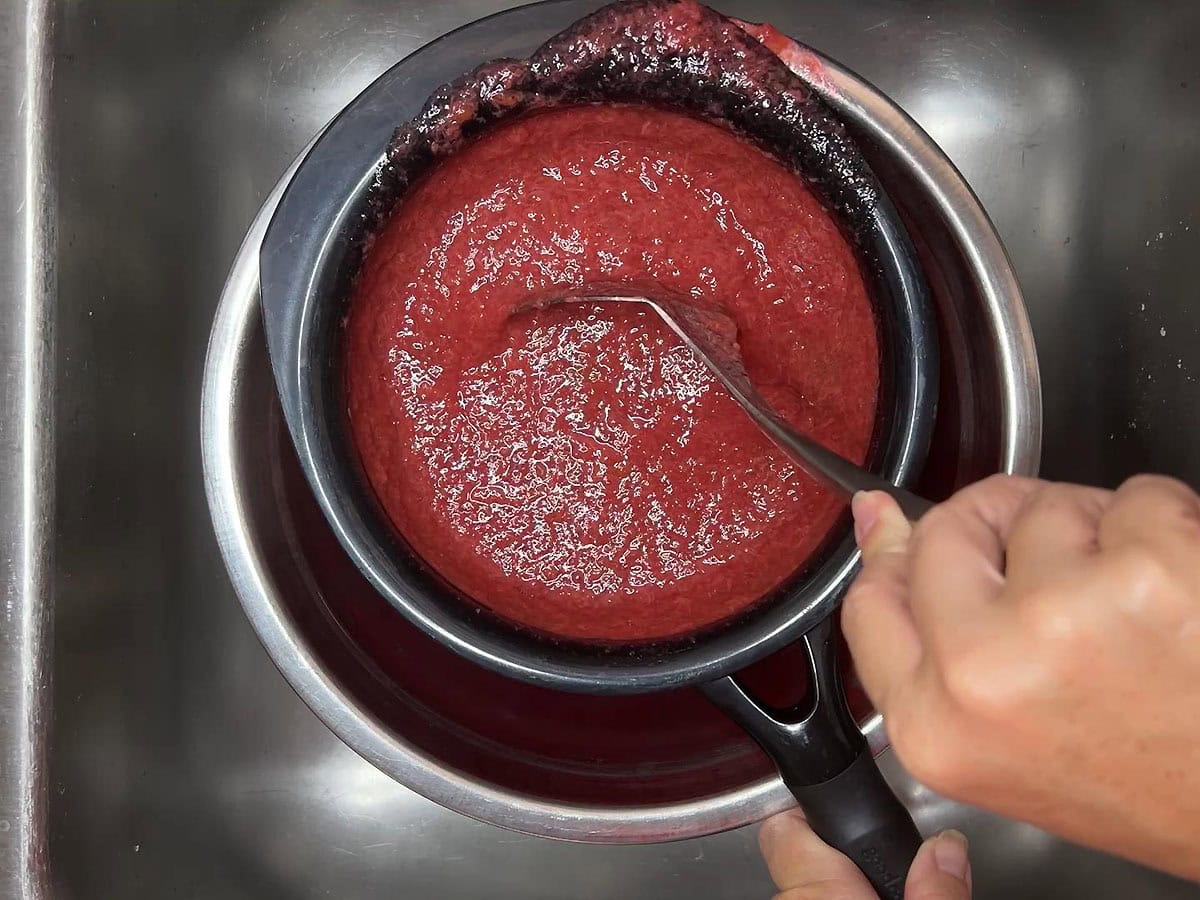
- To make a clear, smooth jelly, you’ll need to strain the juice. Use a fine mesh strainer or line a colander with several layers of cheesecloth. Let the mixture drain naturally for several hours—no pressing or squeezing, or your jelly may turn cloudy.
- The plum solids leftover after straining are safe to eat. You can stir them into yogurt or oatmeal or spoon them over ice cream. If you garden and have compost bin, you can also toss them in there.
How to Make Homemade Plum Jelly
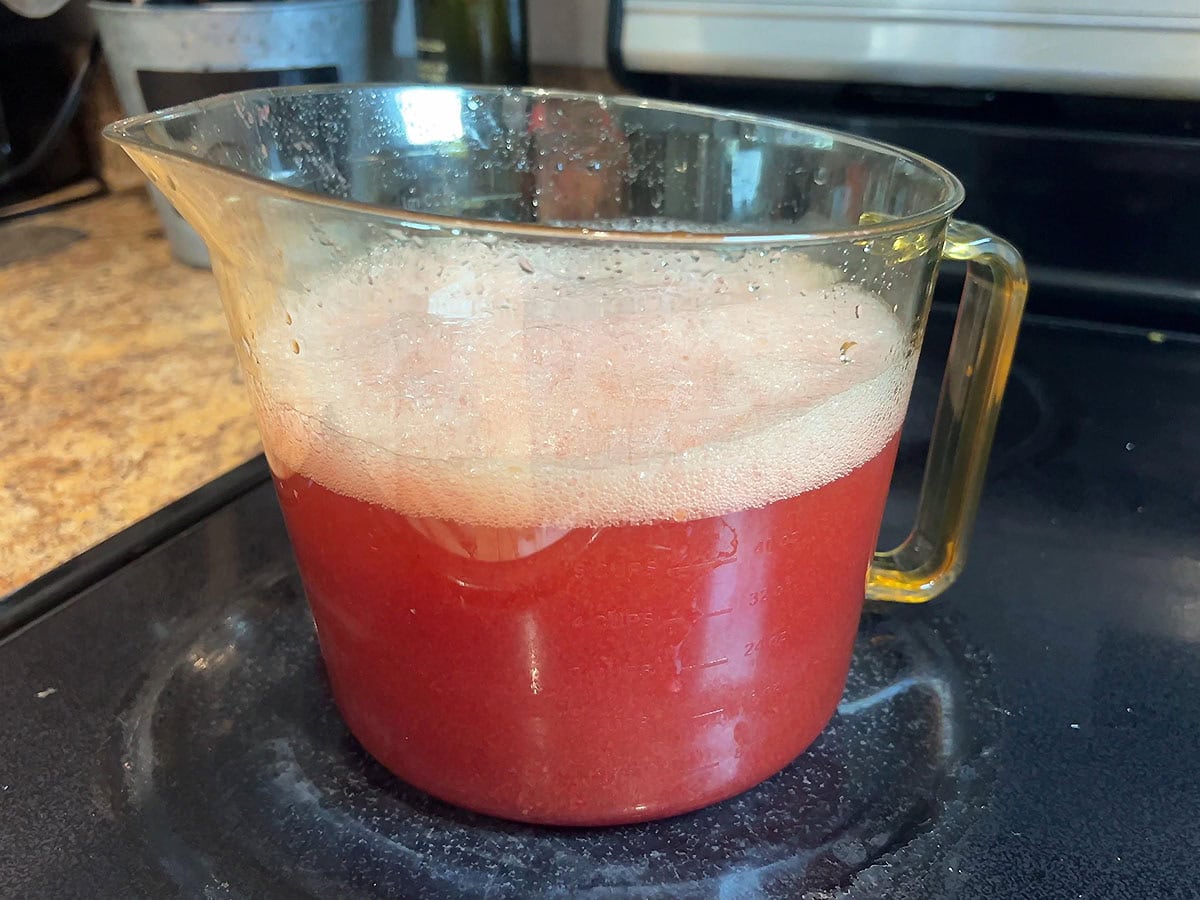
You should be left with around 5½ cups of plum juice. Now comes the fun part — making the jelly!
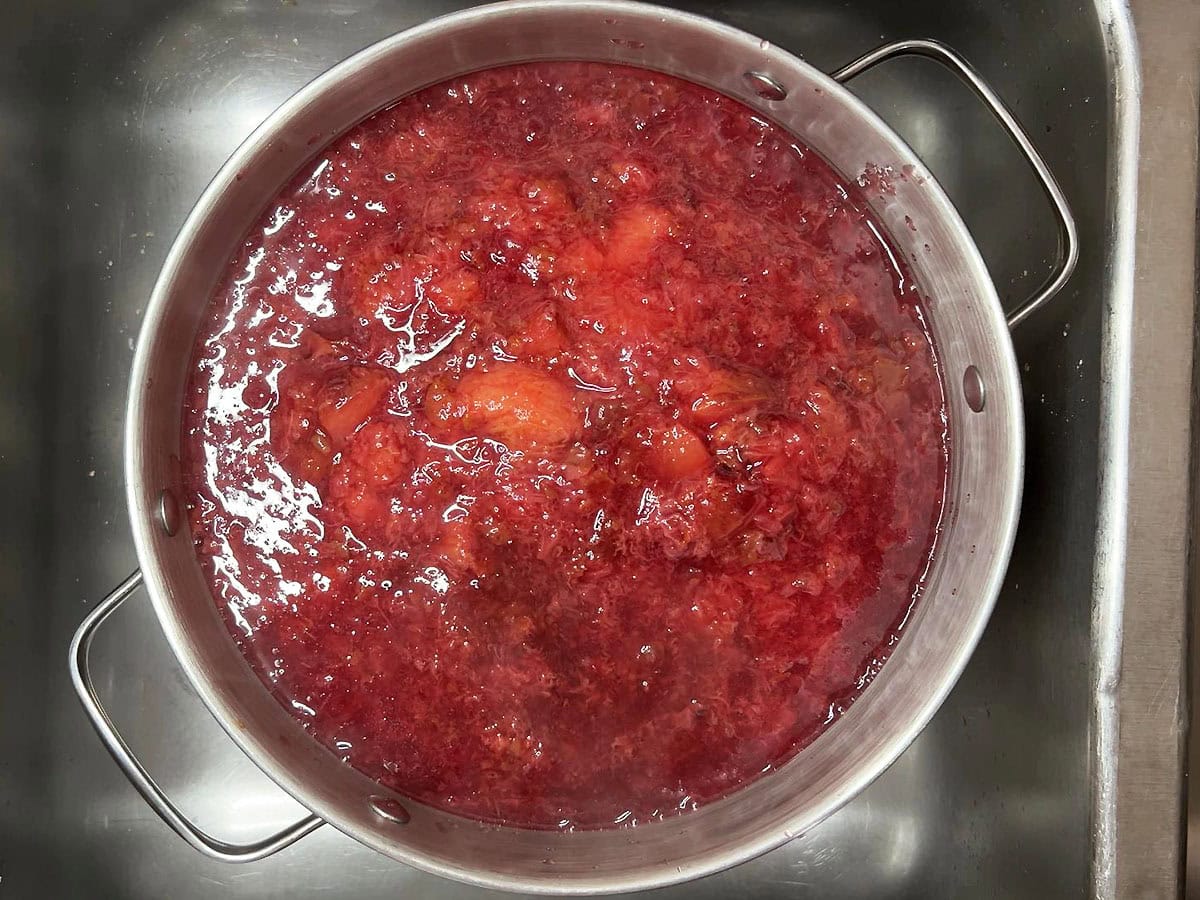
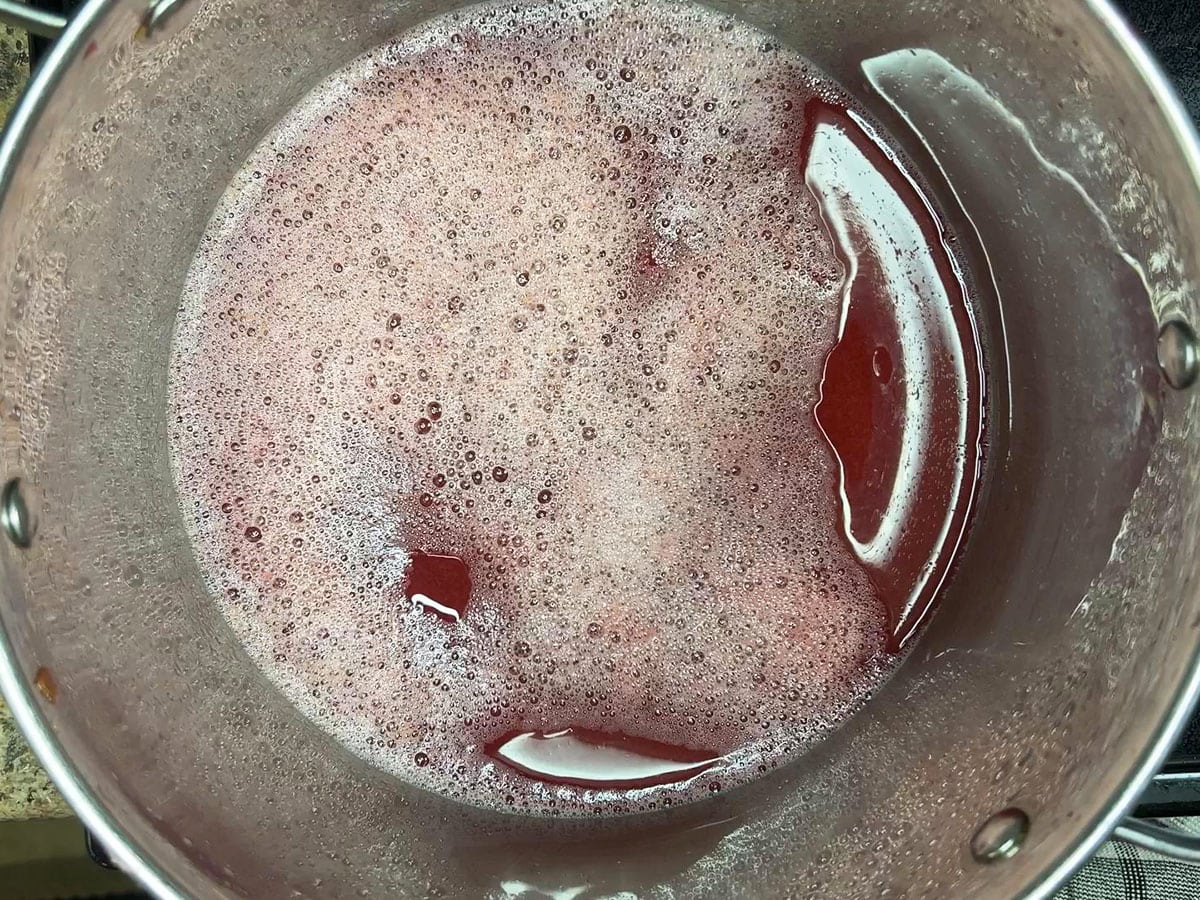
- Pour the juice back into the stockpot and stir in the pectin and butter. Bring the liquid to a hard rolling boil—one that doesn’t stop bubbling when stirred.
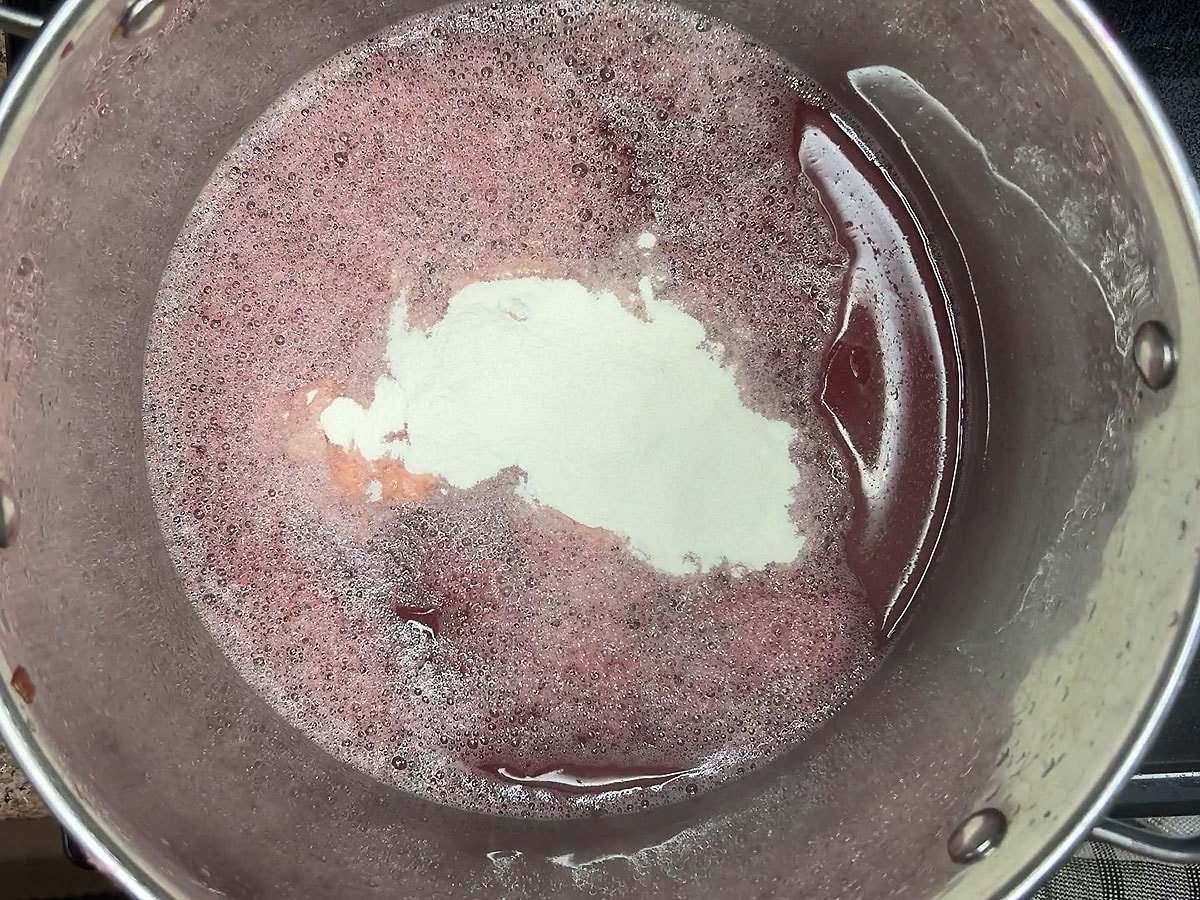
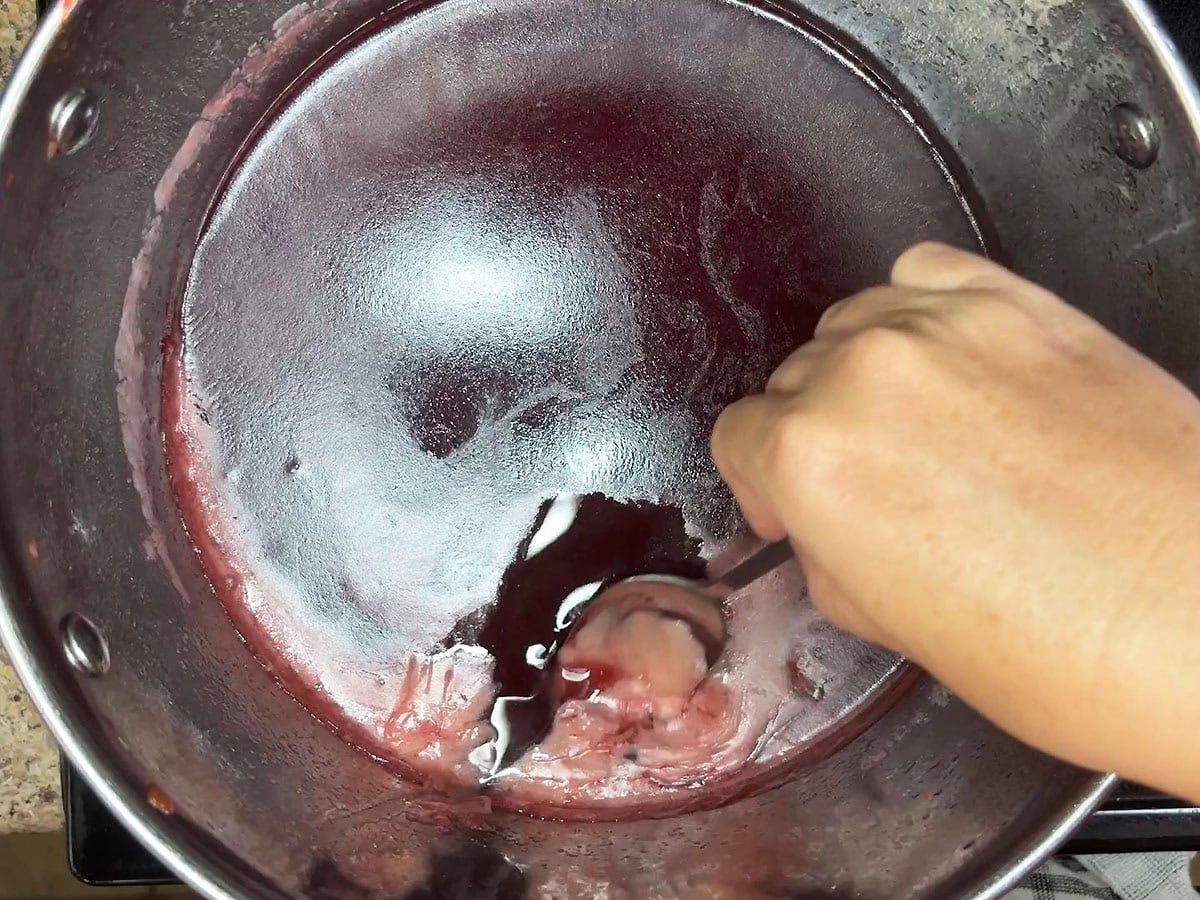
- Dump in all the sugar at once and stir to combine. Return the mixture to a boil and cook for exactly one minute, keeping it at a full, rolling boil. Remove the pot from heat and skim off any foam with a metal spoon for a clearer, smoother finish.
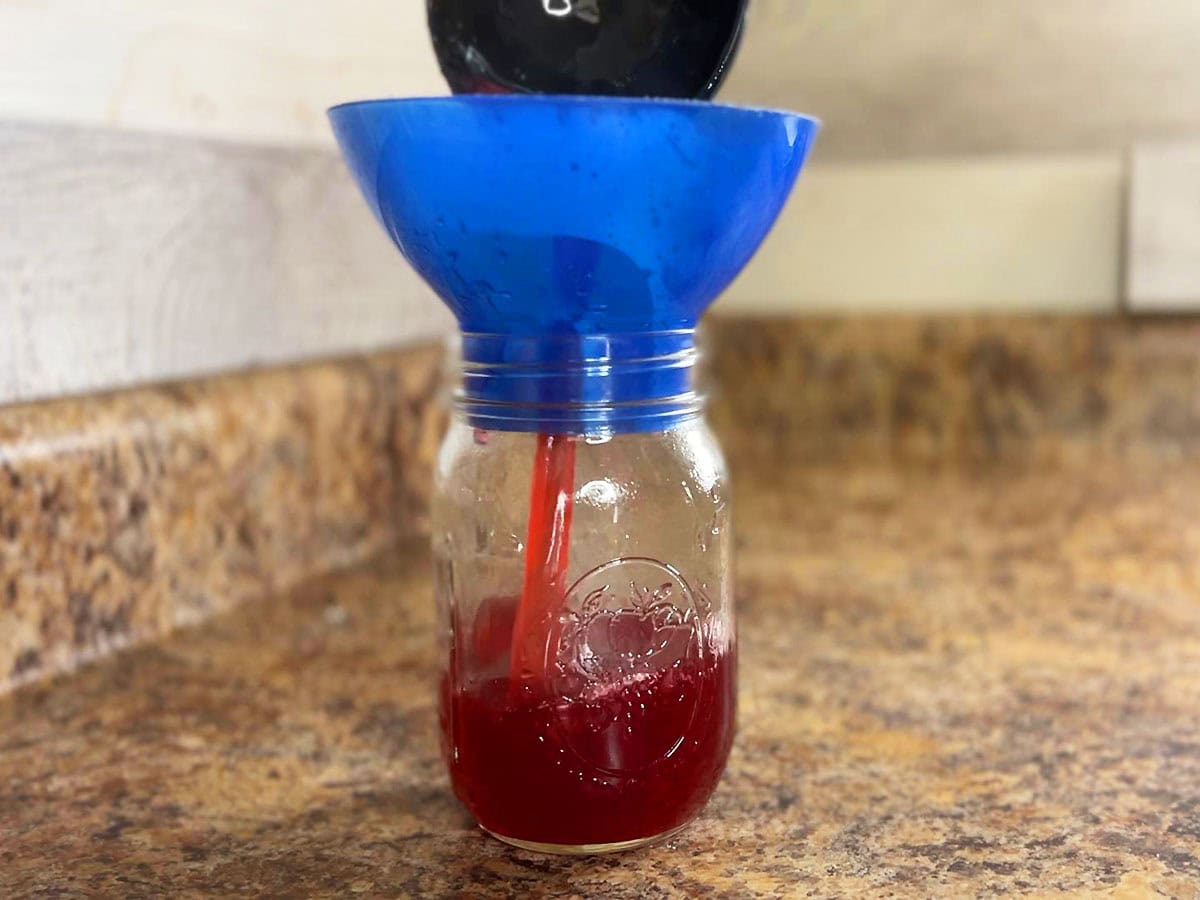
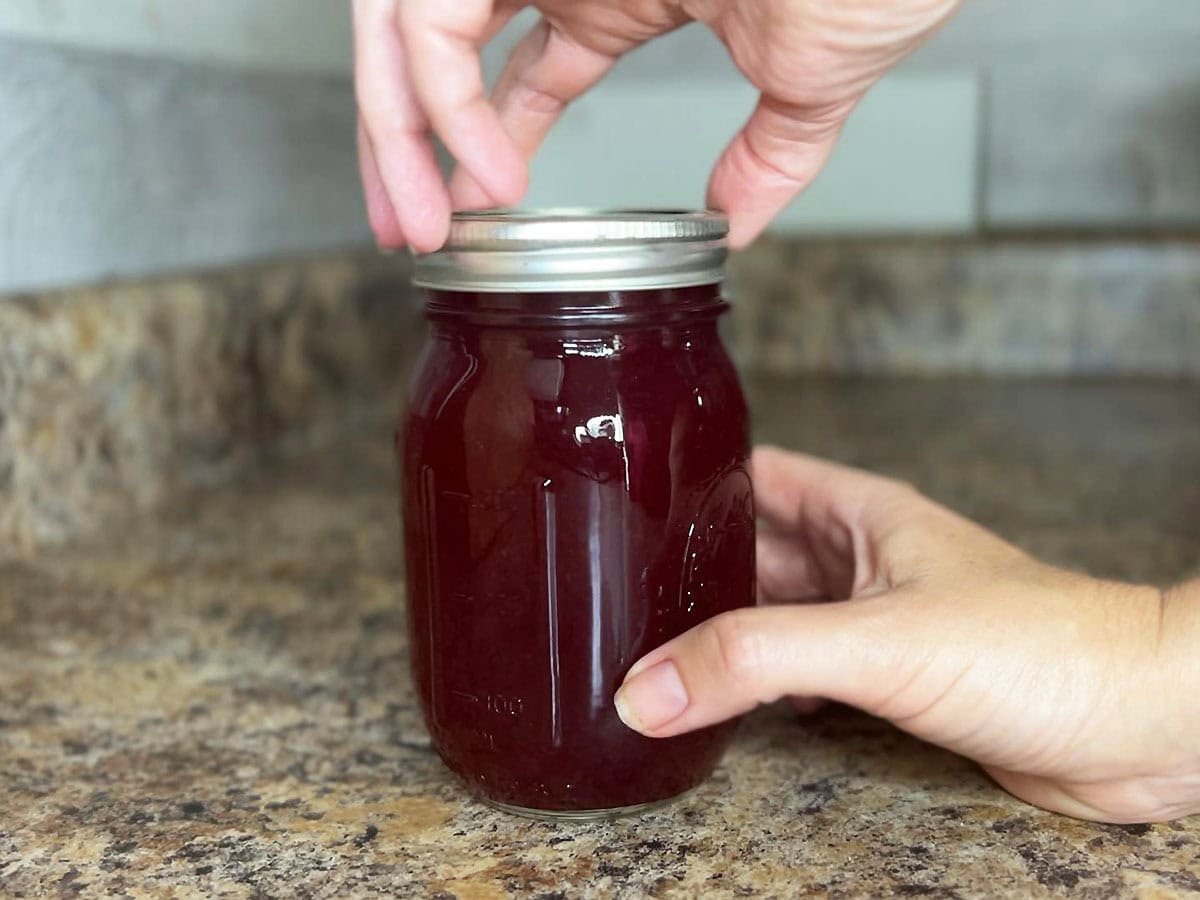
- Ladle the hot jelly into clean jars.
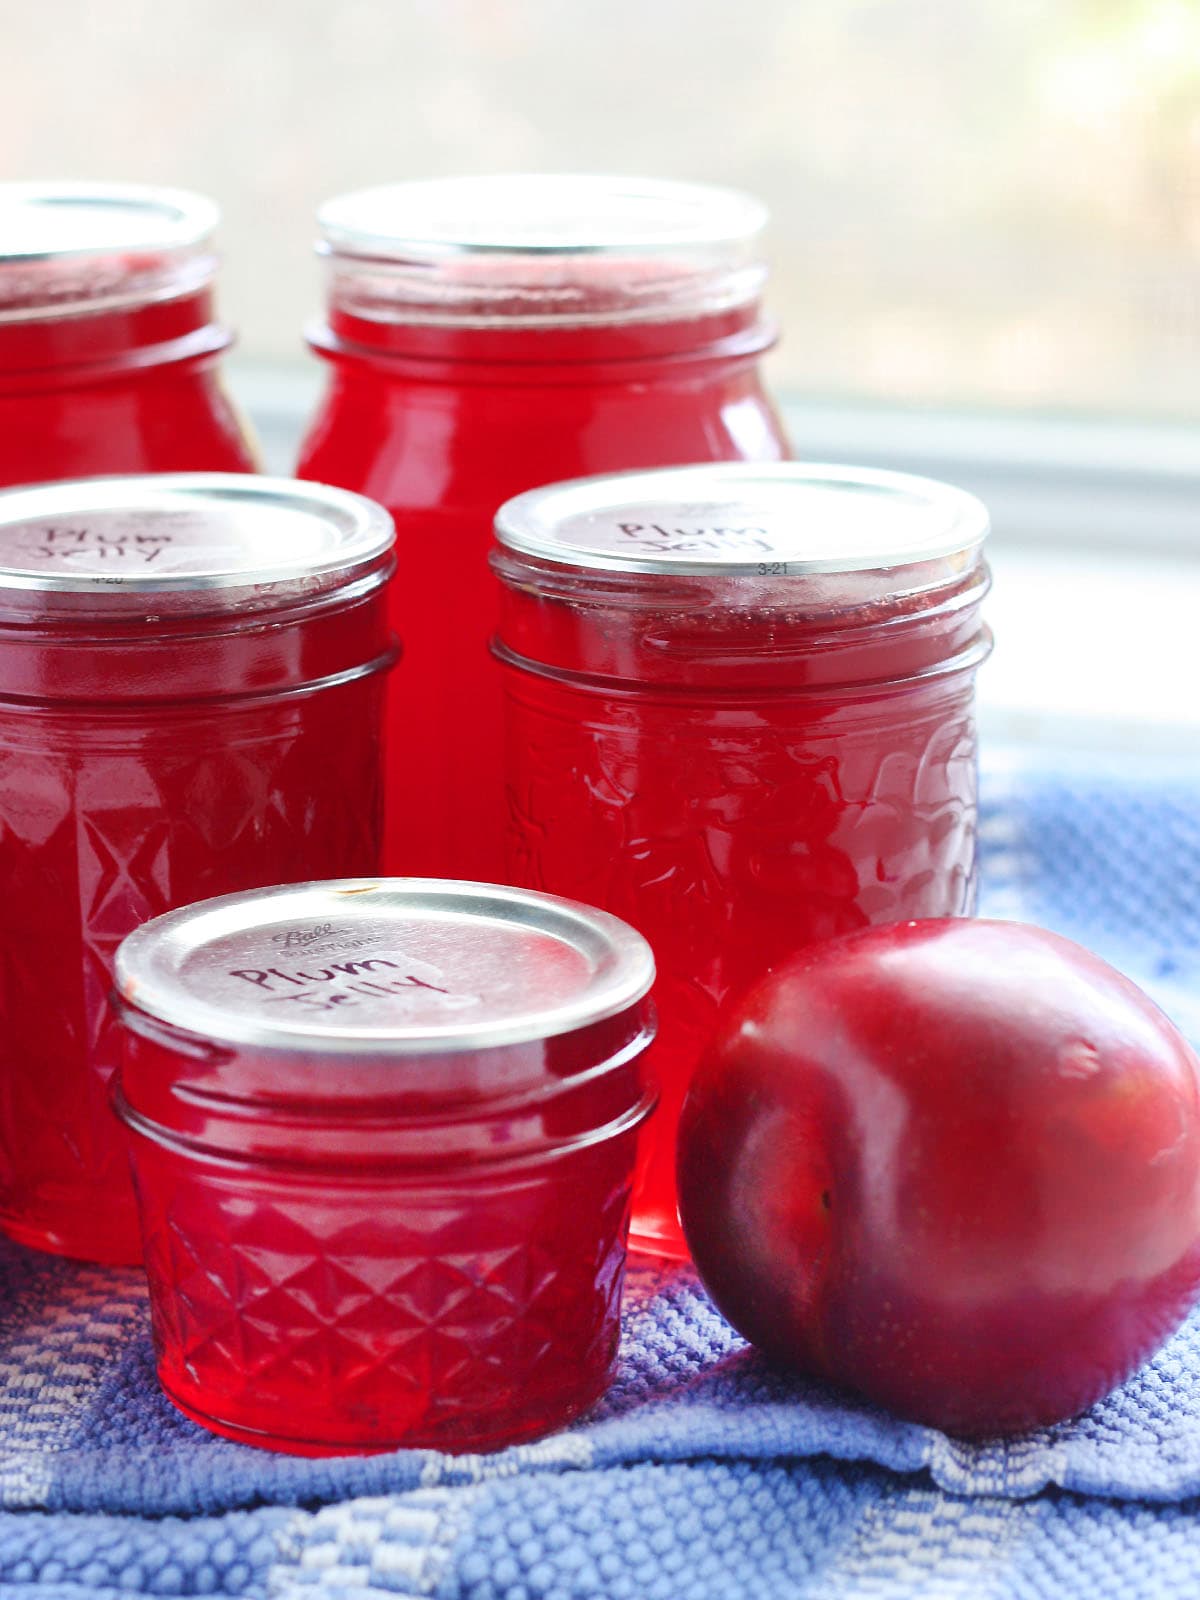
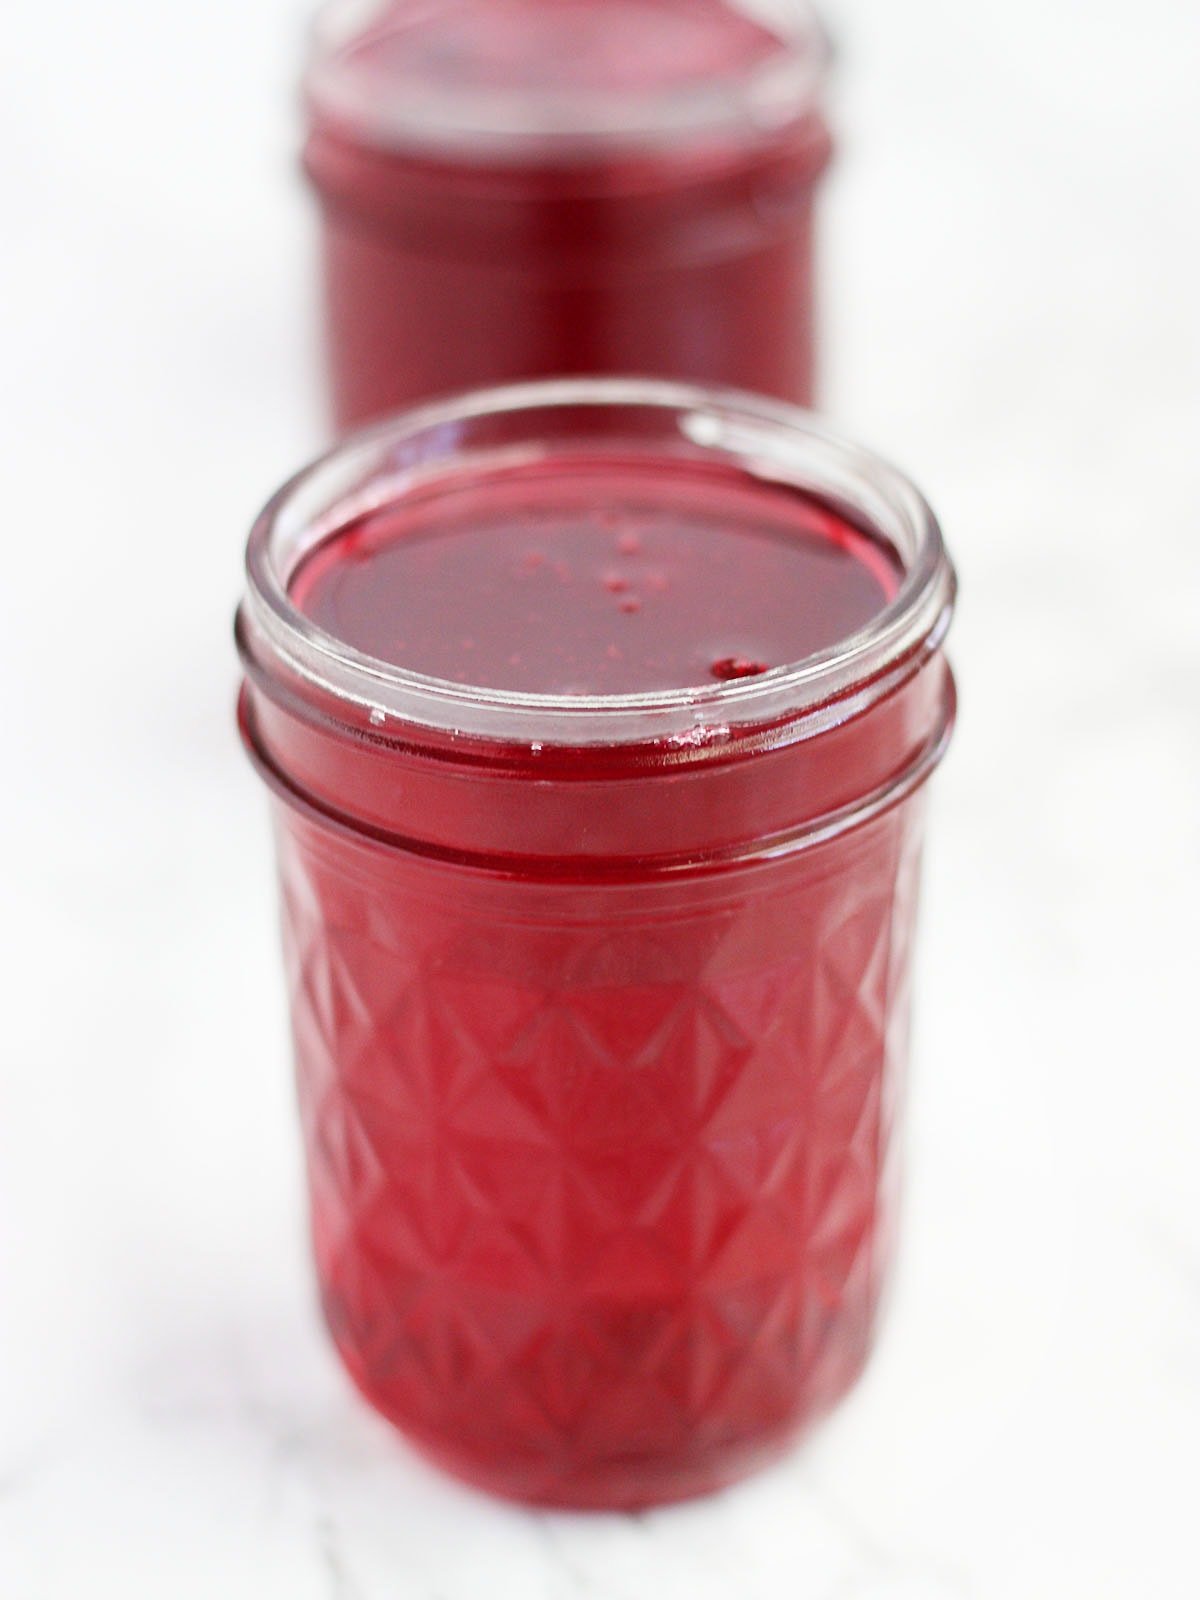
This plum jelly recipe yields approximately 6 to 7 half-pint jars (that’s about 6 to 7 cups of jelly total), depending on how much juice you get from your plums and how long it’s boiled.
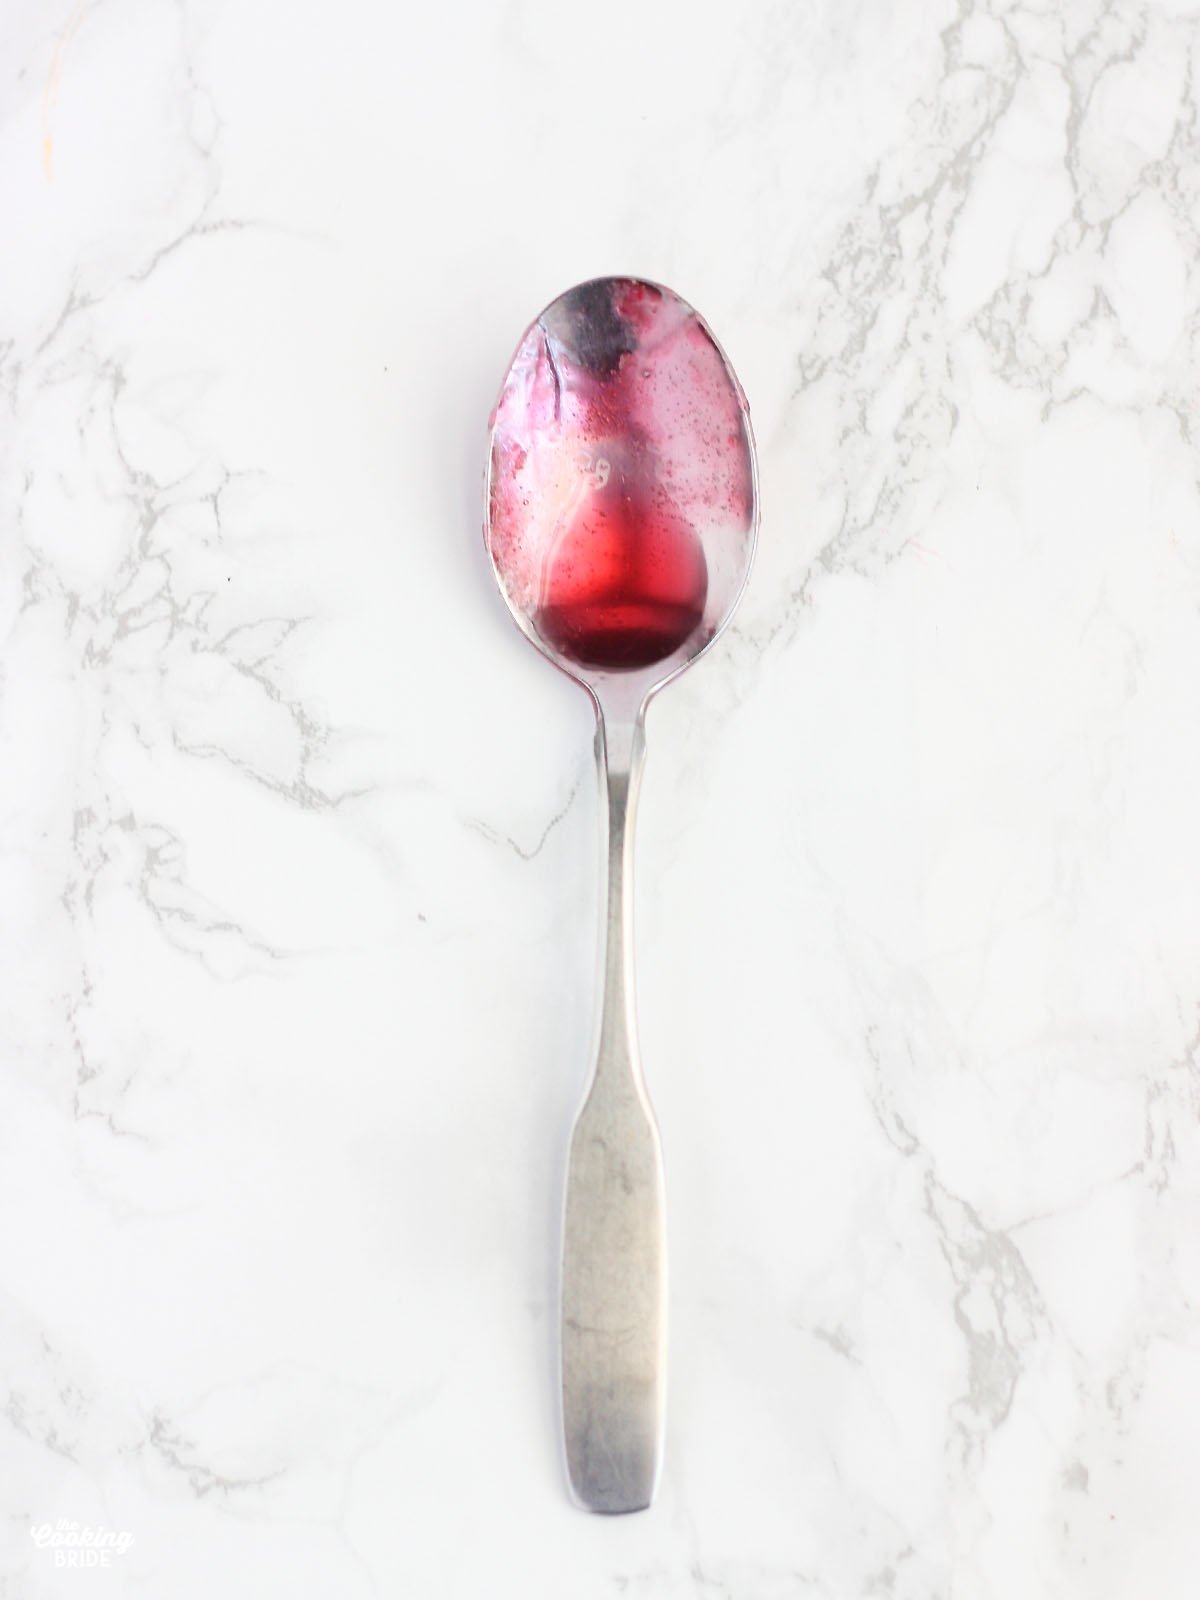
How to test if the jelly is set
The jelly will be syrupy at first. It will thicken as it cools. But if you’re just dying to know if the jelly set or not, there is a way to test it. Stick a metal spoon in the freezer for several minutes. Once it’s good and cold, lay it on the counter and dribble a few drops of the jelly on it. The jelly on the spoon should set within a matter of minutes.
Storage, freezing and canning instructions
Storage. If you’re planning to store it in the fridge, let the jars cool and then seal them tightly with lids. Refrigerated jelly lasts about six months.
Freezing. Let the jelly cool at room temperature for 30–60 minutes after ladling it into containers. Then refrigerate until fully chilled (a few hours), before transferring to the freezer. This prevents temperature shock and condensation inside the container. Choose freezer-safe sterile jars (like Ball® plastic freezer jars or glass jars with straight sides to prevent cracking). Leave at least ½ inch of headspace at the top of each container to allow for expansion as the jelly freezes. Store the jelly in the freezer for up to one year for best quality. Once thawed, the jelly should be used within three weeks and kept in the refrigerator.
Canning. For shelf-stable storage, process the jars using the water bath canning method. Fill the jars, leaving ¼-inch of headspace. Wipe the rims clean, add lids and bands, and process in a water bath canner for 10 minutes. Once sealed, jars can be stored in a cool, dry, dark place for up to two years. Give the jars 24 hours to cool. Then check the seal by pressing the center of the lid. If it doesn’t give, your jars are sealed! For a complete tutorial, check out my post on water bath canning.
Frequently asked questions
You can add a small amount of another delicious juice (like apple, white grape, or even water) to bring your total liquid up to 5½ cups. Choose something mild so it doesn’t overpower the plum flavor. Apple juice is a great choice because it’s high in natural pectin.
If you’re making a conscious effort to cut back on sugar in your homemade preserves, low- or no-sugar-needed pectin is your best bet. These types of pectin use calcium instead of sugar to help the jelly set, allowing you to significantly reduce the sugar content without sacrificing texture. I’ve successfully cut the sugar in half and still achieved a perfect gel. Both Ball and Sure-Jell offer low-sugar pectin options. Just use the same amount of pectin as the original recipe calls for, and reduce the sugar to about 1½ cups.
Foam is natural and comes from boiling fruit. Adding a tablespoon of butter helps reduce foam. However, if you forget the butter, don’t sweat it. You’ll just need to skim the foam off the top before pouring the jelly into jars.
Give it 24–48 hours—sometimes it just needs time. If it’s still runny, you can remake it by reheating the jelly with more pectin and reprocessing. Or keep it as a delicious plum syrup for pancakes or drinks!
Absolutely. A jelly bag works great and often yields a clearer jelly. Just remember: no squeezing! Let it drain naturally.
You may have perused the jelly aisle and notice jars labeled jam, jelly, preserves or marmalade. They are all produced the same way. The difference is in how the fruit is treated.
Jelly is made with fruit juice only.
Jam is make with pureed or crushed fruit.
Preserves have large chunks of fruit in them.
Marmalade is made with the peels only and made exclusively with citrus fruits.
Stevia, Splenda, and saccharin-based sweeteners can all be used in place of sugar—as long as you’re using low- or no-sugar pectin. Avoid aspartame, though, as it breaks down under high heat and can leave a bitter taste. Follow the same guidelines outlined for low-sugar preserves. Because artificial sweeteners are much sweeter than regular sugar, use about 2 tablespoons of sweetener for every 1 cup of sugar the recipe calls for. For example, if using low-sugar pectin and the recipe calls for 1¾ cups of sugar, you would substitute with 3 tablespoons plus 1½ teaspoons of your chosen sweetener. Keep in mind: the final texture may differ slightly from traditional jelly—often a bit looser or less glossy—but the flavor will still shine through.
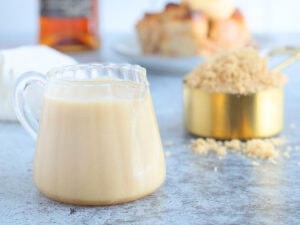
If you’re using honey, switch to a pectin made for low- or no-sugar recipes (such as Sure-Jell Low Sugar, Ball Low or No-Sugar Pectin, or Pomona’s Universal Pectin). Honey is sweeter than sugar, so you’ll use less of it. A good starting point is one cup of honey for every 1½ to two cups of sugar in the original recipe. For example, if the recipe calls for 6½ cups of sugar, you might use 3 to 4 cups of honey, depending on how sweet you like it. Watch for texture changes. Jelly made with honey may be softer or looser in texture and slightly cloudier than sugar-based jelly.
Yes, you can use brown sugar instead of white sugar in plum jelly—but there are a few things to keep in mind. Brown sugar contains molasses, which gives it a deeper flavor and more moisture than white sugar. This can darken the jelly’s color, add a richer, caramel-like flavor, and result in a slightly softer set (especially if using large amounts). You can replace white sugar with an equal amount of light or dark brown sugar (1:1 ratio). For example, if the recipe calls for 6½ cups of sugar, use 6½ cups of brown sugar. However, because brown sugar attracts moisture, it can slightly affect the gelling process. If you’re concerned about consistency, you might want to use half white sugar and half brown sugar, or add an extra tablespoon of pectin to help firm things up.
Yes, you can use liquid pectin instead of powdered pectin in plum jelly—but you’ll need to make a few important adjustments. Liquid and powdered pectin aren’t interchangeable in a 1:1 ratio, and the order of ingredients and timing matters. Where powdered pectin is mixed in before boiling, usually with the fruit juice, liquid pectin is added after the sugar, once the mixture has boiled. Liquid pectin typically comes in 3 oz pouches. One pouch equals one standard box of powdered pectin.
I prefer to remove the pits because it cuts down on cooking time. You can leave them, but you may need to cook the plums for longer.
Tried This Recipe? Let Me Know!
If you made Homemade Plum Jelly, I’d love to hear how it turned out! Your ratings and reviews help others find the recipe and give me great feedback too. ⭐️
Homemade Plum Jelly
Ingredients
- 5 pounds ripe plums
- 1-½ cups water
- 1 (1.75 ounce) box fruit pectin
- 1 tablespoon unsalted butter
- 6-½ cups granulated sugar
Instructions
- Slice the plums in half and remove and discard the pits. Don’t bother peeling the plums.
- Place the plums to a large stockpot. Add the water. Bring the pot to a boil, then cover and simmer over medium heat for 10 minutes.
- Strain the juice by pouring it first through a colander and then again through a fine mesh strainer. You can also line a colander with several layers of cheesecloth. Allow the fruit to drain for at least 30 minutes. Discard the fruit.
- You should have about 5 ½ cups of plum juice. Pour the juice back into the pot.
- Add one box of pectin and the butter. Bring the juice to a hard rolling boil.
- Add the sugar. Continue to boil the jelly for one minute. Remove the pot from the heat. Skim any foam from the top with a metal spoon.
- Ladle the jelly into clean jars. Jelly can be stored for six months in the fridge.
Video
Notes
Nutrition

Hi, Scott. Yes, you can.
Can you refrigerate the strained juice to cook the next day?