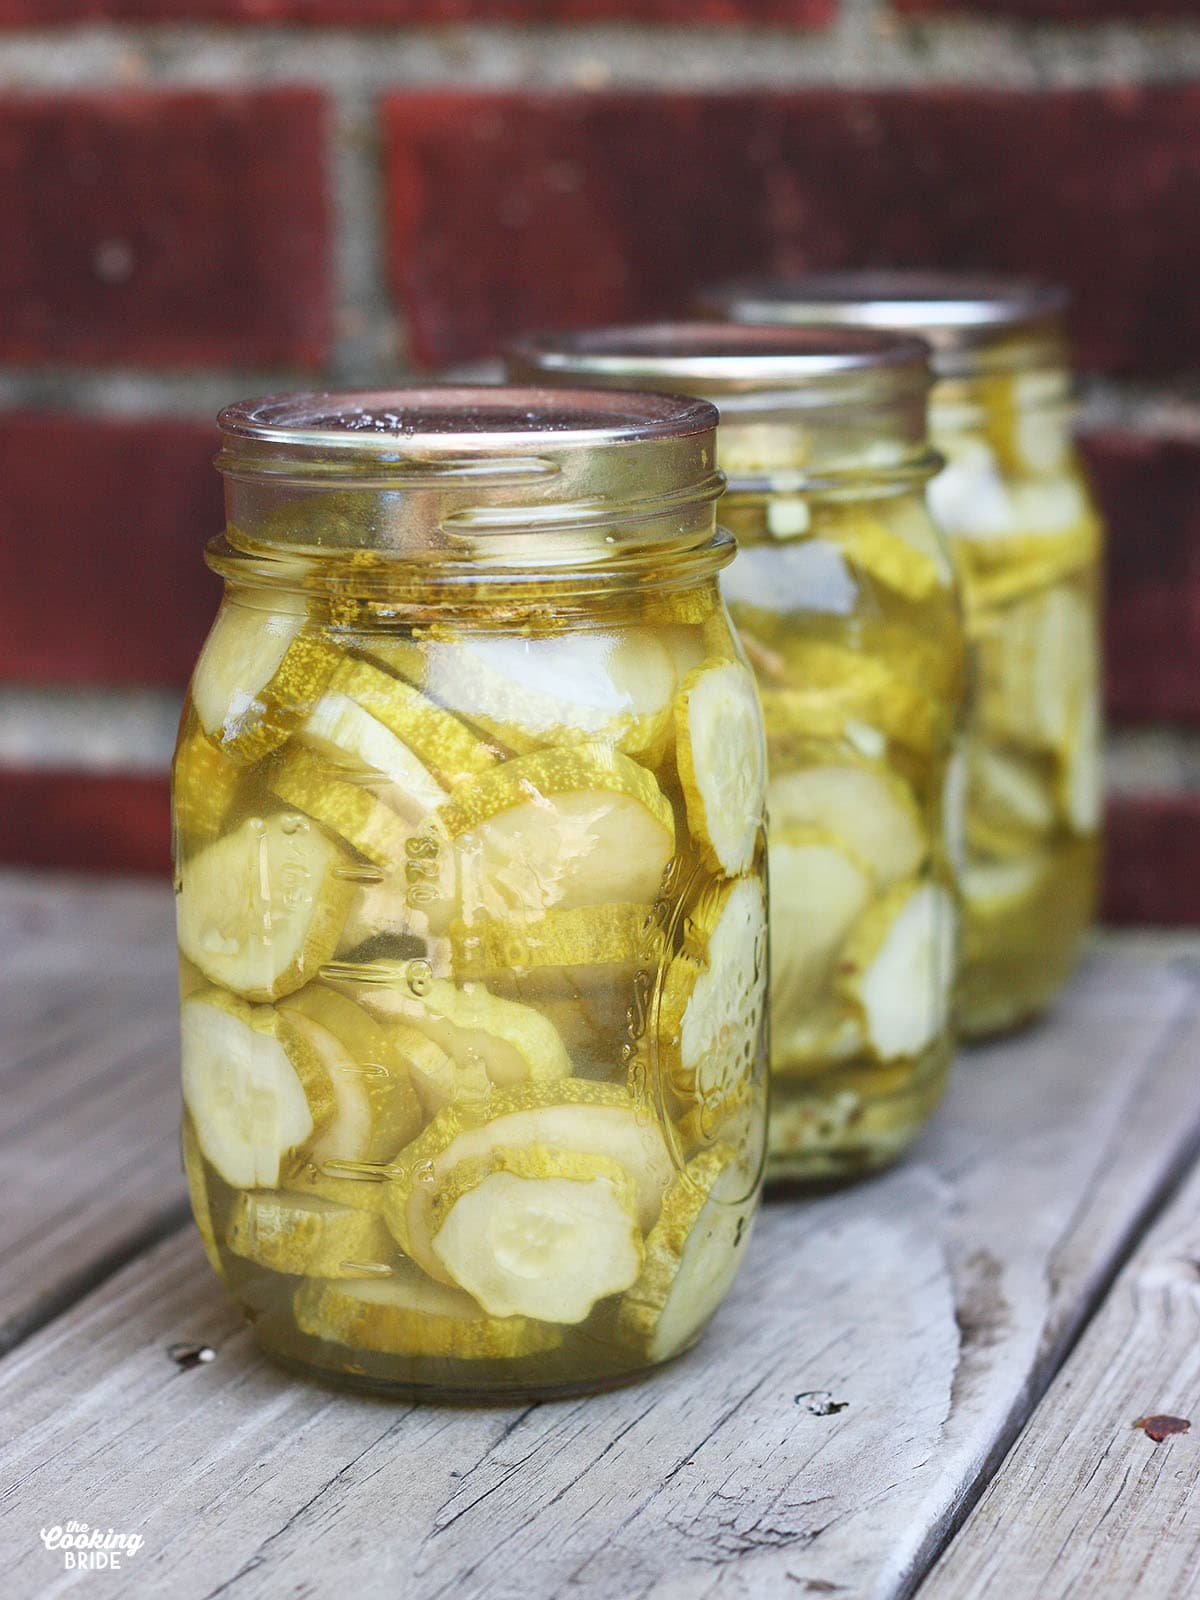
Homemade Dill Pickles

Sliced homemade dill pickles are a great way to use up a bumper crop of cucumbers from your summer garden. This easy recipe is packed full of flavor!
This post may contain affiliate links. Click here to learn more about how affiliate links are used on this site.
I can always tell when The Husband has had one too many dill pickles by the tell-tale scent of dill emanating from his pores. It isn’t an unpleasant smell, but it is definitely distinct. After crawfish and chocolate pie, dill pickles are pretty high on The Husband’s list of favorite things to eat. Really, they don’t last long at our house. I buy a jar on Friday and by Sunday all’s that’s left is the brine.
But get this – he even drinks the brine!! He says it helps prevent muscle cramps after a workout. I say it’s gross. . .
The Husband’s love of dill pickles is the sole reason I decided to plant cucumbers this year. Between our garden and my mother-in-law’s garden, there have been plenty to go around.
Because no one likes a limp pickle …
A cucumber is 95% water. All that water can dilute your brine once you pack them in jars. Soaking cucumbers for 2-3 hours in salt water before pickling draws out some of the moisture and prevents this.
To get started making sliced homemade dill pickles, you want your slices to be about ¼-inch thick. You can slice them by hand with a sharp kitchen knife, but if you’re going to be making a big batch of cucumbers, you might want to invest in a mandoline slicer. It makes quick work of this tedious step, just watch your fingers.
I recommend using pickling or kosher salt. Both are pure salt with no additives or anti-caking agents. Standard table salt can affect the quality of your pickles because of the additives it contains.
I haven’t been able to find a firm salt to water ratio, so my recommendation is to add enough salt until it tastes slight salty but not to the point where it knocks your socks off.
Be sure to use a nonreactive bowl and pot while doing this. Nonreactive means something other than aluminum or copper. Salt can cause aluminum to pit and vinegar will react with both metals and give the pickles a metallic taste. In this case ceramic, enamel, glass, plastic, or stainless steel is the way to go. Once your pickles have finished soaking, drain them and discard the salt water.
How to make sliced homemade dill pickle
Now you are ready to make your pickle brine. I like to use a combination of plain white distilled vinegar and apple cider vinegar. Combine the vinegars and water in a nonreactive pot with your salt and sugar. Bring it to a boil, then simmer just until the sugar and salt are dissolved.
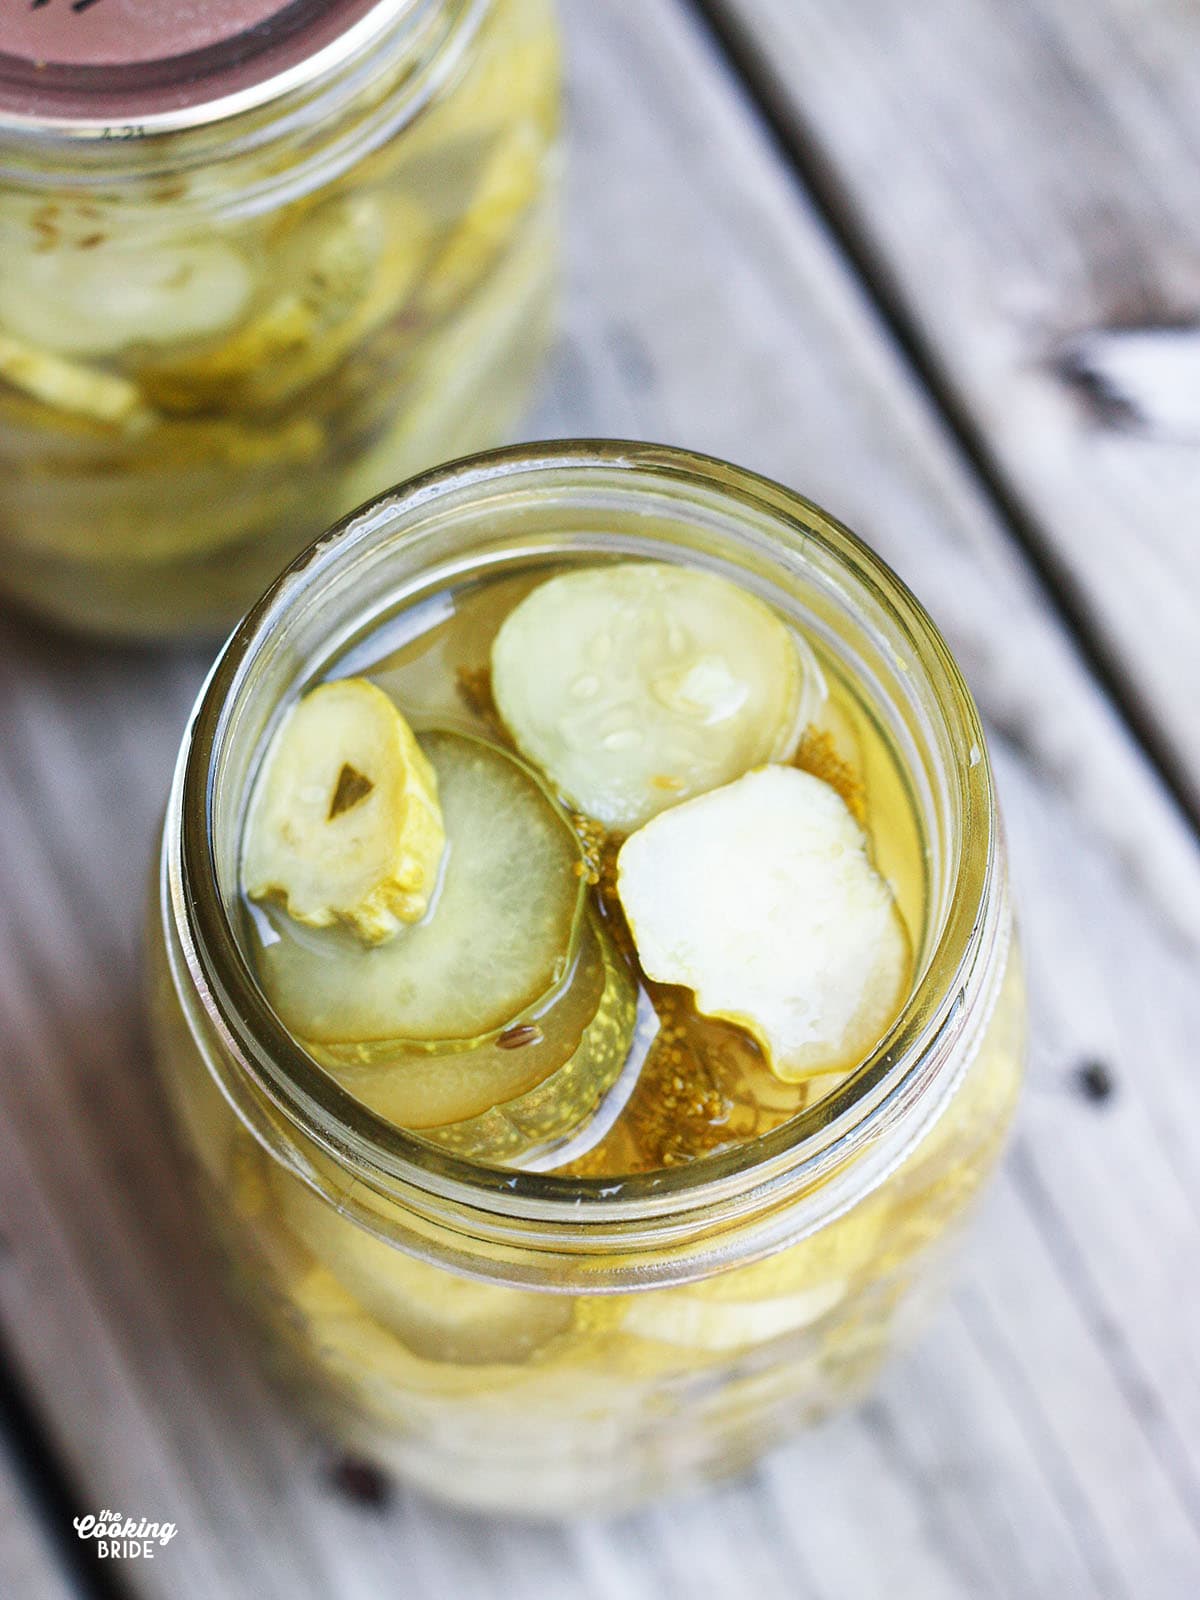
I like to have several clean glass mason jars lined up on the counter for this next step. To each jar, add 1 teaspoon of dill seed, ½ teaspoon pickling spices, and 1 teaspoon minced garlic (time saving tip here — buy a jar of pre-minced garlic. It will save you so much time!).
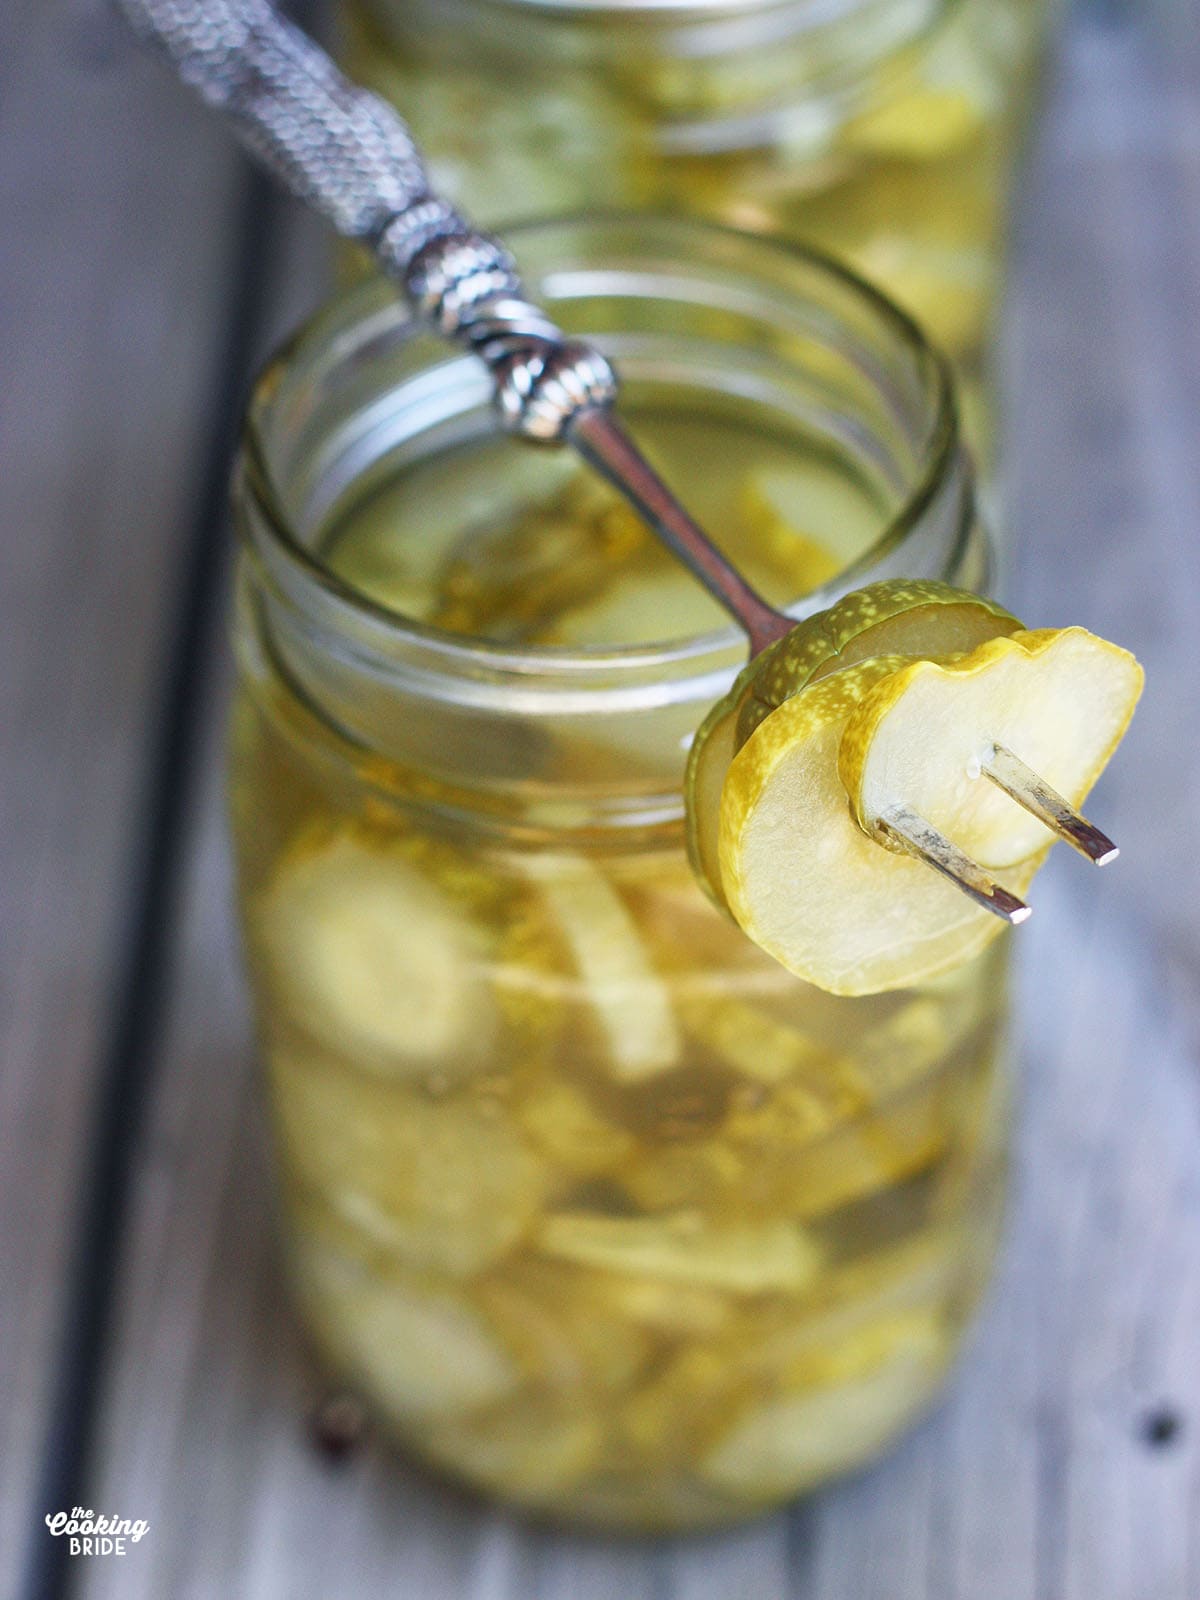
Pack your pickle slices tightly into each jar. The pour your brine over the top and fill up the jar. Be sure to leave ½-inch of space between the rim of the jar and the top of your pickle brine. Seal them up and allow them to cure for about three weeks.
What’s the Difference between dill seed and dill weed?
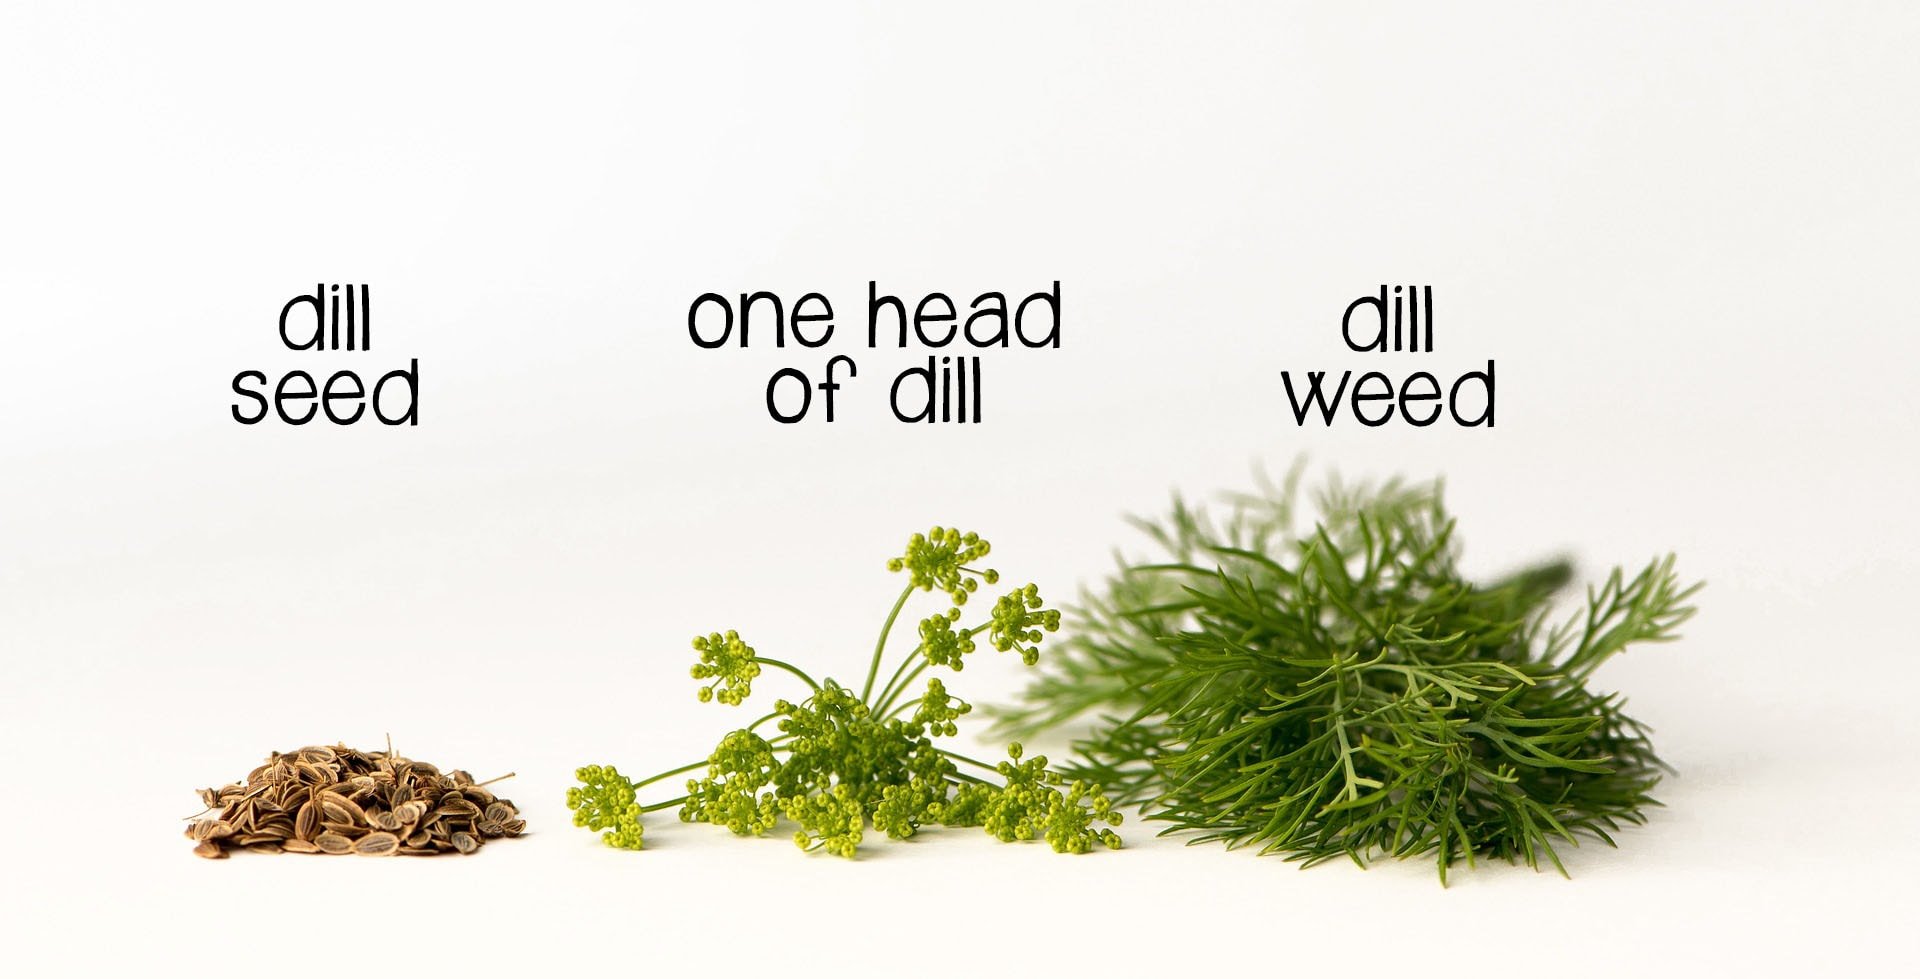
Dill weed refers to the leafy part of the dill plant. Dill seed is, you probably guessed, the actual seed. They are not interchangeable in this case. Make sure you get dill seed.
If you have access to a fresh dill plant, you can use the flowered part — called the head — instead of dill seed. Three heads of fresh dill equals 1 to 2 tablespoons dill seed.
How to Store Sliced Homemade Dill Pickles
If you have the room, you can store your sliced homemade dill pickles in the refrigerator and they will retain a crisp-like texture similar to Claussen pickles. Experts recommend you eat them within three months.
Unfortunately, I do not have that kind of refrigerator space, so I chose to can my pickles. Doing so causes them to be a tad softer, but does not impact the flavor.
Because these pickles are acidic, you only have to process them for 10 mintues using the water bath canning method. This means you don’t need any special equipment such as a pressure canner — only a stock pot deep enough to allow the jars to be covered by 1-2″ of water.
If you are new to canning, I highly recommend picking up a copy of the Ball Book Of Canning And Preserving. The instructions are very clear and it goes into a lot of detail about the basics of canning.
Once you’ve canned your pickles and you’re sure your seals are set, you can store your pickles in a cool, dry place such as a pantry for up to a year.
Related Recipes:
- The Basics of Water Bath Canning
- Spicy Pickled Okra
- Asian Marinated Cucumber Salad
- Tomato Cucumber Salad with Tequila Vinaigrette
Sliced Homemade Dill Pickles
Ingredients
- 4 pounds pickling cucumbers
- 2 tablespoons canning salt or kosher salt
- 2 ½ quarts water
For the pickles:
- 2 cups cider vinegar
- 1 cup white vinegar
- 3 cups water
- 2 tablespoons sugar
- 2 tablespoons canning or kosher salt
- 6 teaspoons dill seeds
- 3 teaspoons pickling spices
- 6 teaspoons minced garlic
- 6 teaspoons dried minced onion
- 6 pint mason jars and lids and bands
Instructions
- Slice cucumbers into ¼-inch thick slices.
- Place slices in a large non-reactive bowl. Combine two tablespoons of salt and the water. Stir until salt is dissolved. Pour salt water over cucumber slices. Cover and let 2-3 hours. Drain the cucumbers and discard the salt water.
- In a nonreactive pot, combine vinegars, water, sugar, and salt. Cover, bring to a simmer until the salt and sugar is dissolved. Remove from heat and set aside.
- In the bottom of a pint mason jar, add 1 teaspoon of dill seed, ½ teaspoon pickling spices, and 1 teaspoon minced garlic and 1 teaspoon minced onion. Fill jars with cucumber slices.
- Using a funnel, carefully pour vinegar mixture over the cucumber slices, leaving ½-inch of room between the pickles and to top of the jar. Wipe rims with a clean damp rag or paper towel. Place a lid on each jar and secure tightly.
- Allow jars to set for 3 weeks before opening.
- Jars will last for up to three months in the refrigerator. Pickles can also be preserved using the water bath canning method. Properly canned pickles should be store in a cool dry place and are good for up to one year.


That’s great! I have some slices soaking in salt water on my counter right now. Probably going to make another batch tonight.
Thanks Susan! I have a batch of fridge pickles curing right now. Still going to give them another week and see how they compare.
If you want to make the clausen pickles–it is very similar except you put into refrigerator to cure and must remain in there. My brother makes them and gets pickling cuc’s, garlic, jalepeno pepper (optional and to taste), lots of dill and a few pepper corns.
Clean and sterilize jars and lids as normal. Scrub and clean up cuc’s real good. Cook the brine as normal–I think he uses apple cider vinegar, salt and water. You can experiment with vinegars in smaller (wide mouth jars) with that. Cut pickles into long quarters, add peppercorns, garlic, dill/dill seeds (I use both for pickling). Then shove as many cut cuc’s into wide mouth jars. Cover with hot brine to normal levels in jar. Wipe rims and seal with sterile lids. Let cool a bit then put into frig. Ensure lids are tight (likely will not seal) but shake 1 time a day for about 2 weeks to distribute the spices and flavorings. My frig space is limited so if I go a batch, it will only be a couple. Do some searches online for refrigerator dill pickles. You can likely get some other suggestions.
I gave these a shot and they’re now cooling on the counter waiting a few weeks for me to open them and taste them! I can’t wait! 🙂
I love pickles that much, too! YUM! These look wonderful!
They are smaller than a regular slicing cucumber; usually have lighter green skins and more bumps. I have used regular cucumbers picked from my garden, but if you are buying your cukes from a store or farmer’s market make sure they are pickling cucumbers. Sometimes, particularly large grocery stores, the cucumbers will have a thin wax coating on the outside as a preservative. That coating will prevent the brine from soaking in.
What is a pickling cucumber something like a gherkin ?
You could probably get away with reusing the brine at least once, but the more you reuse it the more watered down it will become. Eventually it will lose the pickle flavor.
Have you considered reusing the brine from the empty Clausen jars?
I may not like hamburgers but I LOVE me some pickles! I could eat a whole jar without any help!